Secure an Application with the Pangea and Twilio Firebase Extensions
Time to read:
May 10, 2023
Written by
Reviewed by

Firebase, similar to the Pangea and Twilio platforms, helps you develop high-quality apps, grow your user base, and focus on providing your users with your unique value proposition. Each feature works independently, and they work even better together.
In this tutorial, learn how to install and utilize a combination of the Pangea provided Known Malware Detection - which relies on Pangea’s File Intel API service and the Send Messages with Twilio Extension to receive SMS notifications when your users upload a malicious file to your app’s Cloud Storage bucket.
Firebase Extensions are an easy way to add third-party services to your Firebase app without the need to write or debug code on your own. Extensions are pre-packaged solutions designed to save development time and quickly deploy functionality into your applications hosted on Firebase. You provide the configuration parameters, such as authentication tokens, for each extension at install time.
All Pangea and Twilio-provided extensions are open-sourced and built on Firebase and Google Cloud products you already know. Deployment and configuration of each extension are performed in the Firebase console or the Firebase CLI, and once deployed, they require no maintenance.
Set up your Pangea account and Access Token
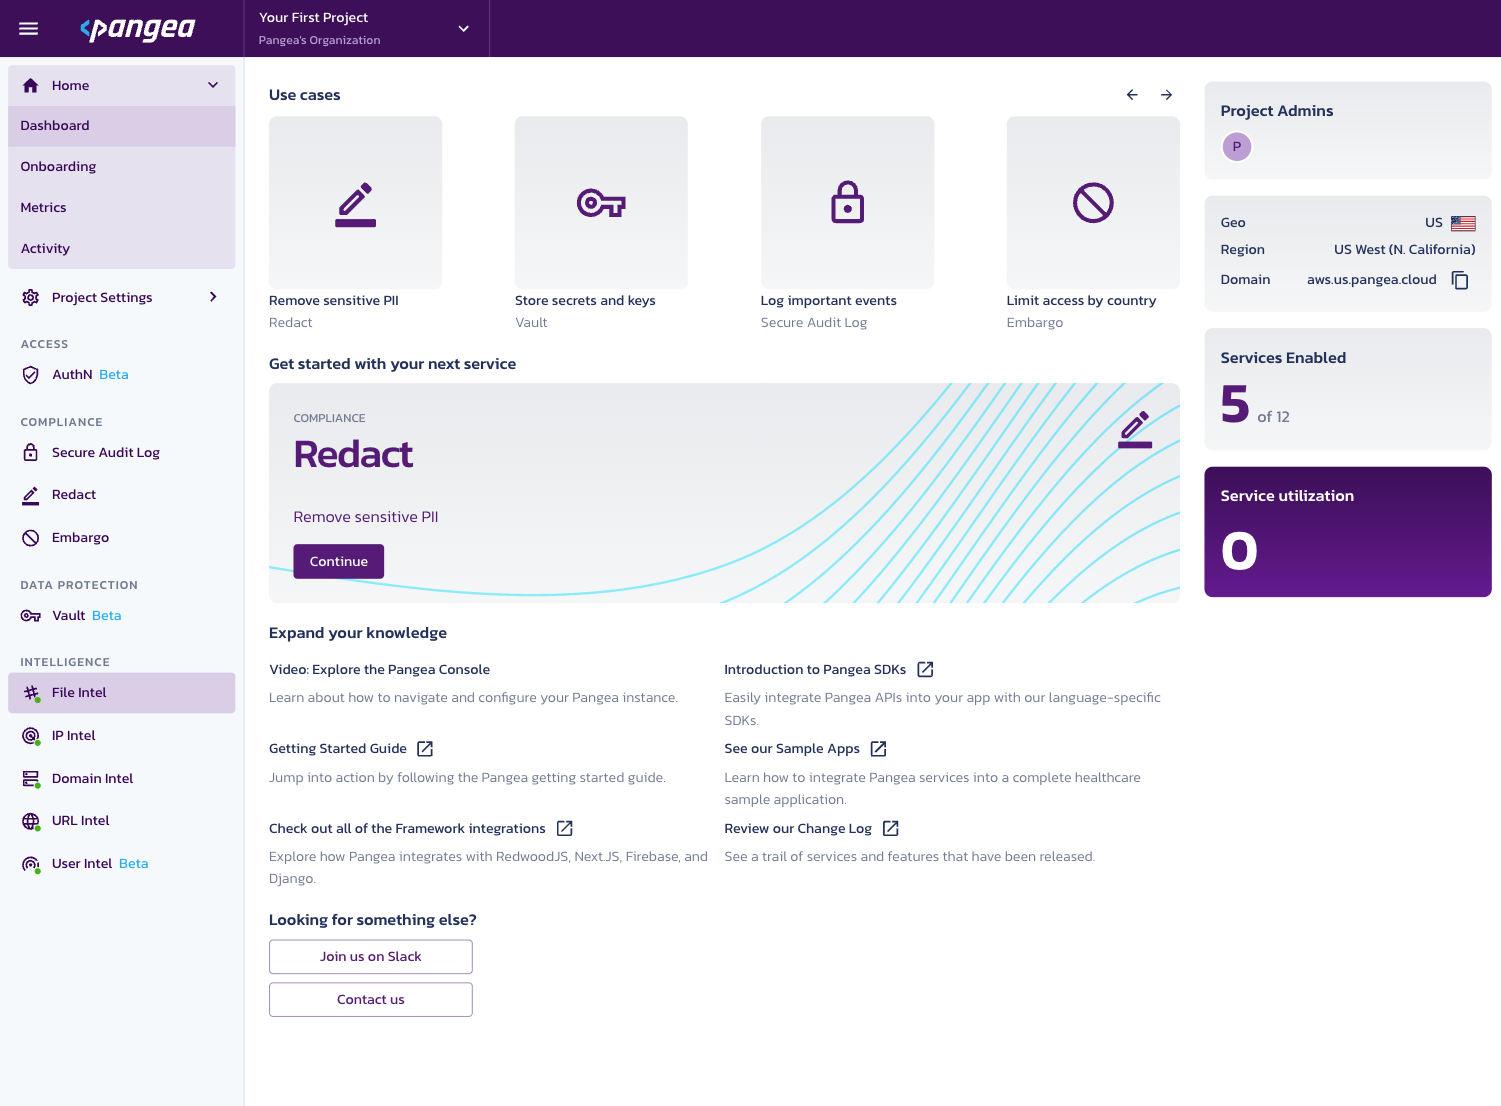
Once you’ve signed up for Pangea, log in and access the Pangea Console. Set up the File Intel service by selecting File Intel from the left-hand navigation menu.
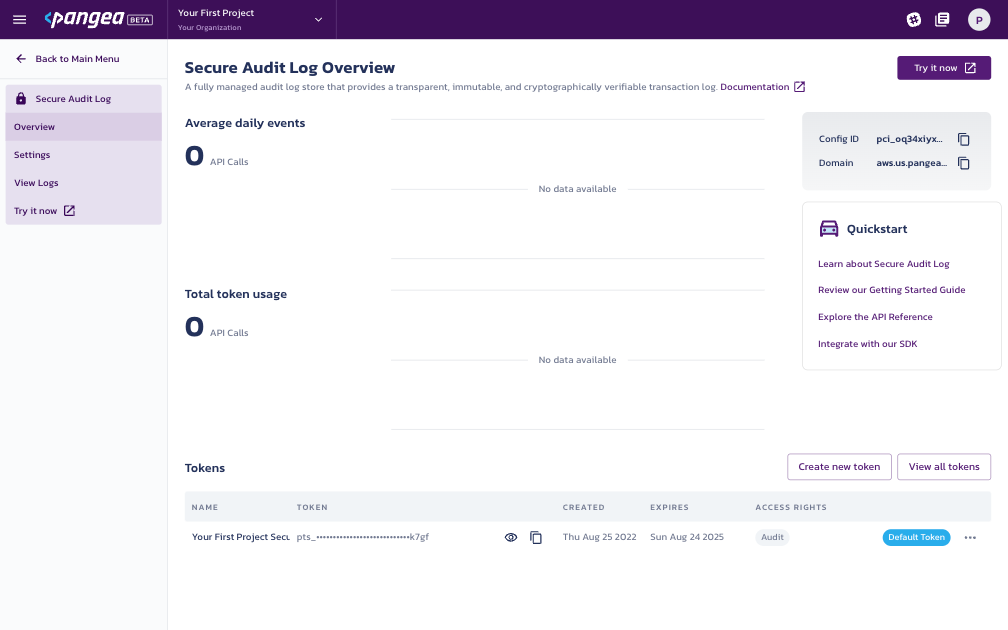
Create an Access Token by selecting a token name, expiration date, and token scope or use the default values by selecting Done.
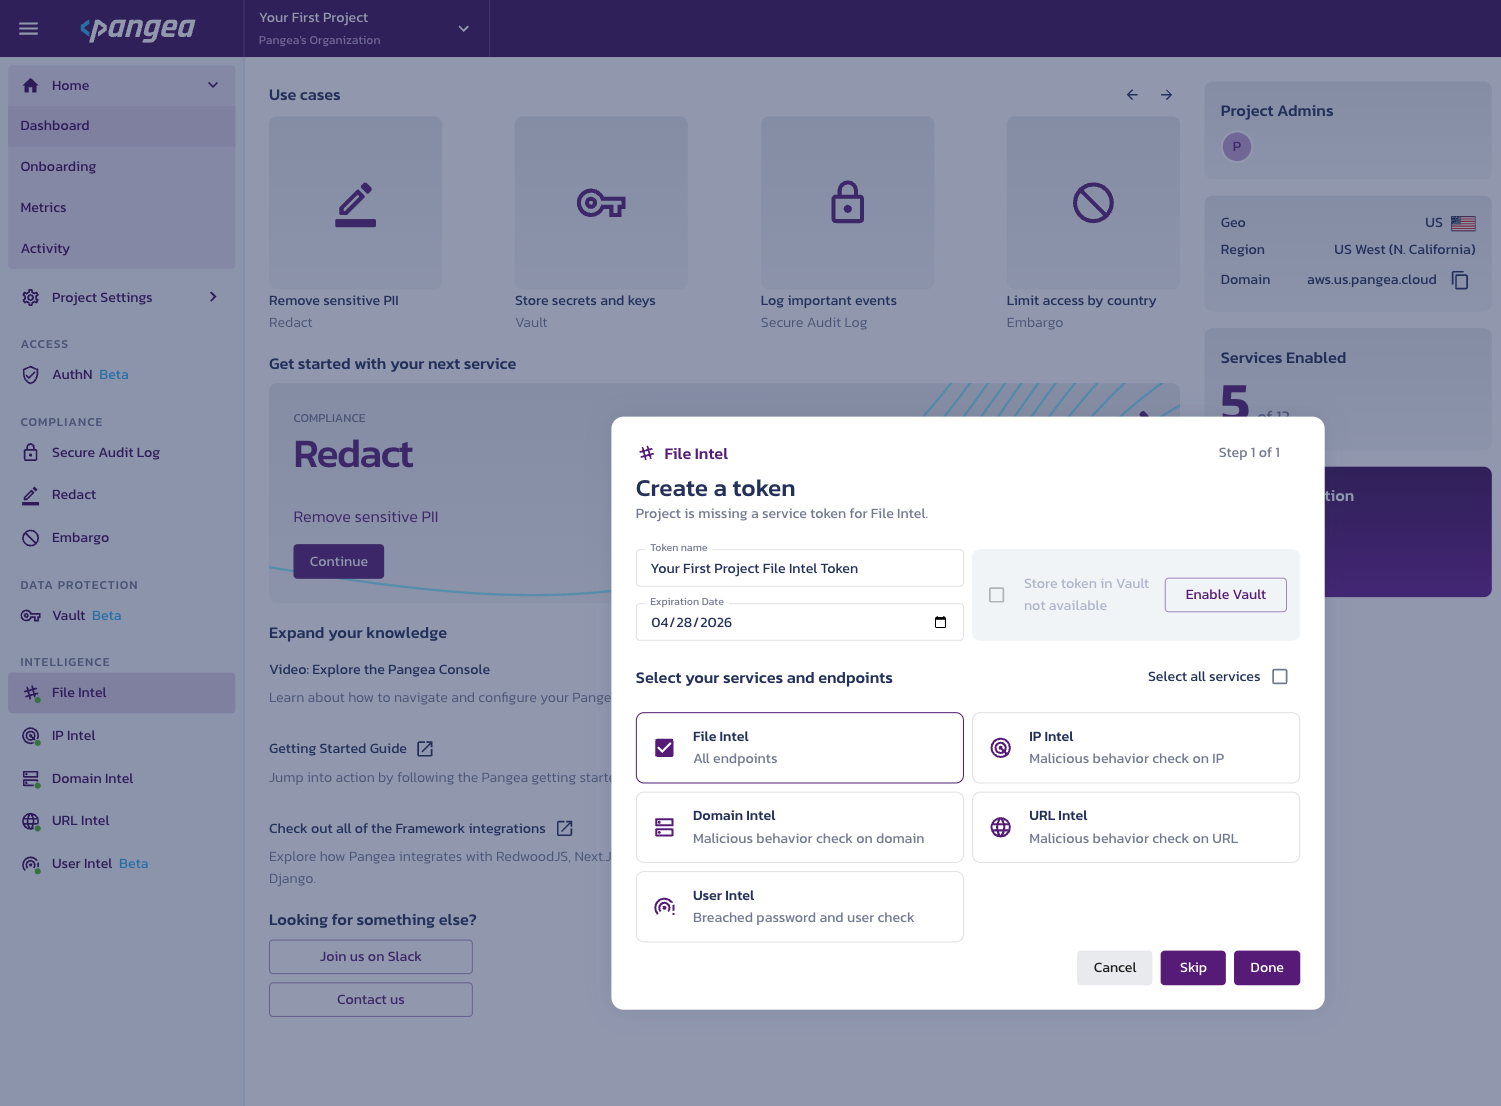
Make a note of the service Domain located on the right side of the page and access Token located at the bottom of the page. You will use each of these values to configure the Pangea Firebase Extension in the next step.
Install the Pangea Known Malware Detection Firebase Extension
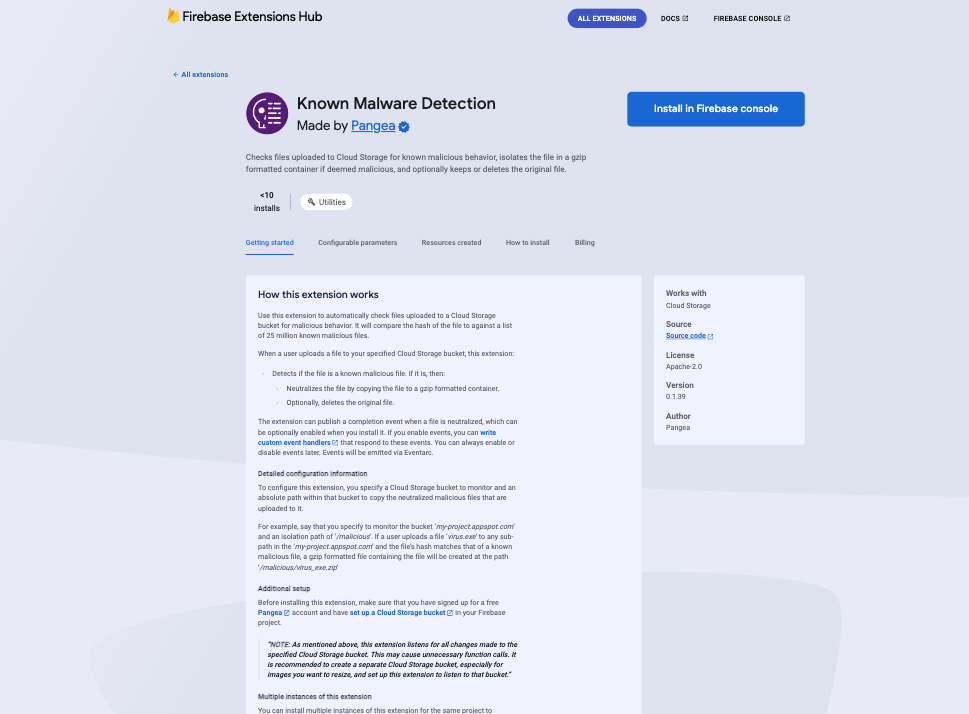
Firebase Cloud Storage is designed to store and serve user-generated content with ease as you prototype and scale your application. But what happens when a user uploads a malicious file? The Pangea Known Malware Detection Extension can be configured to automatically check files uploaded by users against a database of 25 million known malicious files, and if deemed dangerous, it can be neutralized by packaging it into a password protected gzip container.
In this section, you will learn how to install and configure the Extension to leverage the Pangea File Intel Service without writing a single line of code.
Step 1: From the Known Malware Detection listing on the Firebase Extensions marketplace, click the Install in Firebase console button:
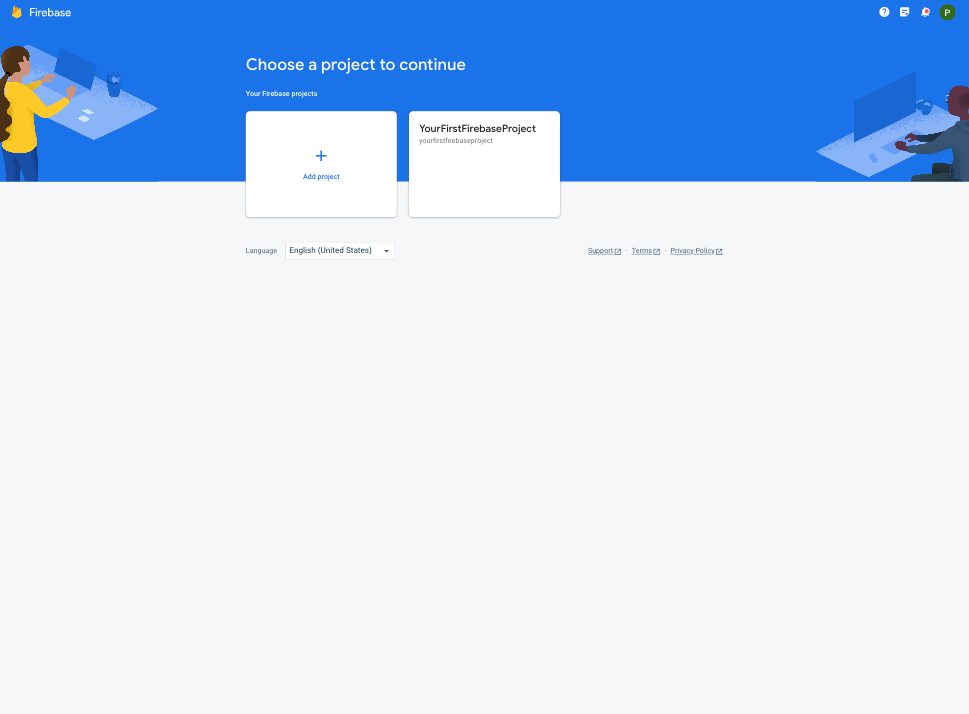
Step 2: Select the Firebase project you'd like to deploy the Extension to:

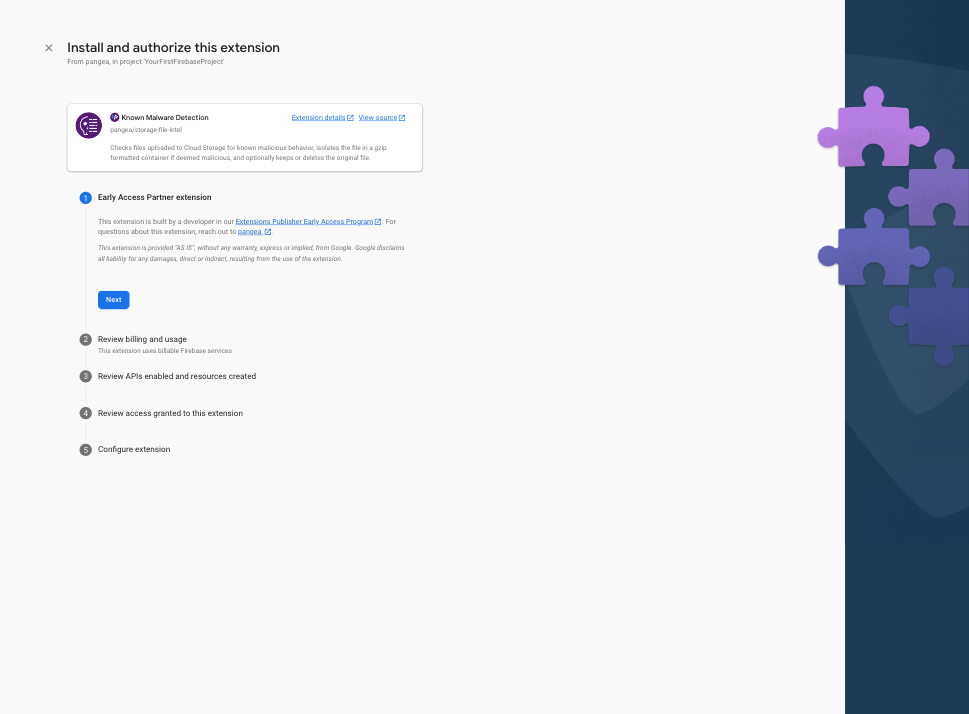
Step 3: Accept the Early Access acknowledgement by clicking the Next button.
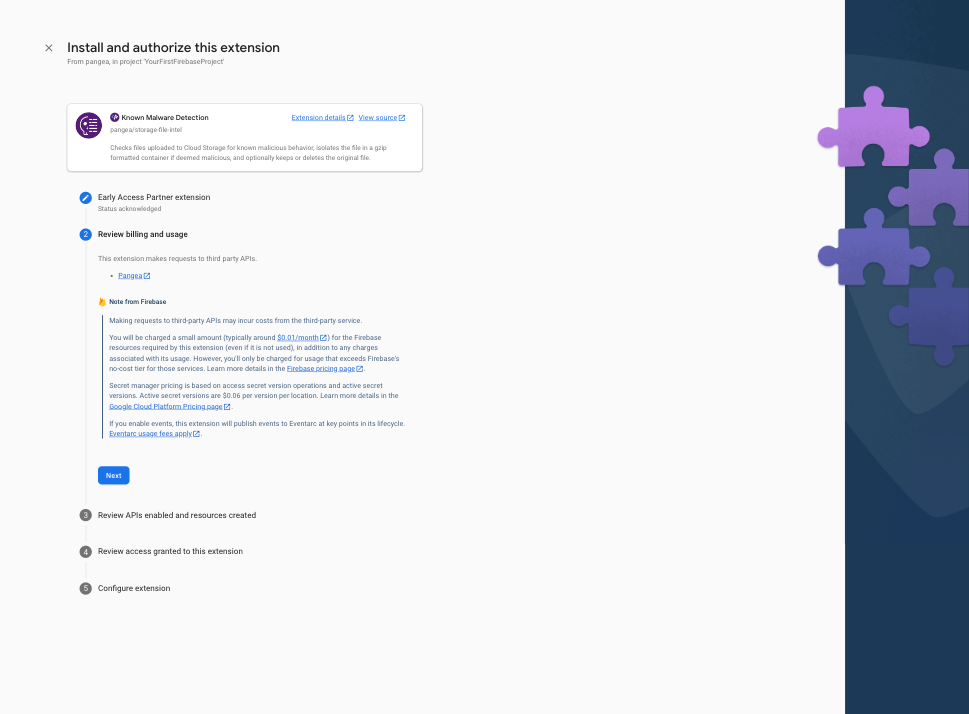
Step 4: Review the billing and usage details, and tap the Next button. If you have not done so already, you'll be presented with the option to upgrade your Firebase account to a pay-as-you-go plan, you can do so by clicking the Upgrade project to continue button and following the instructions:
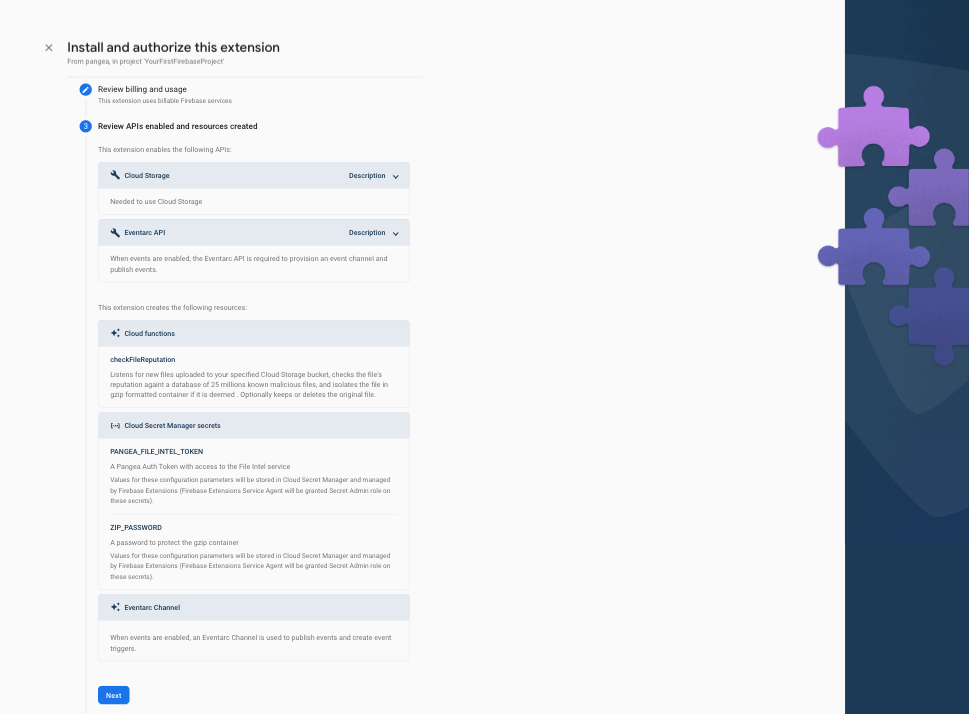
Step 5: Review the APIs and the resources that will be created by this Extension. If any required Firebase services are not yet enabled, tap the Enable button next to each required service and then click the Next button.
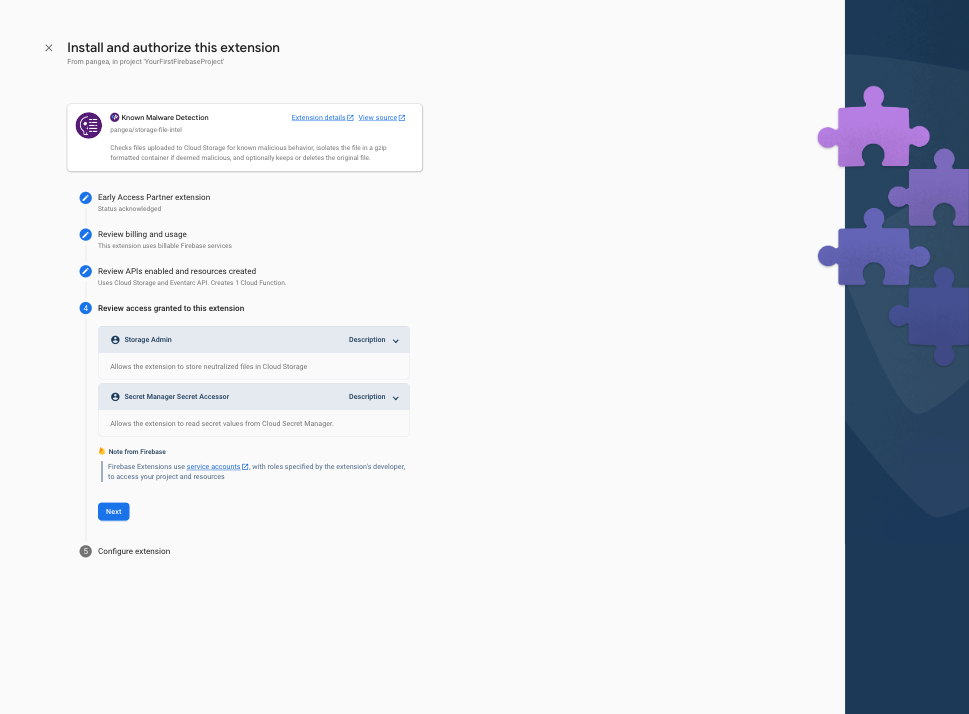
Step 6: In the Review access granted to this extension section, grant the extension permission to Storage and Secrets Manager by clicking the Next button.
Step 7: In the final step, Configure extension, of the install process, you'll be asked to provide a few parameters, some of which are optional. The first two are what region you want to deploy the Extension and where your Pangea services are deployed, respectively. The Extension should be deployed as close to your Firebase Cloud Storage, so ideally, the same region you used when you configured it. The Pangea service base Domain and Auth Token are the values you noted in the previous step but can be copied from the Pangea Console > File Intel Overview page at any time. The Pangea Auth Token and optional password to protect the gzip container should be stored in Google Secret Manager. To do so, click the Create secret button next to each input field after entering their respective value.
The rest of the parameters are either optional or have default values to dictate which buckets you want to monitor for malicious uploads, which paths to include or ignore, and whether to delete or keep a malicious file when it is detected.
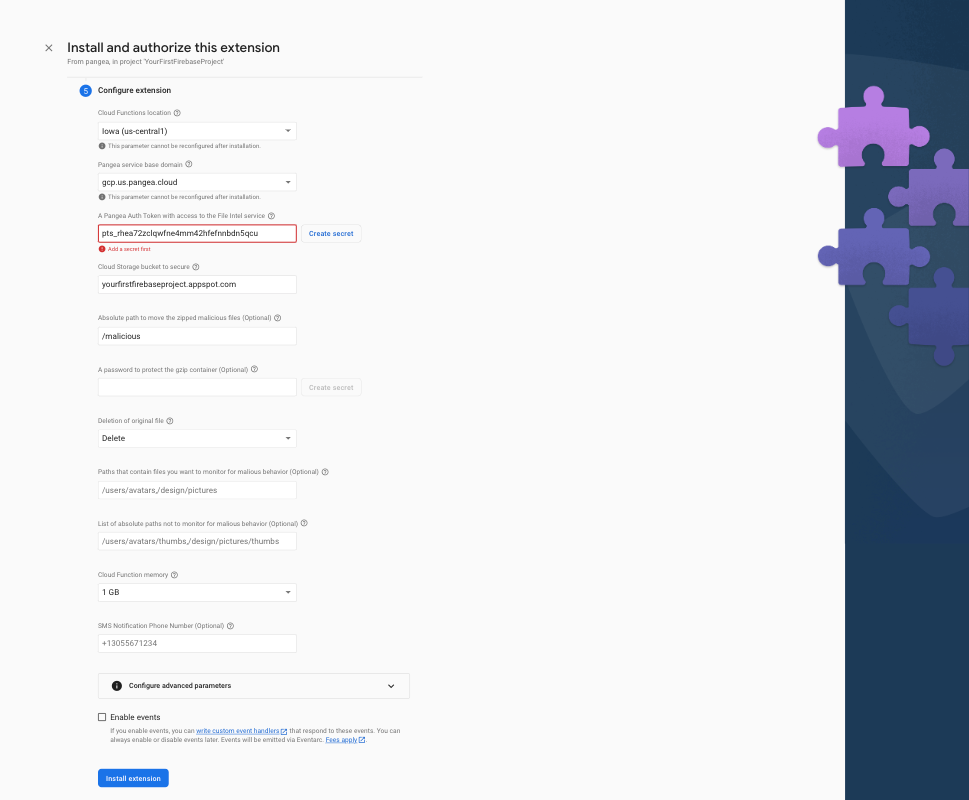
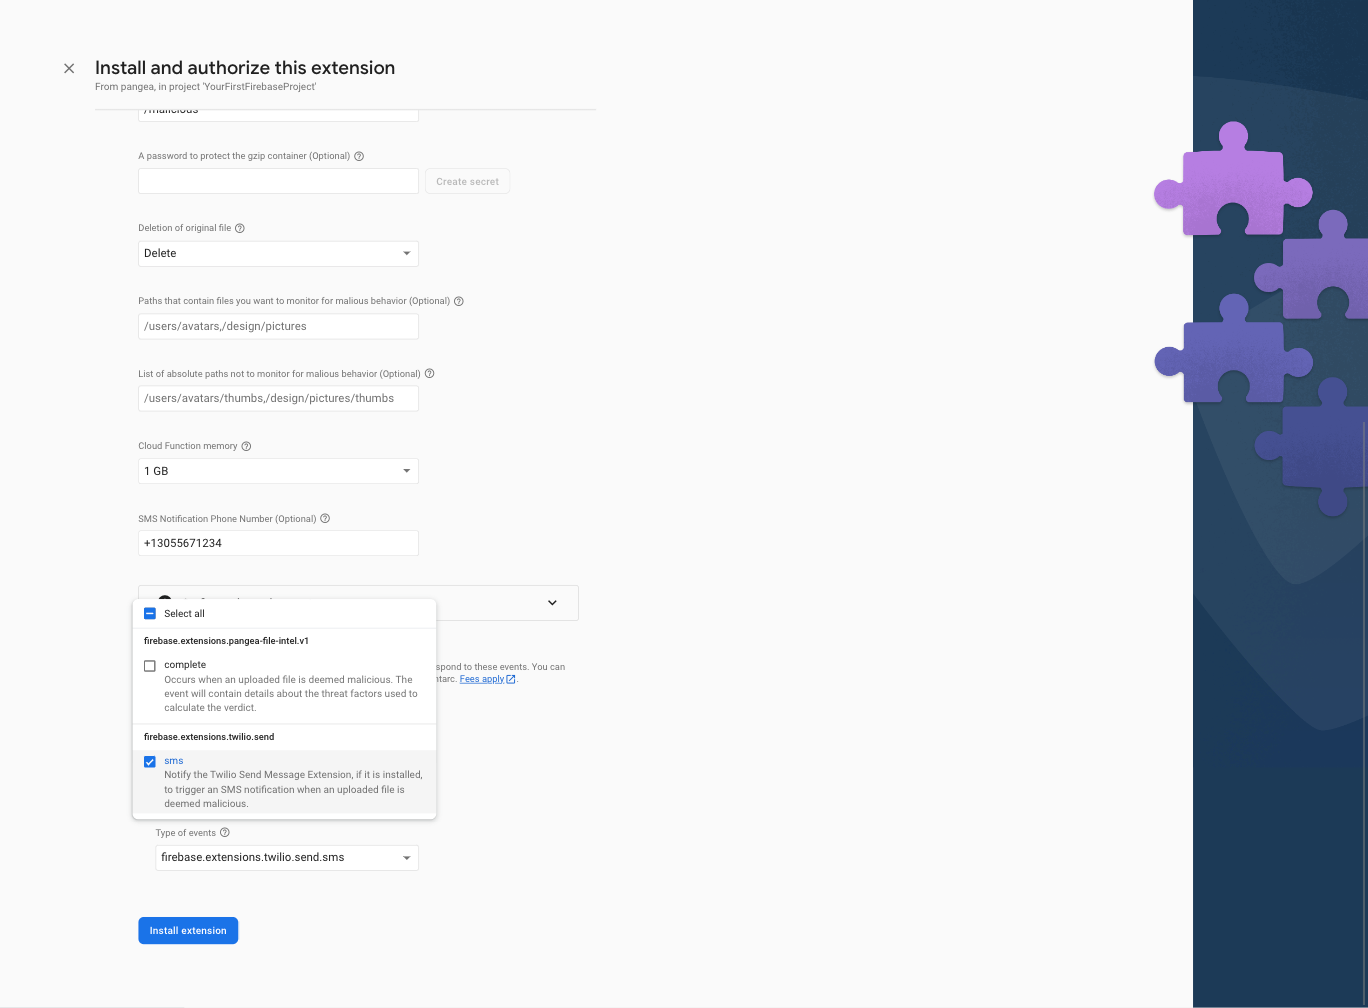
To receive SMS notifications when a malicious file is detected, enter a valid E.164 phone number to send the notification to. An example of an E.164 formatted number in the US is +13055671234. Then, check the Enable Events box, and enable the firebase.extensions.twilio.send event. This will allow the Pangea Extension to invoke the Send Messages with Twilio Extension.
To complete the installation, click the Install extension button. After 3-5 minutes the process will complete and the Unknown Malware Detection Extension will automatically check each file that is added to the storage bucket you configured against Pangea’s database of known malicious files. Malicious files will be neutralized and saved in the /malicious but inorder to get notified via SMS you will need to install the Send Messages with Twilio Extension. To do so, perform the steps outlined in the following section.
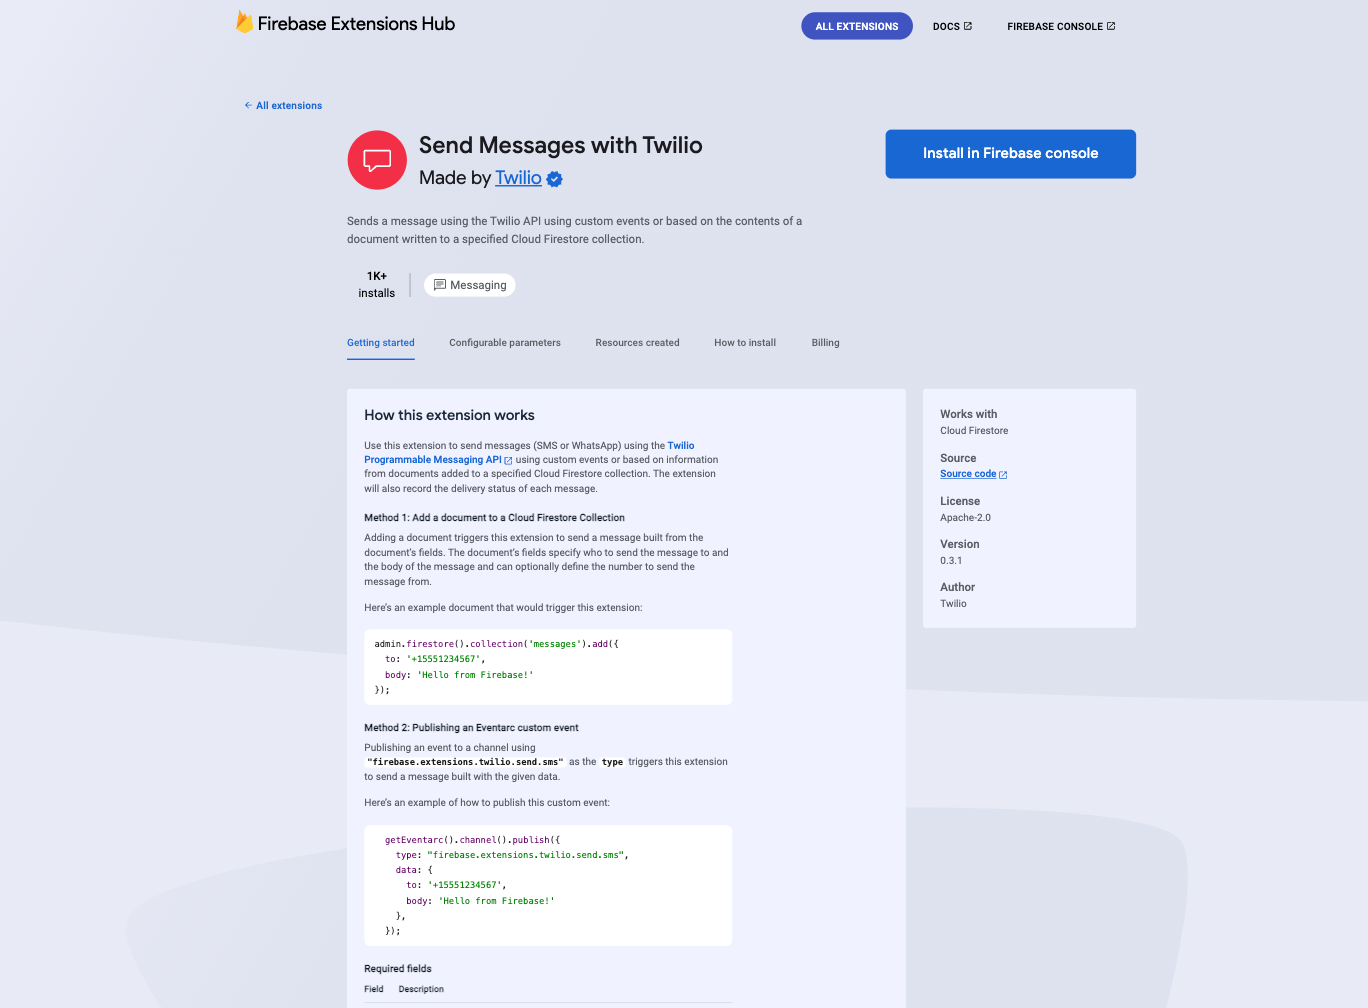
Install the Send Messages with Twilio Firebase Extension
Step 1: From the Send Messages with Twilio listing on the Firebase Extensions marketplace, click the Install in Firebase console button:
Step 2: Select the Firebase project you'd like to deploy the Extension to:
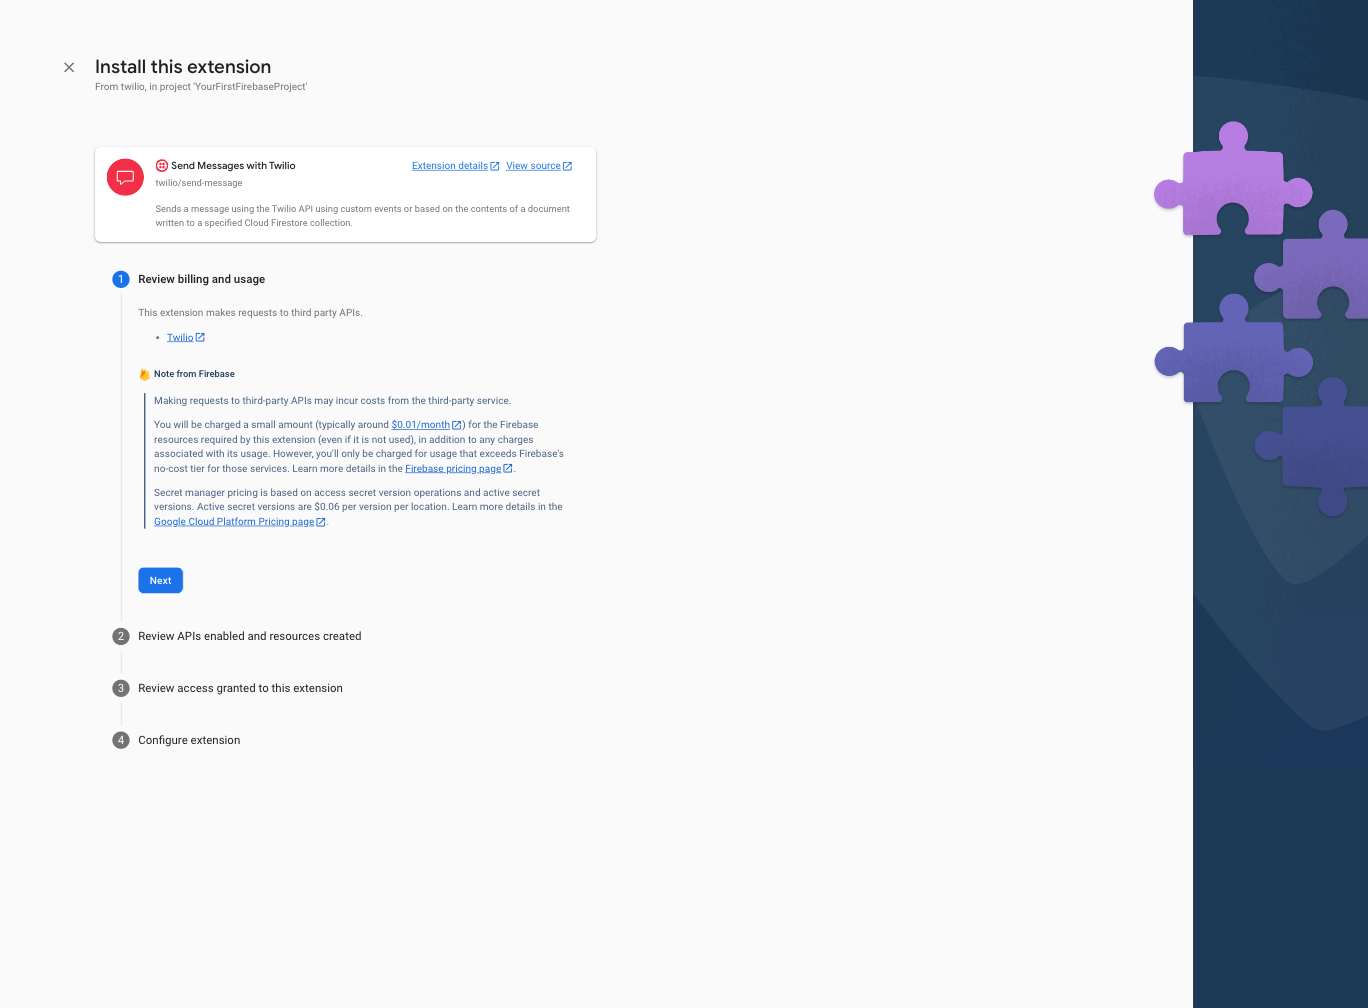
Step 3: Review the billing and usage details, and tap the Next button. If you have not done so already, you'll be presented with the option to upgrade your Firebase account to a pay-as-you-go plan, you can do so by clicking the Upgrade project to continue button and following the instructions:
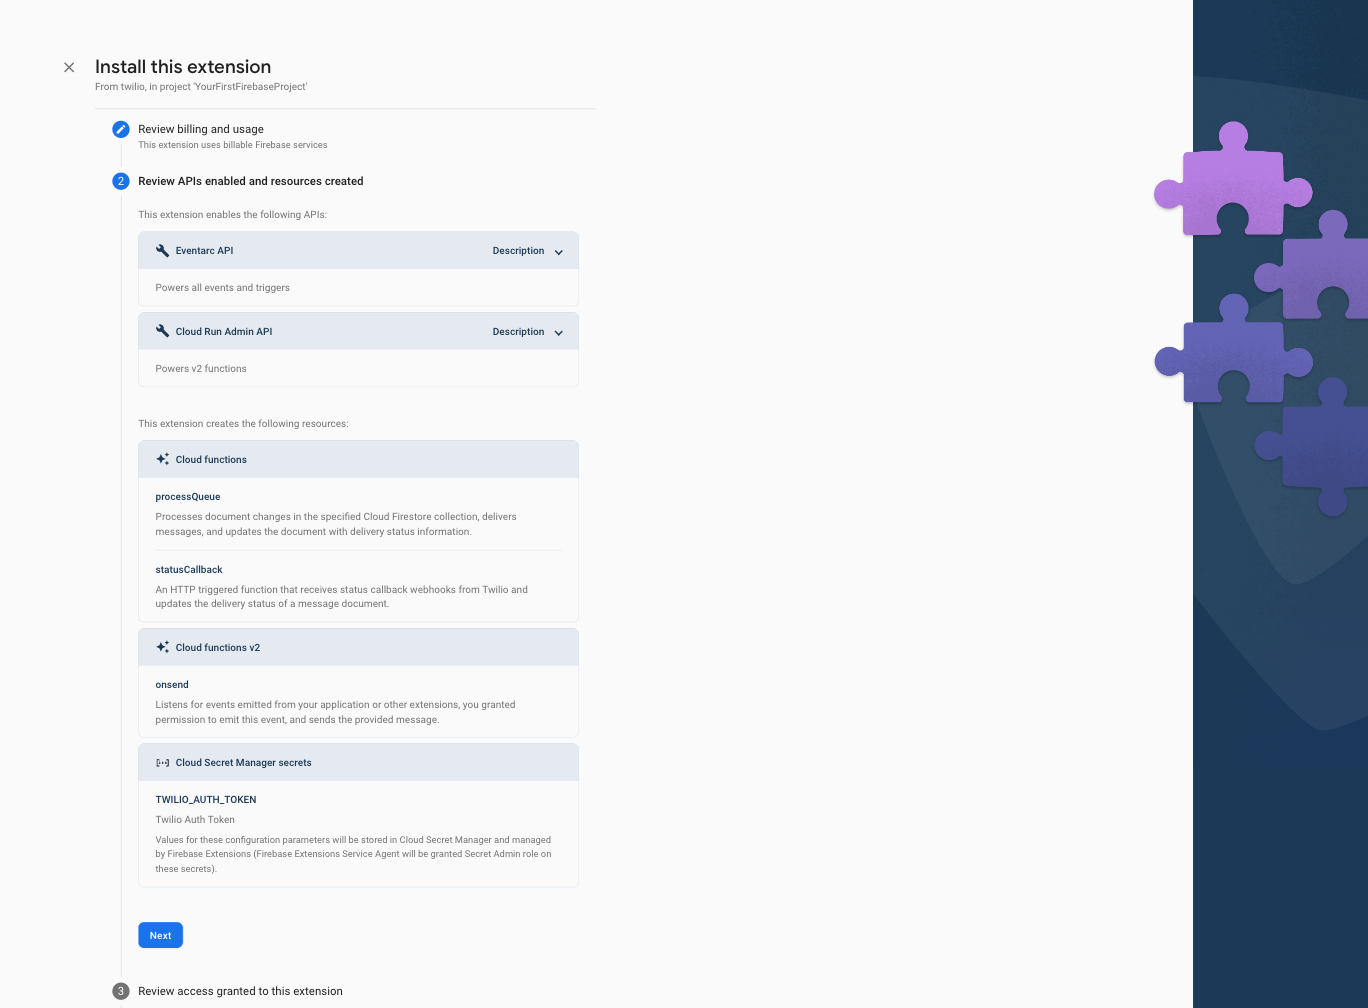
Step 4: Review the APIs and the resources that will be created by the Twilio Extension. If any required Firebase services are not yet enabled, tap the Enable button next to each required service and then click the Next button.
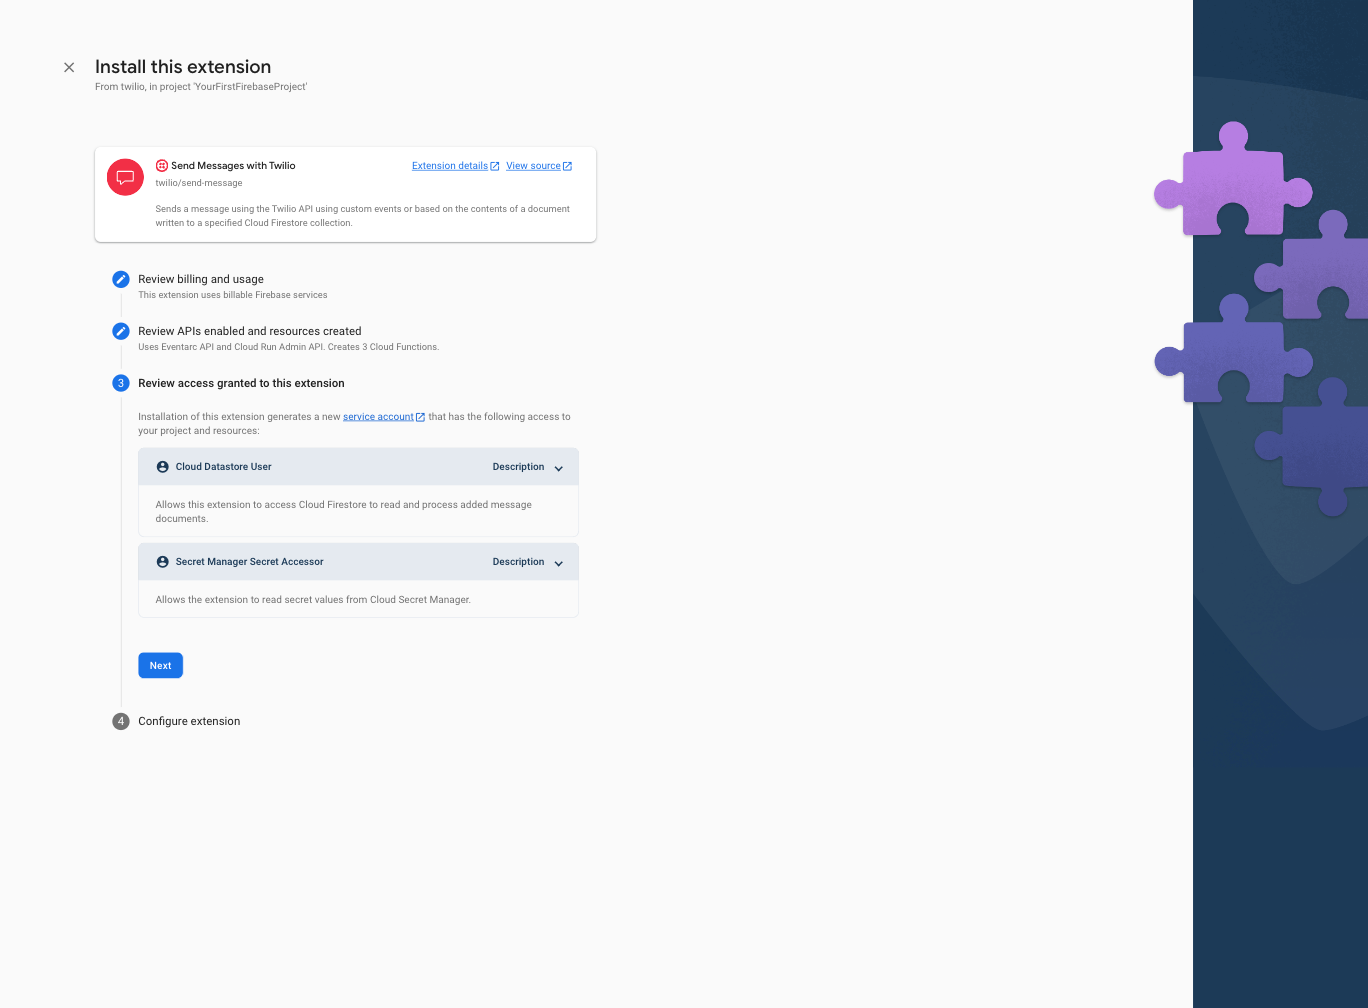
Step 5: In the Review access granted to this extension section, grant the extension permission to Firestore and Secrets Manager by clicking the Next button.
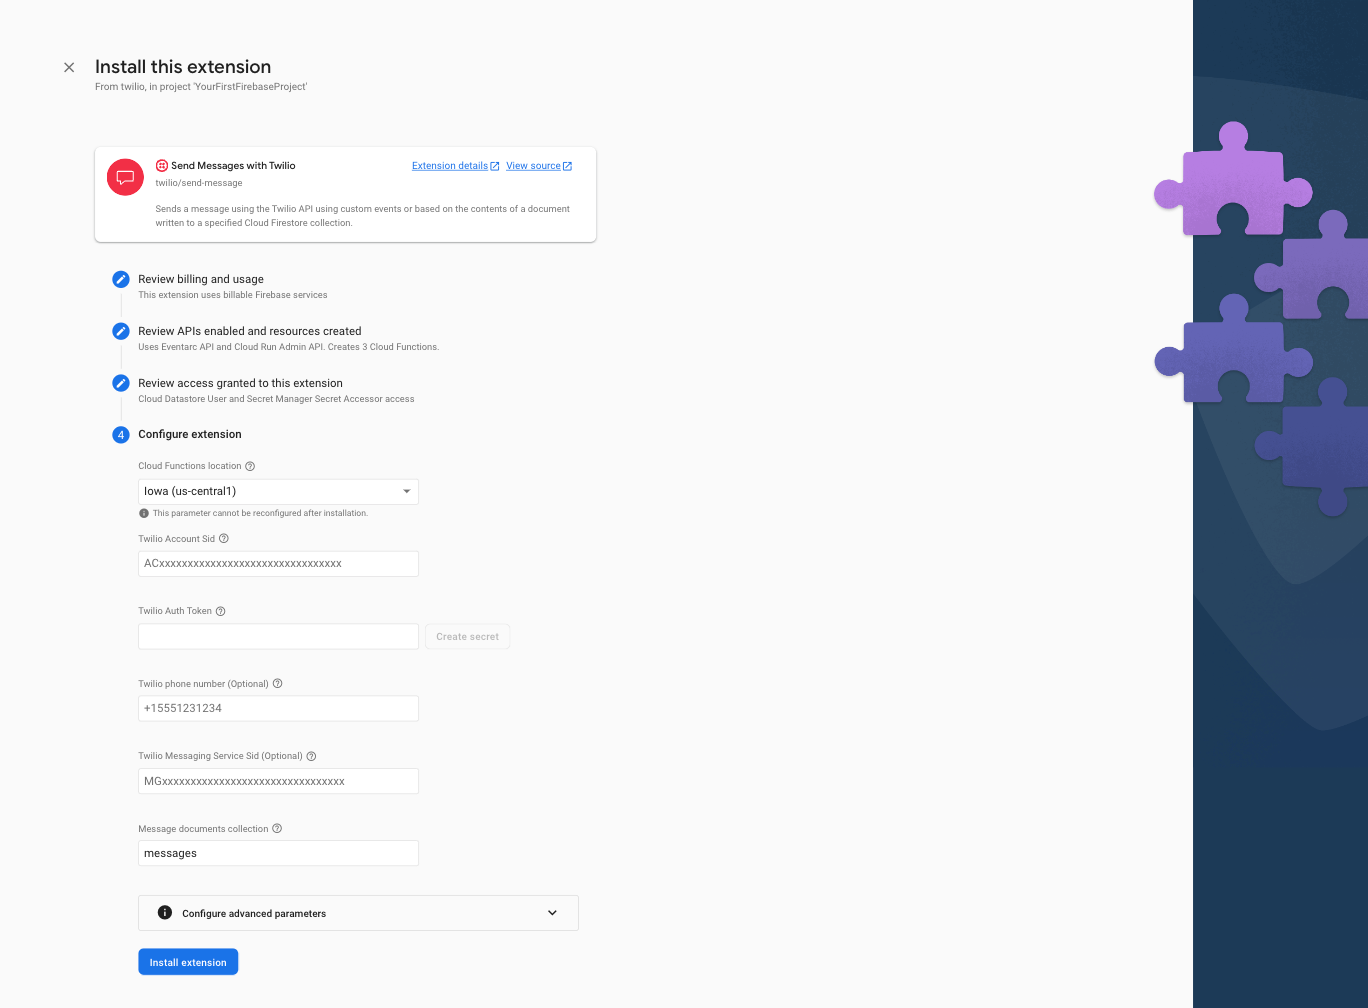
Step 6: In the final step, Configure extension, of the install process, you'll be asked to provide your Twilio Account Sid and Twilio Auth Token. Both these values can be copied from the landing page of the Twilio Console. You can also optionally provide the Twilio number or Twilio Messaging Service Sid to specify the number or service that will send the SMS notification or leave the value empty to use your default Twilio number.
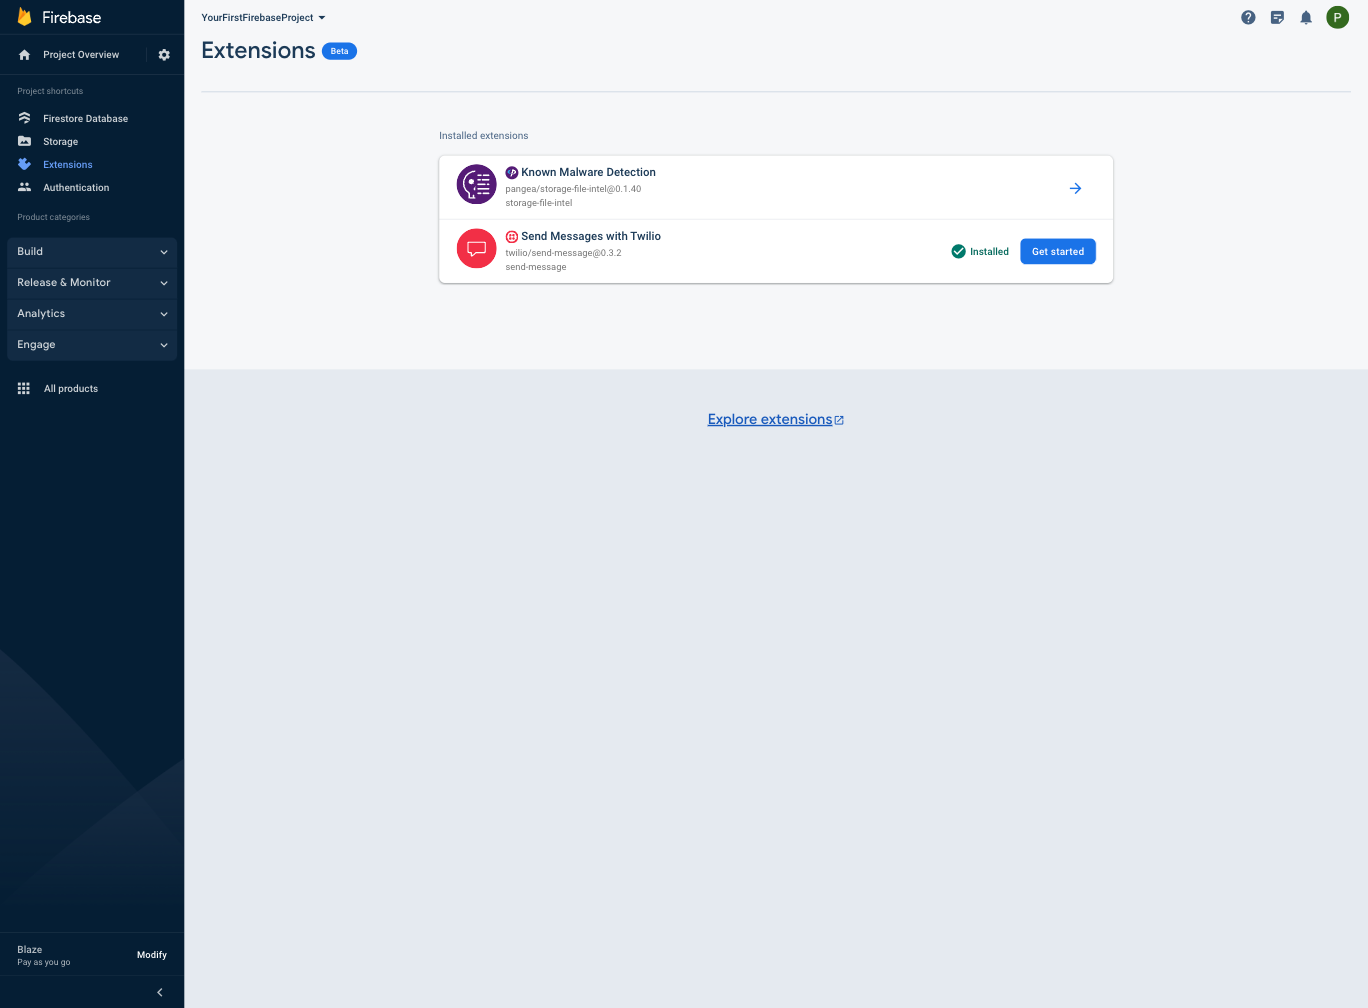
Then to complete the installation, click the Install extension button. After 3-5 minutes the process will complete and the Send Messages with Twilio Extension will be installed and ready to accept events from the Pangea Known Malware Detection Extension. You will see both listed in the Extensions tab of the Firebase console.
Test the Twilio and Pangea Extensions
Instead of testing the Known Malware Detection Extension with a real malicious file or virus, you can use a file developed by the European Institute for Computer Antivirus Research (EICAR) known as the EICAR Anti-Virus test file. It was developed to test the response of computer anti-virus (AV) programs. Instead of using real malware, which could cause real damage, this test file allows you to test anti-virus software without having to use a real computer virus. To do so, do the following:
Step 1: To create the EICAR antivirus test file, create a file with this string:
Step 2: Using the Firebase Project Overview left-hand menu, expand the Build section, and select Storage.
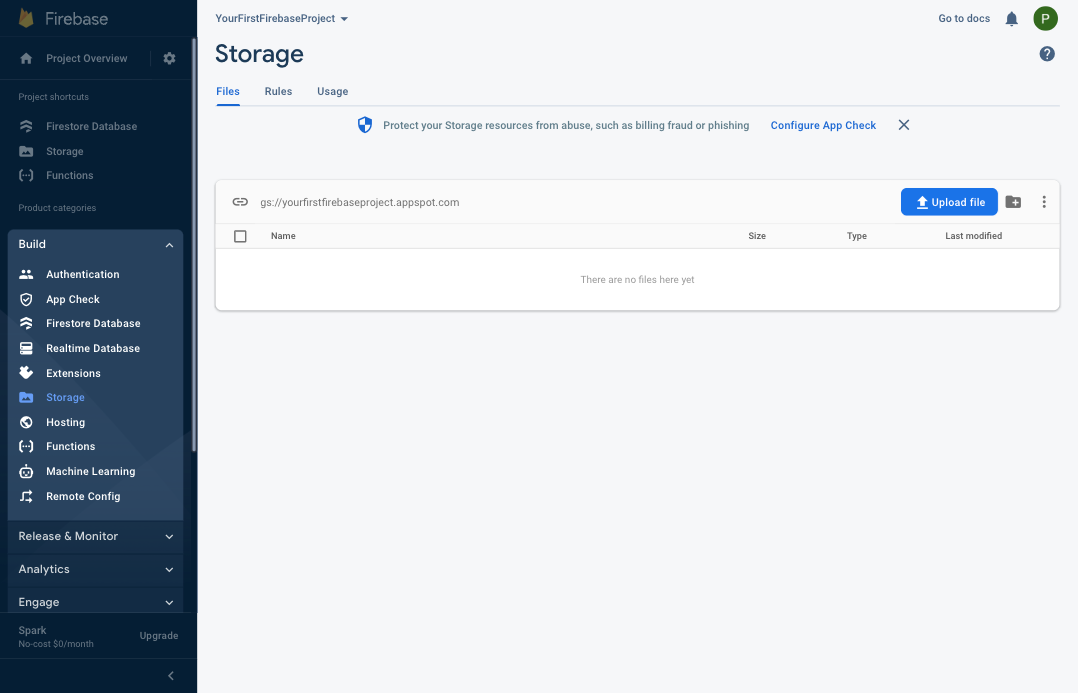
Step 3: Click the Upload file button, and select the eicar-test-file.com file you downloaded in the previous step. After a few seconds, you will notice that the file was moved into a .zip file under the path you configured and you should receive an SMS notification to the number you provided. If you also choose the default extension configuration, the complete path will be /malicious/eicar-test-file_com.zip. You can download this file, inspect its contents, or send it to an incident response team for analysis.
Conclusion
In this article you learned how to leverage the Pangea Known Malware Detection Firebase Extension to automatically protect your Cloud Storage bucket and get real-time SMS notifications using the Send Messages with Twilio Extension. Using the Firebase console and an anti-virus test file you were able to quickly test the use case but it is important to note that any file uploaded by users of your application will be processed in the same manner.
Regardless of your use case, whether you are building a human resources application that accepts candidate resumes that will be downloaded by a hiring manager, or a collaboration tool allowing your users to share files, regulating and minimizing the threat of malicious users on your platform is critical to ensure the trust of your users. If you’d like to explore the other Pangea or Twilio Extensions visit the official Firebase Extensions.dev marketplace listings.
Nicolas Vautier is a Developer Advocate at Pangea Cyber and is a privacy and data security enthusiast. If you have questions, comments, or ideas for future posts, Nicolas can be reached at nicolas.vautier@pangea.cloud. Follow him on Twitter @DeveloperEnvY to join his journey as he helps unify security services for app builders @PangeaCyber.

Related Resources
Twilio Docs
From APIs to SDKs to sample apps
API reference documentation, SDKs, helper libraries, quickstarts, and tutorials for your language and platform.
Resource Center
The latest ebooks, industry reports, and webinars
Learn from customer engagement experts to improve your own communication.
Ahoy
Twilio's developer community hub
Best practices, code samples, and inspiration to build communications and digital engagement experiences.