Add Media Uploads to a Laravel Vue.js Chat App Using Twilio Programmable Chat
Time to read:
February 11, 2020
Written by

In my last tutorial, I showed you how to add chat to a Laravel app using Twilio Chat. In this tutorial, I’ll be showing you how to enhance the app by adding media support to it using Twilio Programmable Chat. That is, allowing users to send media files as message.
Prerequisites
In order to follow this tutorial, you will need the following:
- Composer installed on your local machine
- Basic knowledge of the Laravel Framework
- Basic knowledge of Vue.js
- A Twilio account
Getting Twilio Credentials
Login to your Twilio dashboard and copy both your ACCOUNT SID and AUTH TOKEN.

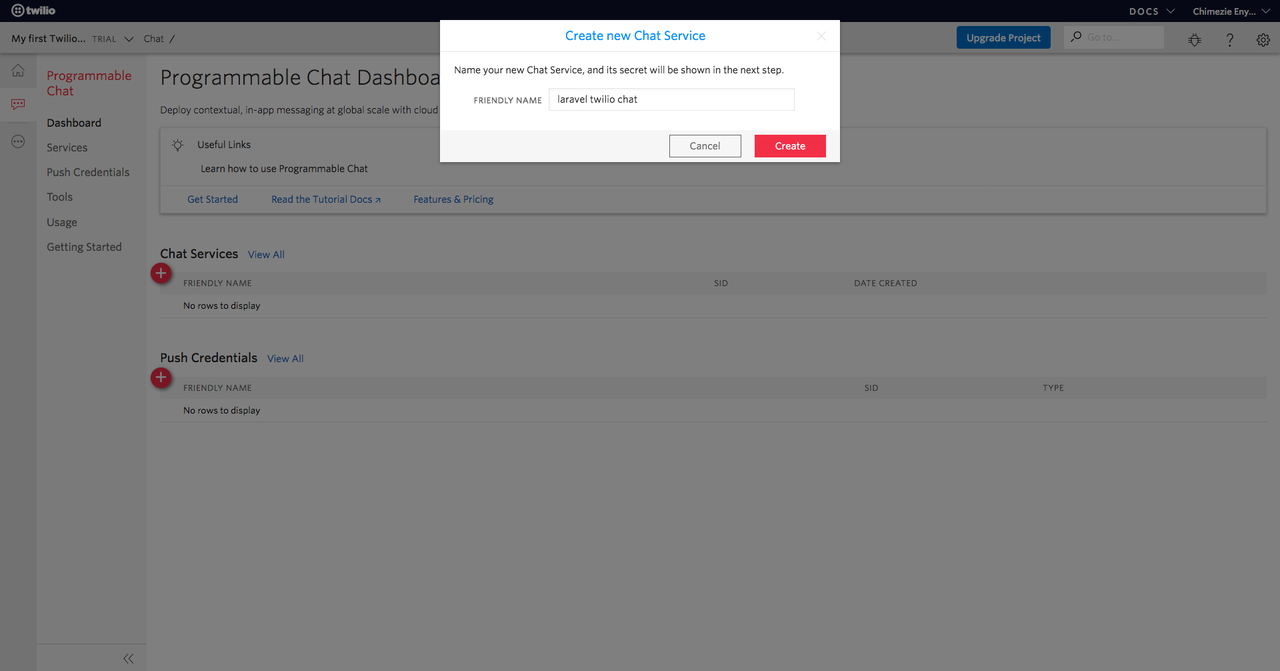
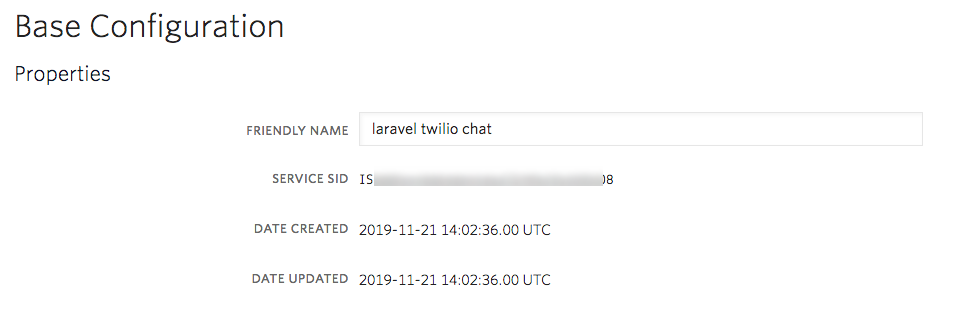
Before you can start using the Twilio Programmable Chat, you need to first create a chat service:
Take note of your SERVICE SID.
Lastly, you need to create an API key:
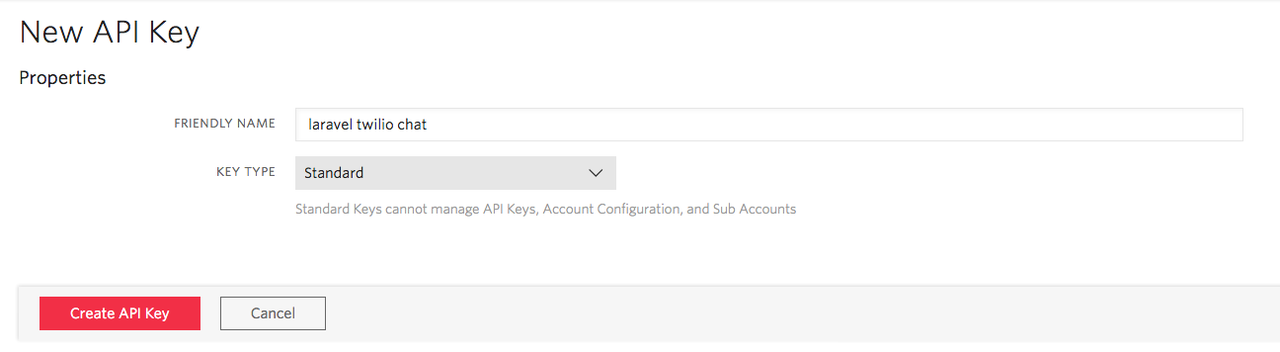
Also, take note of both your API SECRET and API SID.
Getting Started
To make sure we are all on the same page, let’s clone the chat app that was built in my last tutorial:
Once that’s done, we need to install the project’s dependencies:
Next, rename .env.example to .env and run the command below to generate an app key:
You will need to set up a database. We’ll be making use of SQLite for our database. Update the .env file as below:
Create the database.sqlite file:
Now, run the migration:
Next, add your Twilio credentials to the .env file:
Adding the Upload Button
Let’s start by adding an upload button in addition to the message input field. This will allow us to select the file we want to send as a message.
Within the <template> section of ChatComponent.vue, update the card footer as below:
We are restricting the media type to only images. Once the file has been selected we call a sendMediaMessage method, which will handle sending the message.

Implementing the Upload Functionality
Let’s create the sendMediaMessage method we referred to earlier. Still inside ChatComponent.vue, add the following code inside the methods object in the <script> section:
There are a couple of ways to get media files across to the Twilio Chat such as FormData, String, or Node.js Buffer. For the purpose of this tutorial, we’ll be using FormData. The sendMediaMessage method accepts the input element it is being called on. Using object destructing, we extract the target from the input element. Then we create a new instance of FormData and append the selected file to it. Just as we did when sending text messages, we make use of the sendMessage method of the channel, but this time instead of passing body for the content, we pass the FormData (which now holds the selected file) for the message. Lastly, we clear out the file input.
Displaying Media Messages
As it stands there’s no way to see media messages that were sent. Let’s fix that. Twilio Chat supports two types of message: text and media. So at the point of displaying chat messages, we need to check the message type and display it appropriately. Because of the way Twilio Chat handles media, we can’t simply do just that. When we fetch a media message, we don’t get the media itself, we only get the metadata (type, filename, size, etc.) of the media. To get the media, we need to make a separate request, which returns a temporary URL of the media.
We want our chat app to display messages regardless of their type, directly in the chat window. To achieve this, we need to update the fetchMessages method as below:
Instead of making use of the fetched messages directly, we’ll iterate over them and populate the messages array data property. We are using a pushToArray method which we are yet to create. Let’s create it.
We check the message type. If it’s media, we fetch a URL for it. Then we create a new message object containing the message’s type, author, media filename, and media URL. Then we push the message object to the messages array data property. Otherwise (that is, type is text), we push a new message object containing the message’s type, author, and body to the messages array data property.
Before we wrap up, we need to do something similar for when a new message is sent. Update the code where we are listening for the messageAdded event inside the initializeClient method as below:
Finally, let’s update the template to display the messages. Replace the {{ message.body }} line with the following code:
If the message is media, we display a thumbnail of the media. Otherwise, we simply display the body of the message.
Testing Our Application
Let’s test what we’ve been building so far. First, let’s make sure our app is running:
Then compile the JavaScript:

Conclusion
In this tutorial, we learned how to add media support to a Laravel chat application using Twilio Programmable Chat. Though this tutorial showed how to upload images, you can as well extend it to support other media types. To learn more about Twilio Programmable Chat, what you can do with it as well as some best practices when working with media, check out the docs.
You can find the complete source for this tutorial on GitHub.
Chimezie Enyinnaya is a software developer and instructor. You can learn more about him via:
- Website: https://adonismastery.com
- Twitter: https://twitter.com/ammezie
- Email: meziemichael@gmail.com
- GitHub: https://github.com/ammezie
Additional Reading
If you would like to learn more about building chat-based products with Twilio, check out the following documentation:
Related Posts

Related Resources
Twilio Docs
From APIs to SDKs to sample apps
API reference documentation, SDKs, helper libraries, quickstarts, and tutorials for your language and platform.
Resource Center
The latest ebooks, industry reports, and webinars
Learn from customer engagement experts to improve your own communication.
Ahoy
Twilio's developer community hub
Best practices, code samples, and inspiration to build communications and digital engagement experiences.