Build a donations system using Twilio Studio and Pay
Time to read:
December 18, 2019
Written by

If you've ever created a fundraising campaign, you've probably faced one big (and essential) problem: how do I actually accept payments from supporters? With online and mobile giving growing, it's essential for nonprofits to be able to collect digital payments securely. Unfortunately, collecting payments online tends to be a complex process, requiring some combination of disparate systems, vendors, professional services, and cost. That's one of the problems Twilio Pay looks to solve, by handling this process for you and ensuring that every transaction occurs securely, so you can focus on engaging your donors.
In this guide, we’ll show you how to build a donation system using Twilio Studio and Pay.
Requirements
- A free Twilio account
- A Twilio phone number where people can call to donate. You can get one from the Phone Numbers section inside the Twilio Console
- A configured payment connector: This will be the service and account where the money will be sent after the payment information is captured. For this example, we'll use a Stripe account, but there are multiple providers you can use for your case. We’ll go over how to set them up in detail in the next section
Setting up your payment connector
We’ll have to configure a payment connector and account to start receiving donations from supporters. By doing this, we’ll be able to securely capture the credit card information from a donor and transfer the right amount from their side to ours.
You can find here a step by step guide on how to create and configure a payment connector in your Twilio console. The Twilio Studio flow that we’ll create in the next step will use the default payment connector that’s present in our account, so it’s important to complete this step before moving forward.
Creating your Twilio Studio flow
Next, we will import a Twilio flow that will take care of the following steps:
- Anytime there is an incoming phone call, a welcome message will play.
- Another message will play providing different donation options to the caller with instructions on how to select each one of them.
- After an option is selected, a payment widget will ask for the payment information of the caller: card number, expiration date, and verification code.
- The payment will be captured in the background and will produce one of these three outcomes:
- If the payment is successfully captured, we will play a thank you message.
- If there is an error with the payment provider, we will play an error message.
- If there is a different type of error, we will play another error message.
You can find the finalized Twilio Studio flow in this link, and use the contents in there to import to yours. We'll show you how to do this in just a few moments. This flow is pre-configured to use the payment connector known as “default”, which, if you followed the tutorial in the previous step, you will have configured and ready to go.
Now that we have a plan, let’s-a-go! 🍄
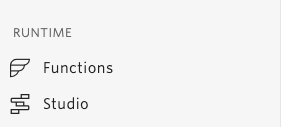
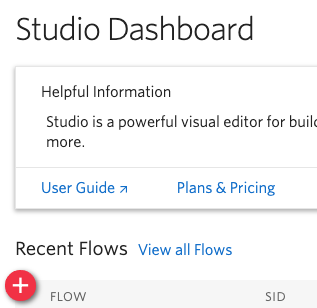
First, we’ll access the Twilio Studio dashboard through in the Twilio console:
And we’ll create a new Twilio Studio flow by clicking the “Create new flow” button:
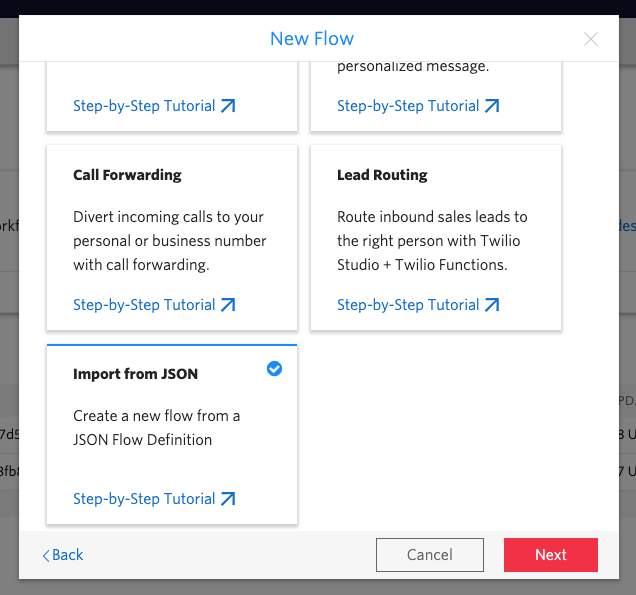
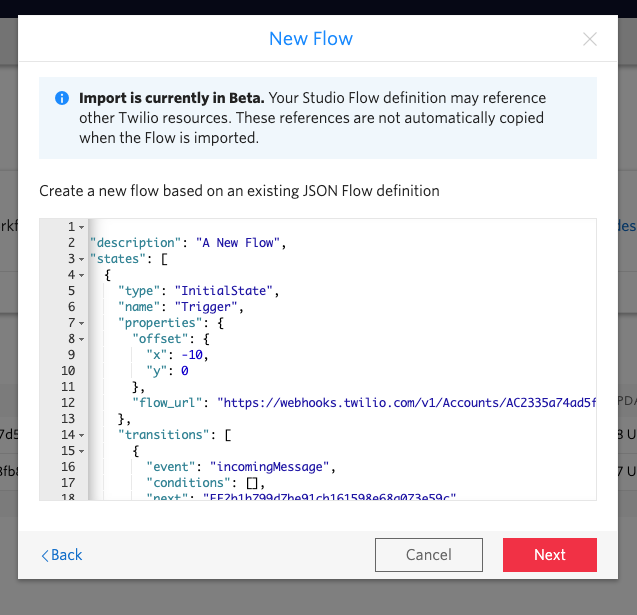
We can provide any friendly name for this flow and then click “Next” to access the template selection screen. In here, we’ll scroll down to the bottom and select the Import from JSON option:
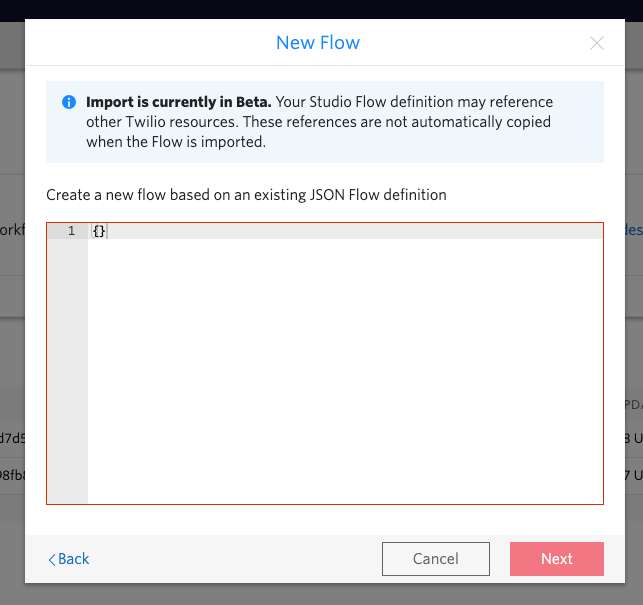
After clicking “Next”, we’ll have the option to include a JSON file, and we will fill it with the contents of the flow we provided at the beginning of this step:
After pressing “Next”, the flow should look like this:
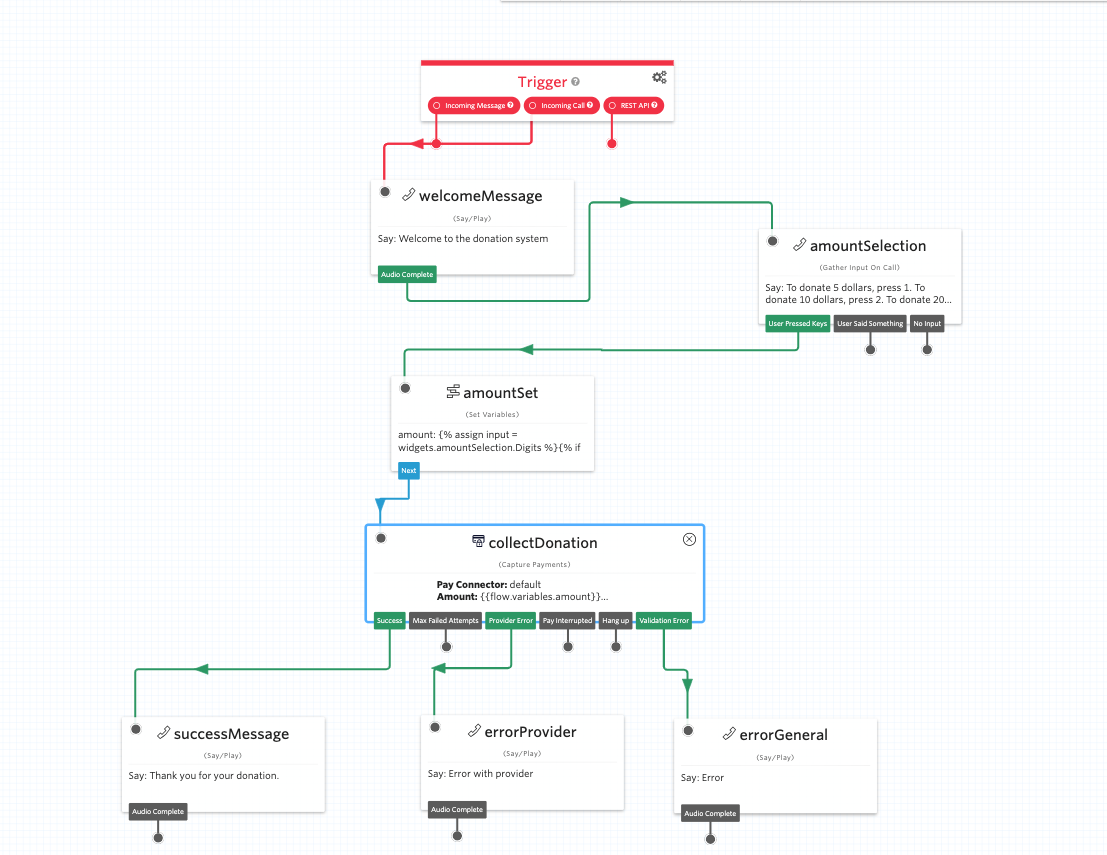
Now, let’s go over the different widgets and what they do:
- welcomeMessage: A “Say/Play” widget that will play a welcome message to the caller. The message can be edited by clicking on it and changing the “Text to Say” value in the widget properties window.
- amountSelection: A “Gather Input On Call” widget that will play a message indicating the different donation options and will capture a keypad selection on the caller’s phone. The message can be edited by clicking on it and changing the “Text to Say” value in the widget properties window.
- amountSet: A “Set Variables” widget in which we’ll pair the keypad input from the user with a donation amount to be captured in the next step.
- collectDonation: A “Capture Payments” widget which will run the necessary steps to play messages to the caller and capture their credit card information. This widget will use the “default” payment connector from your account, which you configured at the beginning of this tutorial.
- successMessage: A “Say/Play” widget that will play a message to the caller if the donation was successfully collected. As with the other widgets, this message is editable by clicking on the widget and changing the properties.
- errorProvider: A “Say/Play” widget that will play a message if there is an error related to the payment connector and the donation could not be collected.
- errorGeneral: A “Say/Play” widget that will play a message if any other kind of error occurs while trying to collect the donation.
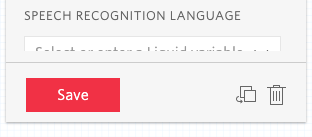
After you make changes to any of the widgets, make sure to click the “Save” button in the widget properties and then to publish your flow by clicking the “Publish” button on the top of the screen:

Now that the flow is completed and published, all we need to do is configure our phone number so it triggers the Twilio Studio flows whenever someone calls.
Configuring your phone number
To associate a number with the flow we just created, we can either acquire a new number or use an active one. The process will be the same for both options.
If you already have a number that you want to use, feel free to skip the next section.
Acquiring a new phone number
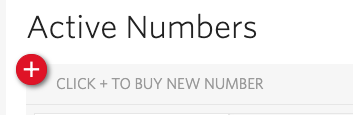
To get a new phone number, go to the “Phone Numbers” section in the Twilio Console and click on the + button, right next to the “Click + to buy new number” message, and make sure the new number has voice capabilities enabled:

Creating the hook to trigger the Twilio Studio flow
Once you have a number ready to go, the final step is to associate the correct flow so that it will happen anytime a new phone call comes in. To achieve this, go to the “Active Numbers” section and click on the number you want to use.
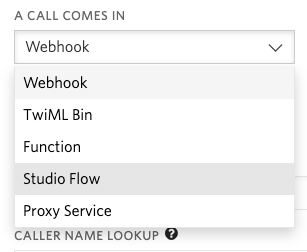
In the options, scroll down to the “Voice & Fax” section and click on the “A Call Comes In” options to select “Studio Flow”, and then on the right, select the flow you created in the previous step:
Click “Save” at the bottom of the screen, and with that, we should be ready to test it out!
How to test
Since this involves doing a credit card charge, we will need a phone (to make a call to the donation system) and a credit card so we can check that it actually comes through. For testing purposes, you can use this information for a card:
- Credit card number:
4242 4242 4242 4242 - Expiration date (MM/YY):
12 20(or any other date in the future) - CVC security code:
333
So now, if we call the number we have configured, we should hear something like this:
And then, checking the balance on the payment service we configured for our account, we should see the amount that we donated:
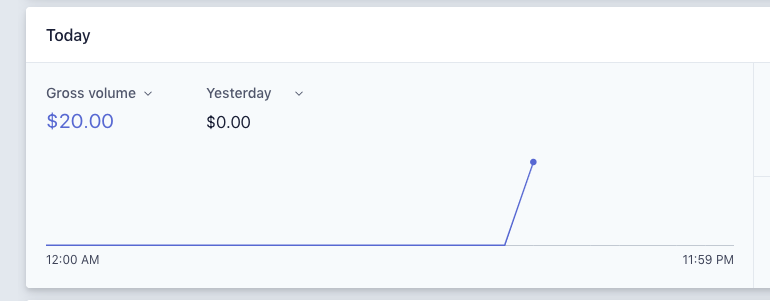
And with that, we have a donation system tied to a phone number where people can call and start making donations.
Have any ideas on how to extend this or make it even better? Let us know! We can't wait to see what you build!
Got any questions or comments? You can find me on:
- Email: flarranaga@twilio.com
- Twitter: @xabadu
- GitHub: Xabadu
Fernando is the stylin’, profilin’, ui buildin’, web codin’, community leadin’, son of a gun! He is the Developer Evangelist for Twilio.org, the social impact arm of Twilio ✌️
Related Resources
Twilio Docs
From APIs to SDKs to sample apps
API reference documentation, SDKs, helper libraries, quickstarts, and tutorials for your language and platform.
Resource Center
The latest ebooks, industry reports, and webinars
Learn from customer engagement experts to improve your own communication.
Ahoy
Twilio's developer community hub
Best practices, code samples, and inspiration to build communications and digital engagement experiences.