Building a TodoMVC with Twilio Sync and JavaScript
Time to read:
September 28, 2017
Written by
This post is part of Twilio’s archive and may contain outdated information. We’re always building something new, so be sure to check out our latest posts for the most up-to-date insights.

Sharing information between different devices in real-time is difficult but with Twilio Sync it’s just a matter of a few lines of code. To see how Sync works let’s create our own version of the TodoMVC application using Twilio Sync to store our data and share it across multiple devices.
We’ll base our version on a copy of the Vanilla JS version of TodoMVC and alter the storage that is currently local storage to Twilio Sync. However, you can use the same code with your favorite framework as well.
Setup
Before we get started make sure that you got the following things:
- Node.js with npm installed. You can find the instructions to install on their website.
- A Twilio Account. Sign up for free.
Start by cloning the template branch of this repository and install the dependencies:
Fill out the .env file with the necessary values. If you don’t have a Twilio API Key / Secret yet, make sure to generate them in the Twilio Console. Afterwards create a Twilio Sync Service in the Console and copy the SID into the .env file.
Check if your server starts up by running:
Navigate to http://localhost:3000 in your browser and you should see the basic TodoMVC app.
Authentication
The Twilio Sync SDK requires a token when we initialize the client. Think of the token like an “access card” for the respective user. It defines who the user is and what permissions they have. This token has to be generated on the server-side. We’ll create a new route on our server that will serve us such an access token.
Open the index.js file on your project root and add the following lines above the app.listen(...) statement:
This code will always create a token with the same identity. This setup is fine for now since we won’t handle authentication and want to just share the to-do list with everyone. This would be your first step to permissions though.
Restart the server and go to http://localhost:3000/token and you should get back a JSON that looks similar to this:
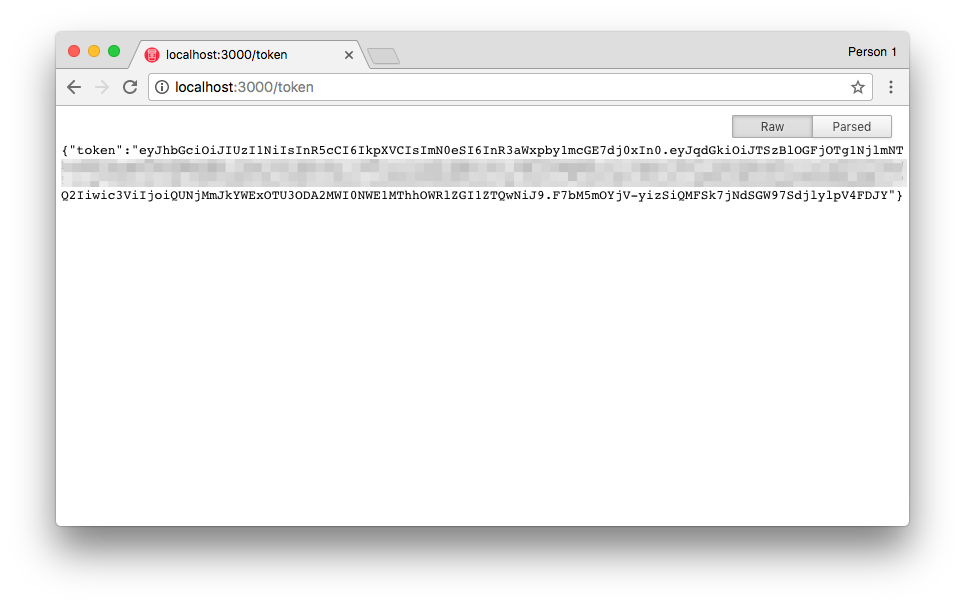
From LocalStorage to Sync
The TodoMVC app is currently uses LocalStorage to store items and we’re going to update it to use Sync. Start by changing in our index.html the script that is being consumed. Find the script tag that includes "js/local-storage.js" and replace it with "js/sync-storage.js".
In the same place we are also consuming the Twilio Sync SDK from the Twilio CDN. If you are using a tool like Webpack for your project, no worries, you can also consume the SDK from npm.
Open the sync-storage.js file. It currently contains all the necessary functions that we need to implement but with basically no logic. We need to implement the following functions to get it working:
Store(...)⇒ An initialization functionStore.prototype.find()⇒ Searches for certain to-dos based on a filterStore.prototype.findAll()⇒ Returns all to-dosStore.prototype.save()⇒ Creates or updates a to-doStore.prototype.remove()⇒ Removes a certain to-doStore.prototype.drop()⇒ Deletes all to-dos
Before we get started with the code, let’s talk about a bit of Twilio Sync jargon.
There are three types of data that we can store in Twilio Sync. A document, a map and a list:
- A document is an object that can have a bunch of properties. This is great for things like a configuration object.
- A map is an unordered collection that has keys for every object to identify that respective object
- A list is an ordered collection where the keys are defined as “index”. Think of it like an array. We’ll be using this data type for our to-do list.
Initializing Twilio Sync and a list
First we need to initialize our storage. For this we need to perform the following steps:
- Fetch a token using
fetch('/token') - Create a client instance
- Get the list with the name passed to the function
- Retrieve the current set of items on the list
- Call the callback with the items
Place the following lines into the Storage function:
As part of this we are saving the list instance of the list we created as this._list. With this instance we will interact within the functions to follow.
Additionally the data of every item in the SyncList is wrapped with some meta-data. We will have to extract the actual data. Add the following extractData function at the bottom of the file:
Finding items
There are two ways of finding to-do items that we need to implement for this storage. One is the find function and one is findAll. Both return lists of items to a callback function, but find allows you to filter those items with a query object. To implement findAll we can use the getItems() method on the this._list instance to retrieve all to-dos and map over them using the extractData function. Update the findAll function accordingly:
SyncLists don’t have a filter function themselves, so to build the find method we will fetch all the items and then filter them ourselves. For that add the following createFilterFunction function in the bottom of your file:
Now use the same getItems() method as we used in the findAll function and and filter the results using the createFilterFunction. Change your find function to the following:
Inserting and updating items
Next we need to implement the save() function that both creates and updates items. If the function gets passed an id it’s as easy as calling .update(id, data) on the list to update the data. TodoMVC also expects the list of current todos to be returned so we also need to fetch all the items again and call the callback with it.
Add the following code to the save() function:
Creating a new item is a bit more complex. We will only know the id which will be the index of the item once it has actually been added to the list. So first we will add the item and afterwards we will update it with the id being the index.
Extend the save() method accordingly:
Let’s test our code for the first time! Go to http://localhost:3000 and start creating items. If you refresh the window you will see the data is still there.
Removing items and deleting them all
The two methods that we still have left to implement are remove and drop. Removing is straightforward. Call remove() with the respective id and the item is gone.
Add the following code to the remove() method:
To empty the list we will have to delete the actual list and re-create it. To do so add the following code:
You are now able to delete items from your to-do list. Feel free to test this by reloading the page in your browser and try to delete some of the items.
Time for sync magic!
So far we’ve been using Sync mainly as a database to store the items in but we haven’t actually listened for changes. SyncLists expose a series of different events. We will be listening on itemAdded, itemUdpated and itemRemoved and call the eventHandler() function passed to Store().
Add the following code to the Store constructor:
In the app.js we are already passing a function where we will call todo.controller._filter(true); on line 30. This will trigger a reload of the controller and will display the updated list.
Reload http://localhost:3000 and put two windows side by side. Add some items, remove some, check some off. You will see the lists magically update on both sides at the same time!
Just the beginning
Sync is very powerful and this is simply scratching the surface of what you can do. If you want to learn more check out some of the following resources:
I would love to see what you come up with using Twilio Sync! Feel free to hit me up at:


Related Resources
Twilio Docs
From APIs to SDKs to sample apps
API reference documentation, SDKs, helper libraries, quickstarts, and tutorials for your language and platform.
Resource Center
The latest ebooks, industry reports, and webinars
Learn from customer engagement experts to improve your own communication.
Ahoy
Twilio's developer community hub
Best practices, code samples, and inspiration to build communications and digital engagement experiences.