Create a Phone Dialer App in PHP with Laravel Livewire and Twilio Voice
Time to read:
May 18, 2020
Written by
Reviewed by

Laravel Livewire is a "full-stack framework for Laravel that makes building dynamic interfaces simple, without leaving the comfort of Laravel." You might be used to using frameworks such as Vue.js, React, or another JavaScript framework to manage your front-end data in Laravel, but with Livewire, gone are the days of having to make AJAX requests to your own API to re-render data in the browser. In short, and from personal experience, Livewire will decrease your development time significantly by coupling your front-end with the back-end; it eliminates the need to manage most dependencies with webpack or ingesting your own API.
Prerequisites
Before you begin this tutorial, make sure you have the following set up/installed:
- A Twilio Account (Sign up with this link and receive an additional $10 credit.)
- A Twilio phone number
- Composer globally installed
- A Laravel application already installed
What We’ll Build
What better way to demonstrate the power of Twilio and Laravel Livewire than by building an in-dashboard phone dialer! We’ll start with some styling to make the phone pad, and then I’ll show you how to “wire” it up with Livewire!
Lately, I’ve been choosing Tailwind CSS for all of my CSS needs as it has an easy to use API. Adding Tailwind CSS to a Laravel project is as easy as pulling it in from their CDN. I’ve spun up a new Laravel project for this example. Let’s jump in!
Run the following command in your terminal to install the package. Make sure that you are in the root of your project directory:
You will need to add the Livewire JavaScript includes on every page you want to use Livewire. Make a new layout file views/layouts/app.blade.php to house the Tailwind CSS and add the following code.
Next, run the following command in your terminal to generate a Livewire component:
This command created two files app/Http/Livewire/Dialer.php and resources/views/livewire/dialer.blade.php. Every Livewire class must contain at least the render() method which tells your app which view to load. The Artisan command has already generated this method for you.
If you’re familiar with Laravel, you can think of Livewire components like Blade includes, allowing you to insert @livewire anywhere in a Blade view to render the component.
NOTE: If you follow the naming convention of app.blade.php inside of your layouts directory and use the @yield(‘content’) Blade directive no further action is necessary to tell Laravel to render this layout for a Livewire component.
Add the following Livewire route to your routes/web.php to render the component for the /dialer route:
If your application isn’t running, start it now by running php artisan serve in your terminal.
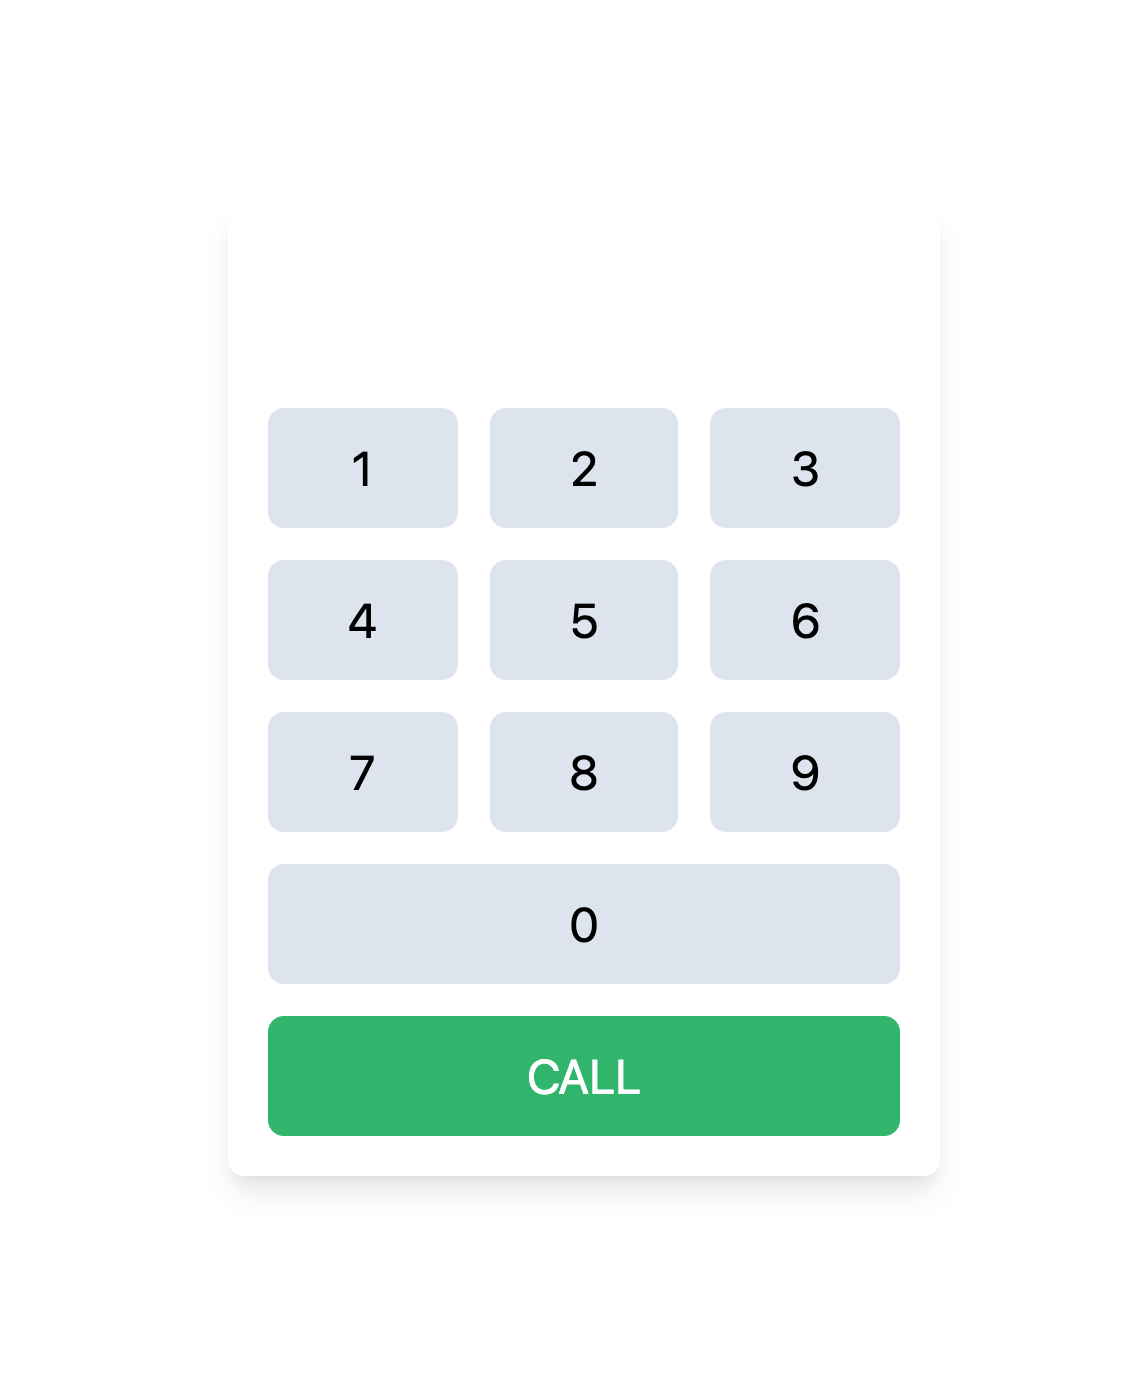
Open your web browser and navigate to the /dialer route at http://127.0.0.1:8000/dialer. Your dialer component will render with empty content as nothing has been defined yet.
Before this component can be rendered in your browser, you will need to open app/Http/Livewire/Dialer.php and add a public property.
Your browser should now look something like this when navigating to the /dialer route.
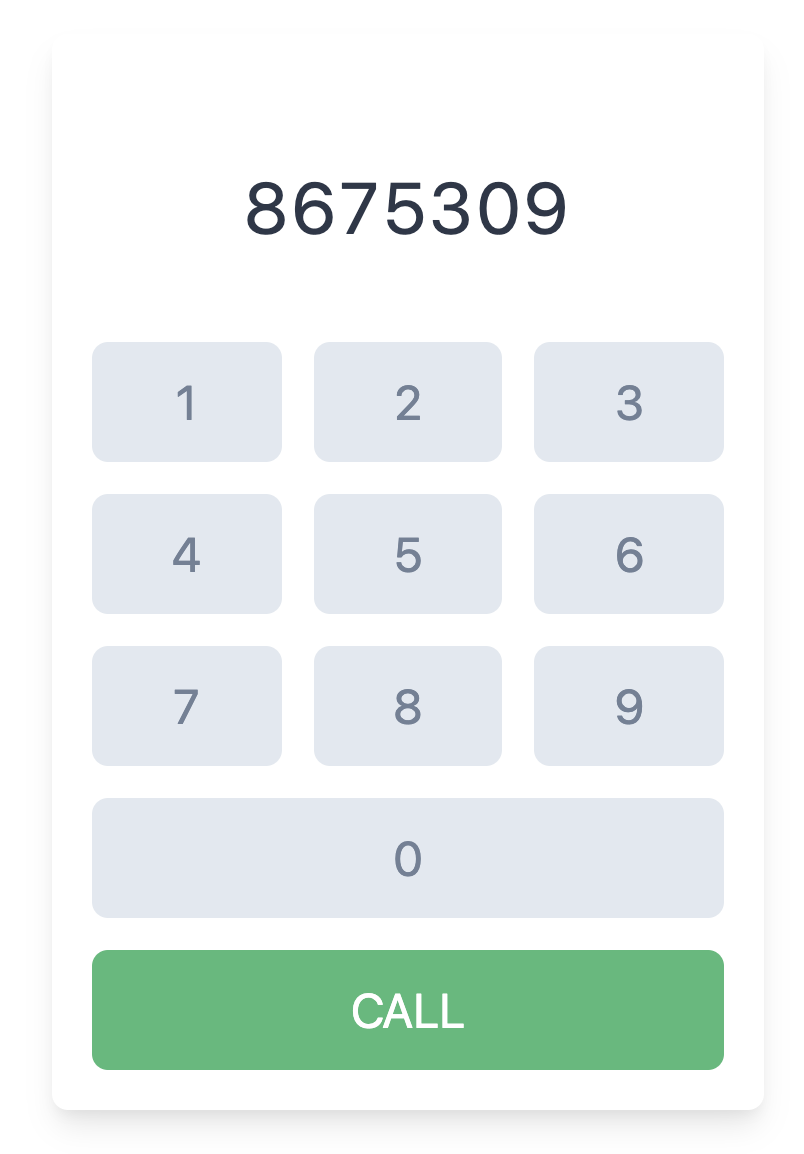
Let’s add a function to handle the button clicks:
A closer look at the dialer.blade.php will show that we added a wire:click callback to each button. The value of each button passes data into the addNumber() method you just created in your Livewire component. Refresh your browser and test it out:
Wire It Up With Twilio
You’re almost ready to place a call. Before that can be done, your application needs to connect to your Twilio account. Begin by installing the Twilio PHP SDK:
Next, add your Twilio Credentials to the .env variables for interfacing with the Twilio API:
NOTE: Your credentials can be found in your Twilio console.
Now add a function to handle making the phone call in the Livewire Dialer class. Start with including the necessary namespaces:
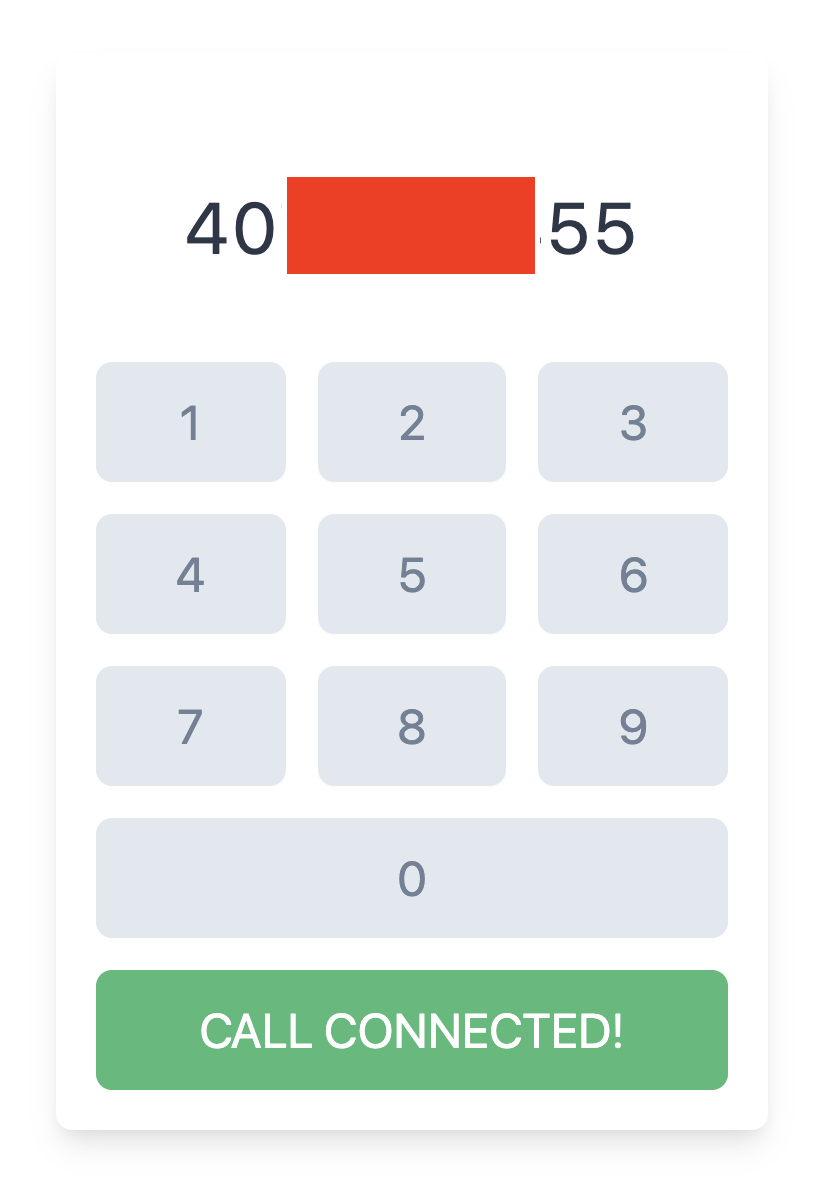
Lastly, add the makePhoneCall() method:
This is a simple example to play the default TwiML message for the listener. In the Blade file, change the call button to the following:
Also, add another public property for the $call_button_message in the Livewire class. This property modifies the label for the call button and its value will change when we successfully send the call:
Cleaning It Up
Any live application has to account for user error. The most obvious cases for error comes with typing the incorrect phone number or even needing to make a change. To improve the UX, let’s add a backspace/delete button and a reset button. Also, let’s clear out the phone number if the call is successful.
Change the “0” button to the following:
If you’d like to extend this logic further, add $this->resetDialer(); after you echo out “Call Connected” in makePhoneCall() method to remove the phone number after a successful call!
How does this work?
There is a small bit of JavaScript that Livewire uses to make a request to the server when there is a change with a "watched" element. When a change is detected, a roundtrip AJAX request is made to the server that returns the newly rendered DOM as HTML. Once that request is returned, Livewire uses state logic to know which HTML to replace with the new data.
A great example of this implementation being used in an Enterprise application is Github.com. If you navigate through Github with your XHR tab open in the dev console, you can see HTML being returned when actions are taken and substituted in the existing DOM. Genius!
Taking It To The Next Level
Livewire is capable of handling many more scenarios than DOM replacement such as authorization, validation, flashing messages to the session, redirection, and pagination. Plus it provides several UI enhancements like transitions, polling, listening for loading states and prefetching to name a few. You could extend this application further by ...
Shane D. Rosenthal is an AWS Certified and experienced full-stack developer that has worked with Laravel since 2013. He is open for consultation regarding Laravel and VueJS applications and AWS architecture and can be reached via:
- Email: srosenthal82@gmail.com
- Twitter: @ShaneDRosenthal
Related Posts


Related Resources
Twilio Docs
From APIs to SDKs to sample apps
API reference documentation, SDKs, helper libraries, quickstarts, and tutorials for your language and platform.
Resource Center
The latest ebooks, industry reports, and webinars
Learn from customer engagement experts to improve your own communication.
Ahoy
Twilio's developer community hub
Best practices, code samples, and inspiration to build communications and digital engagement experiences.