Build a Twilio Flex ChatGPT Plugin
Time to read:
April 12, 2023
Written by
Reviewed by
As the popularity of OpenAI’s ChatGPT continues to grow (along with the field of Artificial Intelligence), developers are looking for ways to integrate it with other systems to enhance its functionality. OpenAI’s ChatGPT plugins program allows developers to create plugins that integrate 3rd party APIs into ChatGPT, and this post will show you how to use it to build a Twilio Flex plugin that adds digital engagement capabilities to the ChatGPT interface.
Introducing the Twilio Flex ChatGPT Plugin
This plugin enables users to access Twilio Flex directly from ChatGPT's interface, creating a new channel for brands to serve their customers better. With this plugin, users can talk to agents without leaving the ChatGPT interface, providing a seamless customer experience.
Moreover, this plugin allows for curated human-to-human communication through AI. Whenever ChatGPT is unable to answer a user's request or if a user wants to speak to an agent directly, the plugin calls Twilio Flex via API to send a message to a Flex agent. This interaction ensures that the communication is always handled by humans, even though it is curated by AI.
What you'll need
To build this Flex plugin in ChatGPT you will need the following:
- A Twilio account (sign up for a free Twilio account here)
- A Twilio flex instance (more info on how to Setup a Twilio Flex Account)
- A ChatGPT account with access to plugins (enroll here)
- Python (more info on how to setup your local python environment here)
- The twilio-python library
- ngrok or some other way to expose a URL for webhooks
Once you've got all that, we can start our development
Get started
Let’s start by cloning our reference repository with all the code we need to host the ChatGPT plugin, including all the configuration of the plugin itself. Download or clone the repo, then change into the new directory:
Setup Flex
Before jumping into the code, let’s first configure our Flex instance. This requires you to create a Studio Flow to serve conversations and route them to any available agent.
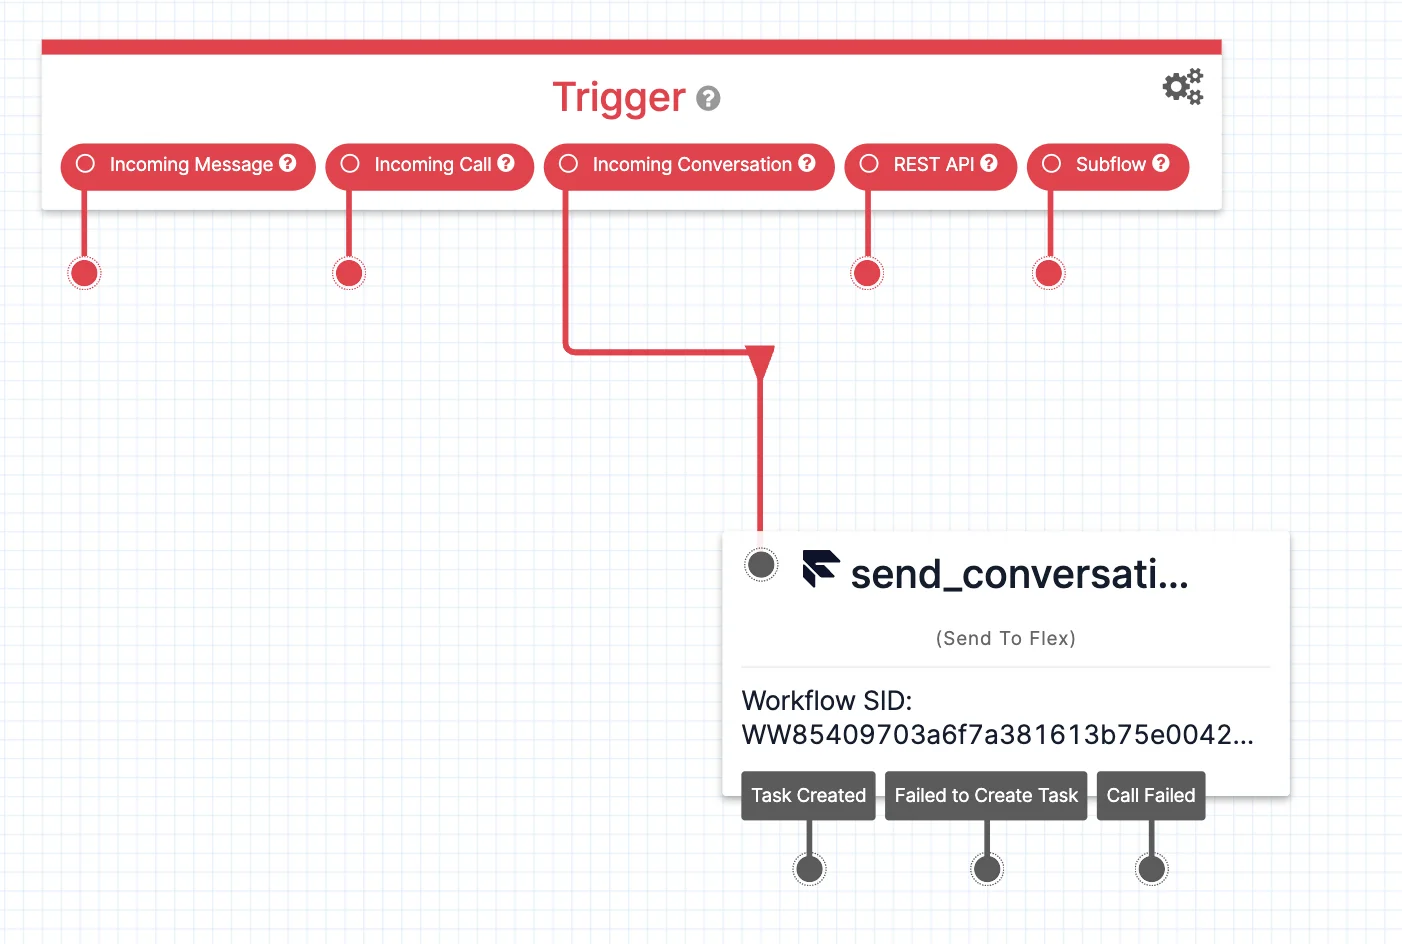
Head over to the Studio section in the Twilio Console, click Create a new Flow, and in the new Flow connect the 'Incoming Conversation' trigger to a 'Send to Flex' widget. Then, hit the red Publish button.
Once published, save the Conversation Flow address for later use – we are ready to start working on our plugin.
AI-Plugin definition
Let’s now look at the various files and changes we need to make to set this up.
Our first step is to configure the 'ai-plugin.json' file, which ChatGPT plugin expects in order to understand (in human language) what tasks it will perform, and where to find all the information (more details here). In our case, we are building a plugin to help with Twilio products – feel free to change things up for your brand.
A few critical elements in the above configuration that you should pay extra attention to:
description_for_human: A brief description to better explain your plugin’s functionalitydescription_for_model: An extended description (can be up to 8000 characters) providing additional information such as token context length or keyword usage that would help improve promptingauth: Since we want any user to have access to our agents we don’t require them to authenticate. However, OpenAI provides more options such as service-level, user-level or OAUTH authentication during the plugin installation process.
You’ll need to change the 'example.domain.com' url to the hostname you will proxy the running server behind.
To run the plugin you can upload to your own domain or use a tunneling service like ngrok for testing. Feel free to change the 'logo.png' image and 'legal.txt' text to your needs.
OpenAPI definition
The next configuration file is 'openapi.yaml', which provides an OpenAPI definition of our plugin. We only have a single API method which can send a message to an agent (from a user) and receive a response from the agent.
The other key element in this file is the actual description of the plugin. Think of this as the ChatGPT prompt that will trigger the plugin. The description has to explain what it is capable of, without being too explicit. Feel free to play around and test if it is invoked by ChatGPT on the occasions you want (from our testing it was very accurate).
The main component of the plugin
The 'main.py' file is the heart of the plugin. This is where we get the input by the user (as curated by ChatGPT) and create a conversation within Twilio Flex. Our component uses the Quart microframework to spin off a Fast web server that will host the plugin. There are a number of secondary GET methods defined since they are required by ChatGPT plugins (as explained here) and are based on their TODO reference implementation. Our main API method is a POST to send messages to Flex once ChatGPT invokes our API.
The overall concept behind the flow involves the following steps:
- Get the username and message from ChatGPT as the method's (POST) input
- Hash the username and check in our local sqlite3 file db whether an open conversation already exists for the user
- If it does, then use the address of that conversation to append the new message, otherwise create a new conversation and save it in the sqlite3 file db for future checks
- Create a new conversation (if needed) by using our conversations rest API with the Twilio Python client
- Initiate the client with our Twilio account SID and auth_token
- Create a new conversation
- Add a participant using the username as identity
- Add a webhook in order to send the conversation to the correct Studio Flow we created
- We then post our message to the conversation and await a reply
- The message will be routed to the next available agent as a Webchat message going through our Studio flow (if you want, you can route to specific queues – but I kept it simple)
- Once the agent accepts the conversation and responds to the user, the reply will be sent back in order for ChatGPT to curate it to the user
The following code showcases the main steps to create a new conversation, add participant, route it to the Studio Flow and then send the message:
At the time I wrote this plugin, ChatGPT plugins only supported synchronous calls. Due to that restriction, we have to wait for a reply from the agent by checking the last 10 messages in the conversation and filtering by the message SID of the last message the user sent, as seen below.
Before you start, ensure that you configure your environment variables in the .env file:
- Account SID (get it from your Account dashboard)
- Auth Token (get it from your Account dashboard, as well)
- Conversation Flow SID (get it from your Conversation Flow SID [FWxxxxxxxxxxxxxxxx]; find the one you created in Studio by navigating to Studio > Flows in your Twilio Console)
- Hostname (ensure it is the same as in the 'ai-plugin.json' file)
Once all is ready, we can install our dependencies and start our server.
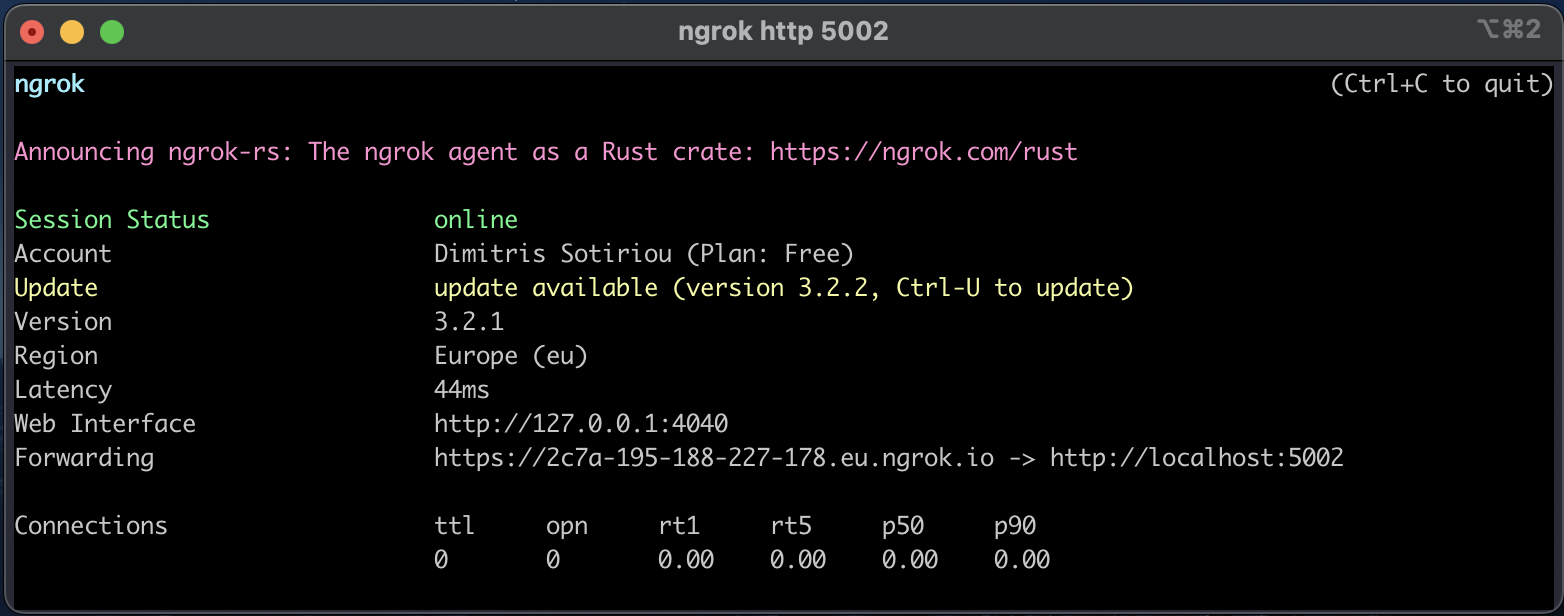
Finally, we can open a new terminal and run ngrok (or any other tunneling service of your choice) to get a public facing address that we can use for our ChatGPT plugin. For more details on how to setup ngrok follow this helpful guide.
Below you can see the output from the ngrok command:
Setup our plugin in ChatGPT
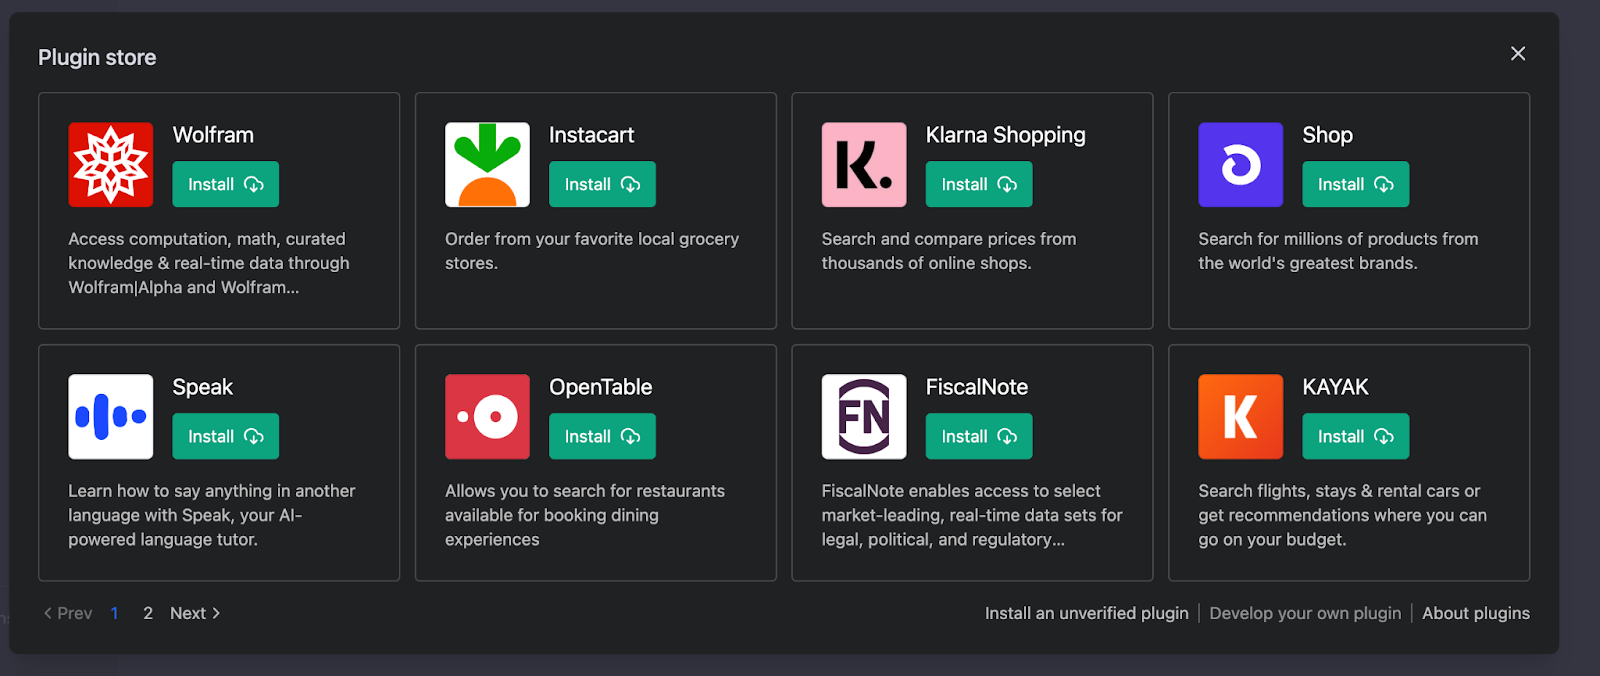
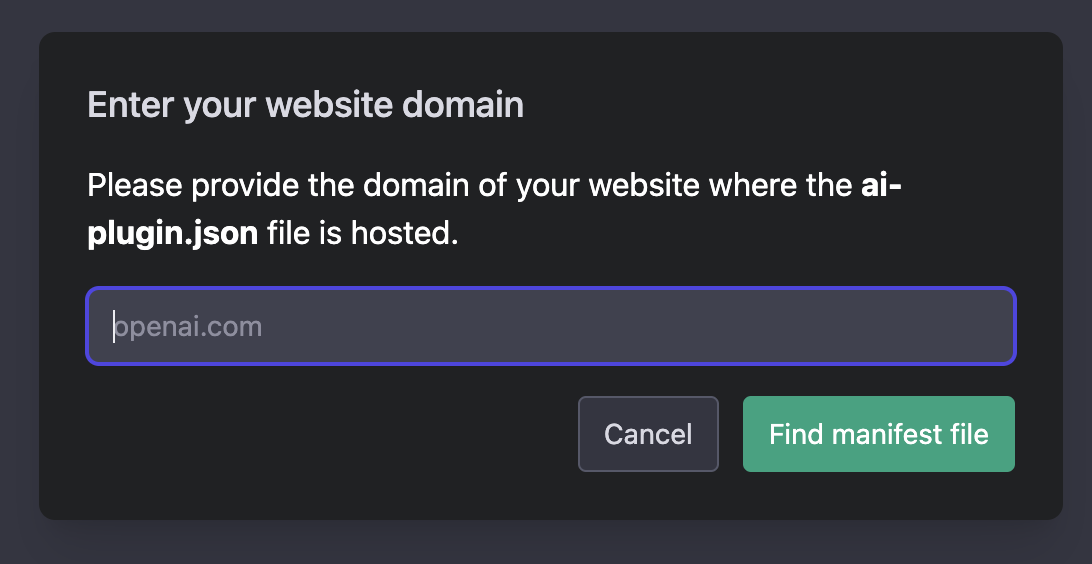
Now that our plugin service is running, we need to go into ChatGPT and enable the plugin. Follow the instructions provided by OpenAI, and navigate through the options as shown below in order to provide the hostname where your service is located ( Develop your own plugin > My manifest is ready > Find manifest file)

Demo
Everything should now be ready, and we can go ahead and enable our plugin. In the video below, I showcase how to interact with ChatGPT in order to search for Twilio products.
To test this yourself, send the following message to ChatGPT: “Can you list all the major Twilio products?”. Unfortunately ChatGPT was trained on data up to 2021 so it’s unaware of our recently launched Twilio products, so quickly follow up with: “Help me with products after 2022”.
ChatGPT will then invoke our plugin and automatically direct you to an agent and a human will provide all the additional details. All this interaction and assistance via a human agent will now be powered by Twilio Flex, and allows the brand (Twilio in our case) to serve the customer within ChatGPT, providing a seamless experience.
Potential Use Cases
The ChatGPT and Twilio Flex plugin unlocks numerous use cases for brands to enhance their customer engagement processes. Some of the potential use cases include:
- Allowing customers to speak to agents directly without leaving ChatGPT's interface
- Creating a new channel for brands to reach customers directly
- Assisting customers in completing tasks within ChatGPT
- Enabling agents to handle multiple conversations through the Twilio Flex interface
- Reducing response times and improving the overall customer experience
Conclusion
The ChatGPT and Twilio Flex plugin provides a new channel for brands to reach their customers directly and assist them in completing tasks within ChatGPT. This plugin creates a curated human-to-human communication through AI and reduces response times, improving the overall customer experience. Creating the plugin involves creating the OpenAPI definition for the OpenAI plugin, creating a queue in Flex Studio, and sending the agent's response back to the customer via ChatGPT. This plugin is one of the first digital engagement center solutions that integrates ChatGPT as a new channel!
If you want to discuss how to integrate ChatGPT into Twilio Flex and utilize AI in your engagement center, message me on Twitter, LinkedIn or over email at dsotiriou@twilio.com.
Dimitris Sotiriou is a Product Director for Twilio Flex. He’s been working with data and generative AI for an extensive period of time, exploring the limits of human and artificial intelligence. Until he is able to clone himself with an LLM, you can still reach him at dsotiriou [at] twilio.com
Related Posts
-
 Integrating Twilio Agent Connect with Twilio Flex for Human HandoffSimran Aishwarya
 -
Script Adherence Using Real-time Conversation Intelligence with Twilio FlexCurtis Swartzentruber Ruma Nair
-
Orchestrate an AI-to-Human Agent Handoff with Twilio Agent Connect, Conversations Orchestrator, Studio, and FlexKinshuk Kar Sarang Shah
Related Resources
Twilio Docs
From APIs to SDKs to sample apps
API reference documentation, SDKs, helper libraries, quickstarts, and tutorials for your language and platform.
Resource Center
The latest ebooks, industry reports, and webinars
Learn from customer engagement experts to improve your own communication.
Ahoy
Twilio's developer community hub
Best practices, code samples, and inspiration to build communications and digital engagement experiences.