How to Trigger a Usage Alert Over a Phone Call With Node.js
Time to read:
May 31, 2021
Written by

The Twilio API has many capabilities, including allowing you to keep track of how much money you spend on it. In addition to checking your usage amounts, you can also set up a trigger that will let you know when you’ve spent a certain amount or made a given number of API calls. To learn how to do this, follow along!
Prerequisites
- A free Twilio account (register here and receive $10 in Twilio credit!)
- Node.js installed on your machine
- Two phones that can make phone calls, to test the project
- The Twilio CLI
- ngrok
Set up your environment
In this section you are going to set up a brand new Node.js project. To keep things nicely organized, open a terminal or command prompt, find a suitable place and create a new directory where the project you are about to create will live:
Install the Twilio Node Helper Library from your command line with the following:
Login to the Twilio CLI
Open up a terminal or command prompt and login to the Twilio CLI by running the following command:
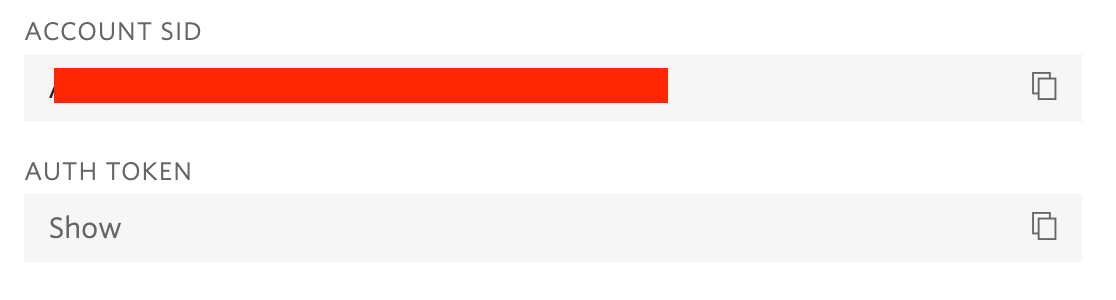
This will prompt you to enter your Twilio Account SID and Auth Token, both of which can be found on the Twilio Console.
After copying and pasting your credentials into the terminal prompts (your pasted values will be hidden), press the return key to submit them.
Now that you’re logged in, you’re ready to use the Twilio CLI! The CLI will make it handy to call one of your phones.
Configure Twilio credentials
To be able to access the Twilio service, your Node.js application will need your Twilio account credentials to log in and authenticate. The most secure way to define these credentials is to add them as environment variables.
The information that you need is the “Account SID” and the “Auth Token”. You can find both on the dashboard of theTwilio Console as seen in the section before.
In your project directory, create a .env file. Open the new .env file in your favorite text editor and copy the Account SID to add it as the value for the TWILIO_ACCOUNT_SID environment variable. Likewise, copy the Auth Token and add it as the value for the TWILIO_AUTH_TOKEN environment variable:
Buy a Twilio phone number
To be able to make a phone call you need to have a phone number associated with your Twilio account. Log in to theTwilio Console, selectPhone Numbers, and then click on the red plus sign to buy a Twilio number. Note that if you are using a free account you will be using your trial credit for this purchase.
In the Buy a Number screen you can select your country and check Voice in the capabilities field. If you’d like to request a number from your region, you can enter your area code in the Number field.
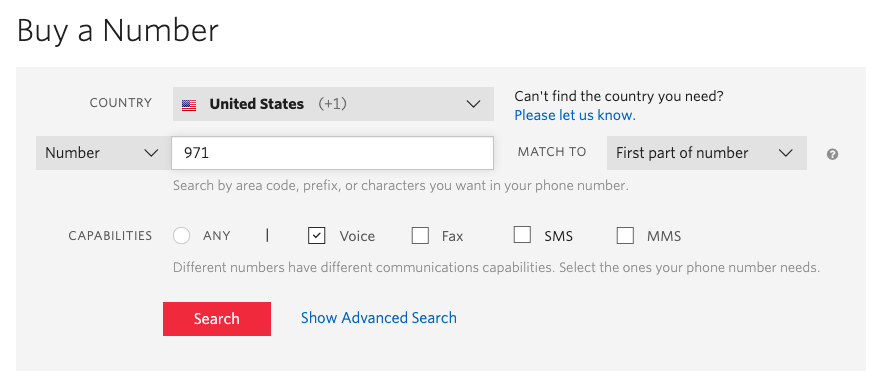
Click the Search button to see what numbers are available, and then click Buy for the number that you like from the results. After you confirm your purchase, click the Close button.
Create a TwiML Bin
TwiML is Twilio’s markup language, an extension to XML that is used to provide instructions to Twilio on how certain events need to be handled. When a call is made from the Twilio phone number you purchased earlier, Twilio looks up the URL associated with your number and sends a request to that URL. If your URL responds with TwiML, Twilio will follow these instructions to handle the phone call.
You can host TwiML directly through Twilio, in a TwiML Bin. Navigate to the TwiML Bins section of the Console.
Click the Create new TwiML Bin button to create a new bin. This will direct you to a new page where you can configure your bin.

Give your bin any friendly name of your choosing, such as Nodejs-Call. Then copy and paste the following TwiML into the TwiML field, replacing anything there already:
Scroll down and click the Create button. The page will refresh and then at the top of the new page, you will see the SID and URL values assigned to your new TwiML bin. Copy the URL to the clipboard as you will need it for the next portion.
Create the call with Node.js
Fire up your text editor or IDE and create a new JavaScript file in the nodejs-usage-alert directory you created at the start of the tutorial called make-call.js.
Enter the following code in this file:
Make sure you update the following parts of the above code snippet:
- Replace the value of the
fromargument with your Twilio phone number. - Replace the value of the
toargument with your one of the phone numbers that you would like to test this out on. - Replace the value of the
urlargument with the URL you just copied from your TwiML bin and append?message=messageat the end of the URL.
Be sure to use E.164 format for the phone numbers.
In a new terminal window, run the following command to expose your server to the internet:
The ngrok Forwarding URL will be used in the next section.
Create a usage trigger in the Twilio Console
What remains to complete this tutorial is to configure a Twilio usage trigger that invokes the endpoint we created in the previous section. For this tutorial, we are going to set up a usage trigger that will call your personal phone number every time your account makes a voice call. This is a very low threshold which was chosen only to make it easy to test the trigger.
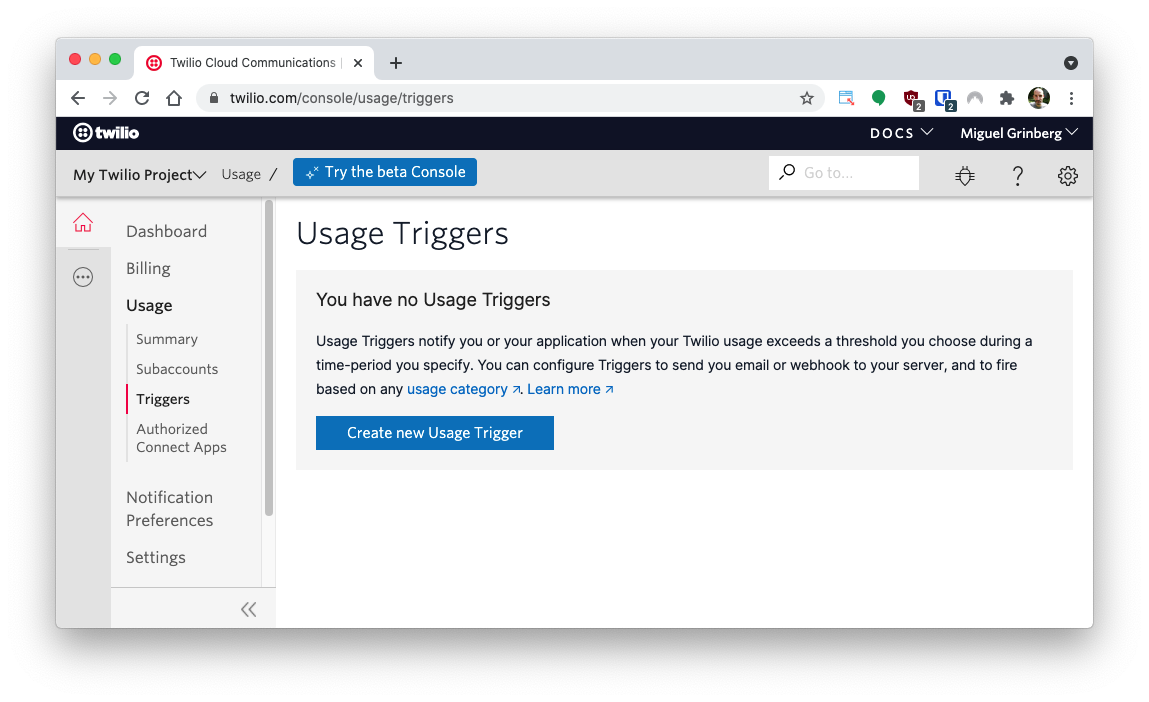
Open the Twilio Console in your web browser. On the left-side menu, select Usage. From the Usage submenu, select Triggers.
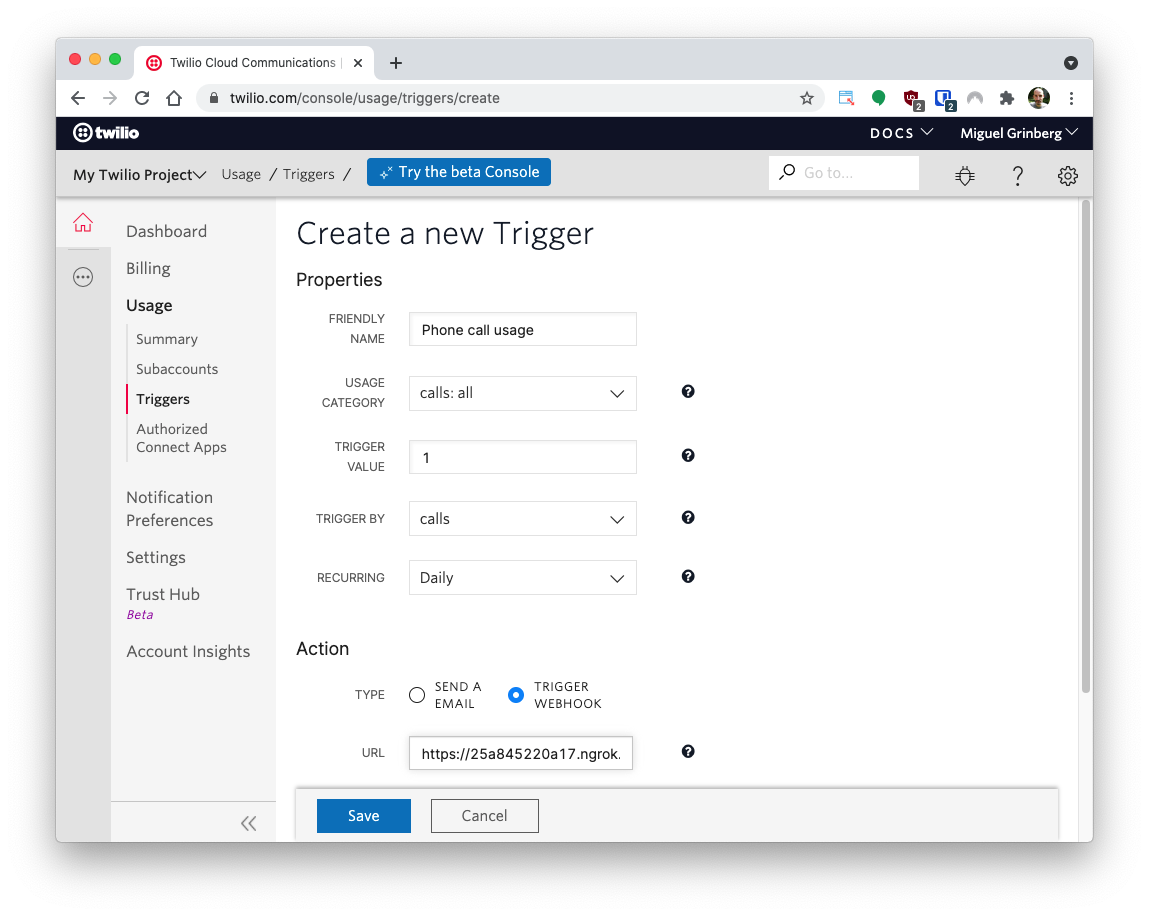
Create a trigger with the following properties:
- “Friendly name”: use an explanatory name here, such as "Phone call usage".
- “Usage category”: feel free to browse through the available options to familiarize with them. For this tutorial, select “calls:all”.
- “Trigger value”: select 1, to be able to quickly verify that the trigger is working. For a real usage, here you will enter the amount that you want to cause the trigger to fire.
- “Trigger by”: select “calls” here. One interesting option here is to select “USD”, and then the trigger value is a dollar amount.
- “Recurring”: select “daily” here.
In the action section, select “Trigger webhook”, and paste the ngrok endpoint URL in the “URL” field. Make sure you use the ngrok URL from the section before.
Here is how the trigger configuration should look:
Remember to click the Save button to activate this trigger.
Test the trigger
In one final terminal or command prompt window, run the following command to create a voice call directly from your CLI.
Before running the command please be sure to change the to and from flag values to your personal phone number and your Twilio phone number, respectively:
In a few moments, your second phone will ring and you’ll hear a message that says “Ahoy, friend”.
At this point, your trigger should fire and your first phone will receive a call shortly after.
Check back at the terminal window running the node app. When the HTTP request hits your server, you’ll see a message logged that says “Usage trigger alert received” as well as the SID of the phone call.
Normally this process takes just a few seconds, but if you don’t see it right away, please note that sometimes the trigger can take up to several minutes to hit your server.
What's next for making phone calls with Node.js?
In this tutorial you’ve learned how to make a phone call from a Node.js application. But this is just the beginning. Be sure to check the TwiML reference to find out how you can do lots of other cool things with your phone calls!
Diane Phan is a Developer Network editor on the Developer Voices team. She loves to help programmers tackle difficult challenges that might prevent them from bringing their projects to life. She can be reached at dphan [at] twilio.com or LinkedIn.


Related Resources
Twilio Docs
From APIs to SDKs to sample apps
API reference documentation, SDKs, helper libraries, quickstarts, and tutorials for your language and platform.
Resource Center
The latest ebooks, industry reports, and webinars
Learn from customer engagement experts to improve your own communication.
Ahoy
Twilio's developer community hub
Best practices, code samples, and inspiration to build communications and digital engagement experiences.