Understanding Local Caching in React
Time to read:
August 10, 2021
Written by
Reviewed by

React and Redux are commonly used together to build applications and manage application state. However, one drawback to using Redux is that upon page refresh, the entire Redux state containing the application data is reset. Re-initializing the Redux state often means having to make repeated API calls to re-fetch data, or losing user data completely.
In this article, we will go through a small example demonstrating how Redux state can be cached locally, then rehydrated using cache data when the page is refreshed.
Prerequisites
For this tutorial, you will need a working Google Chrome browser with the extension Redux DevTools installed. This extension can be found in the Chrome Web Store.
Cache Implementation
This tutorial will demonstrate how to implement local caching in a pizza order form. Imagine you are ordering pizza for dinner, but get sidetracked halfway and decide to check your email instead. When you’re done checking your email and load the site again, it would be great if your previous input was still there. Local caching will help you tackle situations like this, so users will have a better experience and not need to re-enter input.
Initial Setup
Access the CodeSandbox here and render the Pizza Form application built using React, Redux, and Twilio’s UX platform, Twilio Paste. For better accessibility, click on the rightmost icon in CodeSandbox’s browser window to open up the Pizza Form in a new tab.
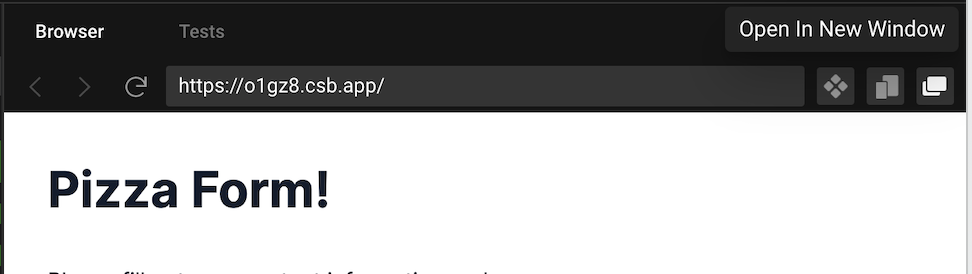
Next, right-click on the Pizza Form and select “Inspect” to open the Developer Tools window. Select the “Redux” option from the top bar of Developer Tools to open Redux DevTool. You may have to click the “>>” icon to see all the options and find the recently added extension.

Inside Redux DevTool, select “State” from the menu in the upper right. The text under the Tree shows the breakdown of the form. Begin filling out the Pizza Form, then click on the little triangle in front of form and do it again for pizza and values.
As you continue to fill out the form, note how the Redux state changes to reflect your input.
Next, refresh the Pizza Form page, and observe how the Redux state is reset and all your input is lost.

We will implement caching so that user input can be preserved and you won’t have to enter all your pizza details again.
Save data to the cache
Our local cache will come from the money-clip library, which is implemented using IndexedDB—a type of browser storage. Navigate back to the code portion of the CodeSandbox and open the index.js file. Right underneath where rootEl is defined, add the following line:
Now that the cache is initialized, the next step is to save data to the cache. We will do this with the redux-persist-middleware library, which creates middleware that triggers a cache function on a provided Redux action. This means the first step is deciding which Redux action should trigger a save to cache.
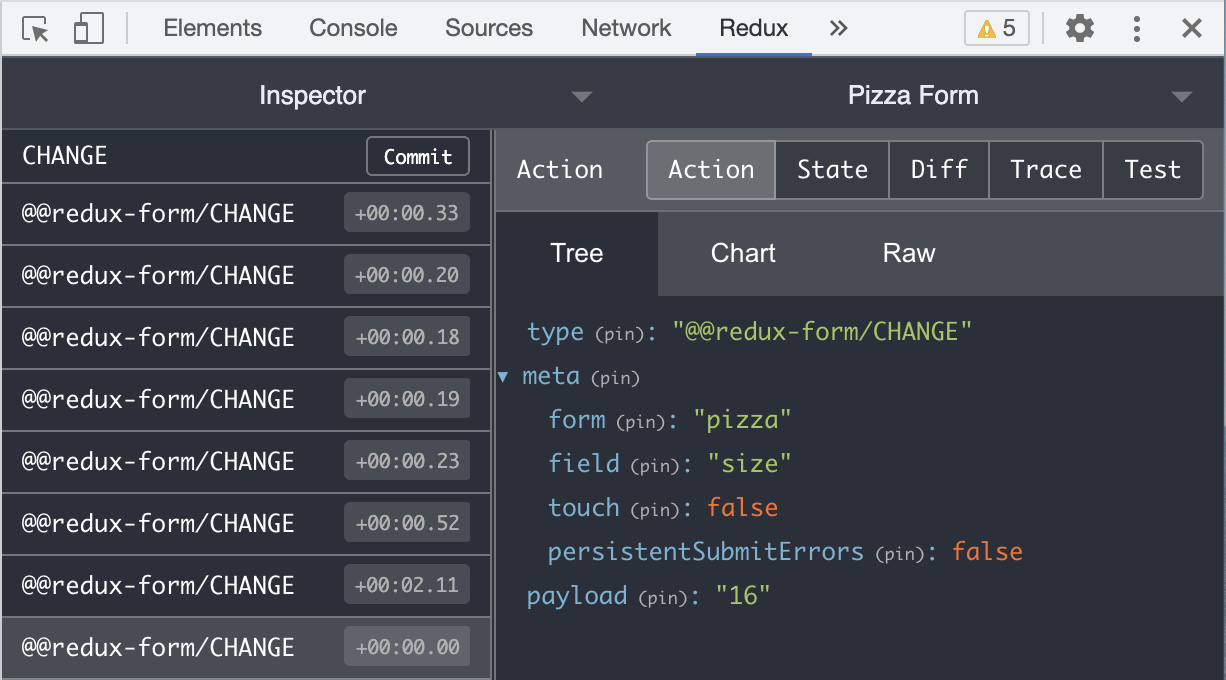
Return to the Pizza Form window and make sure “Inspector” is selected in the upper left menu of Redux DevTool and that "Action" is selected on the top right. Fill out the Pizza Form and notice how every time a form field is modified, a new @@redux-form/CHANGE action is generated and displayed in the left sidebar.
Feel free to click on any of the actions from the sidebar to see what exactly a Redux action contains.
Since we are trying to store the latest user input, we want to cache the Redux state on every @@redux-form/CHANGE action. Luckily, the redux-persist-middleware library provides this functionality. All we have to do is define the action we would like to save on and what we would like to save. Add the following code in index.js under the cache definition:
The key in actionMap is the Redux action that should trigger a cache function. The actionMap value is the part of the Redux state we would like to save in the cache. We passed in “form” because that is the name our reducer (the function that manages our Redux state) is mounted under, and therefore also the key in our Redux state.
The next step is to define the Redux middleware in the index.js file. This will take in the actionMap object and perform the necessary actions to trigger the cache function. Copy and paste the following code in index.js under the actionMap initialization:
Add the middleware into our existing Redux store by modifying the store initialization to read:
Note that we added in the middleware on the fourth line. Now, if you fill out the form fields with the “Console” tab open in your Developer Tools, you can see that every time you modify a field, the cache is set.
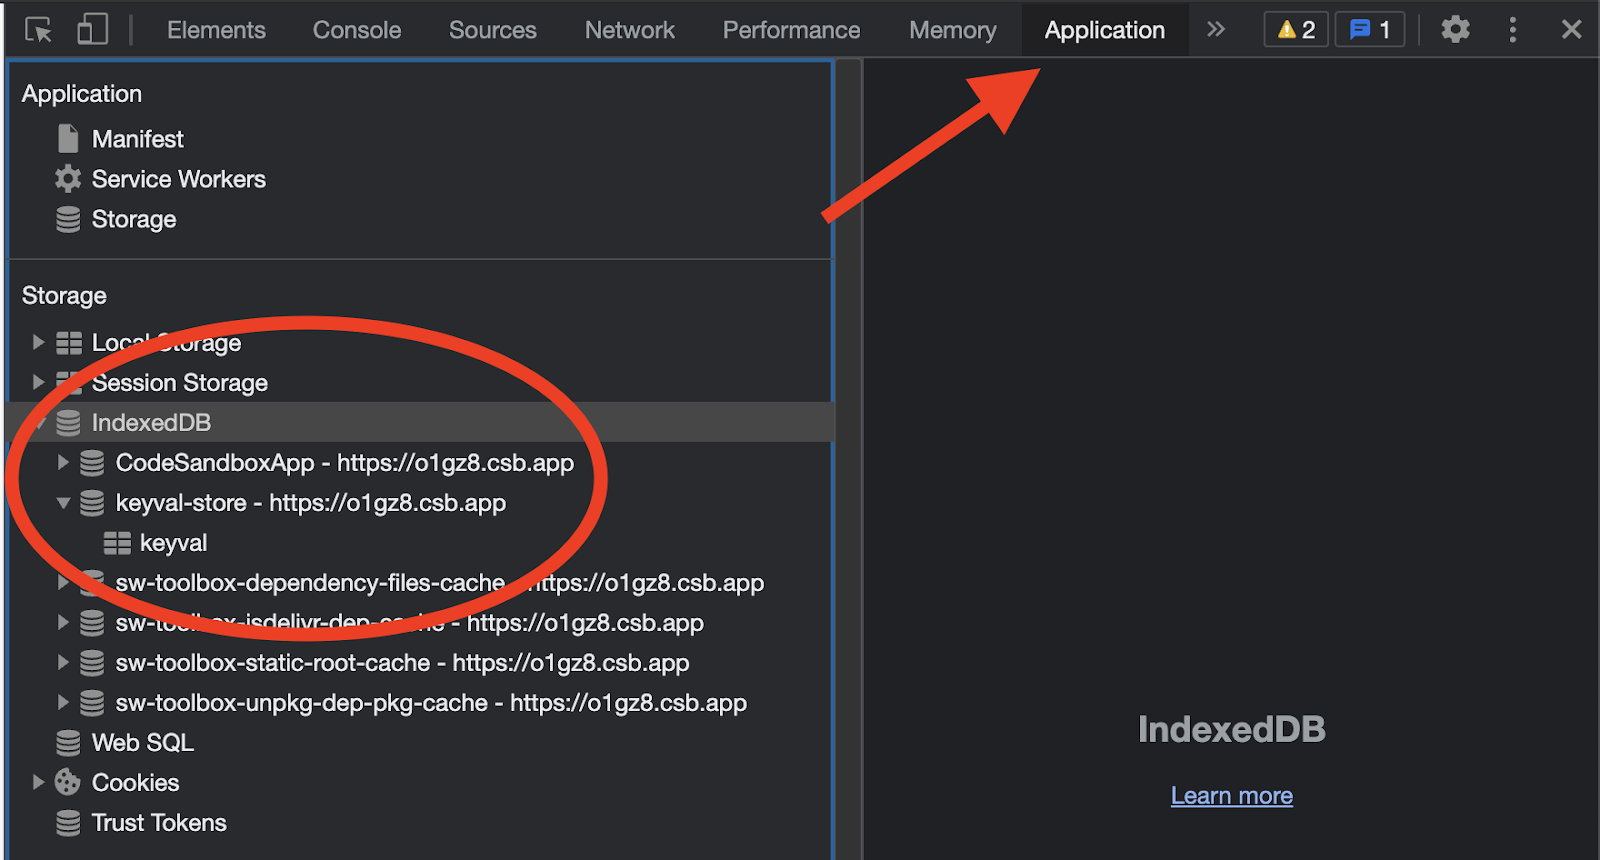
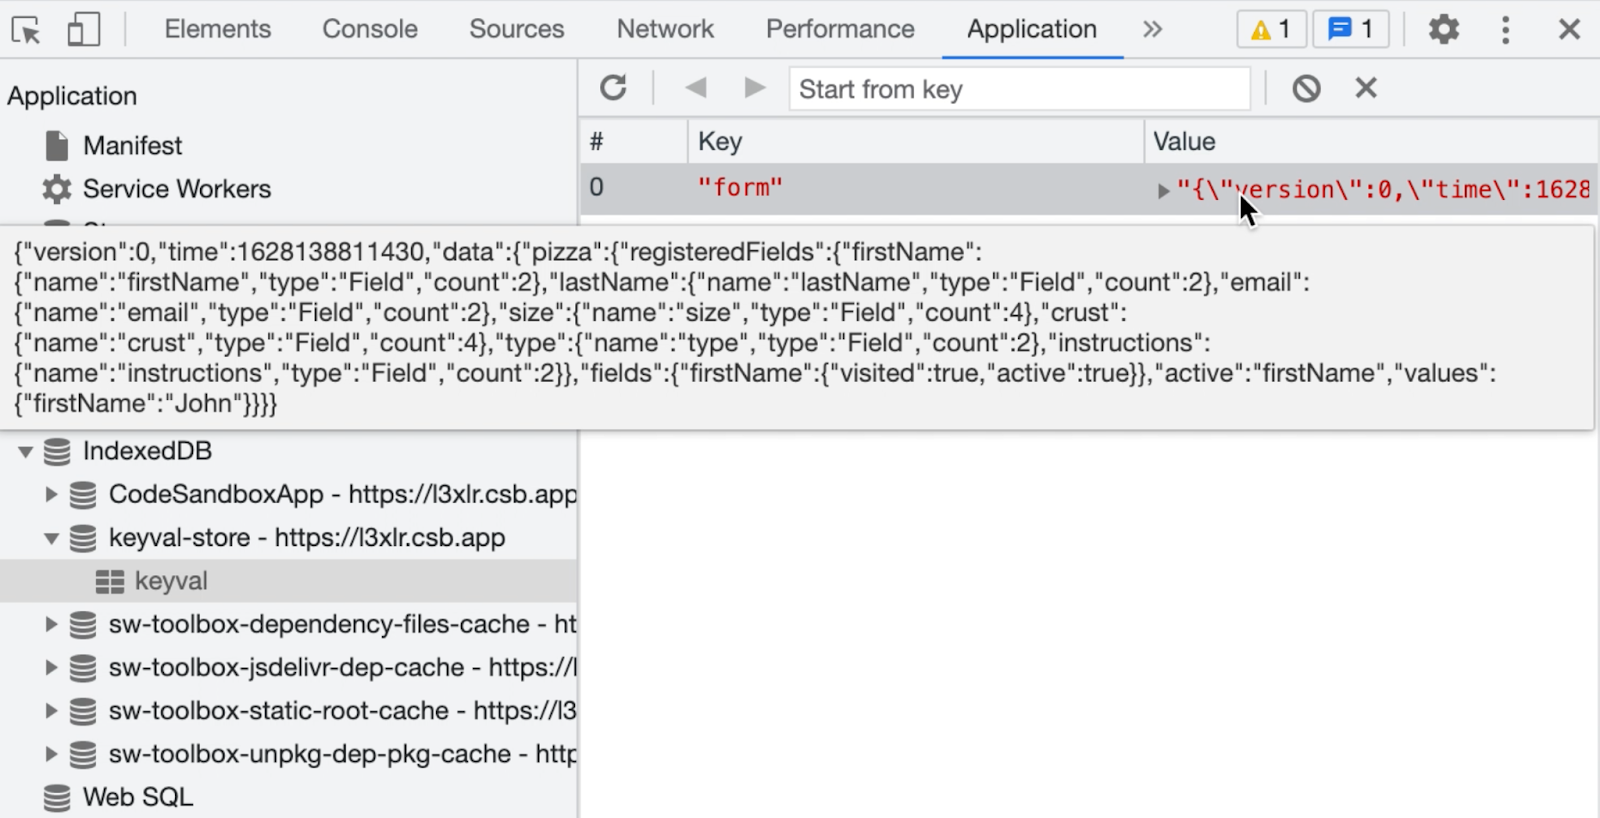
To view the cache, switch to the “Application” tab in the Developer Tools window. Find Storage in the left hand sidebar and double click on “IndexedDB” to expand the details. Double click again on “keyval-store” then select “keyval” to see your input in the cache. If it is not updated, click on “keyval-store” and select “Refresh database” then check again.
Here is an example of what the output might look like:
Load data from the cache
Even though the data is in the cache, refreshing the page will still show a blank form. This is because the data has not been loaded from the cache back into Redux on initialization. Do this by wrapping the store definition and the ReactDOM.render statement located at the bottom of index.js with the following call. Note how the createStore() call has been modified to take in the cache data.
After this step, the Redux store is initialized with cache data. If you fill out the Pizza Form now and refresh… your response is still there!!
Delete data from the cache
There are times when we no longer want to store the user’s response locally, such as when the user clicks on the Clear Values or Submit buttons. Currently, if we click Clear Values and refresh the page, the form is repopulated with the input we cleared because it is being loaded from cache.
We fix this problem by repeating the same process for saving to the cache:
- picking which Redux action to delete on
- mapping a Redux action to the Redux state
- creating middleware containing the map and cache function
- applying the middleware to our Redux store
With Redux DevTools open, experiment with submitting or clearing the form and note that both trigger the @@redux-form/RESET action. Therefore, we will define a new map in index.js with that action underneath the definition for actionMap.
Again, the key in clearActionMap is the Redux action to perform the cache function on, and the value is the part of the Redux state we would like to delete from the cache.
Next, we will pass clearActionMap into a new piece of middleware defined in index.js. Notice that the cache function is cache.del instead of cache.set. Add the following lines under the persistMiddleware definition.
Inside the store initialization, add clearMiddleware as a parameter so the applyMiddleware() call looks like this:
With those four steps, we are set! After clearing the values or submitting and then refreshing, the form is blank unlike before. Play around with this new feature by looking at the Console log statements every time you press Submit or Clear Values.
Check out the “Application” tab on the Developer Tools console to observe how the cache is empty after these actions. You may have to click “Refresh Database” under “keyval-store” to see the updated, empty cache.
Add version and maxAgeto the cache
Adding a version number to the cache gives us a lot more control over the data. The version number can be bumped when the shape of the data changes, so incorrectly formatted data is never loaded from the cache. The version number can also include the user ID, making the cache data user-specific.
Redefine the cache at the top of index.js by passing in cacheOptions with the following lines of code:
Note that if you fill out the form, change the version number in index.js, and refresh the form, the input fields are not populated. Since we changed the cache version, there was a version mismatch when calling cache.getAll() on initialization, and the old data was deleted. You can confirm this by inspecting the “keyval” cache data.
Another aspect to cache control is data expiration. For example, if all users are automatically logged out after 24 hours, you might want to delete their cache data after 24 hours as well. Here, we will shorten this time to 10 seconds. Inside cacheOptions, add the highlighted line:
Now, you can see that if you fill out the form and refresh within 10 seconds, the form will still be populated. However, if you wait 10 seconds to refresh, the cache data will have expired and the form is empty! You can again confirm this by inspecting the cache with Developer Tools.
What's next for local caching?
Congratulations on implementing local caching for the text form! If you would like to view the reference implementation, the full code can be found on my GitHub repository.
Local caching opens up the doors to so many more use cases, such as handling a form with twenty input fields, instead of seven. Caching would be a lot more useful in that case.
Another interesting extension would be caching API responses to avoid API calls within your application, and maybe even allowing it to function offline.
I hope you found this article interesting and learned more about how we can leverage caching to take our applications to the next level!

Christina Leung is a Software Engineer Intern on the Event Streams team. She enjoys problem-solving with technology and can be reached at chleung [at] twilio.com or on LinkedIn.


Related Resources
Twilio Docs
From APIs to SDKs to sample apps
API reference documentation, SDKs, helper libraries, quickstarts, and tutorials for your language and platform.
Resource Center
The latest ebooks, industry reports, and webinars
Learn from customer engagement experts to improve your own communication.
Ahoy
Twilio's developer community hub
Best practices, code samples, and inspiration to build communications and digital engagement experiences.