Securing a Laravel PHP Application with 2FA using Twilio Authy
Time to read:
December 05, 2019
Written by

In this tutorial, you will learn how to secure your Laravel application with Two-factor authentication using Twilio Authy.
Prerequisites
Completing this tutorial will require the following:
- Basic knowledge of Laravel
- Laravel Installed on your local machine
- Composer globally installed
- Twilio Account
Getting Started
Create a new Laravel project using the Laravel Installer. If you don’t have it installed or prefer to use Composer, you can check out how to do so from the Laravel documentation. Run the following command in your terminal to generate a fresh Laravel project:
Next, you will need to set up a database for the application. For this tutorial, we will make use of MySQL database. If you make use of a database administrator like phpMyAdmin for managing your databases then go ahead and create a database named twilio-authy and skip this section. If not, install MySQL from the official site for your platform of choice. After successful installation, fire up your terminal and run this command to login to MySQL:
NOTE: Add the -p flag if you have a password for your MySQL instance.
Once you are logged in, run the following command to create a new database:
Next, update your .env file with your database credentials. Open up .env and make the following adjustments:
Setting up Authy
Next, install the Twilio Authy SDK which will be used for sending out Two-factor authentication (2FA) one time passwords:
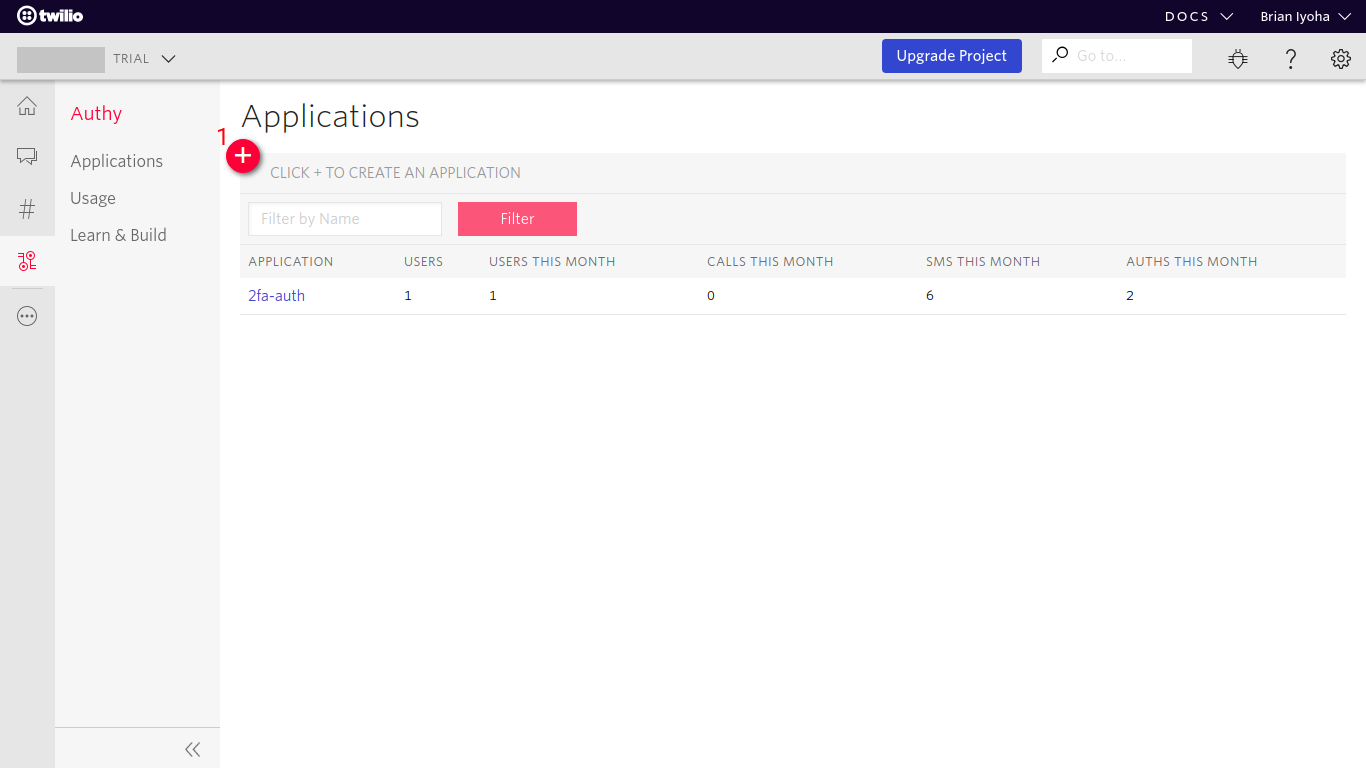
To make use of the Authy SDK you will need to create an Authy service. Head over to your Twilio console to create a new Authy service.
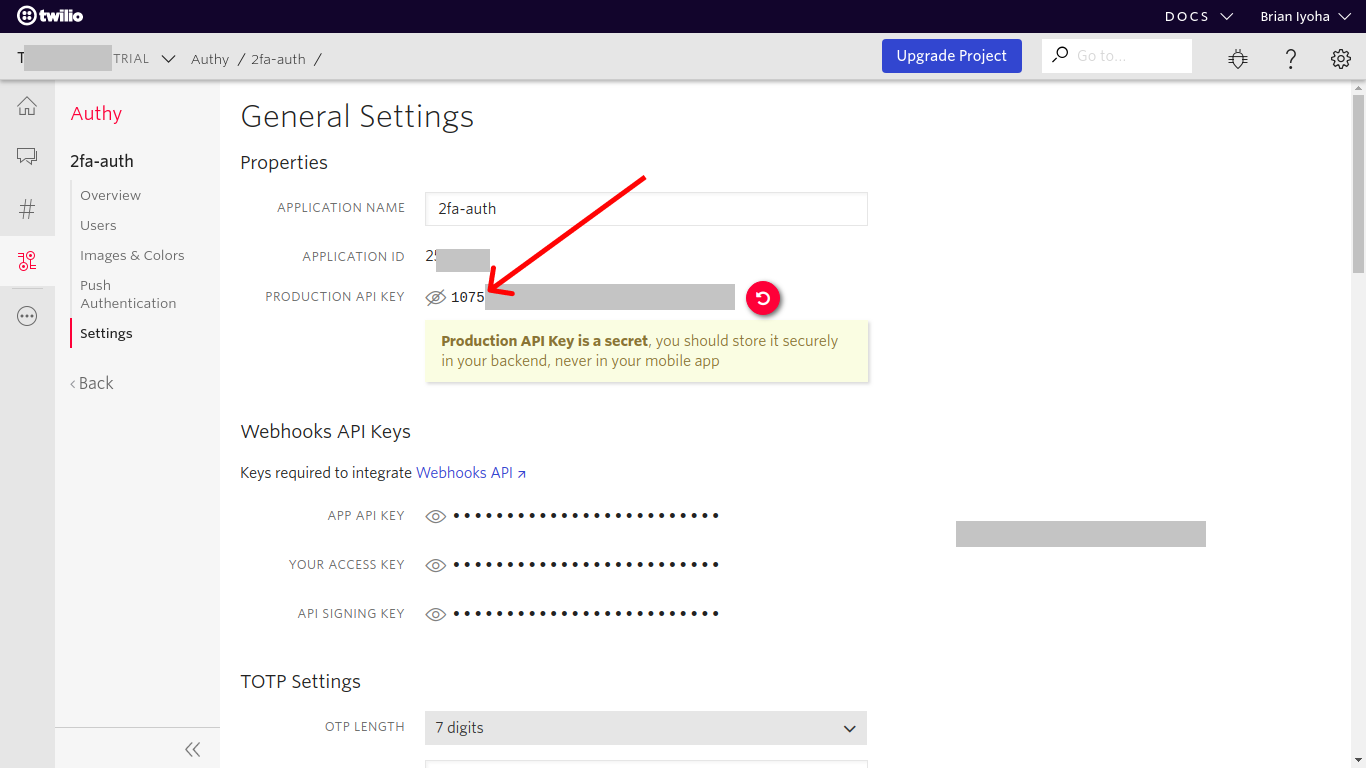
Copy your PRODUCTION API KEY from the settings page of your service:
Finally, update your .env file with the Authy secret:
Building Authentication Logic
Out-of-the-box, Laravel allows us to easily scaffold a basic authentication system for both registering and logging in to your application.
We will be making use of the Laravel auth command to scaffold our basic authentication logic. Adjustments will be made later to add two-factor authentication(2fa) to our authentication process. Fire up a terminal in the project directory and run the following commands to scaffold a basic authentication system:
The above command will create the login, registration, and home views, as well as routes for all authentication.
Updating the User Model
With the authentication system scaffolded, let’s begin making adjustments as needed. We need to update the Users migration to include new fields for storing phone_number and authy_id. Open up database/migrations/2014_10_12_000000_create_users_table.php and make the following changes to the up() method:
Now run the following command to execute the migration:
This command will create a users table in your database with the fields in the up() method of the User’s migration file.
Adding 2FA to Authentication System
At this point, you should have the basic Laravel auth scaffolded. Now let’s make the needed adjustment to add Authy 2FA to our application. First, you will make an adjustment to the create() method which is called after successful validation of the data retrieved from the form. Open up the RegisterController (app/Http/Controllers/Auth/RegisterController.php) and update the create() method as follows:
Let’s break down what is happening here. First you have to initialize the Authy SDK using your AUTHY_SECRET stored in your .env.To make use of Authy in your application a user must first be registered with the Authy service. This is done using the inbuilt registerUser() method of the Authy SDK:
The registerUser() method accepts three arguments for the user, email, phone number, and country code. Successful registration will return an id to be used for verifying the user’s identity.
NOTE:
- The id returned after registering a user with an Authy service must be stored as part of your user data as this is the only way to identify this user within the Authy service.
- You need to update the validation rules in the validator() method to include the phone_number and country_code fields.
After successful registration of the user with your Authy service, the user data along with the authy_id is stored in your Users table.
Be sure to import the AuthyApi class after the namespace in RegisterController.php.
Sending 2FA OTP
To send out the 2FA OTP to a user, you will have to make changes to what happens after a user has been successfully authenticated. Since we are using the Laravel Auth scaffold we won’t be writing out the entire Login logic, instead we will make changes to the authenticated() method of the AuthenticatesUsers trait. To make the needed adjustments, open up app/Http/Controllers/Auth/LoginController.php and add the following method:
NOTE: The authenticated() method in the LoginController will override the default Trait’s method because it makes use of the AuthenticatesUsers trait.
Just like before, initialize the Authy SDK with your AUTHY_SECRET. Next, request that an SMS OTP should be sent to the user using the requestSms() method from the Authy SDK. The requestSms() method takes in an argument of the user’s authy_id (which we got earlier after successful registration of the user) and sends the user of the id an SMS with an OTP code. This code will later be verified before granting the user full access to the dashboard.
Next, we set a session variable (isVerified) to false which is used to indicate if the user has been verified using the OTP sent to them via SMS. After successfully sending out the OTP and resetting the isVerified flag, you can then redirect the user to a page where he/she will be asked to input the OTP sent to them.
NOTE: Apart from the requestSMS() method, Twilio Authy SDK also supports other channels for sending the OTP to a user.
Be sure to import the AuthyApi class after the namespace in LoginController.php.
Verifying 2FA OTP
Next, let’s write out the logic for verifying a user’s OTP code. First generate a controller that will house the logic for verification. Open a terminal and run the following:
Now, open the just created file (app/Http/Controllers/VerifyController.php) and make the following adjustments:
Taking a look at the verify() method you need to ensure that the data coming from the form is valid and has the verification_code property before proceeding to initialize the Twilio Authy SDK. To verify the OTP sent from the form data, make use of the verifyToken() method. This method takes in two arguments, the user authy_id and the OTP. Using the auth() helper function, you can retrieve the authy_id from the authenticated user’s model:
Next, check that the request was successful before setting the isVerified flag to true and redirecting the user to the home(dashboard) page:
If the request isn’t successful, the user is redirected back to the previous page with an error message.
Updating the Authenticate Middleware
So far, you have been able to add 2FA to your Laravel application, but you still need to ensure unverified users do not have access to protected pages. Fortunately, Laravel supports middleware and also has a default Authenticate middleware which is used to guard protected pages in our applications. You need to make changes to the default authenticate middleware to ensure a user OTP has been validated before granting access to protected pages. To do so, you will have to make adjustments to two middleware files; Authenticate.php (ensures a user is authenticated to access a protected route) and RedirectIfAuthenticated.php (redirects a user if authenticated and accessing a guest route). Open up app/Http/Middleware/Authenticate.php and make the following changes:
The important bit here is in the handle() method where you will check if the user is authenticated and isVerified is true before allowing the user to proceed with the request. Else, it redirects them to the verify page to get verified. Open up app/Http/Middleware/RedirectIfAuthenticated.php and make the following changes:
Updating the views
At this point, you have added 2FA to your application authentication logic. Now, you will need to build out the views which users will use for interacting with your application. Fortunately, Laravel also scaffolds the basic views needed for registering and logging in to the application when the php artisan ui vue --auth command is used. Although the registration view has been scaffolded, you still need to make changes to it to include the fields for getting the user’s phone number and country code. Open up resources/views/auth/register.blade.php and replace its content with the code below to add the needed fields:
Next, create a new file resources/views/auth/verify.blade.php which will present the user with a form to input the OTP sent to them via SMS. Now open up resources/views/auth/verify.blade.php and add the following content:
Updating The Application Routes
Awesome! Now that the views have been updated, proceed to add the appropriate routes for the application. Open up routes/web.php and make the following changes:
Testing Our Application
Now that you are done with building the application, let’s test it out. Open up your terminal and navigate to the project directory and run the following command:
This will serve your Laravel application on a localhost port, normally 8000. Open up the localhost link printed out after running the command on your browser and you should be greeted with the default Laravel landing page with links to both the register and login page on the top right section of the header. You can proceed to register a user. If everything was coded correctly you will receive a OTP to verify your user’s session.
Conclusion
Awesome! Now that you have completed this tutorial, you have learned how to make use of Twilio's Authy Service for securing your Laravel application with Two-factor authentication. Subsequently, you learned how to modify the default Laravel authentication system and work with traits in a Laravel application. If you would like to take a look at the complete source code for this tutorial, you can find it on Github.
I’d love to answer any question(s) you might have concerning this tutorial. You can reach me via:
- Email: brian.iyoha@gmail.com
- Twitter: thecodearcher
- GitHub: thecodearcher

Related Resources
Twilio Docs
From APIs to SDKs to sample apps
API reference documentation, SDKs, helper libraries, quickstarts, and tutorials for your language and platform.
Resource Center
The latest ebooks, industry reports, and webinars
Learn from customer engagement experts to improve your own communication.
Ahoy
Twilio's developer community hub
Best practices, code samples, and inspiration to build communications and digital engagement experiences.