How to Set a Default Room Name in the Twilio Video React App
Time to read:
July 27, 2021
Written by
Reviewed by

If you have worked with the open-source Twilio Video React App, you have likely seen the start screen displayed below:
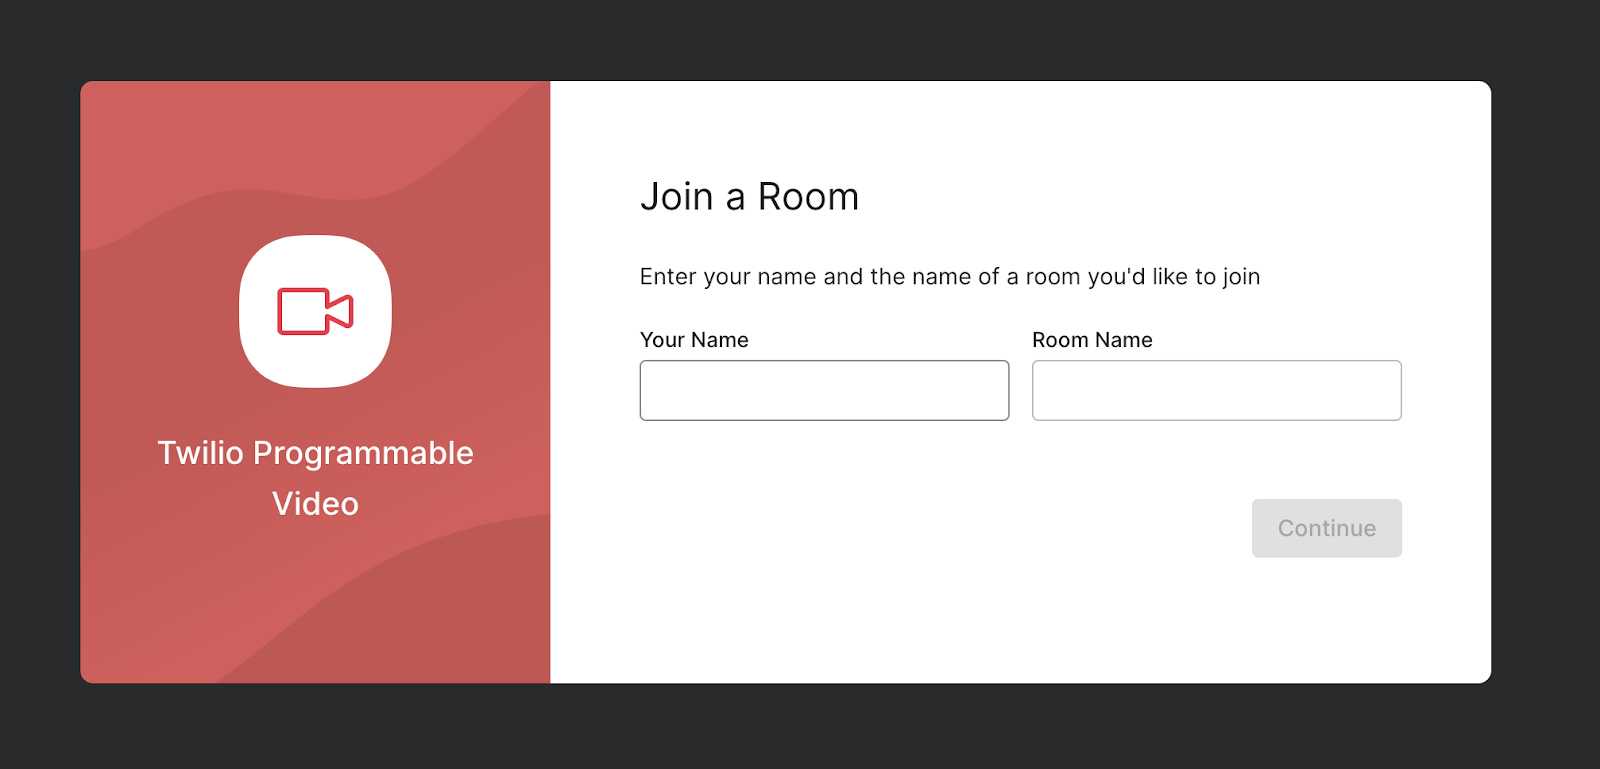
By default, this screen shows you two inputs: one for your name and one for the name of the video room you would like to join.
If you are building with this open-source video app, maybe you have wondered how you can prepopulate a video room name so that video room participants don't have to type it in.
In this tutorial, you will learn some quick ways you can change the default name of the video room in this application, as well as examine some of how this application uses React Hooks.
Prerequisites
- A free Twilio account. (If you register here, you'll receive $10 in Twilio credit when you upgrade to a paid account!)
- Node.js v12+ and npm installed on your machine.
Setup
To get started, clone the Twilio Video React App to your machine by using the terminal to navigate to the location where you would like the project to live, then running the following command:
Run the following commands to navigate to the root of the project directory, and then install the needed dependencies:
Once you have installed the needed dependencies, run the client side of the application with the following command:
Navigate to http://localhost:3000/ in a browser window. You will see the following screen:

By default, this screen shows you two inputs: one for your name and one for the name of the video room you would like to join. When you load up the application, both of these input fields will appear empty.
Change the video room's name via the URL params
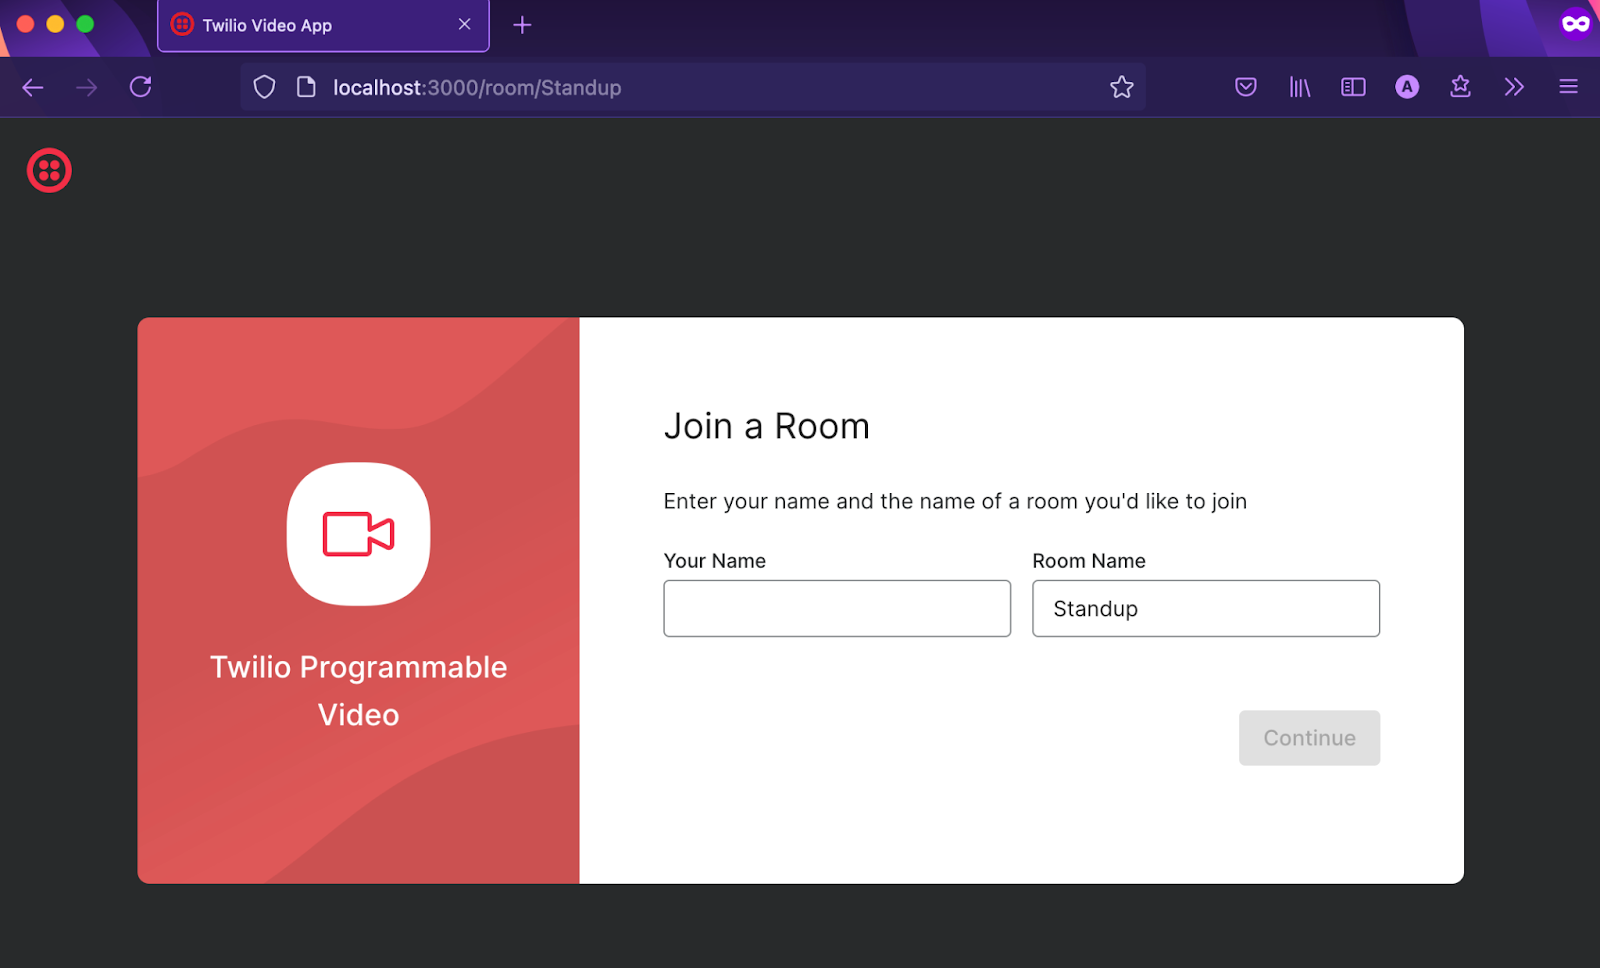
One easy way to change the video room's name is by passing a room name into the URL parameters. With your application running locally on http://localhost:3000/, you can pass in a name for the video room by adding room/<VIDEO_ROOM_NAME> to the URL.
For example, if you navigate to http://localhost:3000/room/Standup, you will see the Room Name field populated with the room name "Standup":
If you navigate to http://localhost:3000/room/Bass Practice, you'll see the Room Name entered as "Bass Practice":

Now that you know how to change the video room's name via the URL params, you may want to understand more about how this works. Follow along below to find out.
Walk through and examine the code
If you open the application's code in your code editor and take a look at the file twilio-video-app-react/src/index.tsx, you will see the following code inside the ReactDOM.render block:
Routing, the ability to show different pages to the user, is enabled in this application through React Router. Take a look at the highlighted code in the block above. When a user navigates to this route, the video room's name set in the :URLRoomName parameter will be accessible from the VideoApp component.
If you scroll up in this same file, you can see the VideoApp component itself:
You can look into the App component highlighted above by opening up twilio-video-app-react/src/App.tsx in your code editor. In this file, you can see that in this component's return statement, there is another component called PreJoinScreens:
If you follow this trail even further, opening up twilio-video-app-react/src/components/PreJoinScreens/PreJoinScreens.tsx in your code editor, you can examine the PreJoinScreens component. This component is what the user sees before joining a video call.
Here in this component, you can finally see where the URLRoomName parameter is used. Take a look at the highlighted line of code below:
Here, you can see that the component uses the useParams() hook to set the URLRoomName variable, which is the value of the room name passed in to the /room/:URLRoomName route you examined above.
Then, in the useEffect() block later in the code, you can see that if a URLRoomName has been passed in, this name is set as the roomName in the component's state:
Very cool! Now you know not only how to change the default room name via the URL params, but also how this works under the hood.
Hardcoding the default room name
It is also possible to hardcode a default room name that will always appear when the application loads. You can accomplish this in the same file that you were examining above.
In PreJoinScreens.tsx, take a look at the following line:
Here, you can see that the roomName state variable's initial state is set to an empty string via the useState() hook.
If you change this string to a different value, this will become the new default room name set for all video rooms when users navigate to http://localhost:3000/.
In the example code below, you can see the default room name changed to "Conference Room 1":
Now, if you navigate to http://localhost:3000/, the input for Room Name will have a value of "Conference Room 1":

How to disable the input field
Now that you know how to change the default room name, you might be interested in learning how to disable the Room Name input field. This can be useful in cases where you do not wish the user to change this value.
If you look again at PreJoinScreens.tsx, you can see that this component has a child component called RoomNameScreen, which controls setting and displaying the video room's name:
You can explore the RoomNameScreen component by opening the twilio-video-app-react/src/components/PreJoinScreens/RoomNameScreen/RoomNameScreen.tsx file.
If you scroll down to the return statement of the RoomNameScreen component, you can see that there is a TextField component for the room name. Disabling this input is as easy as adding the disabled attribute to the component's props:
Now, if you navigate to a URL such as http://localhost:3000/room/daily-check-in, you will see that the room name has been set to "daily-check-in" and that the input field is disabled. The user will not be able to change the room name by typing in this field:

What's next for working with the open-source Twilio Video application?
Now that you know how to change the default video room name, perhaps you're interested in exploring more about this open-source video chat application. Maybe you're interested in taking a deeper dive into the application in general. Or perhaps you want to learn more about how to deploy the app. Maybe you're interested in exploring this app's chat feature. There are so many things you can create with this application as a starting point. Which will you choose?
I can't wait to see what you build!
Mia Adjei is a Software Developer on the Developer Voices team. They love to help developers build out new project ideas and discover aha moments. Mia can be reached at madjei [at] twilio.com.


Related Resources
Twilio Docs
From APIs to SDKs to sample apps
API reference documentation, SDKs, helper libraries, quickstarts, and tutorials for your language and platform.
Resource Center
The latest ebooks, industry reports, and webinars
Learn from customer engagement experts to improve your own communication.
Ahoy
Twilio's developer community hub
Best practices, code samples, and inspiration to build communications and digital engagement experiences.