Use Serverless Functions to Send an SMS with React, Vercel, and Twilio
Time to read:
September 11, 2020
Written by
Reviewed by
Introduction
This article will discuss how to build a serverless application with React capable of sending SMS messages using Twilio Programmable SMS. With the rise of serverless architecture, developers can choose to focus on code and leave server management and configuration to third party services. In this tutorial, we will use Vercel to build and deploy serverless functions.
For the complete code, see this GitHub repo.
Prerequisites
- A Twilio account and phone number that can send SMS messages (you can sign up for a Twilio account for free here - if you use this link, we'll both get $10 in Twilio credit when you upgrade)
- Node.js
- React Dev Tools (optional)
- Vercel Account
- Any code editor of your choice
Setup
This tutorial will use Create React App to set up the initial React app quickly. Install Node.js on your local development machine if you haven't already.
Navigate to your project’s parent directory in your command prompt, and run the following commands:
The last command, npm start, will start the development server. In your browser, head over to http://localhost:3000. You will see the following:
The next step is to clean the sample code that’s generated by create-react-app.
- Delete App.css, index.css, and logo.svg from the src/ folder.
- Remove the line of code that says
import './index.css';from the top of src/index.js. - Modify App.js to look like this:
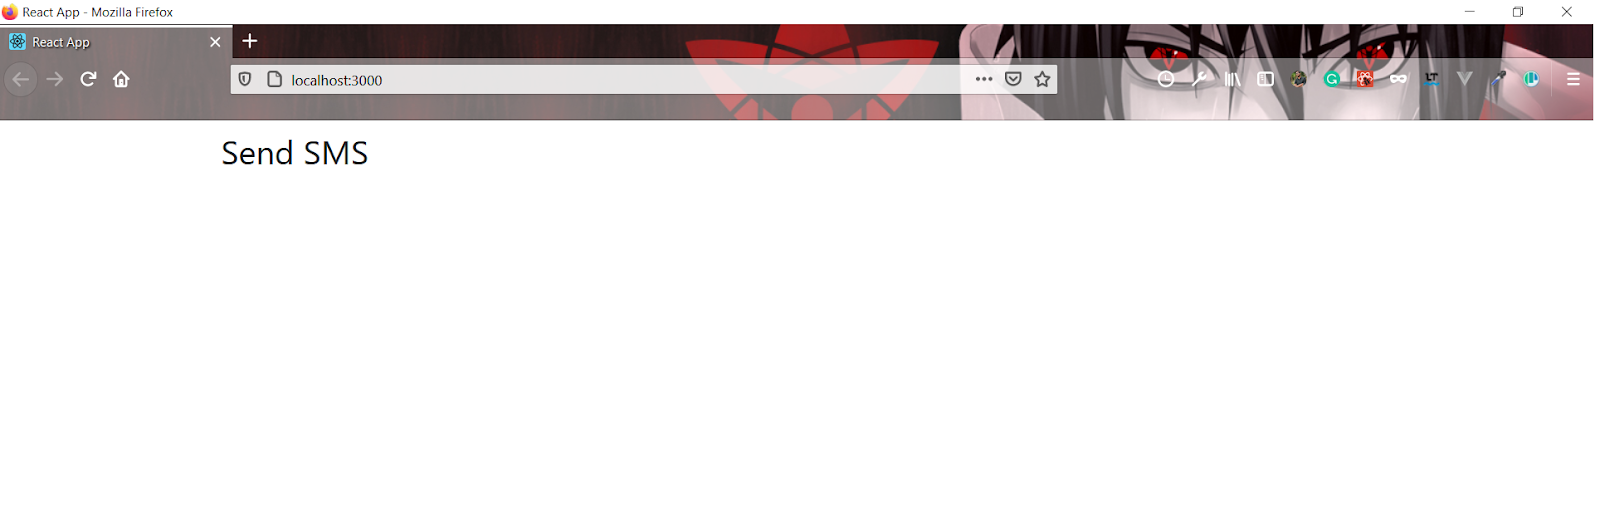
Check back at http://localhost:3000; the page will be empty now.
Installing Dependencies
Run the following command to install the additional packages necessary for this tutorial:
- react-bootstrap - React UI library to design the app's user interface.
- twilio - Twilio Client JS SDK.
To use react-bootstrap in your app, add the following line of code to the top of index.js:
Building the UI
In this section, you will use react-bootstrap to create a form that receives a phone number and message from the user.
The first step is to import the Container component from the react-bootstrap library in App.js and then add a Container to the form.
If you visit your browser, you won’t see any change to the app, but the Container component has added margins on both sides. This will be more apparent after adding a heading using the <h2> tag.
At this point, your app will look like this:
The next step is to import the Form component. You can read more about Form in the documentation.
Modify the Container import to include Form at the top of App.js like this:
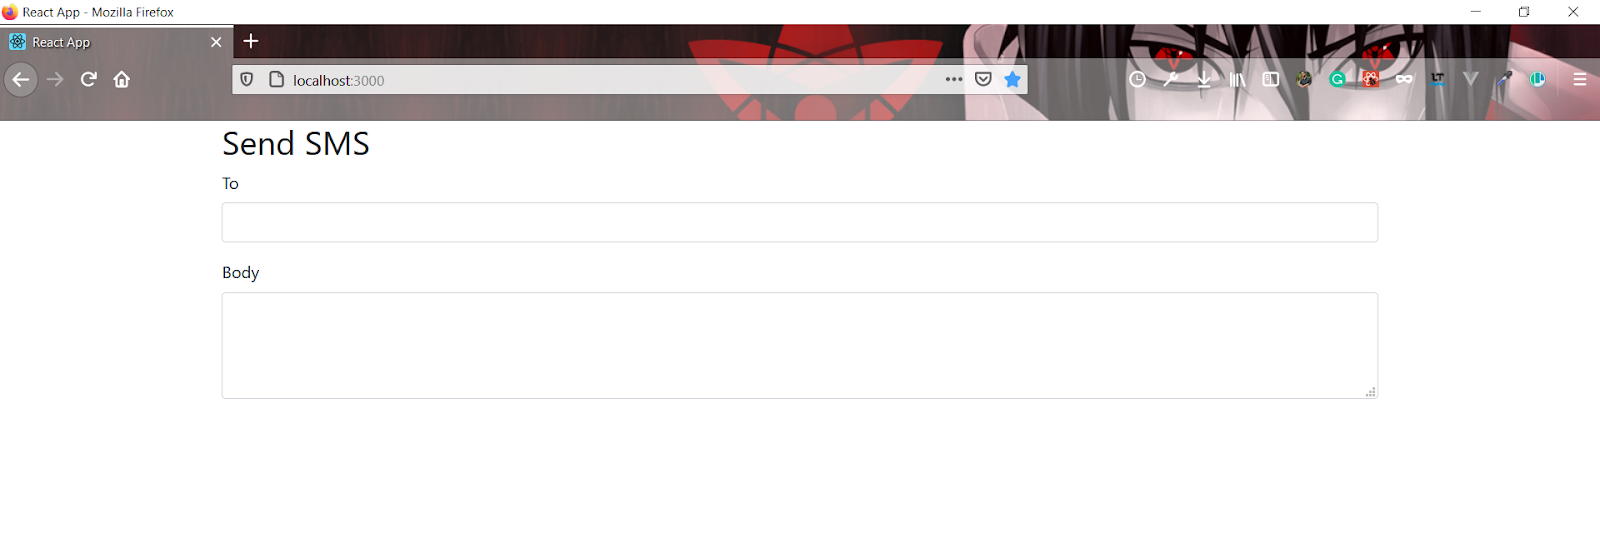
Now, add the Form component to the Container component. Your form needs two fields: one text field for the number where the message is to be sent, and one textarea field for the message itself. Label these fields To and Body, respectively. See the following form code:
Now, your app will look like this:
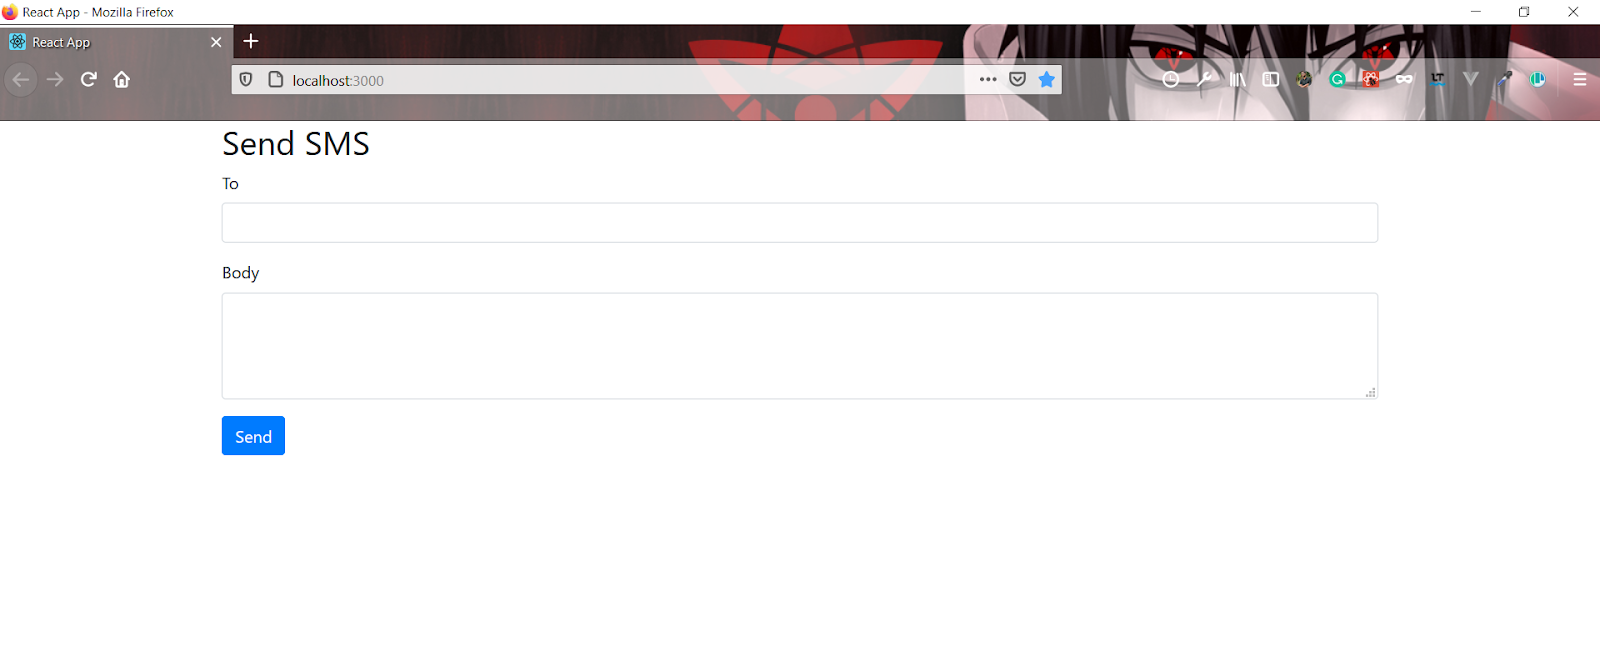
The form is still not complete; you need a button to trigger the sending message event. For that, import the Button component from react-bootstrap and add it to the form.
The UI of the app is complete; here is what your app will look like.
Adding State
Now that the UI is complete, you can direct your focus to storing the input from the user using React state. This tutorial will use React Hooks to add state to the `App` component. React Hooks are functions that let us use React features including defining a state without writing a class. In this tutorial, we will use the useState() hook.
Modify the first line in App.js to look like this:
At the top of the App component, define two states: number and body. As their names suggest, number will store the phone number and body will store the body of the SMS message.
Now, bind these states to the input fields. Add this code to To field:
Adding value and onChange tags to the form control creates a two-way data bind, which means that if the field is updated on the UI side, then the number state will get updated accordingly and vice versa.
We’ll do the same for the body field. Edit your code to reflect the following:
And it’s done! You have successfully created a two way data-bind between the state and the input fields. You can verify this by typing in the fields and logging the states in the console.
If you’d like to try this, in App.js add the following code just below the <Container> component.
Open the console by pressing CTRL + Shift + J in Chrome or CTRL + Shift + K in Firefox. Now try typing in the To and Body fields; you will see the same data in the console in real-time.
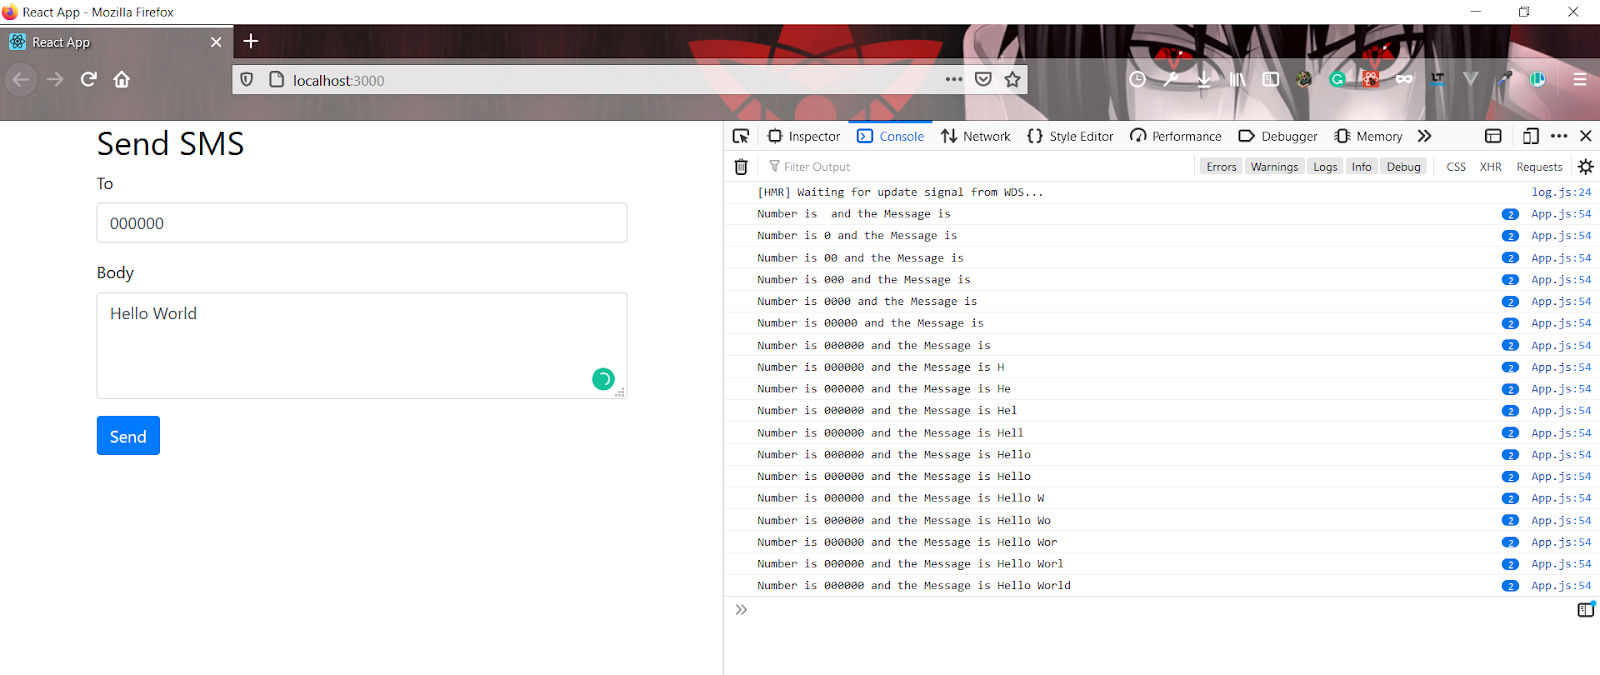
After you have verified the data-bind, you can remove the console.log() line from App.js.
Configuring Your Twilio Credentials
Go to your Twilio Console and create a new project named "React SMS Serverless". Follow the onboarding screens. If asked, set the programming language to "Node.js".
Find the values for your ACCOUNT_SID, AUTH_TOKEN, and your Twilio phone number. If you are on a trial subscription, you will need to get a trial phone number.
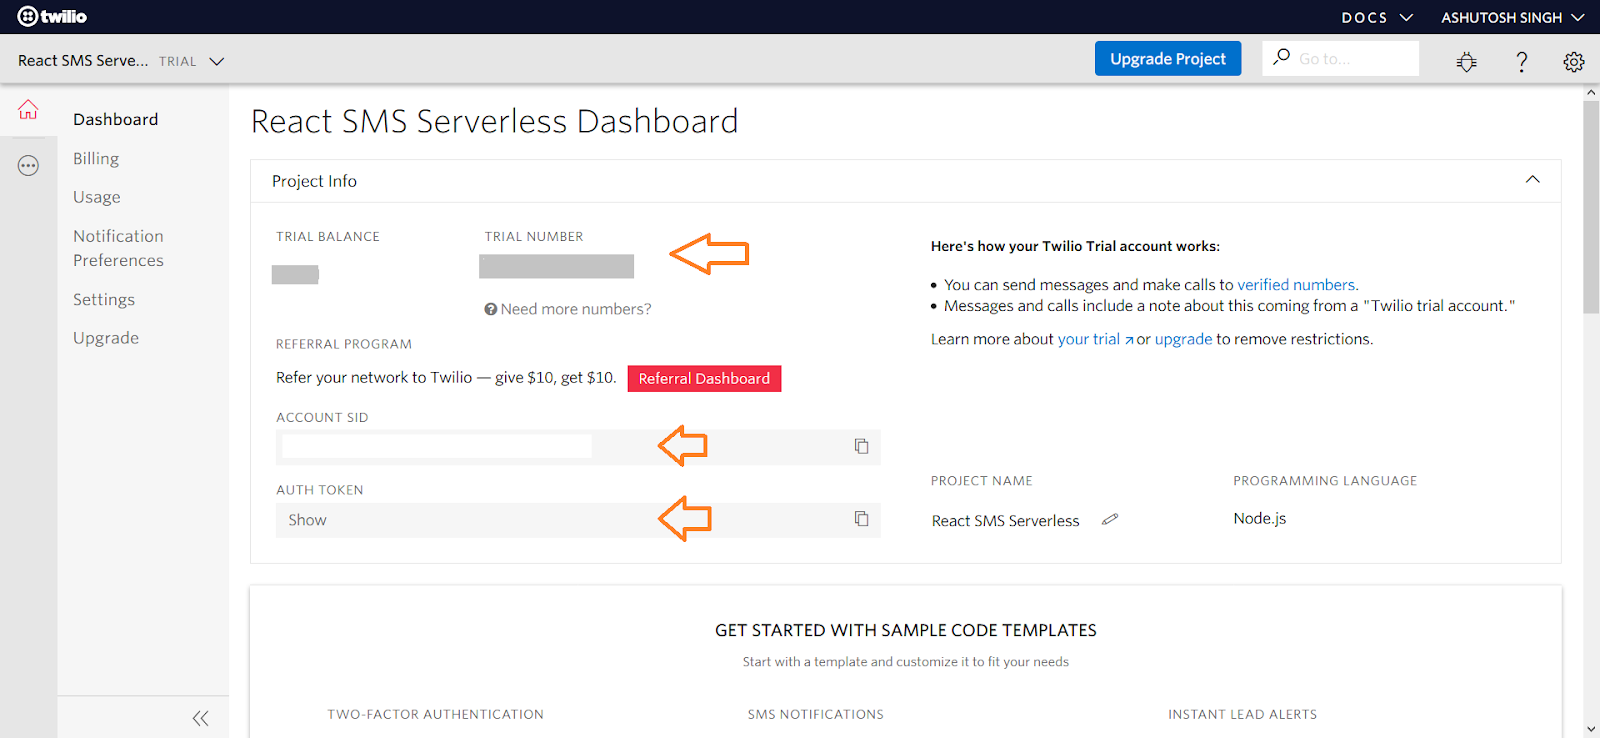
If you are on a trial subscription, you will also need to add at least one verified phone number to test your app. Go to https://www.twilio.com/console/phone-numbers/verified to add a phone number and verify it.
Once you have your credentials, you will need to store them in a .env file. Since this project was created with create-react-app you won't need to install the dotenv package separately. Be sure to prefix all environment variables with REACT_APP_. Read more about this here.
Create your .env file by running the following command.
Add the following fields to your .env file, filling them in with your credentials from the Twilio Console. Ensure that your Twilio phone number is in the E.164 format i.e. [+] [country code] [subscriber number including area code].
Integrating Vercel
This tutorial uses Vercel to deploy serverless functions. Serverless doesn't mean that there is no server; it means you don’t have to spend time configuring the server manually.
If this is your first time using Vercel, create a new account on https://vercel.com/. Next, install the vercel CLI on your local machine by running the following command:
In your command prompt, navigate to your app’s root directory. Then initiate a new Vercel project by running the following command:
If this is your first time using the Vercel CLI on your machine, you will need to first verify your account and then run the vercel command a second time. There will be several prompts to answer, hit enter to move through them with pre-populated responses or answer them accordingly.
Close the command prompt tab or window where your local server was running. From this point forward, you can test the app locally by running the following command:
This will start your development server on port 3000. Your application will look the same as when the development server started with npm start, but the difference is that this time you can create and test serverless functions with Vercel.
Creating Serverless Functions
In your project’s root directory, create a folder named api. All the serverless functions will be stored inside this folder. Close your development server and run the following command in the terminal to create the folder:
Inside this folder, create a new file named helloWorld.js. In this file, you will add one serverless function to familiarize yourself with the concept. Run the following command to create the file:
Add the following code to helloWorld.js. This code is a function with two parameters: req and res, which can be used to access request parameters, set headers, send information, etc.
Restart your development server. Now head over to http://localhost:3000/api/helloWorld. You will see the following output:
Now you’ll create another serverless function inside a new file called sendMessage.js. This time, the serverless function will be part of the app and not for demonstration. You can delete the helloWorld.js file.
In your command prompt, still inside your project’s root directory, run the following command:
Copy and paste the following code into sendMessage.js:
Create an instance of the Twilio client using the credentials saved in your .env file. You can access the environment variables in your code by prefixing them with process.env.
In sendMessage.js, add the following code before the export code block:
You will send a message using the client's messages.create() method, where from is your Twilio number that is stored inside .env.
Both to and body are set by the user on the client side when they submit the form. These are accessed using req.body.to and req.body.body.
This method returns a promise that will fulfill when the API request either succeeds or fails. In either case, a message is sent to the client side with a boolean indicating whether or not the event (sending a message) was successful.
Integrating the UI with Your Serverless Function
Now that your serverless function is complete, you will need to integrate it with your UI.
In your App.js file, add an onSubmit event listener to the Form component. The onSubmit event will trigger the onSubmit function when the user submits the form. This onSubmit function will be written in the next step.
Now, still in App.js, create the onSubmit function. This function will be responsible for sending the SMS message to the number submitted through the form. Inside this function, you will use the fetch API to POST to your serverless function.
Let’s discuss the code above, piece by piece.
First, an asynchronous function is initialized.
Then, e.preventDefault() is used to prevent the page from refreshing or reloading.
The fetch API is used to post the number and message to the sendMessage endpoint. In the POST request body, a JSON object containing the to and body values are converted to a string using JSON.stringify().
After the request is made, the response from the endpoint is saved in the data variable. Based on whether the value of data.success is true or false, the fields are either cleared or a message “An Error has occurred” is shown to the user.
Restart your development environment using vercel dev. Head over to http://localhost:3000 and try sending a message. Note: If you are on a trial subscription you can only send an SMS message to verified numbers.

After a few seconds, your SMS will be sent, and the fields will clear.
Conclusion
Congratulations! You just created a serverless app that sends an SMS message.
You can use this tutorial to explore different things that you can do with Twilio API. Here are some ideas to get you started:
- With a similar structure, you can create a React app that can lookup phone number, generate phone calls, or implement two factor authentication.
- You can use something like react-toastify to show errors.
Happy Coding!
Ashutosh is a JavaScript developer and a technical writer. He writes about the fundamentals of JavaScript, Node.js, React, and how to build portfolio projects in JavaScript and React. You can learn more about him at https://ashusingh.me/. You can also contact him at:
- GitHub:@lelouchB
- Twitter:@noharashutosh
- Email: admin@ashusingh.me
Related Resources
Twilio Docs
From APIs to SDKs to sample apps
API reference documentation, SDKs, helper libraries, quickstarts, and tutorials for your language and platform.
Resource Center
The latest ebooks, industry reports, and webinars
Learn from customer engagement experts to improve your own communication.
Ahoy
Twilio's developer community hub
Best practices, code samples, and inspiration to build communications and digital engagement experiences.