Using Twilio Lookup in .NET Core WPF Applications
Time to read:
June 23, 2020
Written by
.png")
There are a lot — really a lot — of applications collecting phone numbers. Those numbers all need to be validated and verified. It makes sense to do some of the validation on the front end where an end user or customer service agent can correct errors without waiting on a round trip to a server.
Application front-ends can determine if the contents of a specific field are “phone number-ish” by using data types, regular expressions, input masks, and odd bits of JavaScript. But they can’t tell if the input is a real phone number without checking the input against a list of real phone numbers.
Twilio Lookup makes it easy to validate phone numbers for both web applications and applications developed with .NET Core Windows Presentation Foundation (WPF), an open-source UI framework for creating desktop client applications for Windows.
Twilio provides helper libraries for a variety of programming languages and execution environments. While web application developers might use different libraries for their front-end and server-side validation as dictated by their application’s architecture, WPF developers can use the .NET NuGet package for both client and server validation tasks.
This post will show you how to add the Twilio helper library to a .NET Core WPF project and use it to validate phone numbers from your client app. It’s a great way to determine if a phone number being entered is a real phone number capable of receiving SMS text messages. If you’re building a heads-down application for financial services or healthcare, that’s the way to go.
Prerequisites
You’ll need the following development resources to build and run the case study project:
.NET Core SDK (includes the APIs, runtime, and CLI)
Visual Studio 2019 (the Community edition is free) with the following options:
- C#
- .NET desktop development workload
- GitHub Extension for Visual Studio
In addition to these tools you should have a working knowledge of C# and .NET Core. You should also be familiar with the Visual Studio user interface.
This is an introductory-level post. The code is limited to what’s necessary to demonstrate the topics discussed in this post, so don’t expect production-ready code that implements all the SOLID principles.
There is a companion repository available on GitHub. It contains the complete source code for the application you’ll be building by following the tutorial.
Getting and securing your Twilio account credentials
If you haven’t already done so, sign up for a free Twilio trial account using the link above.
Your Twilio account credentials enable you to access the Twilio products available in your Twilio account. Get your Twilio Account SID and Auth Token from the upper right-hand side of the dashboard in your Twilio console. These are user secrets, so handle them securely.
One of the best ways to handle user secrets on a development system is to store them as environment variables. This helps prevent them from accidentally being checked into a publicly accessible source code repository.
Storing your account credentials as environment variables makes them automatically accessible to the Twilio CLI. While the CLI isn’t necessary for this tutorial, it’s a handy thing to have.
To store these values as environment variables on Windows, open a PowerShell or Windows Command Prompt console window and execute the following command-line instructions, substituting your credentials for the placeholders:
For more information about storing your credential as environment variables, including instructions for macOS and Linux, see the post:
Setting Twilio Environment Variables in Windows 10 with PowerShell and .NET Core 3.0.
For more information on getting started with your Twilio trial account, see How to Work with your Free Twilio Trial Account.
Setting up the Visual Studio solution
Beginning a .NET Core WPF application is easy. Create a new project using the WPF App (.NET Core) template, as shown below, and click Next.
In the Configure your new project window, provide “TwilioLookupWpf” for the Project Name field and select an appropriate folder for the Location field. Accept the default values for the remainder of the options and click Create.
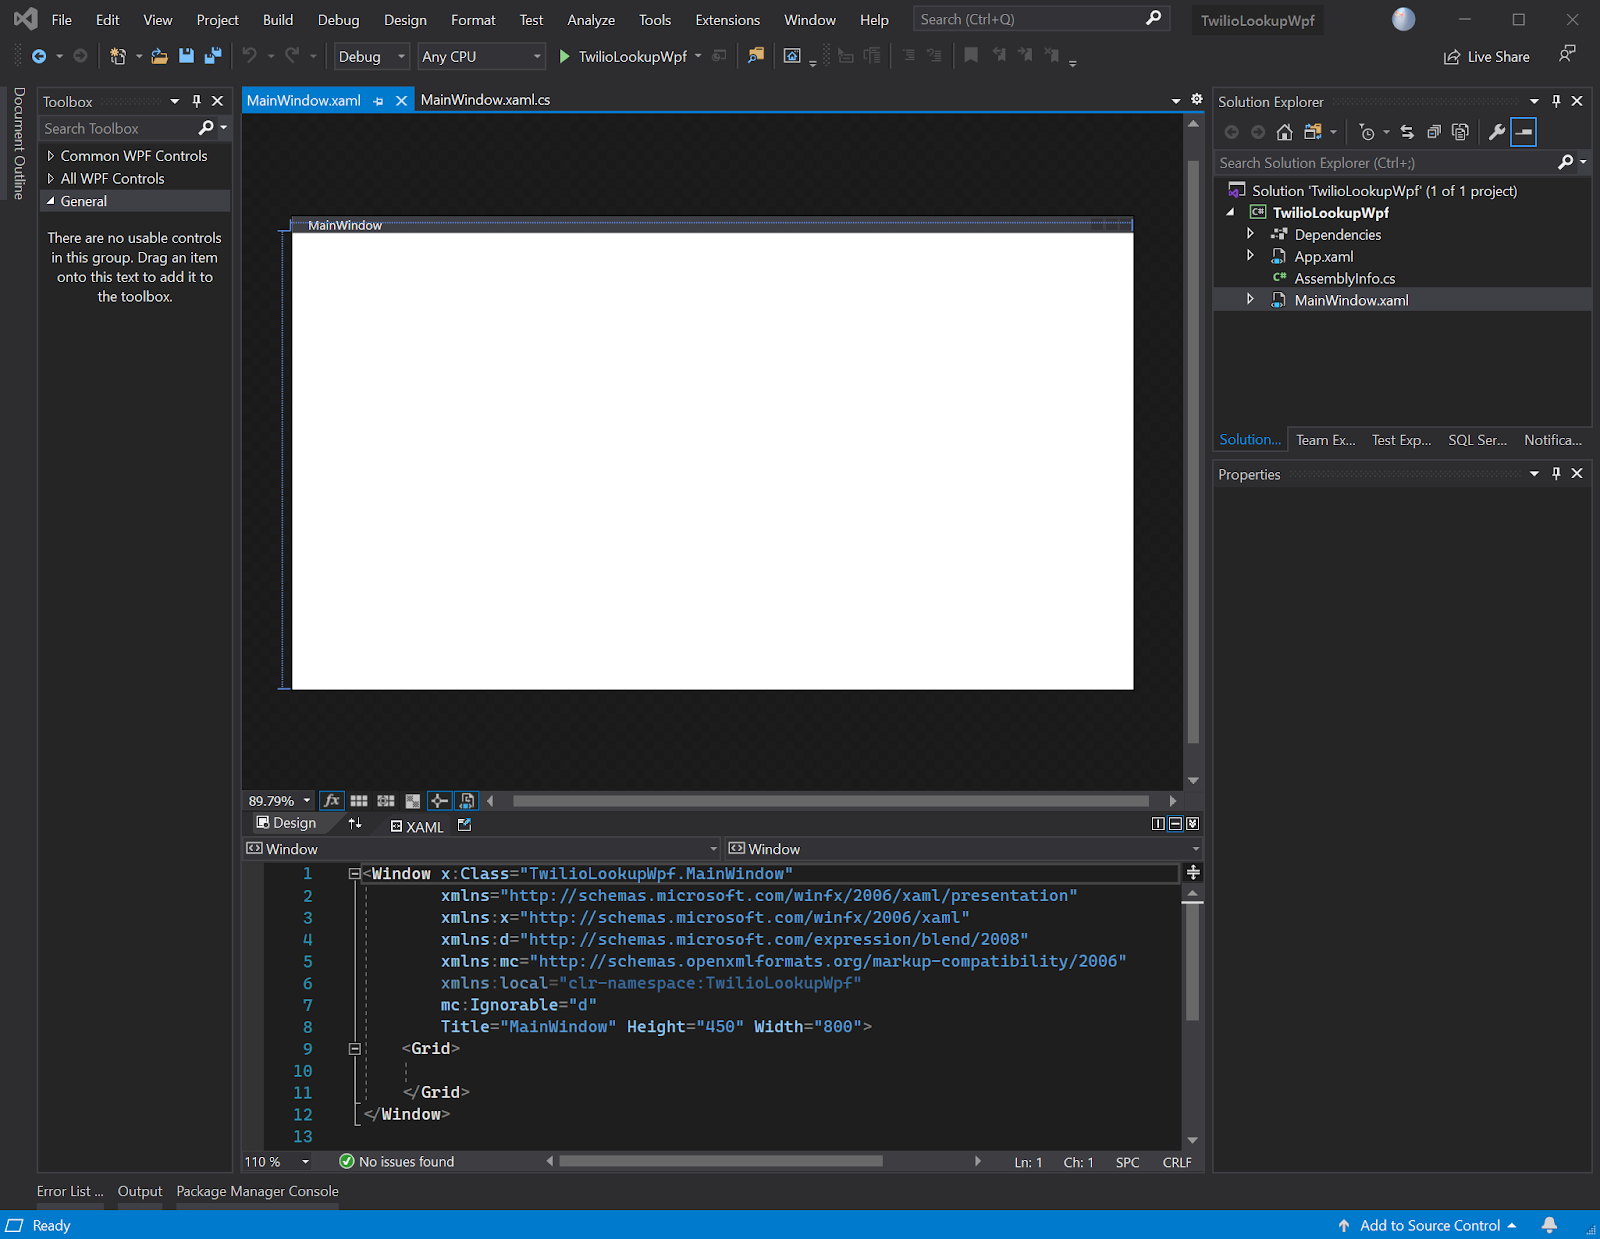
When Visual Studio is finished chugging through the process of creating the application from the template you should see a split-window view of the MainWindow.xaml file with the Design panel on top and the XAML panel on the bottom. It may look like the following, depending on how you’ve configured the many Visual Studio user interface options:
You’re ready to build the project.
Adding Twilio to the .NET Core WPF project
Select the TwilioLookupWpf project and add the Twilio NuGet package using the VS 2019 user interface or the Package Manager Console. The Package Manager CLI instruction is:
As of this writing the current version of the Twilio helper library is 5.43.0. Shout out to Devin and Marcos.
Creating a data model for Twilio credentials
It’s helpful to have a class to use for storing configuration values that you want to load at runtime rather than hard-coding into your application’s code.
Under the TwilioLookupWpf project, create a folder named Models. In the Models folder, create a new C# class file named TwilioSettings.cs and replace the contents with the following C# code:
This code does not require any using directives; it’s just a plain ol’ class object.
Designing the user interface
You could drag and drop controls from the palette of WPF controls in the Visual Studio Toolbox panel to build the user interface, but it will be faster to use XAML code.
Replace the contents of the MainWindow.xaml file with the following XAML code:
The Design panel should automatically update with three visible fields and a button. The first field, Country, is pre-populated with “US”.
Adding style to the application
One of the cool aspects of .NET Core WPF is that you can apply user interface styling across the entire application with a few lines of markup. There are standard user interface design themes included with Windows that follow the user interface design of various versions of Windows.
Open the App.xaml file under the project root and insert the following XAML markup in the <Application.Resources> node:
This will apply the Royale theme, which adds a sophisticated continental feel to the user experience.
Coding the user interface events
In the Solution Explorer panel, nested underneath the MainWindow.xaml file, you’ll find the MainWindow.xaml.cs code-behind file. This is where you’ll add the code to implement Twilio Lookup as part of this window.
Open MainWindow.xaml.cs and replace the existing using declarations with the following:
There are three Twilio APIs required for this user interface window, including the base namespace, the API exceptions namespace, and the REST API interface for the Twilio Lookup API. This window will use your Twilio credentials, so the Models namespace is also included.
Instantiating a TwilioClient object in a .NET Core class constructor
There are a number of ways of including Twilio products in .NET Core projects. One of the simplest is to instantiate the TwilioClient object in the constructor of classes that are going to use it. TwilioClient provides a secure connection between your application and the Twilio REST APIs, so it’s often the starting point for accessing Twilio products like Lookup.
Replace the existing MainWindow() constructor with the following C# code:
When an instance of the MainWindow class is created the constructor will fetch your account credentials from the environment and start up an instance of TwilioClient. Note that the process uses a static method, .Init(accountsid, authtoken). In most cases you’ll only want one instance of the client object.
Adding WPF event handlers
Take a look at the XAML code in MainWindow.xaml. There is a <Button> element with a Click attribute with a value of "Button_Click", as shown below:
Although the event handler has been specified, it hasn’t been coded yet.
In the MainWindow.xaml.cs file, add the following C# code below the constructor:
The event handler for the btnVerify Button control takes the value of the txtCountryCode and txtPhoneRaw textbox controls and uses them to attempt to create a new PhoneNumberResource object from the Twilio Lookup REST API. As it’s doing this it displays status information in the lblStatus label control, which is not visible on the Design panel surface because it doesn’t have any contents.
If the phone number lookup is successful the phone number is displayed in E.164 format in the txtPhoneVerified textbox control.
Handling API errors
If TwilioClient has trouble communicating with the API or there’s an error processing the request, an error is returned in the HTTP response body in the form of a XML object. The Twilio.Exceptions API turns this into a Twilio.Exceptions.ApiException object which can be handled in a catch block.
A key resource for understanding Twilio API errors is the Twilio Error and Warning Dictionary, which provides a comprehensive list of error codes and explanations. The links provided by the ApiException.More property will take you to the corresponding error page in the dictionary.
Testing the application
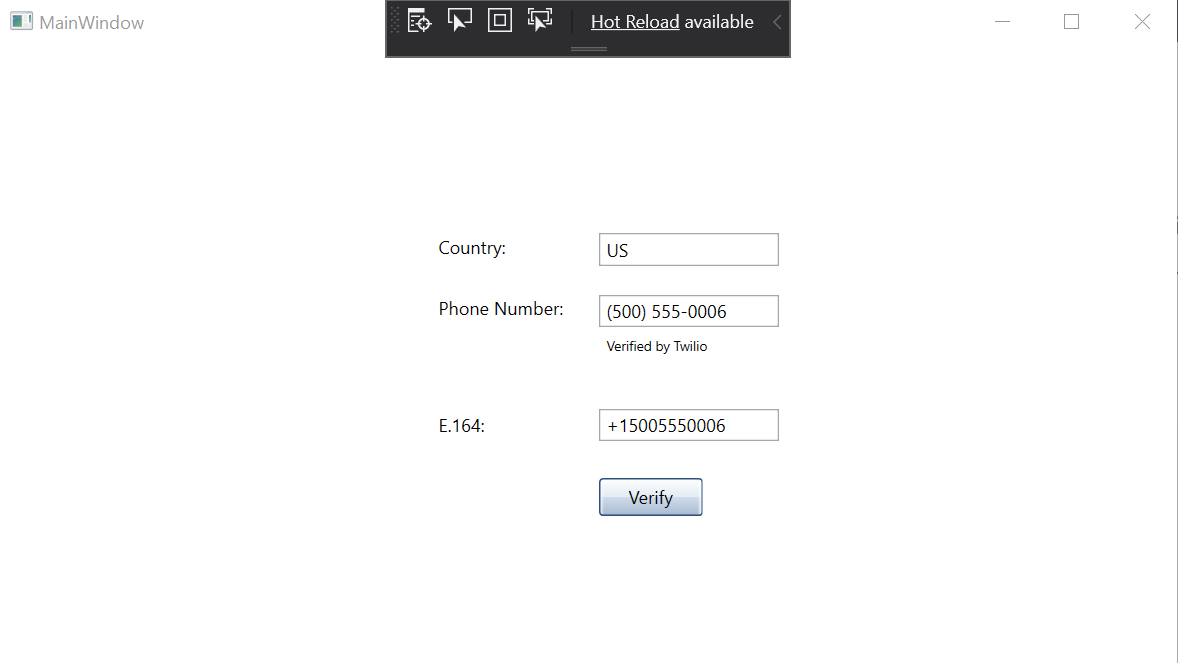
Build and run the application. When the MainWindow user interface opens, enter “(500) 555-0006” in the Phone Number field and click Verify.
You should see, briefly, “Verifying with Twilio” appear below the Phone Number field. Then the E.164 version of the number will appear in the E.164 field with “Verified by Twilio” below it.
An example is shown below:
Experiment with your own phone numbers and non-phone numbers. You can also change the value in the Country field to any Alpha-2 ISO 3166 country code and enter a phone number for that country.
Summary
This post showed you how to use Twilio Lookup in a .NET Core Windows Presentation Foundation (WPF) application. You saw how to collect phone numbers, send them to Twilio Lookup, and get validated results back. You also saw how to handle errors from the Twilio API and how to use Twilio user secrets stored as environment variables.
Additional resources
Channel 9: Desktop and .NET Core 101 – Microsoft’s video guide to creating a .NET Core WPF Application.
Lookup API – Twilio’s complete API reference information.
TwilioQuest – Level up your programming skills by completing missions in Twilio’s adventure game. It’s fun for the whole quarantined family!
AJ Saulsberry is a Technical Editor at Twilio. Reach out to him if you’ve been “there and back again” with a .NET development topic and want to get paid to write about it for the Twilio blog.

Related Resources
Twilio Docs
From APIs to SDKs to sample apps
API reference documentation, SDKs, helper libraries, quickstarts, and tutorials for your language and platform.
Resource Center
The latest ebooks, industry reports, and webinars
Learn from customer engagement experts to improve your own communication.
Ahoy
Twilio's developer community hub
Best practices, code samples, and inspiration to build communications and digital engagement experiences.