How to Use Twilio Async Answering Machine Detection
Time to read:
June 21, 2021
Written by
Reviewed by

Twilio’s standard answering machine detection (AMD) product is used to programmatically detect whether a person or a voicemail answered your call. AMD is often used to inform customers about an upcoming appointment and can also be used to connect customers with an agent – but only if the customer answers; if the call goes to voicemail, you can leave a message instead.
The only problem with standard AMD is it often introduces a delay while it is processing. The duration of this delay can vary, but in instances where AMD needs more time to determine the result, it can create a lower quality customer experience where a customer answers the call and doesn’t hear anything for several seconds.
The solution – Asynchronous or Async AMD. In the instructions below, I’ll walk you through an example that shows how to use Async AMD and how to use the callback result to update the call via API.
Asynchronous vs. standard answering machine detection (AMD)
With Async AMD on Twilio, AMD is done asynchronously (hence the name). When the call is answered, a call url is executed immediately, so if a person answers the call rather than voicemail, they can begin interacting with your application without any silence. Then “asynchronously”, or “in parallel”, AMD processes the call audio and determines what answered the call. When AMD processing is complete, the result (the AnsweredBy parameter) is sent to a second URL, the asyncAmdStatusCallback.
One key difference between standard AMD and async AMD is how you modify the call once receiving the AMD result. With standard AMD, you have one URL and the result is sent to this URL just like any other outbound-api call. When your URL receives the result, you can check the AnsweredBy parameter and update the call accordingly with TwiML. With Async AMD, your call is already executing TwiML and you instead need to update the call via API.
Things you'll need
In order to follow this tutorial, you will need:
- A Twilio account.
- A Twilio number or verified caller ID.
- A phone that can receive calls.
The Build
There are three main parts to this build – a few TwiML Bins, an async callback function, and the outbound-api call request. We’ll start with the TwiML Bins, so that you can copy their handler URLs into your async callback function.
Create Your TwiML Bins
The TwiML Bins will be used to supply the TwiML you would like executed during your call. TwiML Bins are a simple way to host TwiML, but you could also host TwiML on your own server if you prefer.
We’ll create three different TwiML Bins in this tutorial – one for the call URL, one for when AMD results in “human”, and one for when the result is a voicemail.
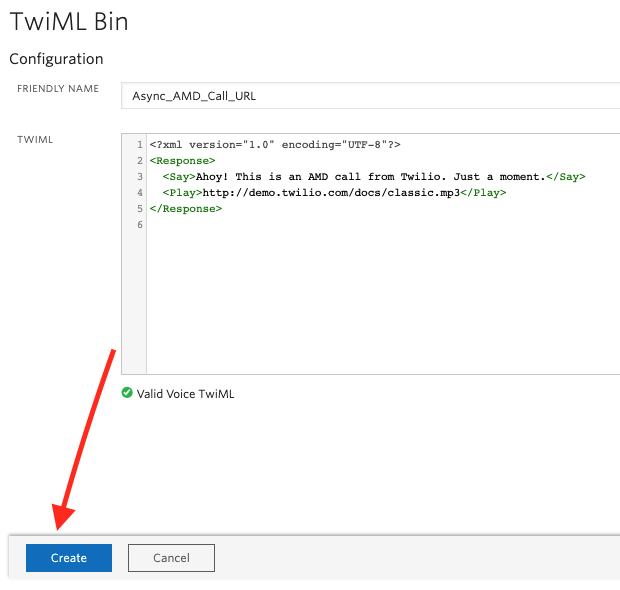
Call URL
This TwiML Bin serves as the URL for the outbound-api Async AMD call. The TwiML is executed immediately after the call is answered.
- Go to the TwiML Bins dashboard in the Twilio Console.
- Click the + button to create a new bin.
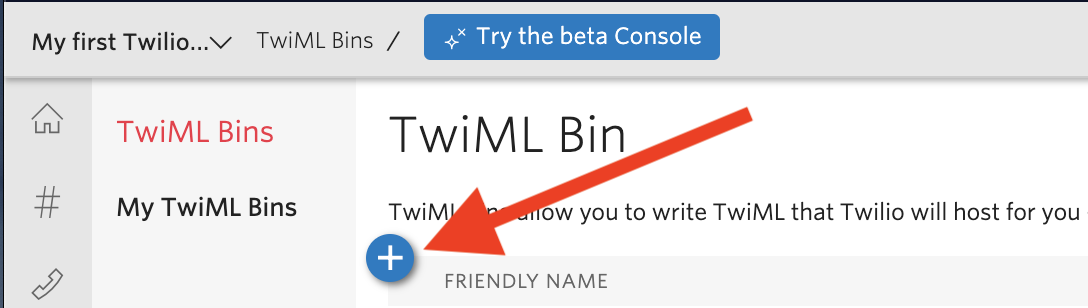
- Give your bin a friendly name. I called mine
Async_AMD_Call_URL. - Paste the following TwiML into the “TWIML” field and click Create.
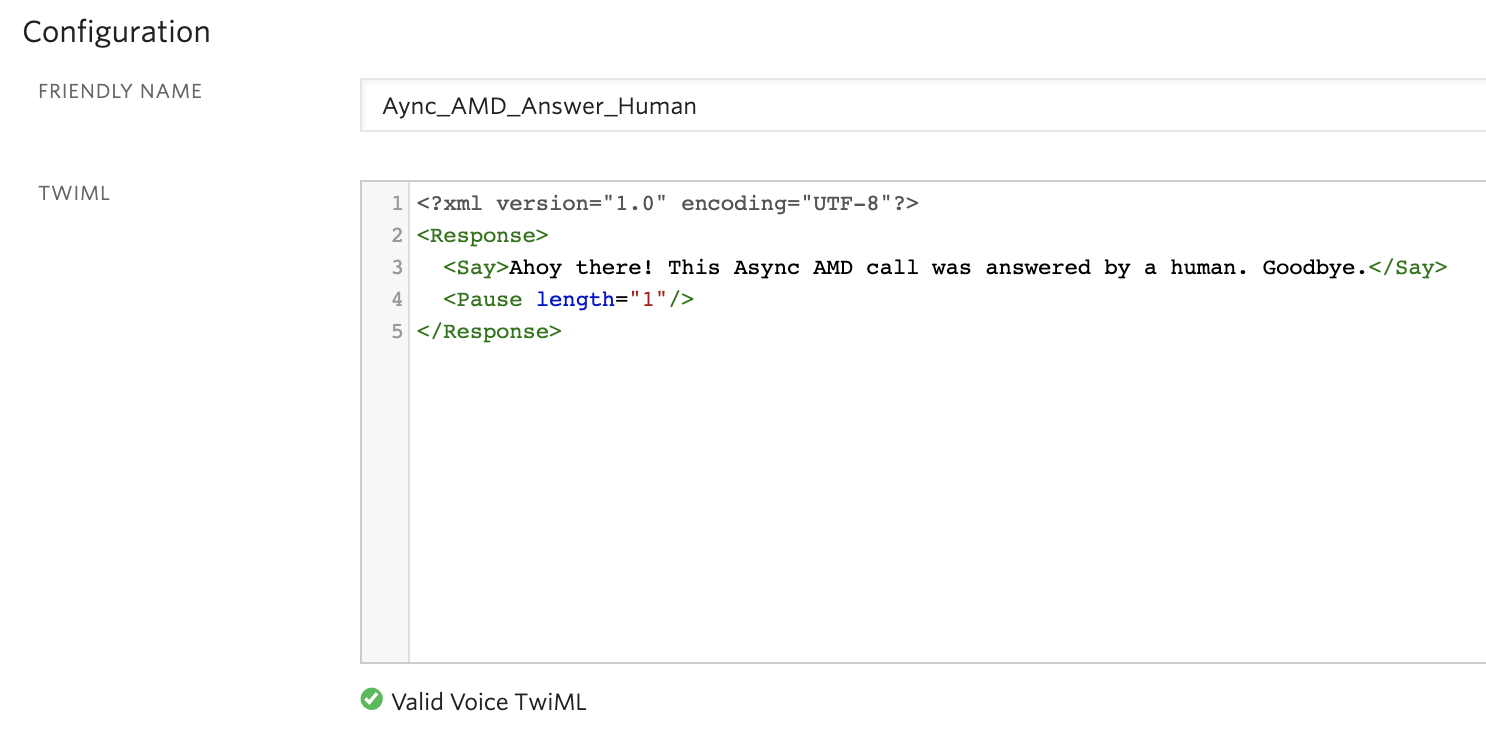
Human Answer
The following TwiML Bin is served if AMD results in 'human' (i.e. AnsweredBy = human).
- Follow the same steps to create a new TwiML Bin.
- Give your bin a friendly name. I called mine
Aync_AMD_Answer_Human. - Paste the following TwiML into the TWIML field and click Create.
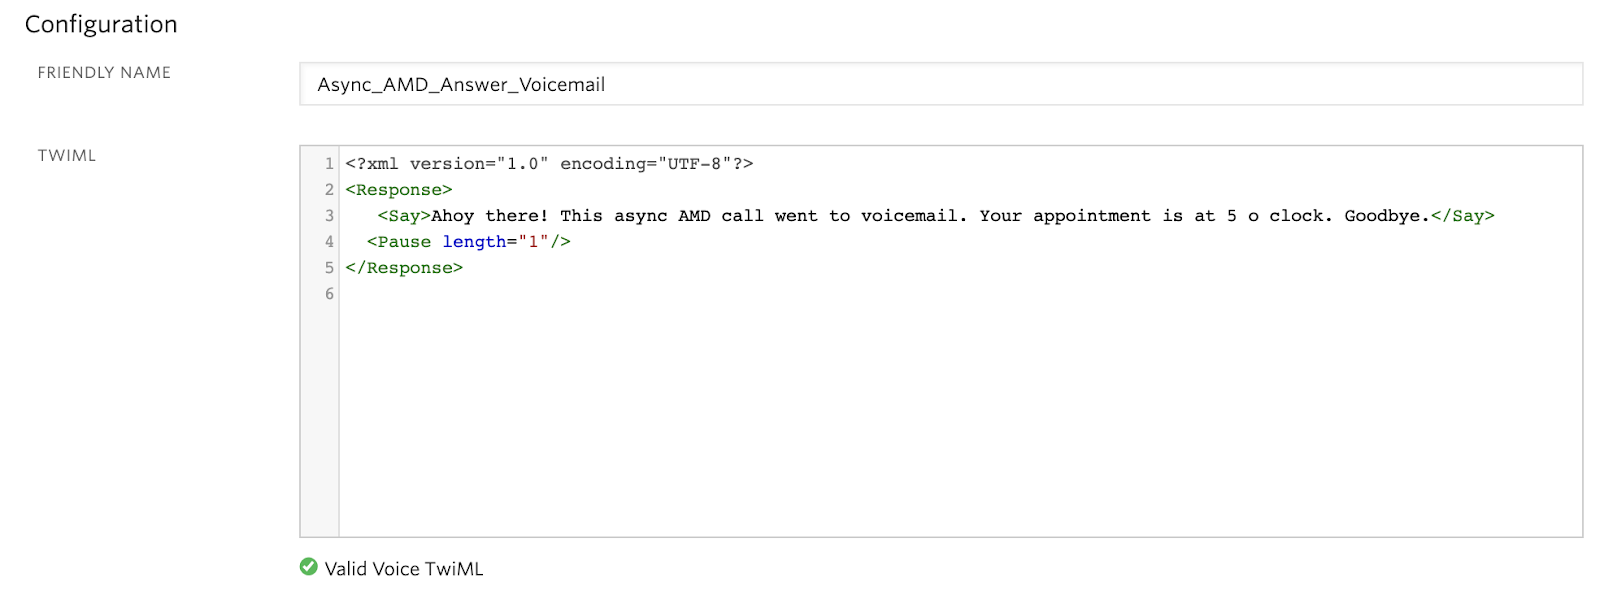
Voicemail Answer
This Bin is served if the call goes to voicemail.
- Follow the same steps to create a new TwiML Bin.
- Give your bin a friendly name. I called mine
Async_AMD_Answer_Voicemail. - Paste the following TwiML into the TWIML field and click Create.
Create Your Async Callback Function
For the async callback function, I will use Twilio’s serverless Functions product, but if you already have a web server setup feel free to use that instead.
- Go to the Functions Services page in the Twilio Console.
- Click Create Service.
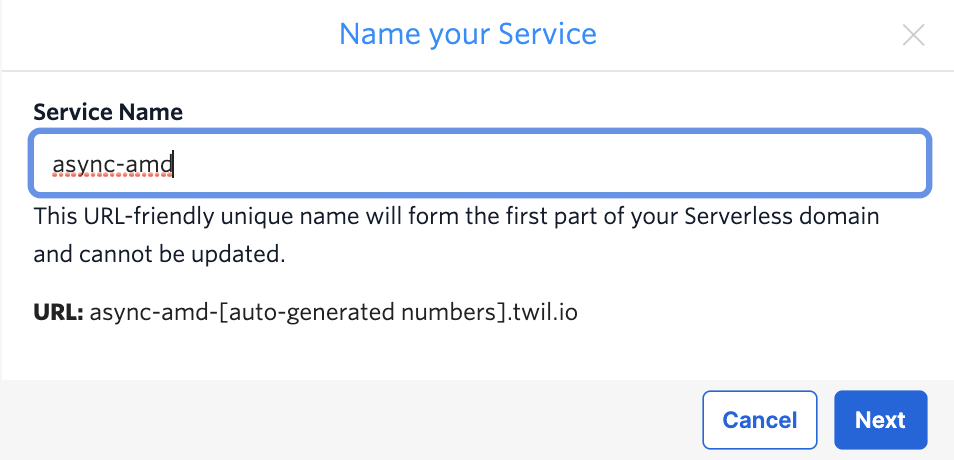
- Give your service a name. I called mine “async-amd”.
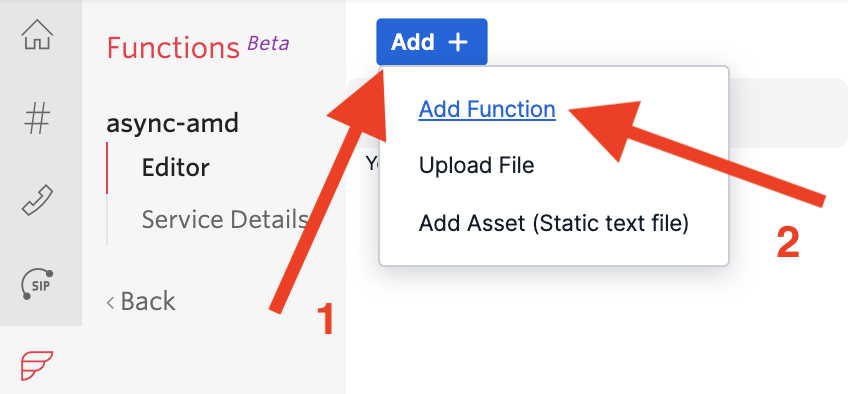
- Click the blue Add + button, then select “Add Function”.
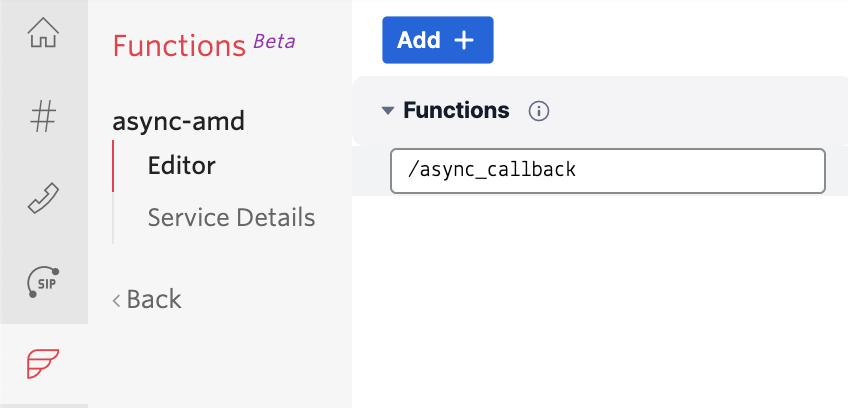
- Give your Function a name. I called mine “async_callback”.
- Delete the default function and replace it with the function below.
//Function for Async AMD exports.handler = function(context, event, callback) { // init runtime client const client = context.getTwilioClient(); // check AnsweredBy and update call with new twiml // If human, play greeting. Add <Dial> to forward to another number if (event.AnsweredBy == "human") { client.calls(event.CallSid) .update({url: '<YOUR_ASYNC_AMD_ANSWER_HUMAN_URL>'}) .then((result) => { console.log('Call answered and successfully updated'); return callback(null, 'success'); }) .catch((error) => { console.log(error); return callback(error); }); } // else update call with voicemail message else { client.calls(event.CallSid) .update({url: '<YOUR_ASYNC_AMD_ANSWER_VOICEMAIL_URL>'}) .then((result) => { console.log('Call to voicemail successfully updated'); return callback(null, 'success'); }) .catch((error) => { console.log(error); return callback(error); }); } } - Replace the
<YOUR_ASYNC_AMD_ANSWER_HUMAN_URL>and<YOUR_ASYNC_AMD_ANSWER_VOICEMAIL_URL>with the appropriate TwiML Bin URLs created earlier. - Click Save.
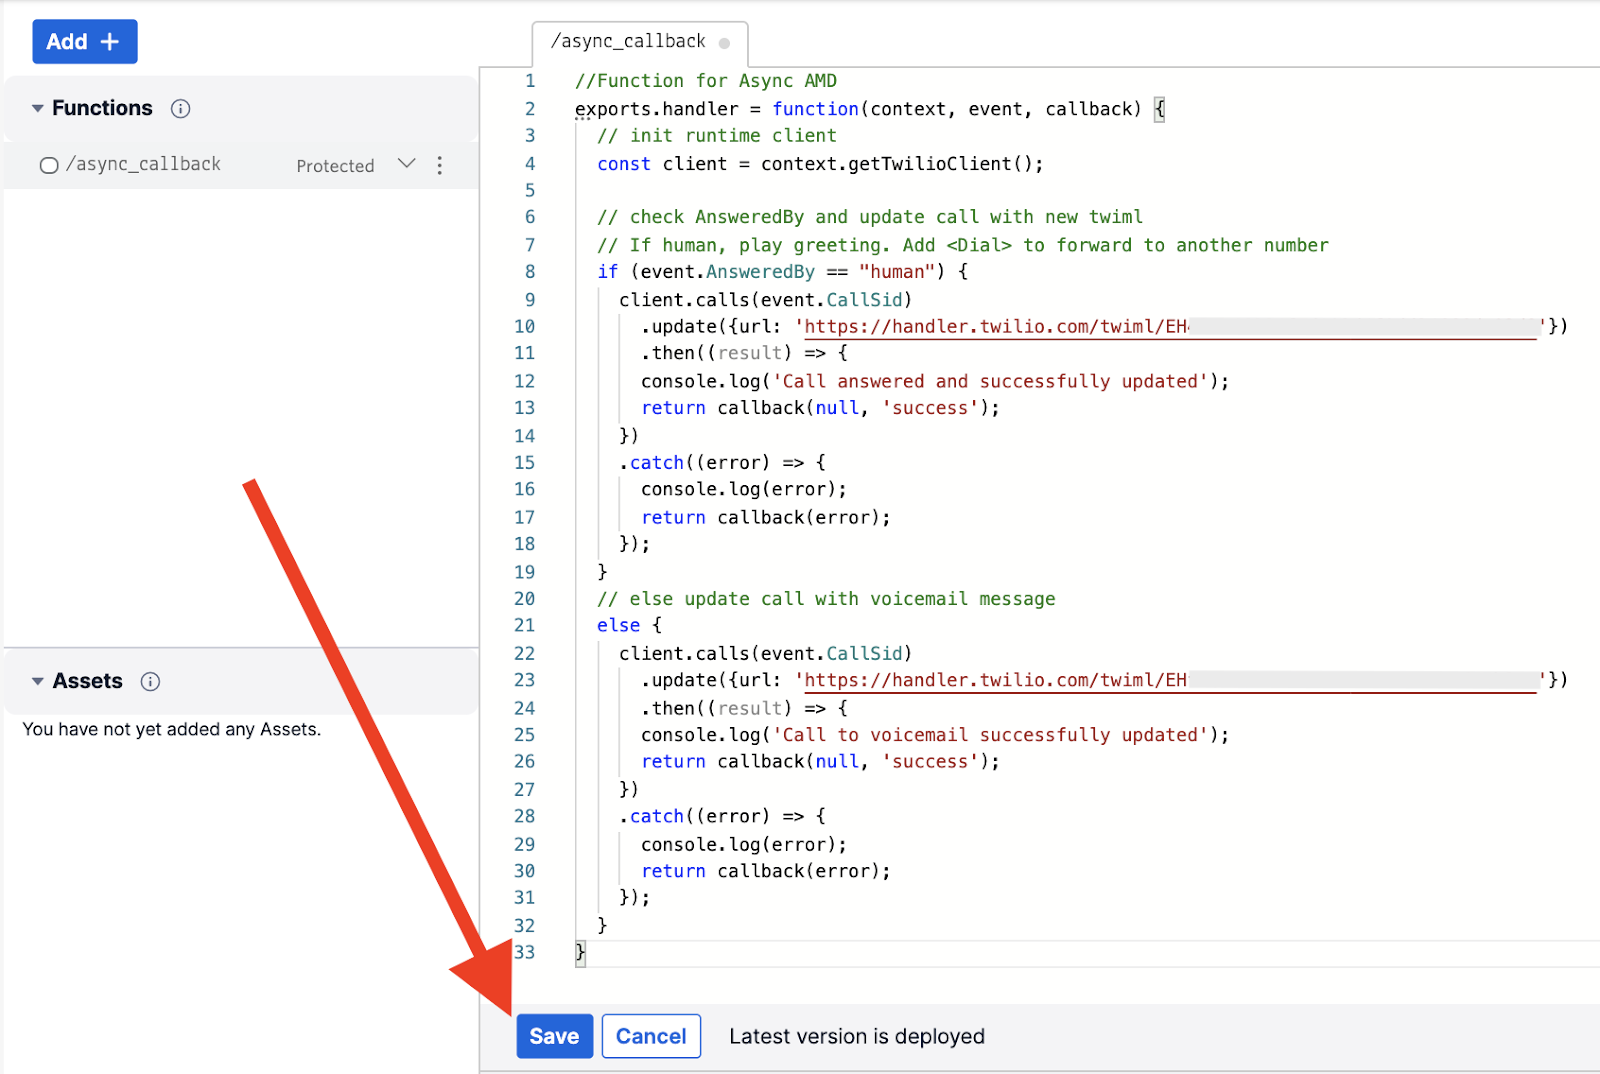
- Then click the Deploy All button at the bottom left corner.
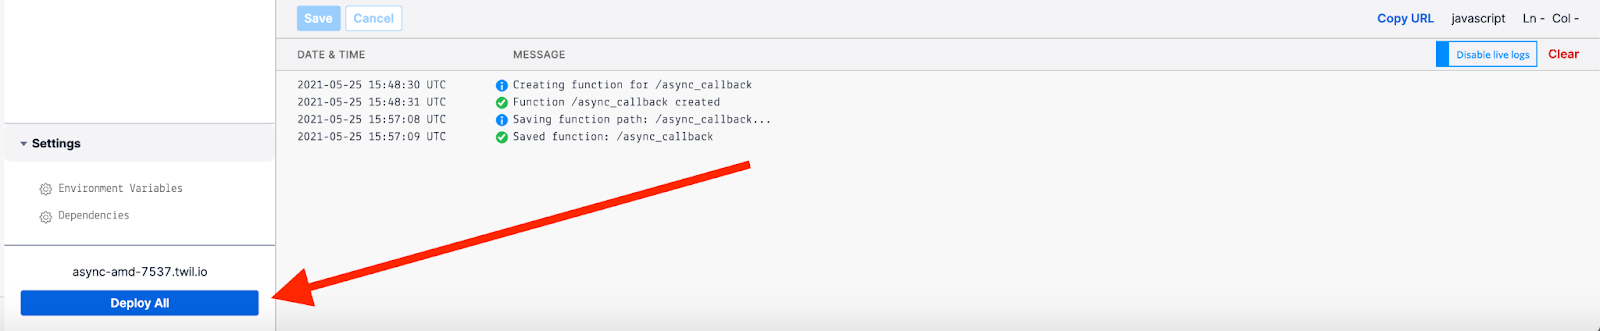
- You should see your function built and deployed in the logs.

Write Your Outbound-Api Call Script
Now, let’s write the script to generate the outbound-api call with Async AMD enabled. For this tutorial, I will use curl to generate the call so anyone can simply copy and paste the command into their terminal.
For production, use whichever helper library you prefer per the AMD documentation.
- Open a text editor.
- Paste the following curl command into your text editor.
curl -X POST https://api.twilio.com/2010-04-01/Accounts/$TWILIO_ACCOUNT_SID/Calls.json \ --data-urlencode "MachineDetection=DetectMessageEnd" \ --data-urlencode "AsyncAmd=true" \ --data-urlencode "Url=<YOUR_ASYNC_AMD_CALL_URL>" \ --data-urlencode "AsyncAmdStatusCallback=<YOUR_ASYNC_CALLBACK_FUNCTION_URL>" \ --data-urlencode "To=+15555555555" \ --data-urlencode "From=+18888888888" \ -u $TWILIO_ACCOUNT_SID:$TWILIO_AUTH_TOKEN - Update the command with your own values.
a. If you don’t have your Account Sid and Auth token saved as environment variables, replace both occurrences of$TWILIO_ACCOUNT_SIDwith your own account SID and replace the single occurrence of$TWILIO_AUTH_TOKENwith your own auth token. You can find these values on the homepage of the Twilio Console under Project Info.
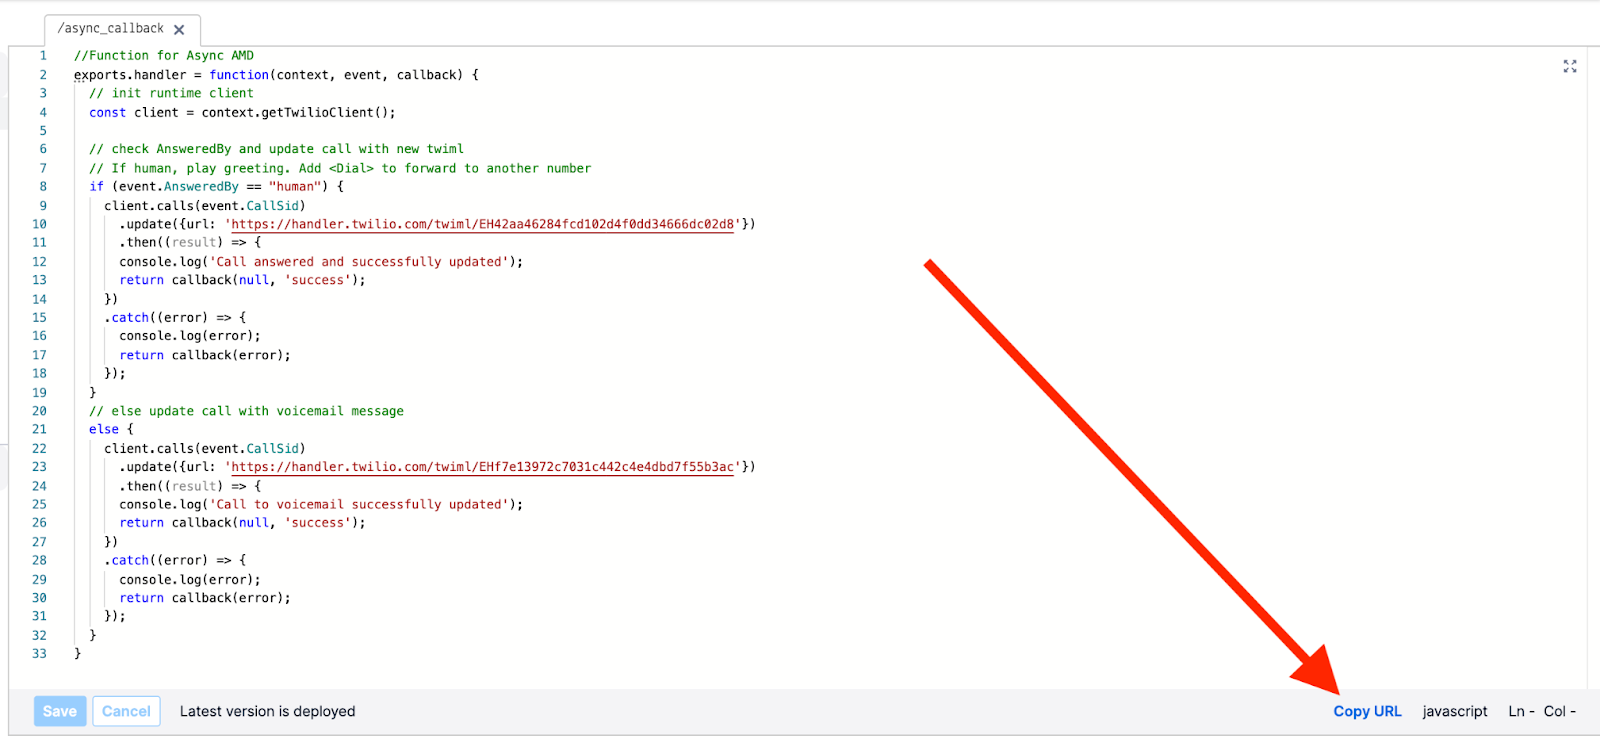
b. Set the “Url” parameter to the handler URL of theAsync_AMD_Call_URLTwiML Bin that was created earlier.

c. Set “AsyncAmdStatusCallback” to your own Async callback function URL from the Twilio Functions console.
d. Update the “To” number to the phone number you will receive the call at.
e. Update the “From” number to a Twilio number or verified caller ID in your account.
Time to Test!
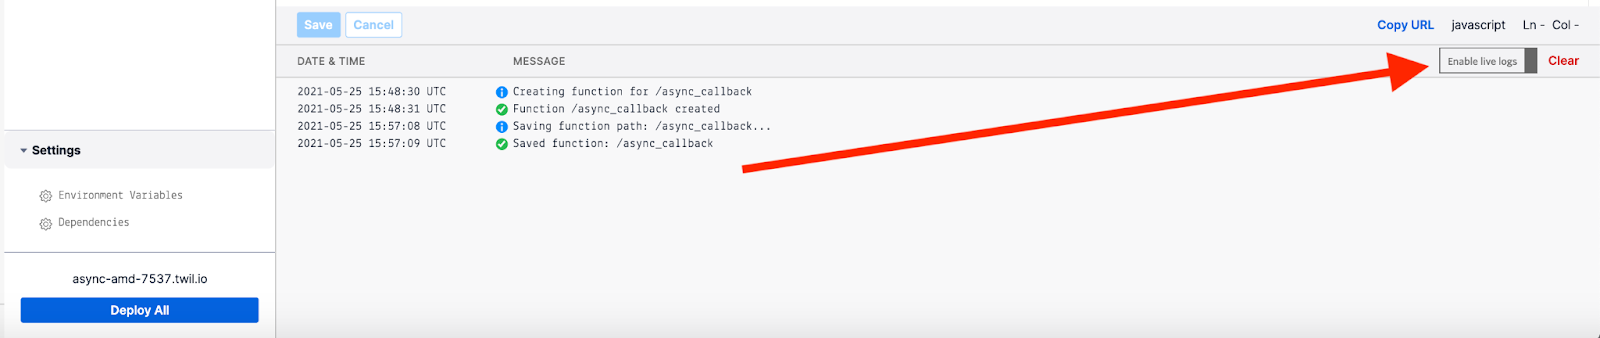
Before you run your script, make sure to enable live logging in your Function console.
To run your script, copy and paste the full curl command into your computer’s Terminal (Mac) or Command Prompt (Windows) and hit enter. If the script executed successfully, you should see output similar to the following:
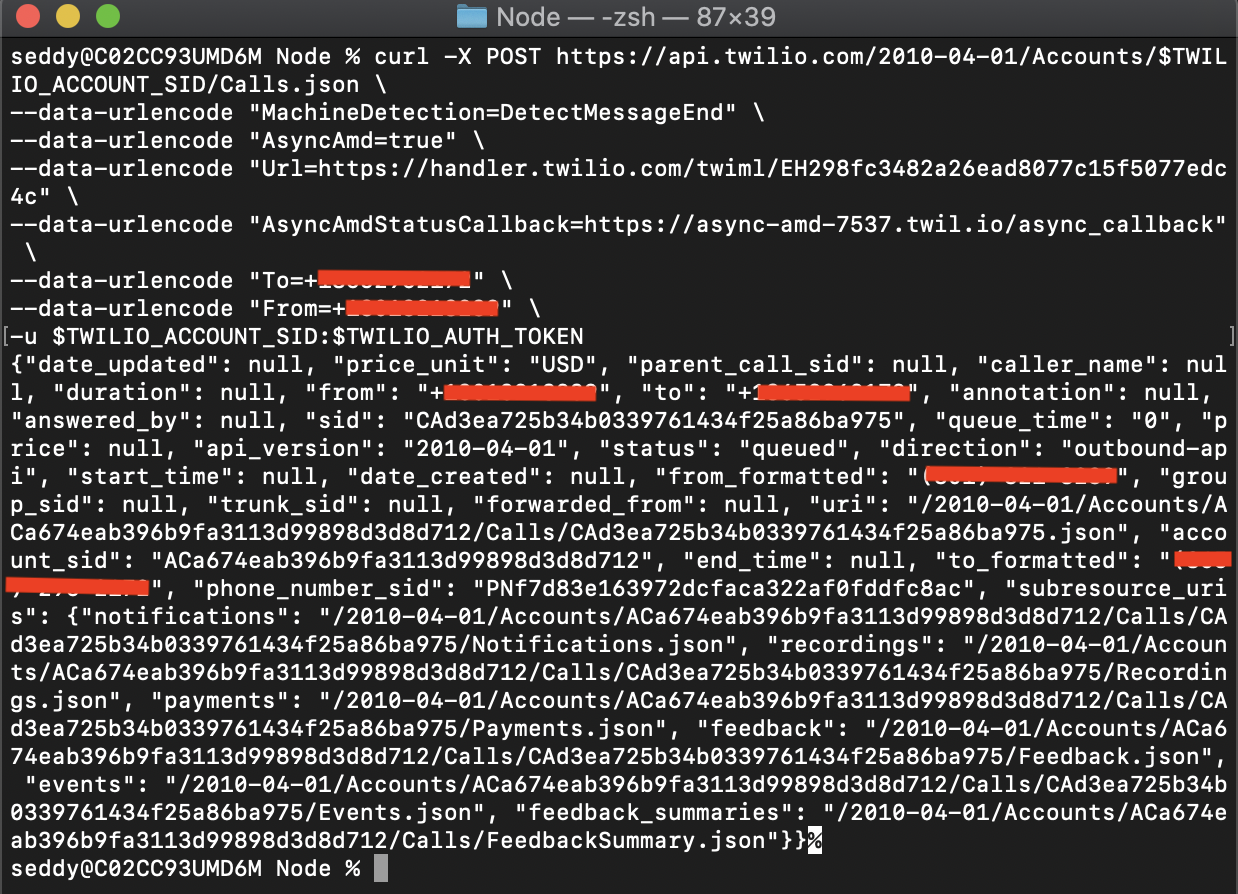
In the Functions console, you should see the following if you answered the call and spoke. If the call went to voicemail, you should see a similar message indicating it went to voicemail.

If you answered the call, you should have heard the call URL message immediately “Ahoy! This is an AMD call from Twilio. Just a moment.”
Depending on how long AMD took to process your audio, you may have heard the audio file start playing as well. When AMD was finished, you should have heard the call update with the “human” message “Ahoy there! This Async AMD call was answered by a human. Goodbye.” before hanging up.
If you let the call go to voicemail, you should hear your voicemail message.
Additional Tuning & AMD Result Handling
This tutorial provides a simple example of how Async AMD can provide a more robust solution for your business and eliminate the dreaded silence that standard AMD often introduces. However, there are still at least a couple more ways you can improve your AMD solution to make it more robust and effective.
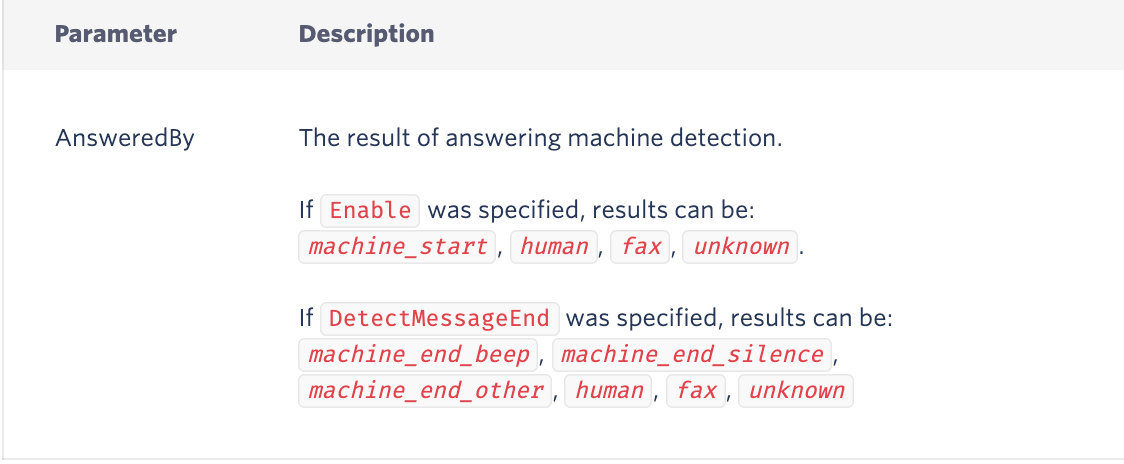
- This tutorial only has logic to handle
AnsweredBy = human. All other values are treated the same with theelsestatement, so you may consider adding additional logic for all potential values ofAnsweredByas seen in the documentation for AMD's webhook parameters.
- By not specifying any tuning parameters, the default values are used. Twilio’s AMD was trained primarily with US calls and default voicemail systems. For international and custom voicemails, you may need to adjust the tuning parameters to improve results.
You can read more about the different tuning parameters and their functions at the AMD's REST API Optional Tuning Parameters documentation page.
When you’ve identified a voicemail that doesn’t work as well with the default tuning values, I recommend adding this number to a separate list in your customer database. Then you can use your customized tuning parameters when placing future calls to this number and others that fall behave similarly. How to Use Twilio Async Answering Machine Detection
And that’s all folks! You should now be able to confidently use Async AMD in your application and improve your customers’ experiences by eliminating silence. Good luck in your development, and feel free to reach out to me directly if you have any questions!
Samuel Eddy is a Technical Support Engineer at Twilio. When he’s not helping Twilio customers, he’s often building for himself, friends, or family at home. He can be reached at seddy@twilio.com.
Related Posts
-
How to Make Your AI Voice Sound More Human and Less Robotic with PythonDylan Frankcom Amanda Lange
-
 How to Build An AI Phone Agent With Twilio Conversation Relay in PHPMatthew Setter
 -
Overcoming the Spam Epidemic: Twilio Branded Calling Enters Public Beta in the UK, Canada, and GermanyVinodhan Kaleeswaran
Related Resources
Twilio Docs
From APIs to SDKs to sample apps
API reference documentation, SDKs, helper libraries, quickstarts, and tutorials for your language and platform.
Resource Center
The latest ebooks, industry reports, and webinars
Learn from customer engagement experts to improve your own communication.
Ahoy
Twilio's developer community hub
Best practices, code samples, and inspiration to build communications and digital engagement experiences.