Cloning a Twilio Flex Project
Time to read:
March 31, 2022
Written by
Reviewed by
.png")
It happens. Development on a Twilio Flex Project is going great! Features added, bugs getting squashed. Then, before anyone notices, the DEV project is live and in PROD! Follow the steps in this post to create new (TARGET) Twilio Projects from a (SOURCE) Twilio Project and get your DEV (and TEST) back.
Prerequisites
From the Twilio perspective
Here is a quick to-do list to consider from the Twilio perspective before getting started:
- Create a new Twilio Flex Project to host the TARGET environment.
- Create regulatory bundles and purchase new phone numbers—note that you cannot reuse the phone numbers and regulatory bundles from the SOURCE environment.
- Provide billing information—discuss this with your Twilio Account Executive to determine the best option between:
- Accessing the free trial of 5000 Flex hours on the pay-for-usage model
- Linking the new TARGET Project to the existing (SOURCE) Project’s billing
- Determine if Flex Insights is necessary on the new TARGET Project and ask your Twilio Account Executive to request access if so—note that this may incur additional costs.
- Ask your Twilio Account Executive to flag the new TARGET Project to the correct support level.
From other vendors’ perspective
Here is a list of tasks to consider regarding all external assets, tools, and services when providing a duplicate environment:
- Clone external functions, servers, and services—note the new URLs to access these.
- Clone CRM tools, such as Zendesk or Salesforce—make sure to deploy and configure the Flex integration to each.
- Clone your SSO (single sign-on)—if the goal is to offer SSO features between SOURCE and TARGET Projects, or if you need different behaviors for admin, supervisors, and agents, then you will need to connect your SSO provider to the Flex TARGET instance.
Process
1. Clone Twilio Functions and Assets
Copy any Function source code necessary, and update any references to other Functions or Assets to point to the new TARGET Project counterparts.
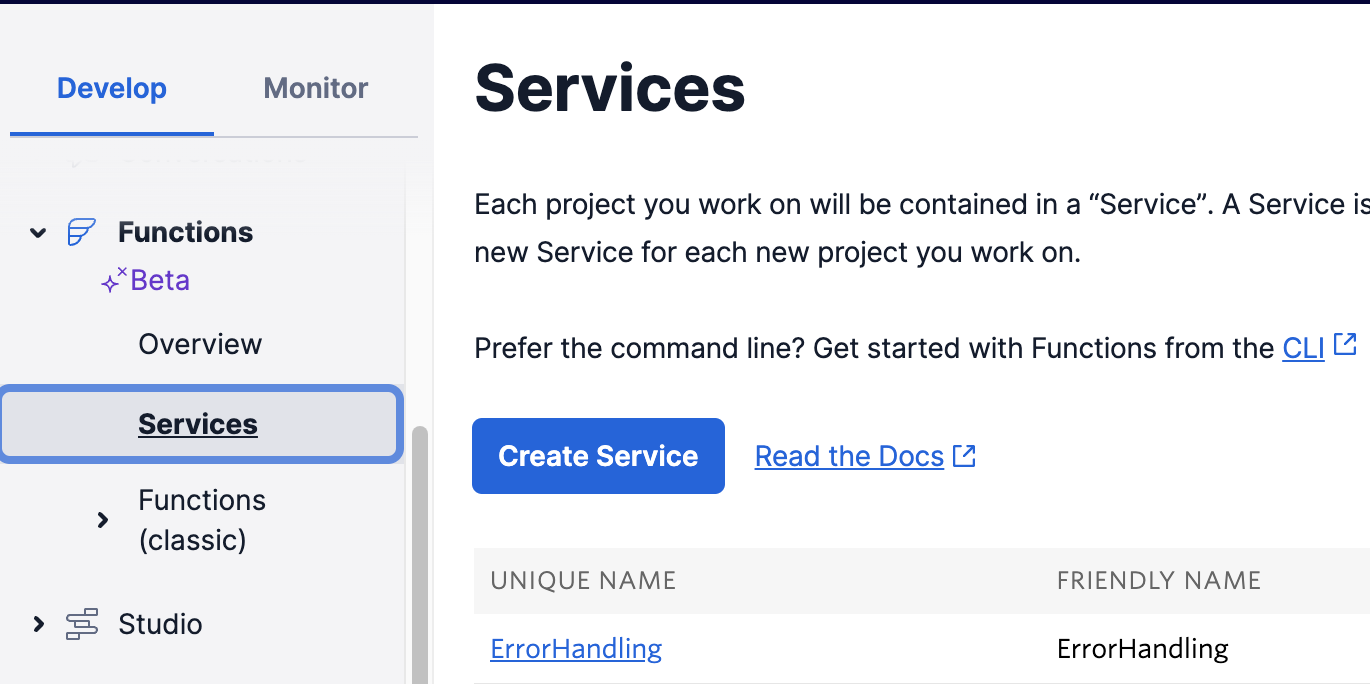
Then, deploy the functions manually in the new TARGET Project’s Console or use the Twilio CLI to deploy programmatically. The Twilio CLI and CI/CD practices make this much simpler. (This post may help!)
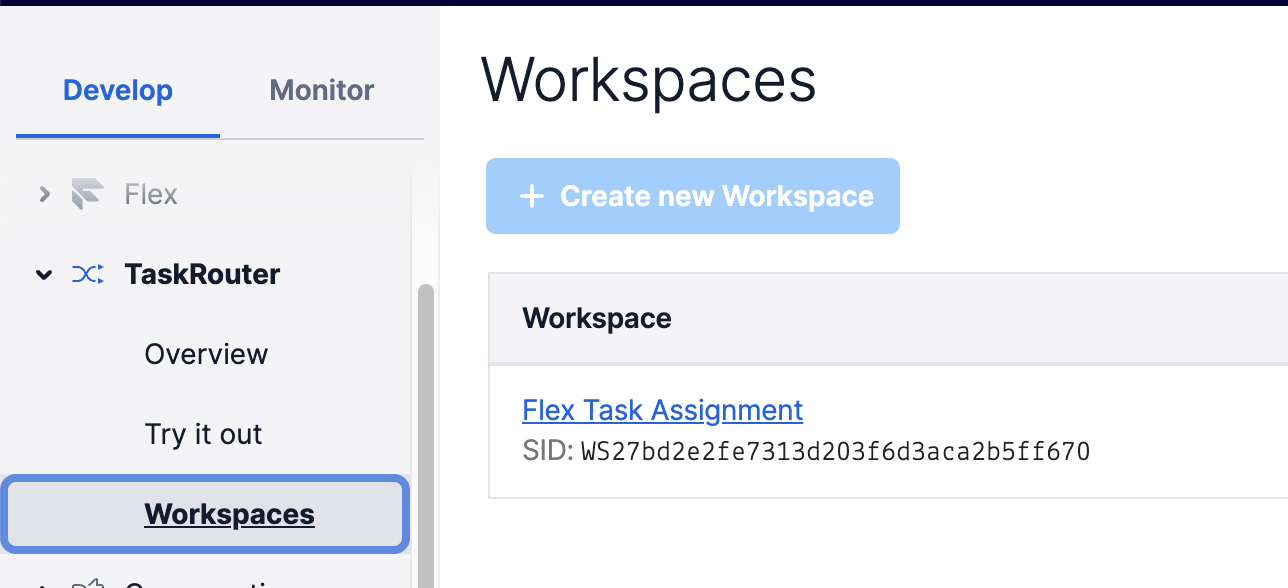
2. Clone the Task Router Workspace
Recreate Worker Activities, Task Queues, and Workflows manually—note the SIDs.
3. Studio IVR Flows
Duplicate a Studio Flow:
First, recreate the Studio Flow manually—use the Flex Studio UI to recreate the Source Flows from scratch in the SOURCE Project.
Second, Export and Import the Studio Flow JSON definition, using the following steps:
- Retrieve the SOURCE Flow JSON code by opening the Flow in the Studio UI, selecting the Trigger widget, and clicking on Show Flow JSON in the widget panel.
- Copy the JSON code and paste it into a text editor.
- Replace all SOURCE Project SIDs with the corresponding TARGET Project counterparts.
- Create a new Studio Flow in your TARGET Project.
- Select the Trigger widget and click on Show Flow JSON in the widget panel.
- Copy the modified JSON from your text editor, paste it into the Studio UI, then save and publish the Flow.
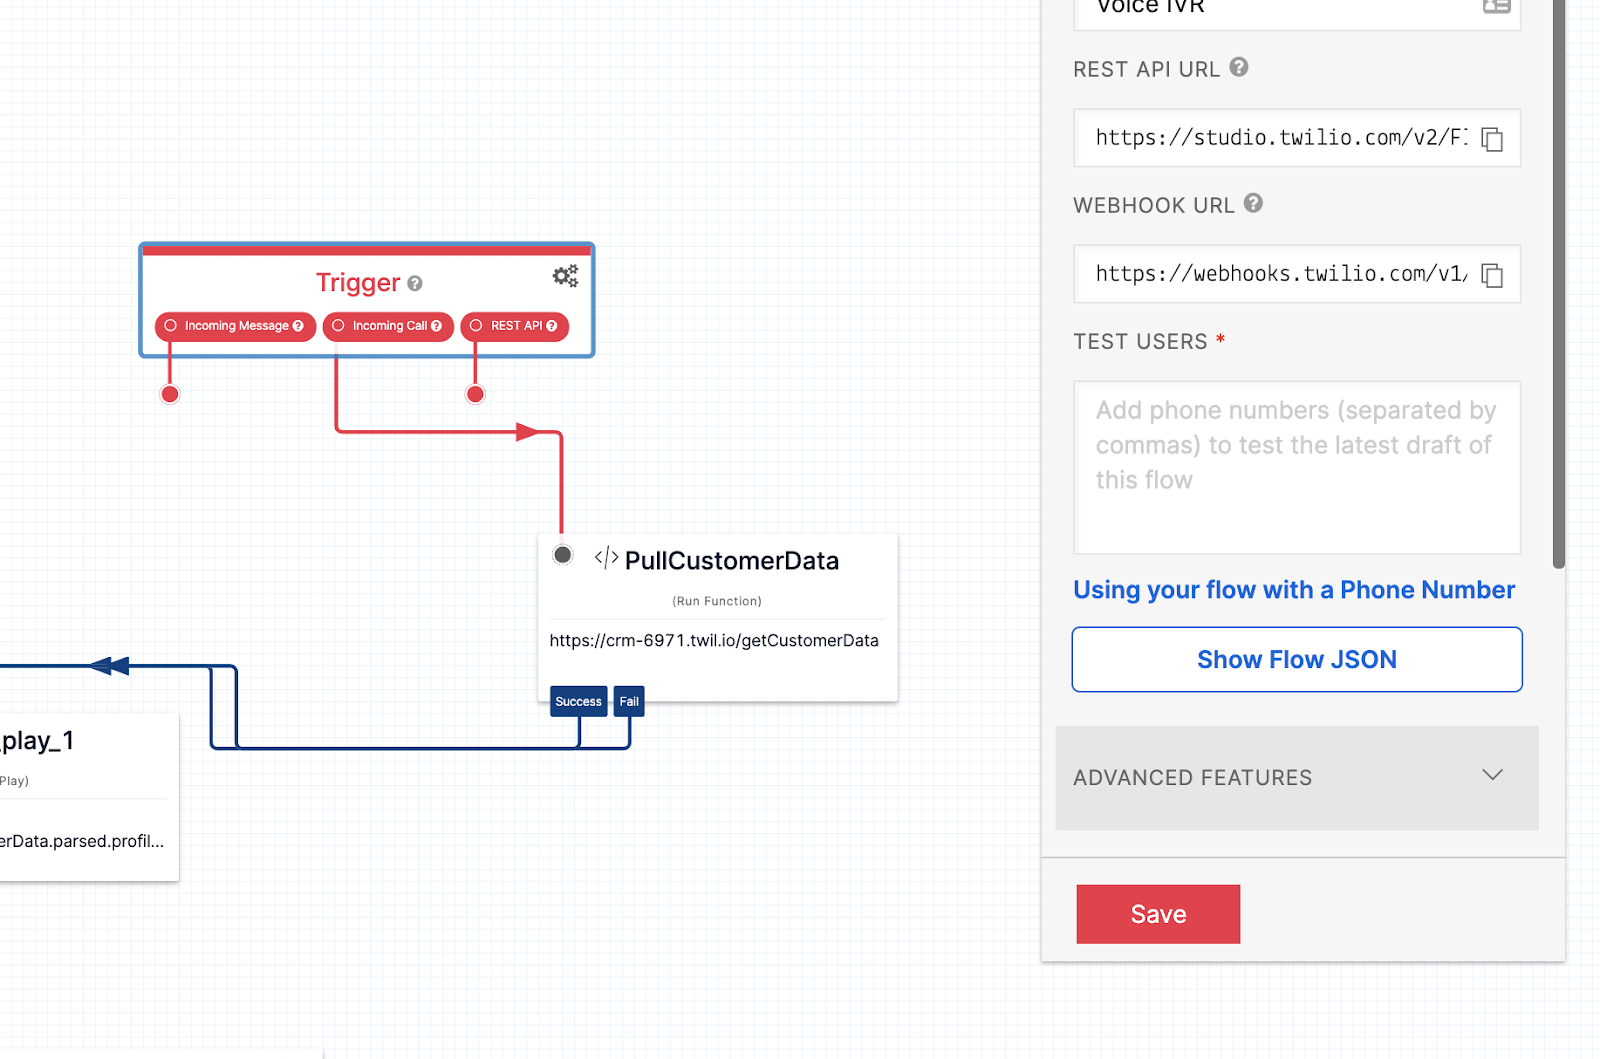
Note that you can accomplish the secondary step using the Twilio CLI and Studio REST API to export and import Flow definitions. However, you still must edit the SIDs in “step 3.”
4. Connect the phone numbers
Connect your TARGET Project’s phone numbers to your new Studio Flows as shown here.
5. Configure your Flex Project
Copy your Flex Project settings from your SOURCE Project to your TARGET Project as shown here.
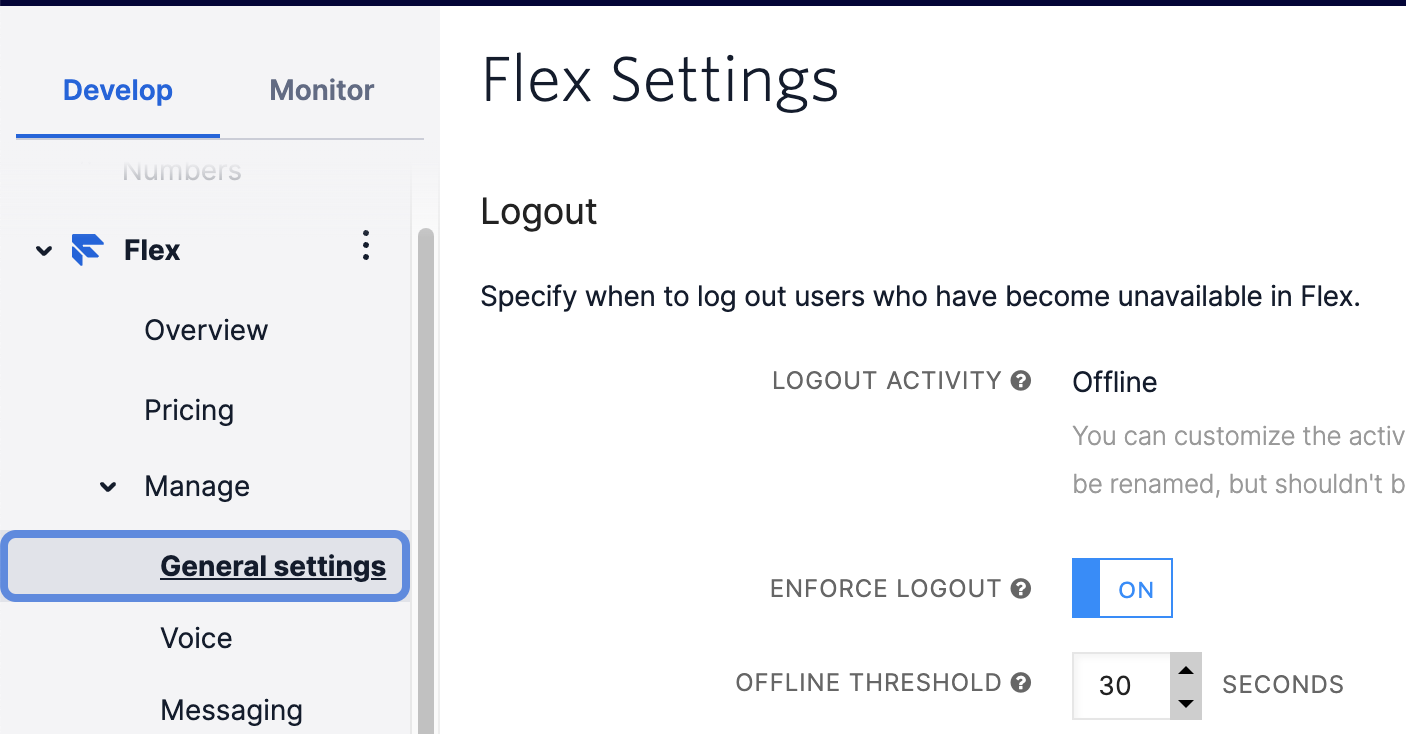
Then, log into the TARGET Flex Project as an admin and configure your:
- Integrations
- Features
- Debugger tools (Flex Debugger UI and Debugger Integration)
Note that activating the last item is only necessary if your TARGET Project will be a DEV or TEST environment.
If applicable, configure the SSO between the Flex TARGET instance and your Id provider.
6. Deploy Flex plugins
Update your source code to fix any hardcoded reference to a system, service, or asset (external or Twilio-owned) to point to the cloned resource (URLs, etc.).
Next, change the Profile used by your Twilio CLI.
Then, deploy the Flex plugins to your TARGET Flex Project using the Twilio CLI.
How to find out more
That should do it: a brand-new Flex Project in a new Twilio Account by duplicating the original. For more information on the Twilio CLI mentioned above, we recommend the series of write-ups for Infrastructure as Code, which covers that topic more in-depth.
Ready to upgrade from the free trial or learn more about building with Flex, reach out to our team of experts.
Jeff Yates is a Senior Solution Architect on the NAMER Professional Services team, helping build the best customer solutions on the Twilio platform of products. He can be reached at jyates [ at ] twilio.com.
Margot Lor-Lhommet is a Senior Solutions Architect in the EMEA SI Partner team, working with System Integrators to build the future of Customer Engagement. She can be reached at mlorlhommet [ at ] twilio.com.

Related Resources
Twilio Docs
From APIs to SDKs to sample apps
API reference documentation, SDKs, helper libraries, quickstarts, and tutorials for your language and platform.
Resource Center
The latest ebooks, industry reports, and webinars
Learn from customer engagement experts to improve your own communication.
Ahoy
Twilio's developer community hub
Best practices, code samples, and inspiration to build communications and digital engagement experiences.