Expose Your Localhost to the World with ngrok, Cloudflare Tunnel, and Tailscale
Time to read:
August 31, 2023
Written by
Reviewed by
In the world of web development and network security, tunneling services have become an essential tool for testing and deploying applications. As developers, we all appreciate the value of a streamlined and secure development process. But what if you need to test or promote your locally hosted applications to the rest of the world? This is where tunneling services come in handy.
Tunneling services enable developers to share their work, engage with team members, and even test and deploy webhooks and APIs without the need for public infrastructure by establishing encrypted connections between local PCs and remote servers.
So basically, the ability to expose your localhost:port to the world.
In this blog post, we will discuss three popular tunneling services: ngrok, Cloudflare Tunnel, and Tailscale.
ngrok
ngrok is a tunneling service that creates a secure, encrypted tunnel between a local machine and a public internet address. It allows you to expose a local web server to the internet and access it through a public URL. ngrok supports HTTP, HTTPS, and TCP protocols and can be used to test webhooks, APIs, and other applications that require a public URL.
One of the advantages of ngrok is its ease of use. You can download the ngrok binary and start tunneling your local applications within minutes.
ngrok offers a free plan that provides a limited number of tunnels and connections. Paid plans offer more advanced features, such as custom domains, reserved addresses, and team management.
ngrok provides a downloadable binary that can be used to create tunnels.
On macOS, this installation is easy:
Here's an example of how to create an HTTP tunnel to a local web server running on port 3000:
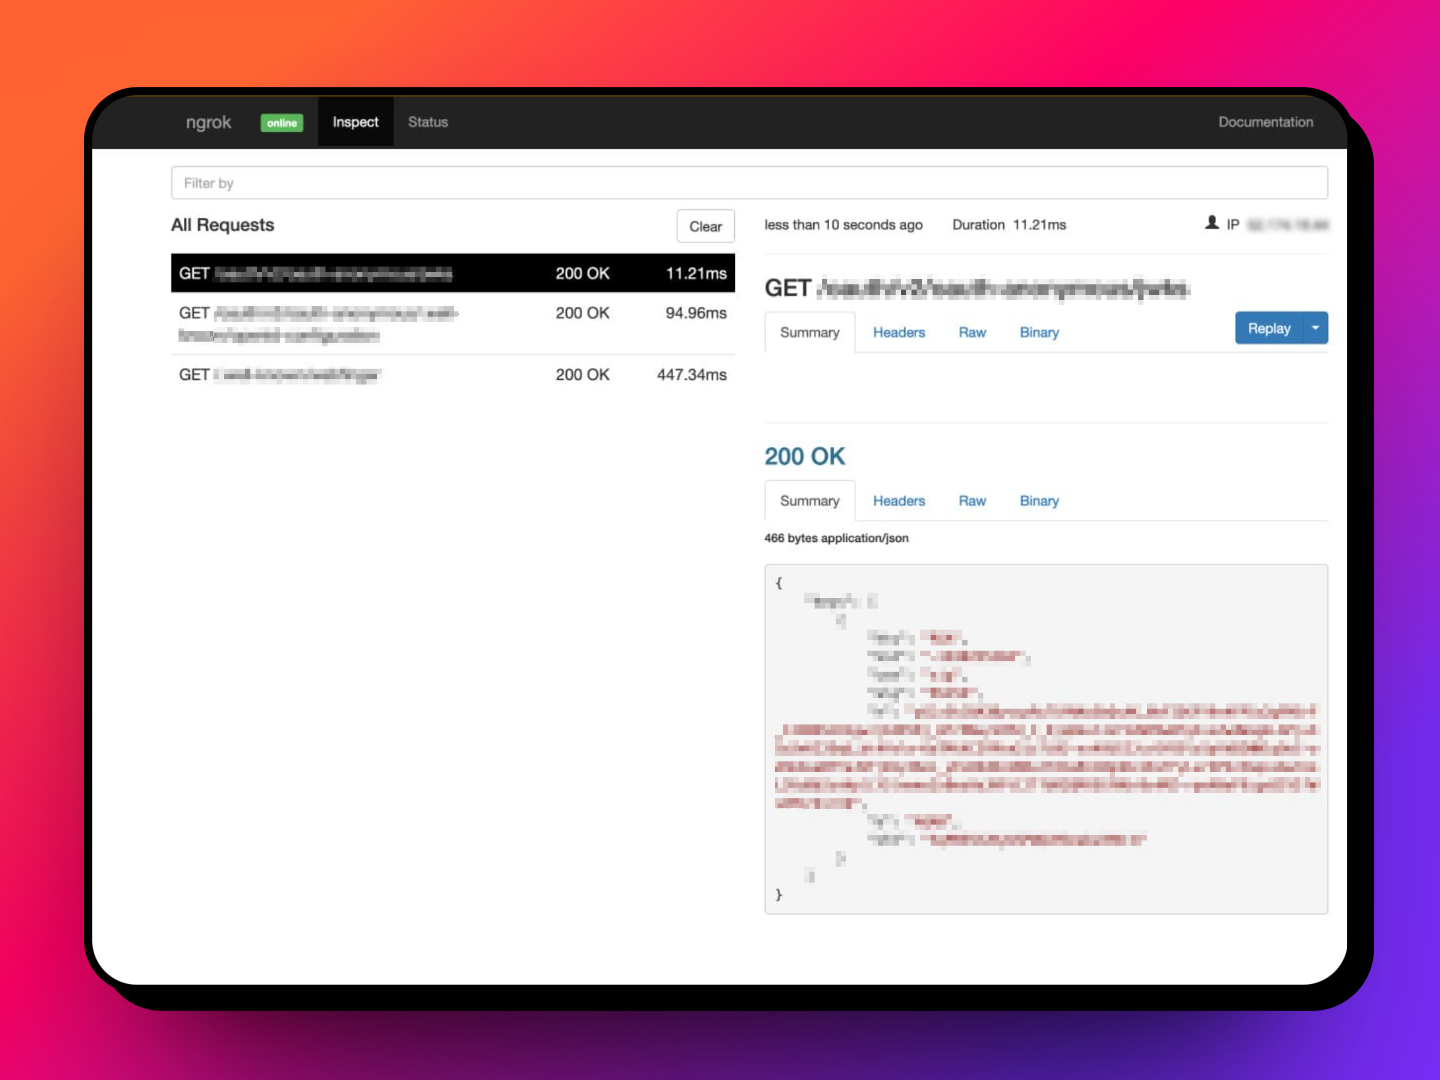
This command will start ngrok and create a public URL that can be used to access the local web server. ngrok provides a web interface at http://localhost:4040 that allows users to inspect incoming requests, replay requests, and analyze traffic.
Cloudflare Tunnel
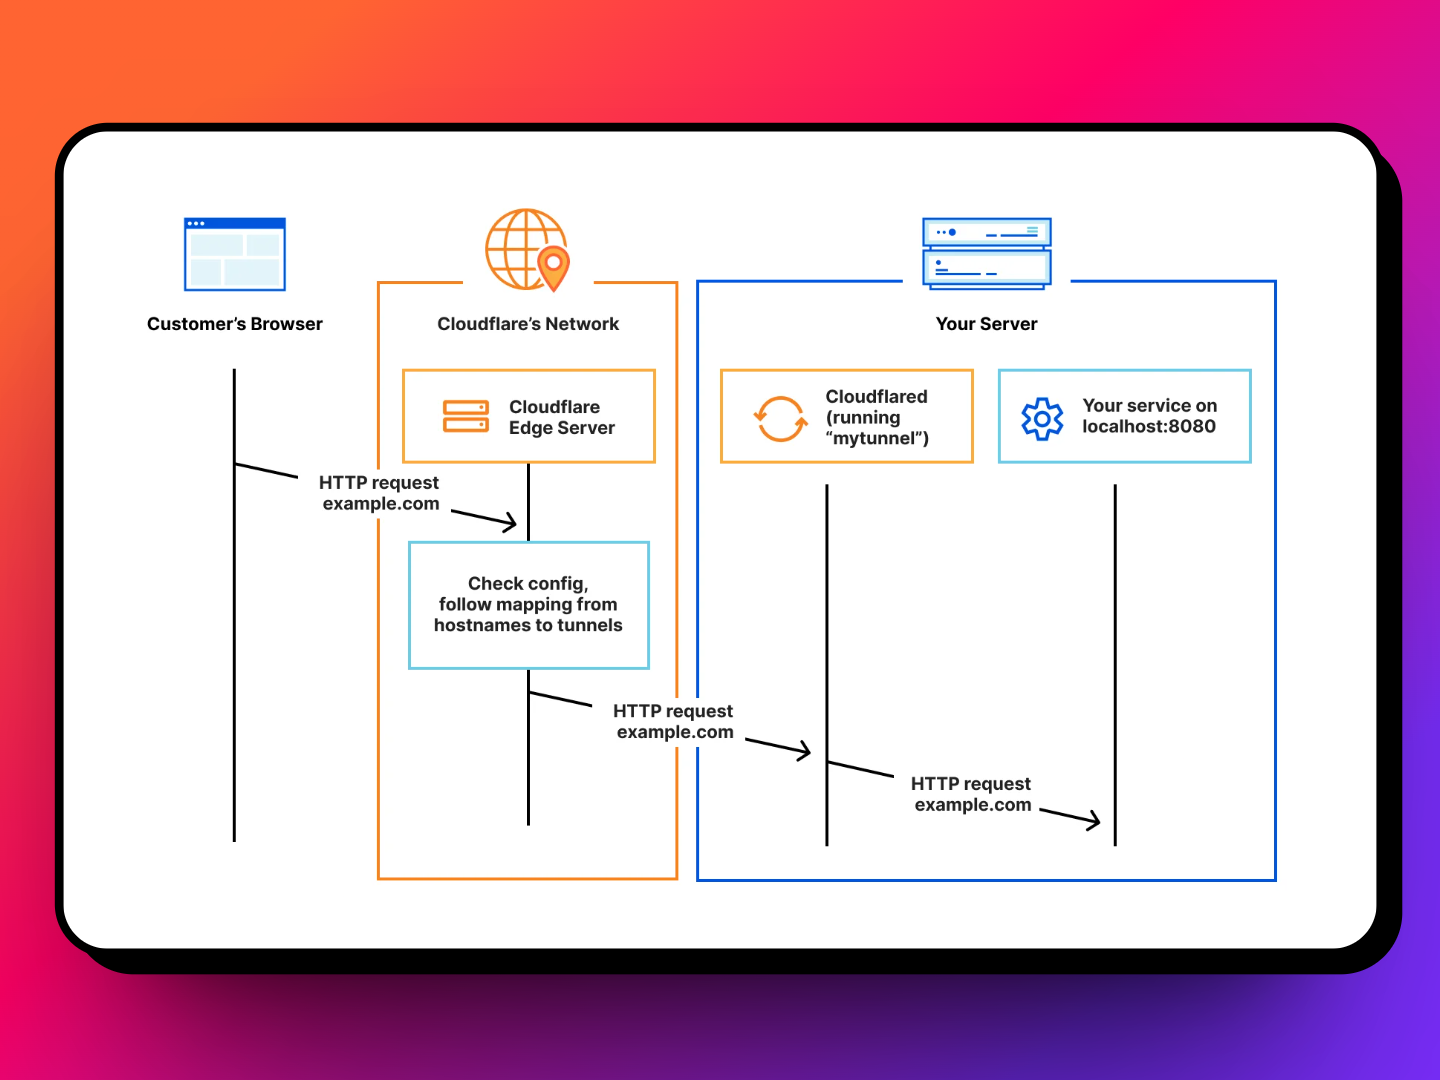
Cloudflare Tunnel is a tunneling service offered by Cloudflare, a leading content delivery network (CDN) and cybersecurity company. Cloudflare Tunnel allows you to create secure connections between your local dev machine and Cloudflare's global network of servers.
With Cloudflare Tunnel, you can expose any TCP service running on the local machine to the internet. This includes web servers, databases, and other network services. Cloudflare Tunnel also supports HTTP and HTTPS protocols and can be used to test web applications and APIs.
One of the advantages of Cloudflare Tunnel is its integration with other Cloudflare services. You can use Cloudflare's firewall and other security features to protect your applications from malicious traffic. Cloudflare Tunnel also provides real-time logs and analytics to monitor traffic and performance. It offers a free plan that provides a limited number of tunnels and connections. Paid plans offer more advanced features, such as custom domains, SSL certificates, and advanced analytics.
Cloudflare Tunnel requires you to create an account and install the Cloudflare CLI.
And before we can move further, you will also need a Cloudflare account with a zone. After creating the account and zone, here's how to create a tunnel to a local web server running on port 3000:
Install Cloudflare CLI
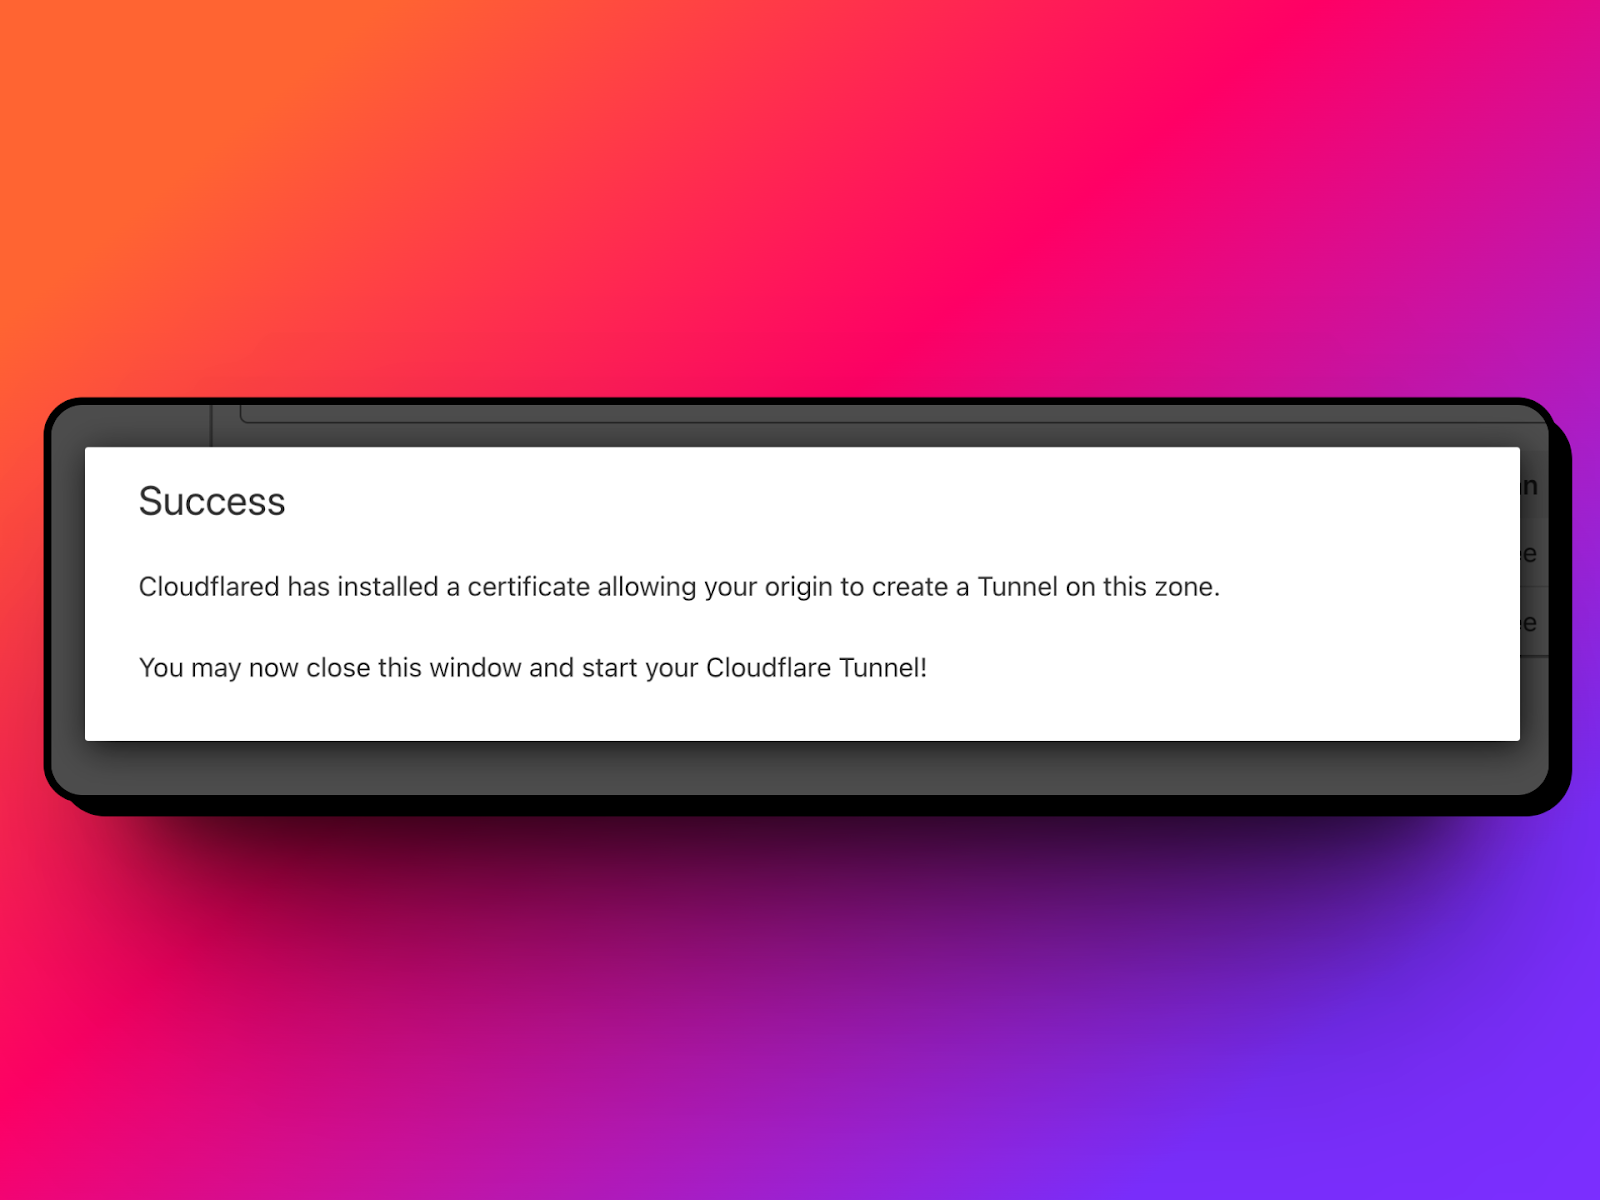
Authenticate cloudflared
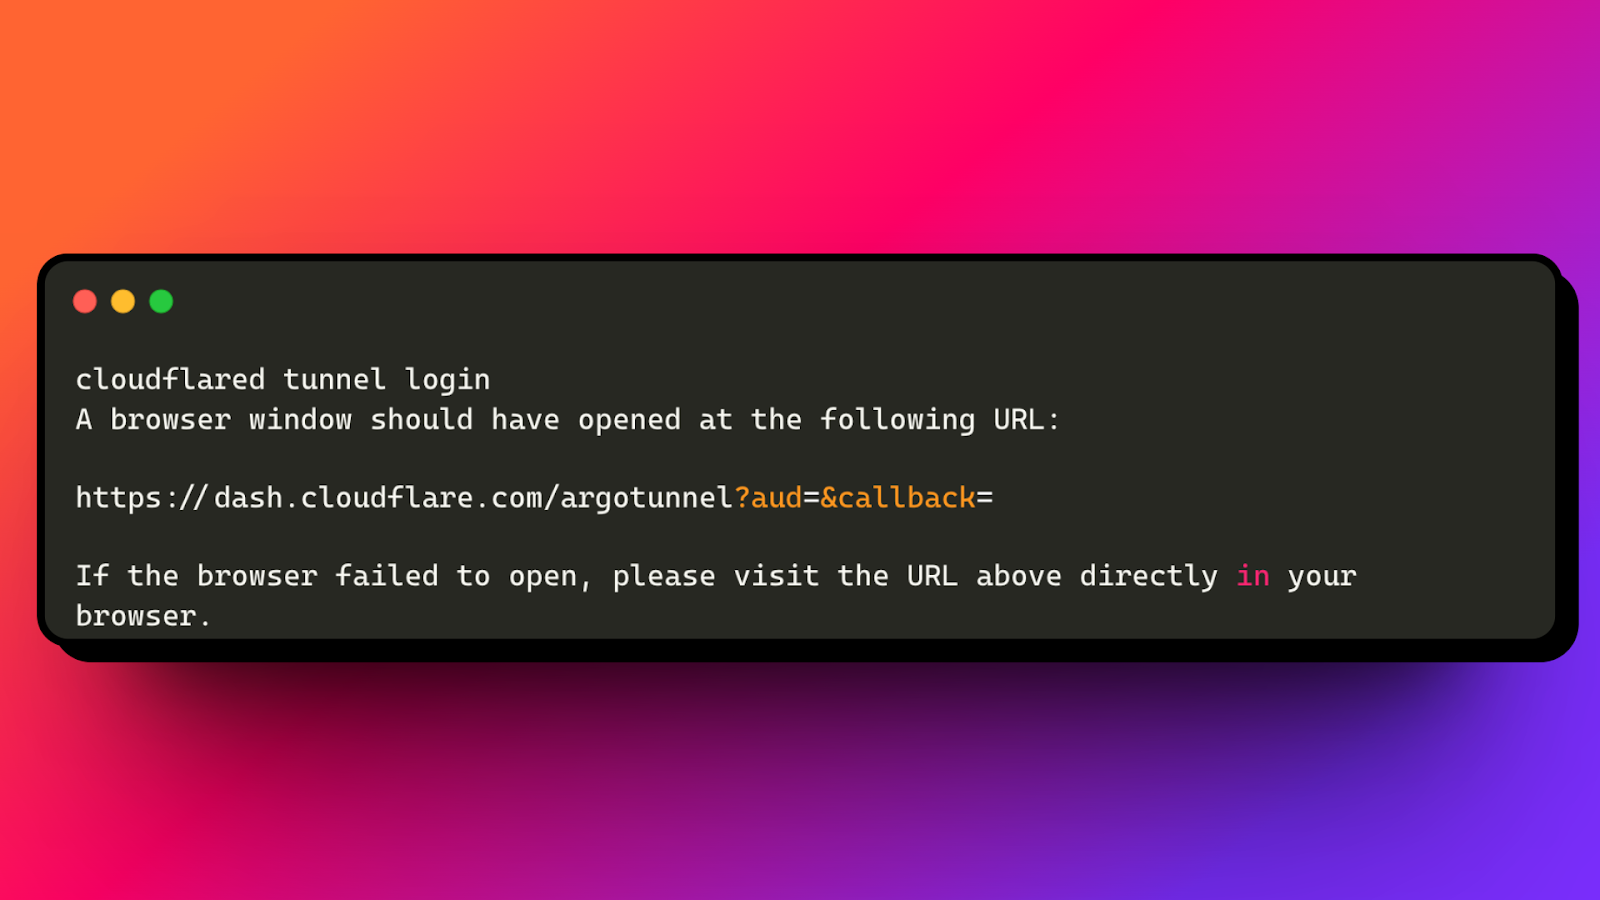
Running the above command will:
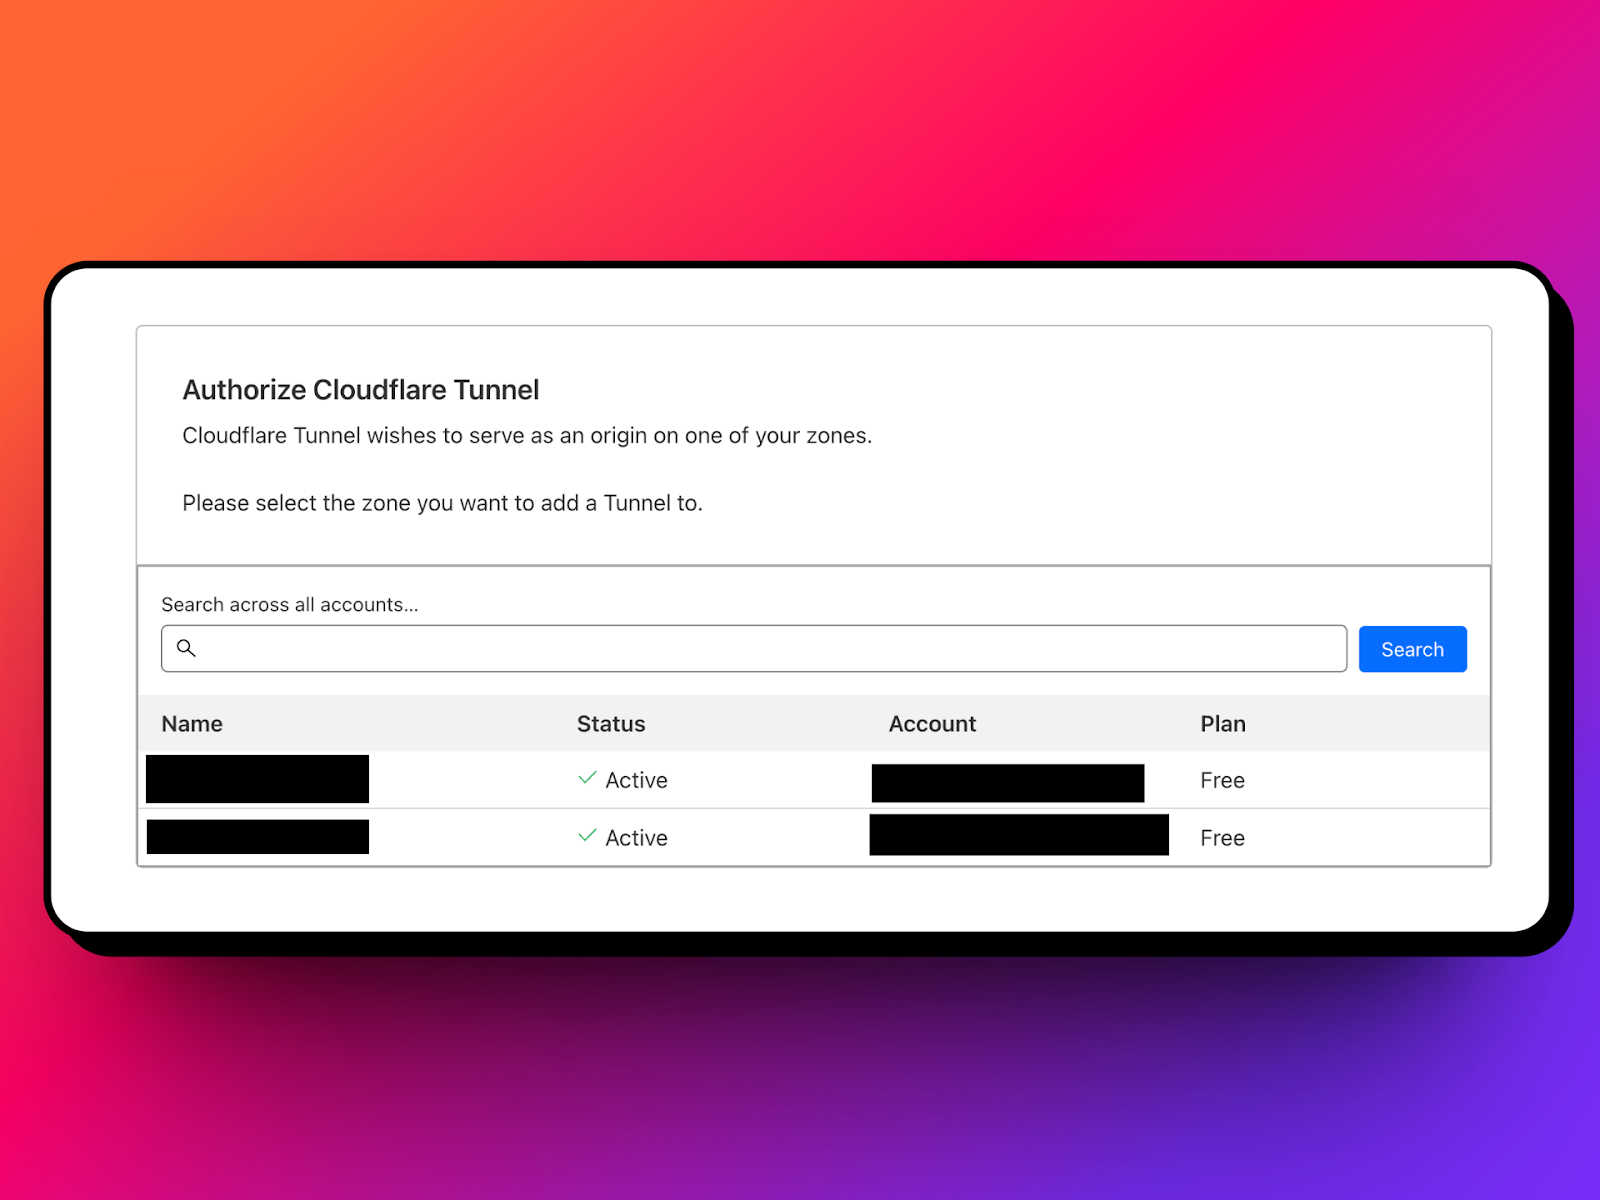
- Open a browser window and prompt you to log in to your Cloudflare account. After logging in to your account, select your hostname.
- Generate an account certificate, the cert.pem file, in the default cloudflared directory.
Create a tunnel
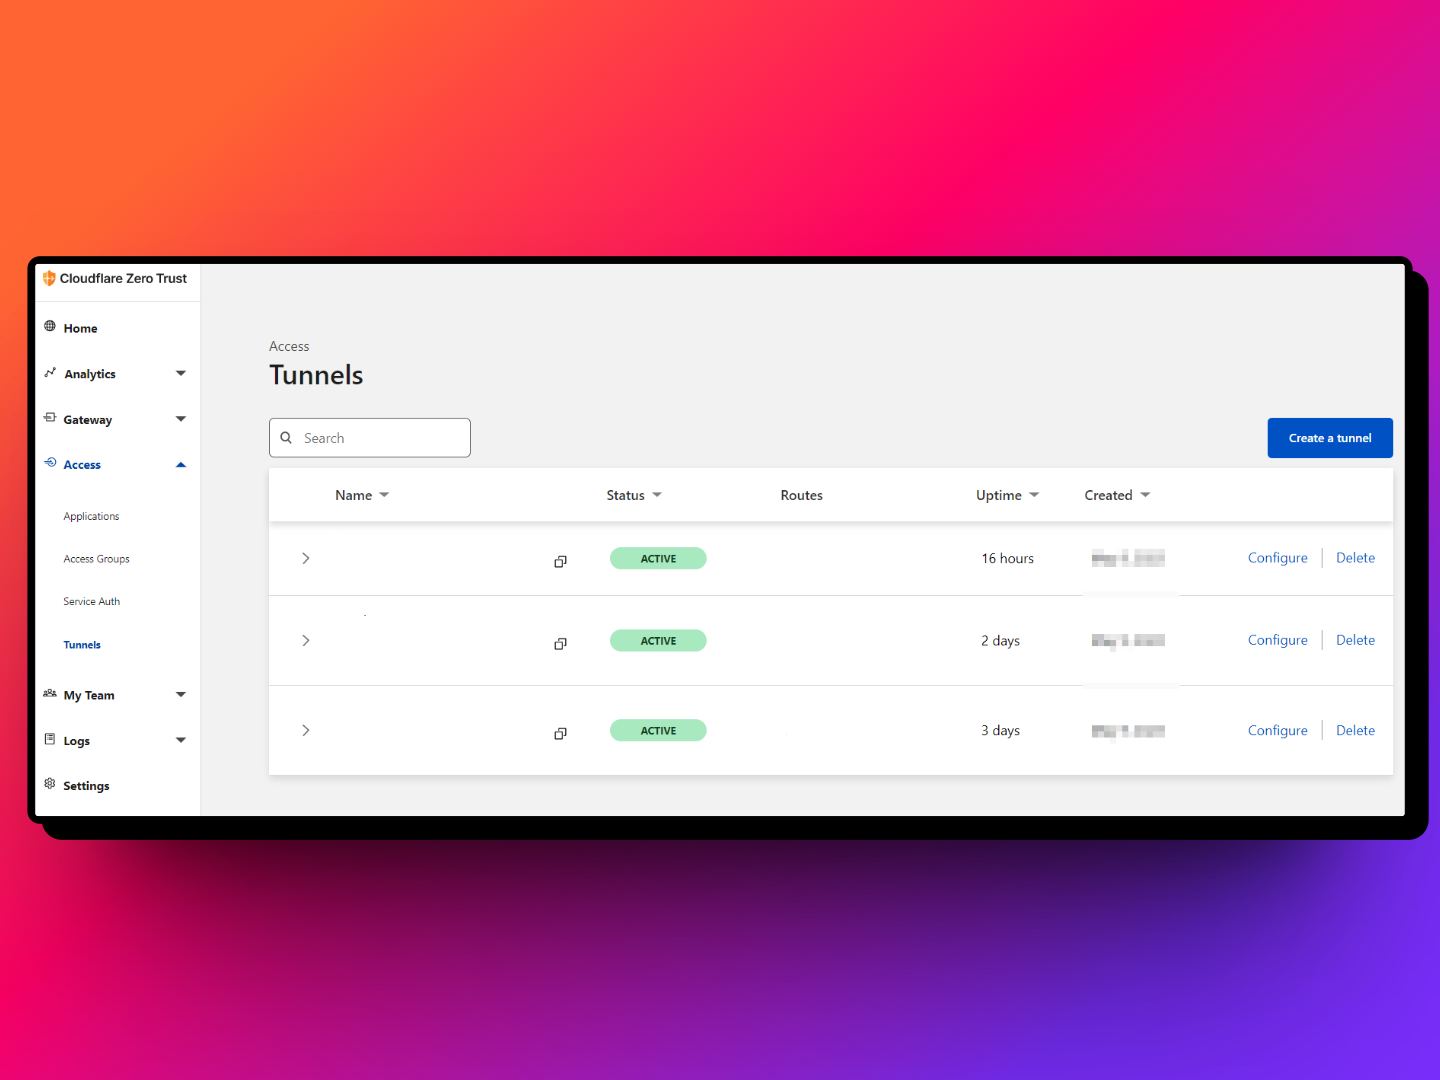
This command will start Cloudflare Tunnel and create a public URL that can be used to access the local web server. You can confirm that the tunnel has been successfully created by running:
Cloudflare Tunnel provides real-time logs and analytics that can be viewed in the Cloudflare dashboard.
Tailscale
Tailscale is a mesh networking service that allows you to create secure, private networks between your devices. Tailscale uses WireGuard, a modern VPN protocol, to create encrypted tunnels between devices.
With Tailscale, you can access resources on your local network from anywhere in the world. This includes file shares, printers, and other network services. It also provides a secure remote access solution for teams, allowing members to access resources on the company network from anywhere. One of the advantages of Tailscale is its ease of use. You can install Tailscale on your devices and connect to your private network within minutes. It also provides a web interface that allows you to manage your devices and access controls.
Tailscale offers a free plan that provides up to 100 devices and 10GB of data transfer per month (as of 31 Aug, 2023). Paid plans offer more advanced features such as custom domains, user management, and advanced networking.
Tailscale provides a downloadable binary that can be used to create secure networks between devices. Here's an example of how to install and configure Tailscale:
- Download Tailscale from this link

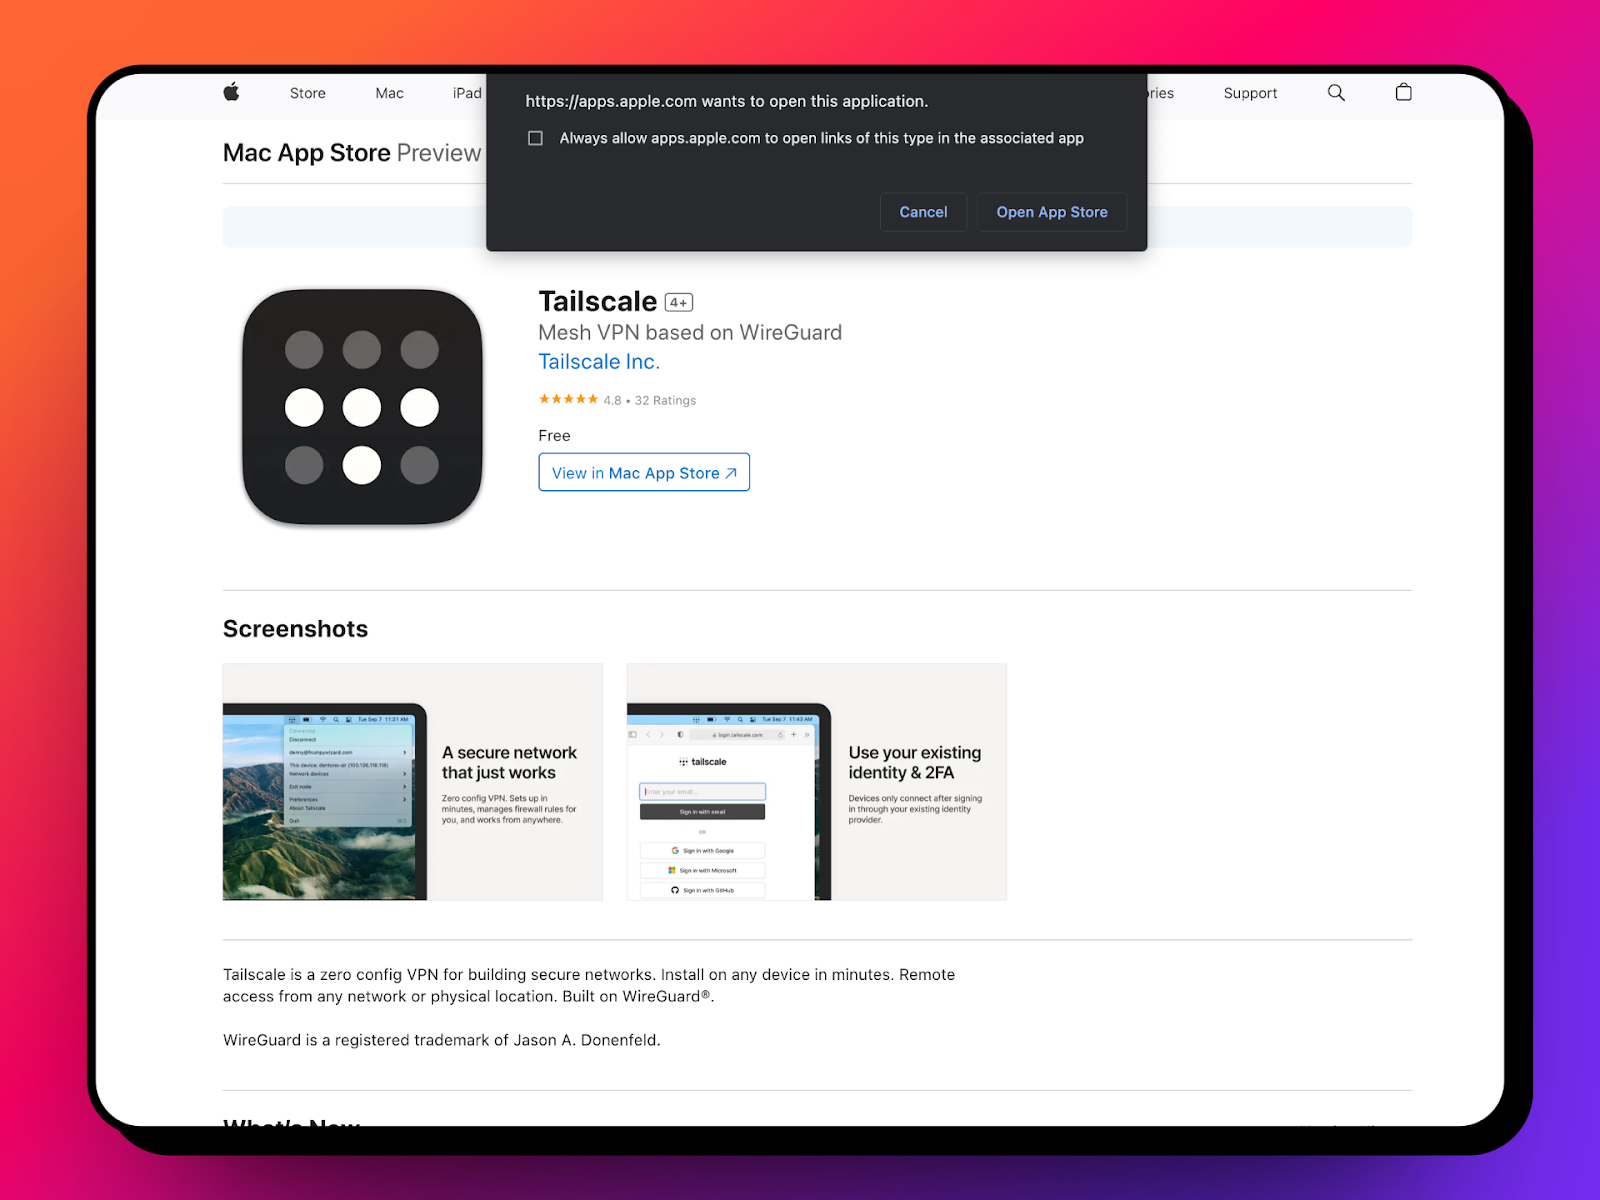
- Accept any prompts to install VPN configurations that may appear
- Click Log in from the Tailscale menu bar item and authenticate in your browser
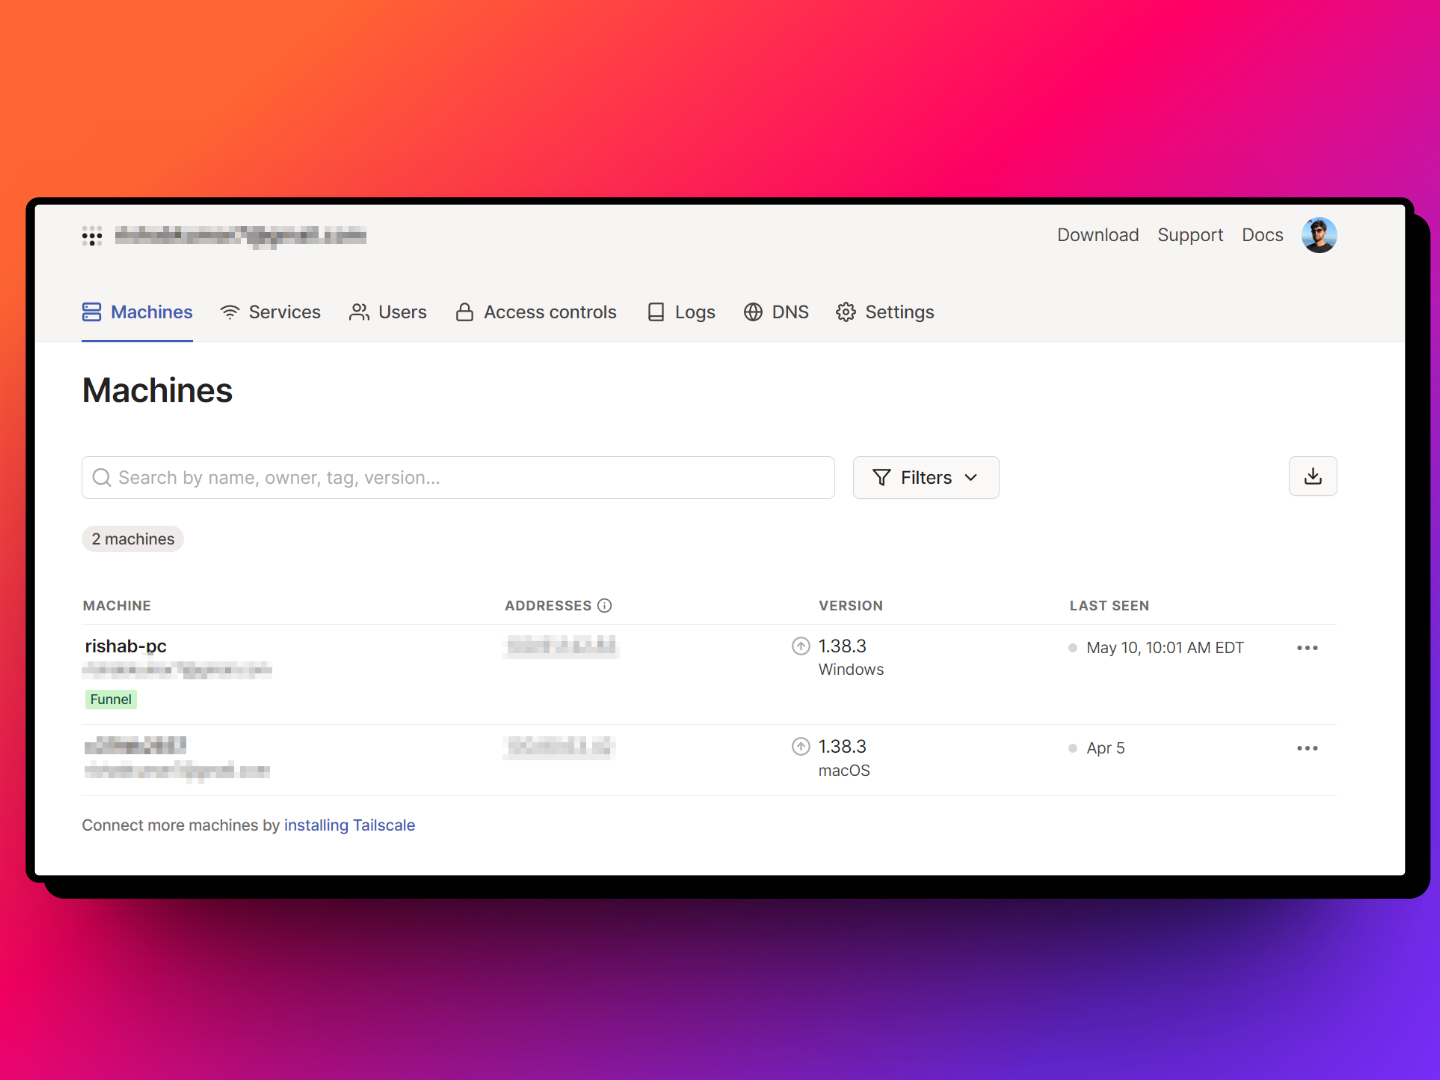
This will install Tailscale on macOS and create a secure network between devices. Tailscale provides a web interface that allows you to manage devices and access controls.
Also, Tailscale Funnel is off by default and double opt-in. To enable Tailscale Funnel follow these instructions.
In order to expose a local port to the internet, you can use Tailscale Funnel.
Open your preferred shell and run the following commands:
Expose a local server running on localhost:3000 with tailscale:
Run the following command to see the Funnel status:
The output should look something like:
Tailscale also offers a client for your mobile devices, available to download on both iOS and Android devices.
Comparison
Now let’s compare the free plan of all three tunneling services and see what they offer, as of 31 August, 2023:
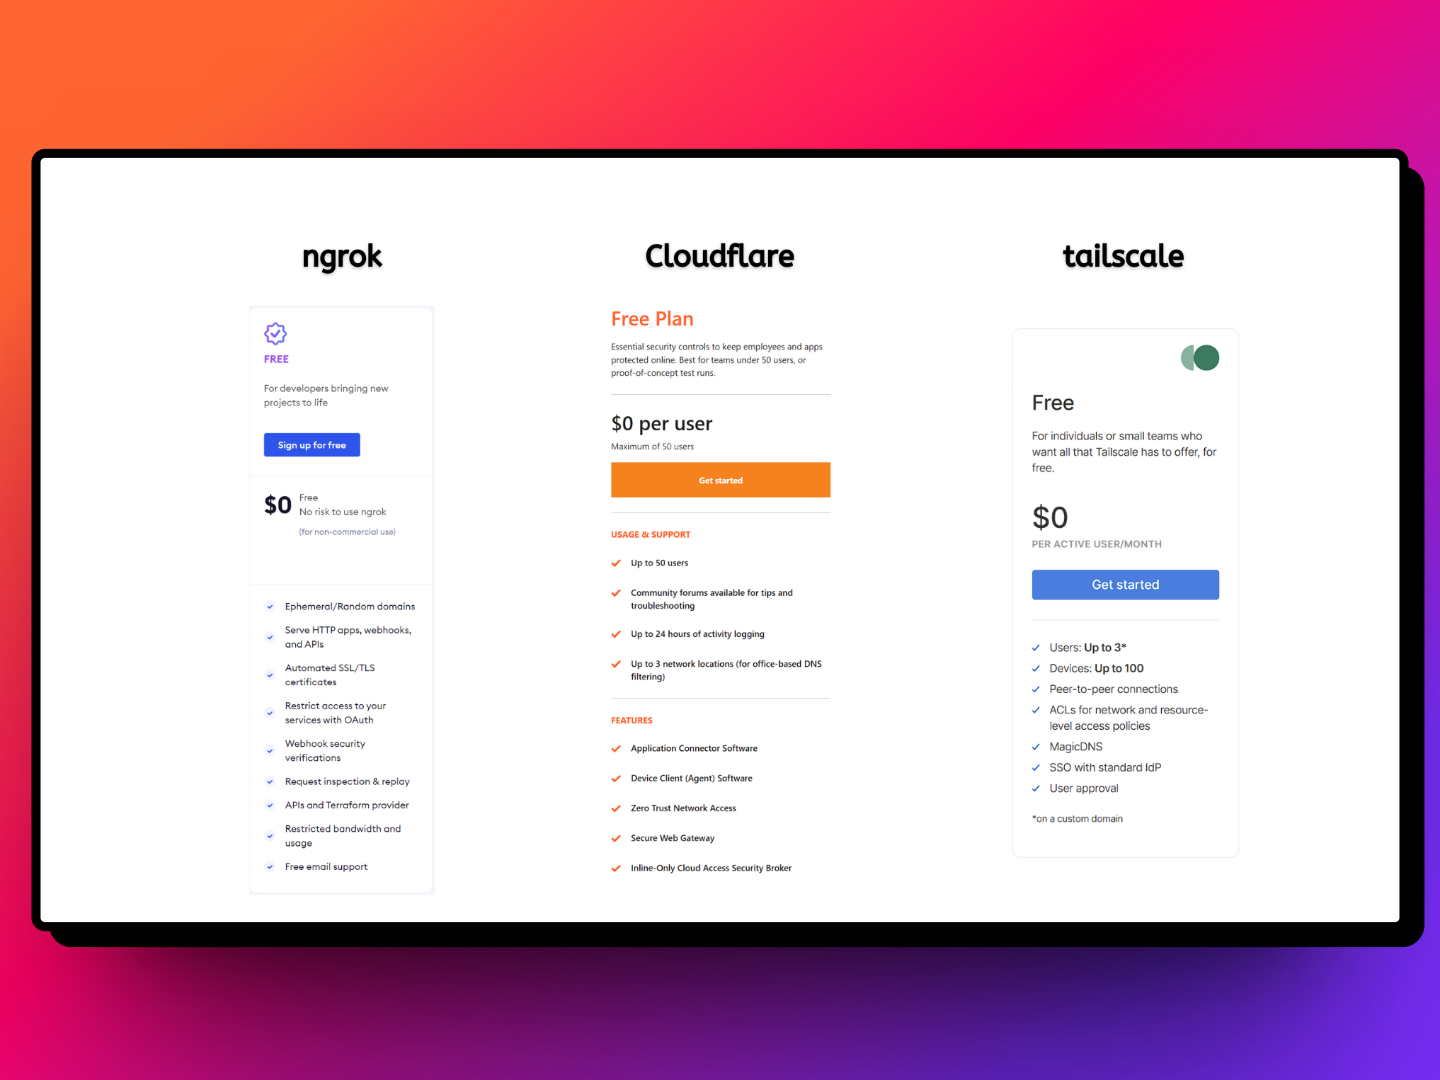
ngrok, Cloudflare Tunnel, and Tailscale are three popular tunneling services that provide different features and capabilities. ngrok is a simple and easy-to-use service that allows users to expose local web servers to the internet. Cloudflare Tunnel provides advanced security features and integration with other Cloudflare services. Tailscale is a mesh networking service that allows users to create secure private networks between their devices. Each of these services has its advantages and can be used to solve different network security problems.
My preference is Tailscale because of the extensive features. I personally love the ability to securely access my personal network from anywhere in the world and the possibility of creating my own homelab.
Take one (or multiple!) of the tunneling services for a spin! Don’t have something in mind to build? Try one of our quickstarts, for example How to set up your Python and Flask development environment. That tutorial helps you setup ngrok with Python and Flask, but to make it exciting try doing it with one of the other tunneling services mentioned above. I can’t wait to see what you build!
Rishab Kumar is a Developer Evangelist at Twilio and a cloud enthusiast. Get in touch with Rishab on Twitter @rishabk7 and follow his personal blog on cloud, DevOps, and DevRel adventures at blog.rishabkumar.com


Related Resources
Twilio Docs
From APIs to SDKs to sample apps
API reference documentation, SDKs, helper libraries, quickstarts, and tutorials for your language and platform.
Resource Center
The latest ebooks, industry reports, and webinars
Learn from customer engagement experts to improve your own communication.
Ahoy
Twilio's developer community hub
Best practices, code samples, and inspiration to build communications and digital engagement experiences.