How to Use Ngrok to Send Automatic Textback SMS Using POST & GET API Requests
Time to read:
August 24, 2021
Written by
Reviewed by

Ngrok is a free public hosting service which allows you to set up HTTP tunnels in which Twilio servers can reach to respond to specific requests such as SMS, voice calls and other services. In this post, learn how to receive an automatic "text back" message after sending a custom SMS message to a Twilio number.
Prerequisites
In order to complete this tutorial, you will need the following:
- A Twilio account - Sign up for a free account at Twilio if you currently do not have one.
- An ngrok account.
- A coding text editor such as Sublime.
Setup the Twilio Command Line Interface (CLI) environment
Visit the Homebrew in your browser and copy the code from the Homebrew home-page. Follow the installation steps on your terminal and wait for it to be completed.
Homebrew allows you to install any tools and features needed for developing purposes. Once Homebrew is installed, run the following command to install the Twilio Command Line Interface (CLI):
The Twilio CLI allows you to connect to Twilio products and services which can be used for developer purposes. Once the CLI is installed, run the following command: pip install twilio.
This is the Twilio Server-Side SDK, the most convenient way to install the library.
If you see a pip: command not found error, you can also use easy_install by running this in your terminal: easy_install twilio.
After installing the Twilio SDK, run the following command:
Flask is a mini web framework for Python which allows you to embed and develop web applications conveniently.
Once you're done installing all the dependencies for this project, your next step is to buy a Twilio phone number.
Buy a phone number
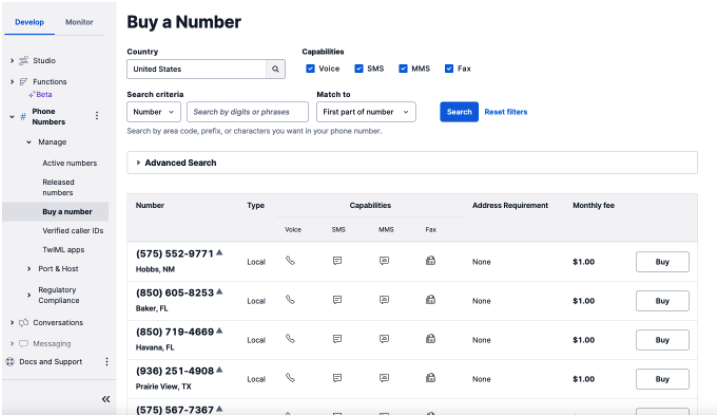
Before you can receive phone calls and send messages, you'll need to purchase a Twilio phone number. Once you head over to the Twilio Console, you can click Buy a Number on the left hand sidebar.
The console page will give you a list of phone numbers available to choose from and these numbers can be filtered by country and capability. The specifics of the phone number will not matter as long as it can receive and send SMS.
Create a script
To keep the project organized, create a folder called "textback" to store your application files. Inside this folder create a file named recieve_sms.py for your script. In your terminal or command prompt, navigate to your preferred directory and enter:
Open up the recieve_sms.py you just created in your preferred text editor and paste in the following code:
The code above contains instructions to tell your program to route SMS messages using POST & GET API requests. As mentioned, Flask is a web framework for Python so we need access to a dependency that allows Twilio to respond to SMS messages.
TwiML, or the Twilio Markup Language, is an XML based language that instructs the Twilio client on how to handle various events such as incoming and outgoing calls, SMS and MMS messages.
When we create a Flask application we must include an /sms route inside of the script. We create an sms_reply() function and MessagingResponse object to include a message where we can return the string form of the messaging response object and use it to run the application.
Save the file and close your text editor.
Install ngrok
Visit the ngrok website and log into your account. Download the ngrok zip file. Double click the file and allow it to run in the terminal.
To connect to your ngrok account, you will need to find your ngrok authtoken. You can find your ngrok authtoken in the Setup and Installation page of the ngrok dashboard. Open up a new terminal tab and run the following command to add your authtoken to the default ngrok.yml configuration file Ensure to replace the XXX placeholder with your authtoken:
Alternatively you can download the ngrok client as a file in the first box here. If you downloaded ngrok straight to your desktop, then you will see the executable file icon as seen here near the desktop toolbar.
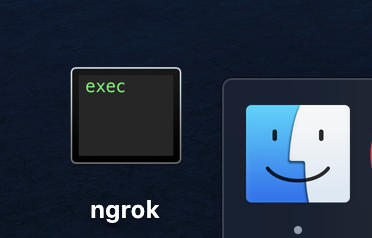
Depending on where your file is located, you might need to type ./ngrok instead of ngrok into your terminal.
Run the Python script
Open a new tab on the terminal and navigate to the textback directory where the recieve_sms.py is located and run the Python script with the following command:
If you are getting an error message such as ModuleNotFoundError: No module named 'flask' then use pip install flask or easy_install flask and then python receive_sms.py
After running the script, the web server on localhost port 5000 will fire up.
Run ngrok
Head back to the terminal tab where you added your authtoken to ngrok and fire ngrok up with the following command:
This command fires up a HTTP tunnel on localhost port 5000 so that Twilio can reach the server. The session status and details should appear which shows the tunnel is working properly. It should look like this:
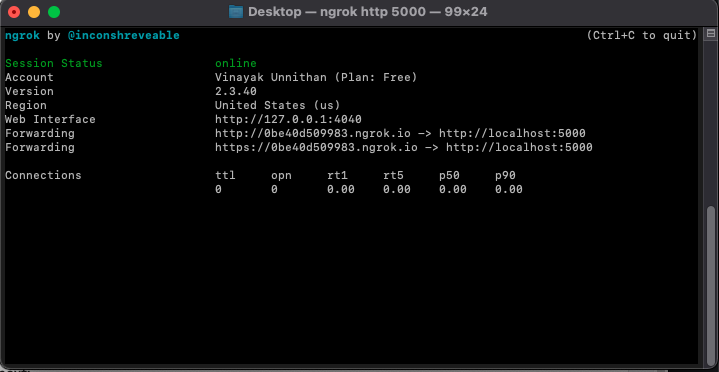
The Forwarding link in the session details is the key to accessing the HTTP tunnel. Copy this link for the next step.
Set up the phone number route
Your next step is to link your Twilio number to your webhook you just created. Visit the Active Numbers page in the Twilio Console and click on the phone number you just bought.
Navigate to the Messaging section and ensure that the CONFIGURE WITH OTHER HANDLERS option is linked to Webhooks and the WHEN A MESSAGE COMES IN option is also set to Webhook.
Paste in the forwarding URL you copied earlier into the textbox next to Webhook and add /sms to the end of the URL so that messages are redirected to the /sms route.
Once finished, click Save at the bottom to save your settings.
Test your project
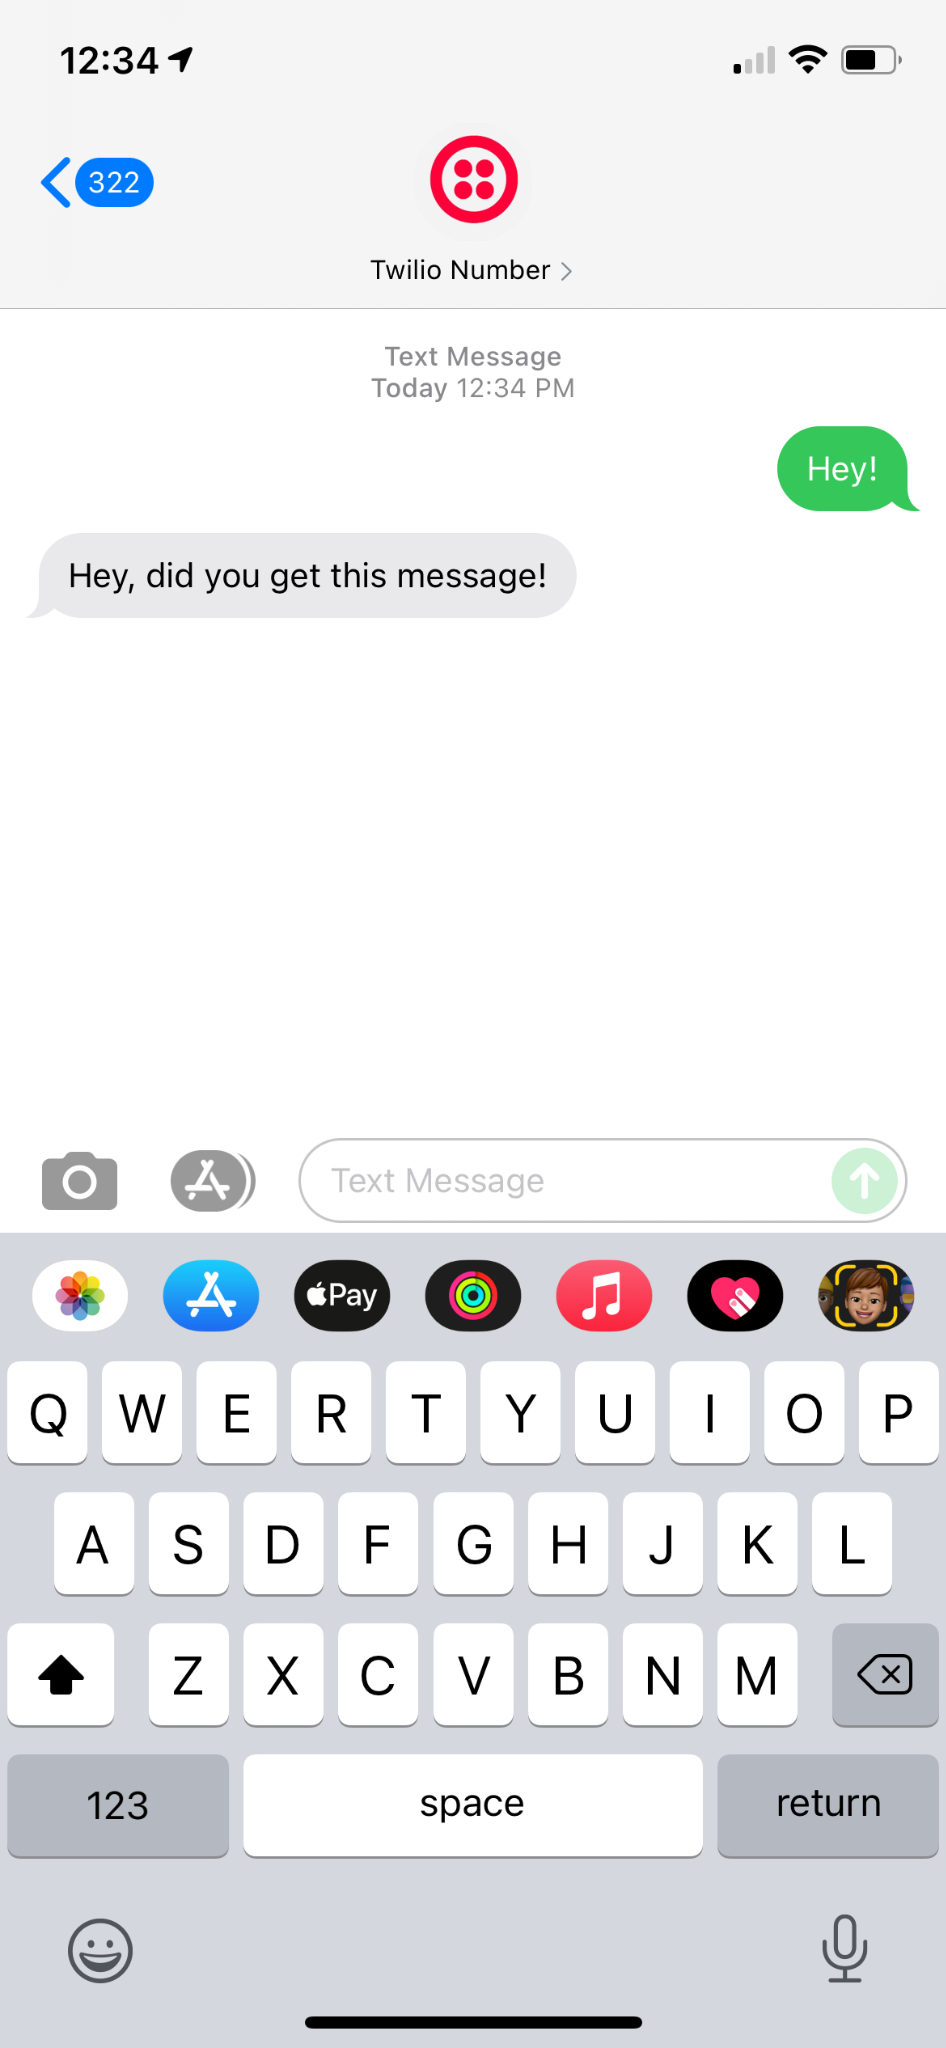
Now that your webhook is set up it's finally time to test your project out!
Send a message to your Twilio number and see what the response will be. If you received this message "Hey, did you get this message!" then the tunnel has sent the outbound message successfully. Your response should look like this:
What’s next for sending automatic text back SMS?
Well done on completing this tutorial! This project has a couple of use cases for real life implementation with Twilio Applications. One great use case can be an "out-of-office" service where a customer or client has a message to the employer after hours. This project can automatically send a message back to the client with a phrase such as "sorry, please contact at a different time".
There are many different ways to build upon this project. You can also implement the same concept with other practical ideas such as incorporating Twilio Studio or Twilio Conversations to set up voicemail when you're out of the office.

Vinayak Unnithan is a Technical Support Engineer Intern on the Developer Support Team with a strong interest in problem-solving, software engineering and communications. He can be reached vunnithan [at] twilio.com or on Linkedin.


Related Resources
Twilio Docs
From APIs to SDKs to sample apps
API reference documentation, SDKs, helper libraries, quickstarts, and tutorials for your language and platform.
Resource Center
The latest ebooks, industry reports, and webinars
Learn from customer engagement experts to improve your own communication.
Ahoy
Twilio's developer community hub
Best practices, code samples, and inspiration to build communications and digital engagement experiences.