Schedule a NASA Astronomy Picture of the Day SMS with Python, Django, and Twilio
Time to read:
September 06, 2022
Written by
Reviewed by

Astronomy has always been a fascinating subject and has always piqued my interest. I found the NASA Astronomy Picture of the Day and their API during my search. That's when I thought of creating an application that would send me an SMS with the latest picture of the day from the NASA APOD API.
Instead of reinventing the wheel, I used Twilio SMS, Django, Celery, and the NASA APOD API to create my application. The goal was to:
- Get a response (astronomy picture of the day and its related information from the NASA APOD API,
- Create and send an SMS to selected phone numbers using Twilio, and
- Schedule the SMS to be sent every day at 10 am local time.
The complete code is available in this repository.
Prerequisites
- Python 3.6x or 3.7x. If your operating system does not provide a Python interpreter, you can download an installer from the python.org site.
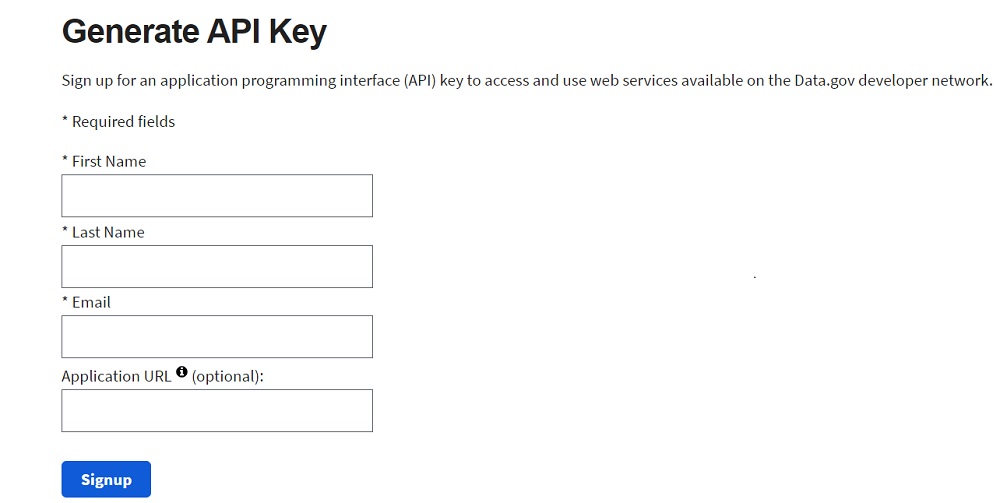
- NASA API Key. You will need an API Key to use theNASA Astronomy Picture of the Day API. It's free and includes 1000 requests per minute.
- The Python installation manager, known as pip
- Django installed on your machine.
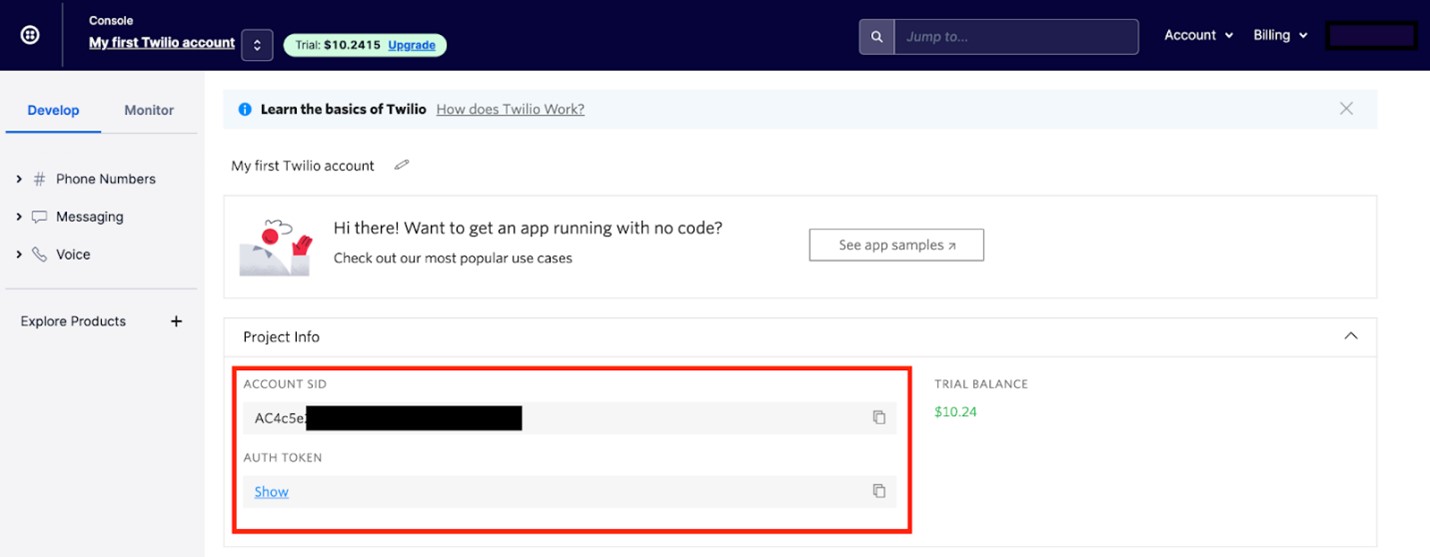
- A Twilio account. Your Account SID and Auth Token are found in your Twilio account dashboard as shown below:
You can create a NASA APOD API Key on the NASA Open APIs page by filling in the form:
Create the Django project and the Python virtual environment
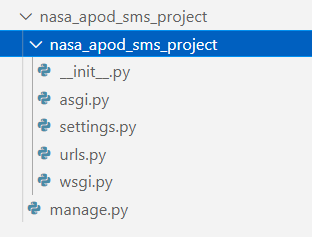
Create a new Django project from your command prompt called nasa_apod_sms_project, then navigate to this new directory:
The folder structure created by Django looks similar to this:
Next, create a new virtual environment for this project so that the dependencies for the project don't interfere with the global setup on your computer. To create a new environment called env, run the following commands on a Mac/Linux machine:
On a Windows machine, run the commands:
After you source the virtual environment, you'll see that your command prompt's input line begins with the name of the environment (env). Python has created a new folder called env/ in the nasa_apod_sms_project directory, which you can see by running the ls command in your command prompt.
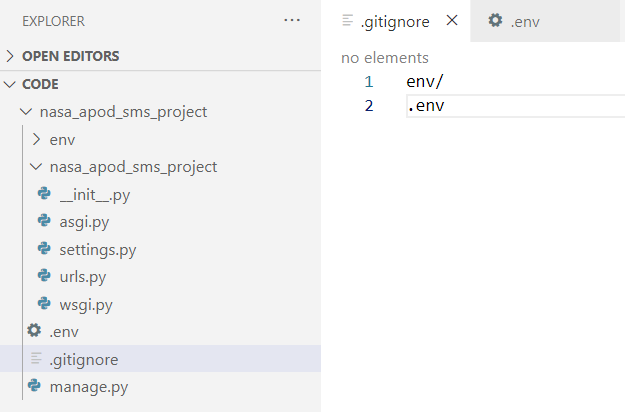
Create a file called .gitignore in the nasa_apod_sms_project/ directory as well.
Open the .gitignore file in the text editor of your choice — then add the env/ folder to the contents of the .gitignore file:
Create the .env file
You will need data like the Account SID, Auth Token, NASA APOD key, and Twilio numbers to interact with the Twilio API and the NASA APOD API. These environment variables should be kept private, so you should not put their values in the code. Instead, you can store them in a .env file and list the .env file in your .gitignore file, so git doesn't track it. A .env file can be used whenever there are environment variables you need to make available to your operating system.
First, create the .env file:
Then, add the .env file as a line item in the .gitignore file:
Next, open the .env file in your favorite text editor and add the following lines, replacing the random string placeholder values with your values:
For the phone numbers above, make sure you have entered them in E.164 format.
At this point, the project folder is as follows:
Install the Python dependencies
The Python packages required for the project are:
- Twilio - provides access to the SMS API
- Django
- Celery - a task scheduler
- Redis - a messaging broker that Celery uses
- Django-celery-beat
- Python-dotenv
Dependencies needed for Python projects are typically listed in a file called requirements.txt. Create a requirements.txt file in the nasa_apod_sms_project directory:
Copy and paste this list of Python packages into your requirements.txt file using your preferred text editor:
The versions mentioned are what worked best for me on a Windows machine but may need to be adjusted to suit your machine and operating system.
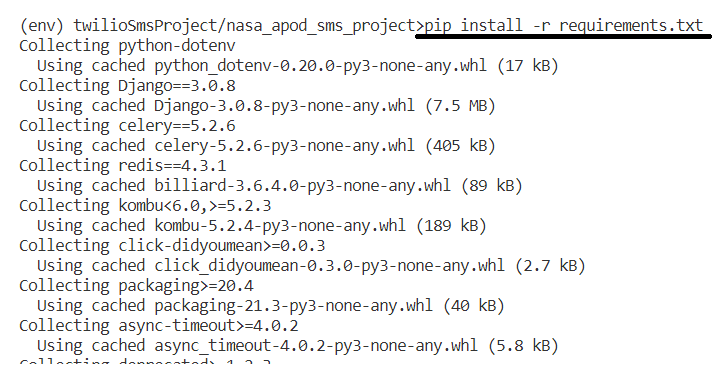
Install all dependencies with the command below, ensuring you still have your virtual environment (env) sourced.
Set up NASA API GET request
Ok, all the setup necessary is done. Now let's get some data from the NASA APOD API.
Create a new file called sms_sender.py in the nasa_apod_sms_project/nasa_apod_sms_project directory—open sms_sender.py in your text editor.
The first thing you need to call the NASA APOD API is the API key you have stored in the .env file.
To retrieve this value, you need to load the .env file as follows — add this code to sms_sender.py:
The load_dotenv() makes all the variables from the .env file available to the Python code. You can then access the key as:
The date will be set to the New York Timezone using the pytz module. To make the API call, you will use the requests library and the date processed with the datetime library. So, ensure that these are imported in sms_sender.py as well:
Now we can call the API as follows — add this get_message_object() function just below the import statements:
Create and send the Twilio SMS
Now that you have the NASA APOD API response let's put it together and send an SMS to your registered phone number.
To send an SMS using Twilio, you need the following information, which you get from the .env file.
- The Twilio Account SID,
- Twilio Auth Token,
- The Twilio number assigned to your account, and
- The receiver's number (registered in case your account is a Trial account).
Below is how you can access these variables in your code, as well as how to instantiate the Twilio Client:
Now, in your code, just below your other import statements, add the following import that will let you use the Twilio Client:
In the following code snippet, you send the title, the image description, and a URL to the image (HD) in the message. You get the NASA APOD API response from the get_message_object() method, as explained previously, and send the message as follows:
Add this code to nasa_apod_sms_project/sms_sender.py.
Configure Celery
In this project, you will use the open-source task queue called Celery to send your SMS messages daily. The latest versions of Celery are supported out-of-the-box with Django; hence, you need minimal configuration. You will use the Celery beat, a task scheduler, and the crontab schedule to schedule the messages. Redis will be your Broker. Add the following Celery configuration to the nasa_apod_sms_project/settings.py file:
In the same file, you will also need to add the Celery beat and Celery results to the installed apps list to ensure you can use them to schedule and store task results, respectively:
Next, you will create and schedule a Celery task.
Initialize Celery
To use Celery, you need to define an instance. As per the recommendation in the Celery-Django documentation, create a new celery.py file in the nasa_apod_sms_project directory. Open this new file in your text editor, and create the Celery instance as follows:
Also, put an entry in the nasa_apod_sms_project/__init__.py file so that the application is loaded every time Django starts up. Open this file and paste in the following code:
Return to the celery.py file. In this example, you will schedule the celery task at 10 am every day, Kolkata time, or your own timezone if you previously changed it. The timezone is mentioned in the CELERY_TIMEZONE option in settings.py.
Add crontab to the imports in celery.py, and then create the following schedule:
Now, to create the actual "task" that is run by Celery, create a new file called tasks.py in your nasa_apod_sms_project project directory and enter the following code:
You now have all the pieces of the puzzle ready.
Run Server
To send an SMS with the NASA APOD photo of the day to the receiver's phone via Twilio every day at 10 am, you need to run the Django application, the Redis server, the Celery worker, and the Celery beat scheduler. You will need to run each of these services in a new terminal window, making sure your virtual environment is activated in each window.
You can run the Django application with the following command:
Then, open a new terminal window to the project directory, activate your virtual environment, and run the Redis server with the following command:
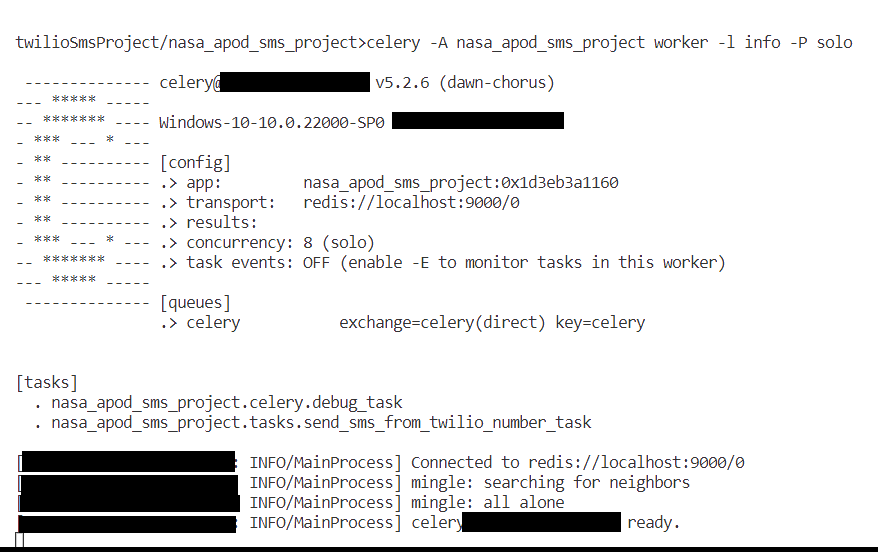
Open a new Terminal window and start the Celery worker inside the project directory.
For the Windows operating system, you might need to run the worker with the 'solo' option due to some known issues between Celery and Windows:
You will see logs like the following as the service starts up:
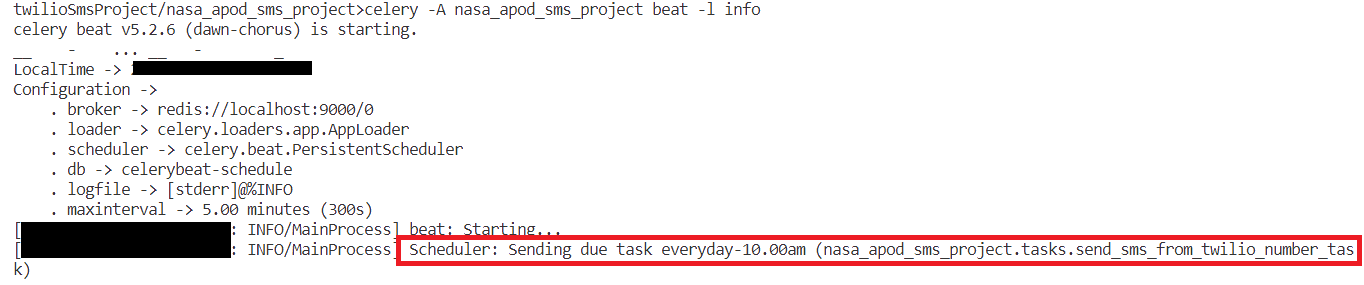
Open another Terminal window and start the task scheduler:

The Celery scheduler will trigger the task mentioned in the beat_schedule, and you should see a log statement similar to the one below in the scheduler logs:
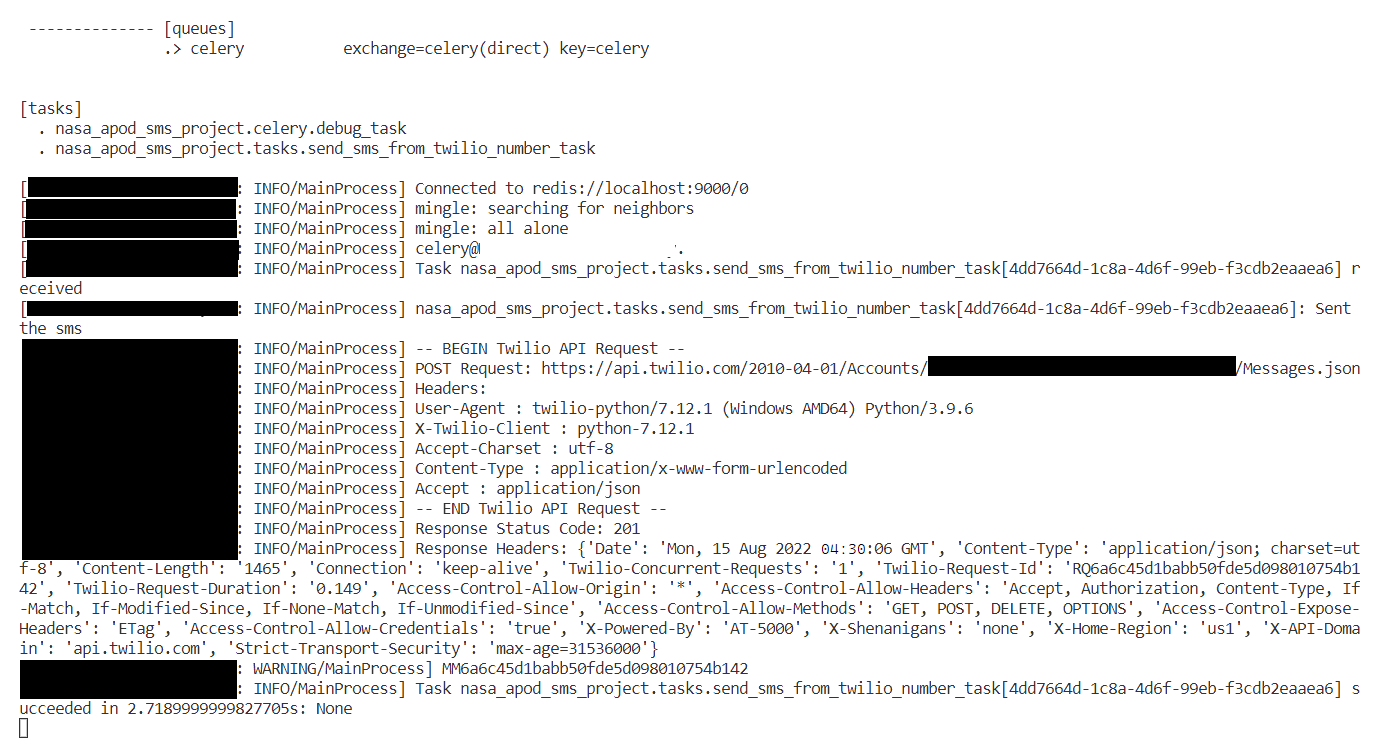
The Celery worker is what picks and executes the task at the stipulated time. If everything is configured correctly, you should be able to see a log similar to the one below when the task is executed.
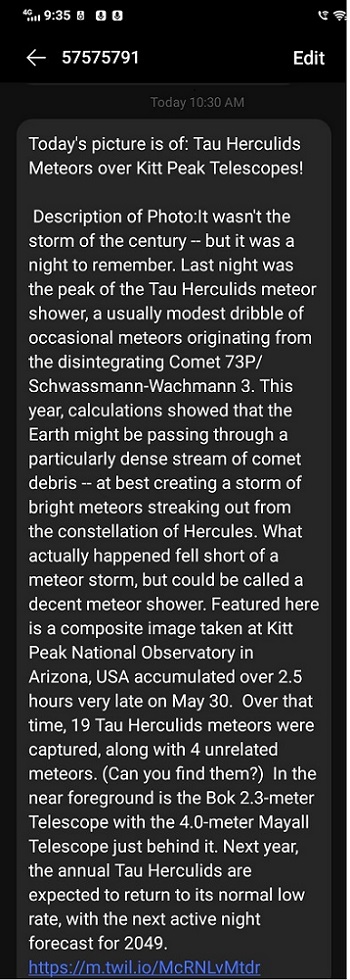
The receiver's number will receive an SMS from a Twilio number. If your account is a trial account, then the message will start with:
Following that will be the NASA Picture of the day's title, description, and a link to the photo. Here is a sample SMS:
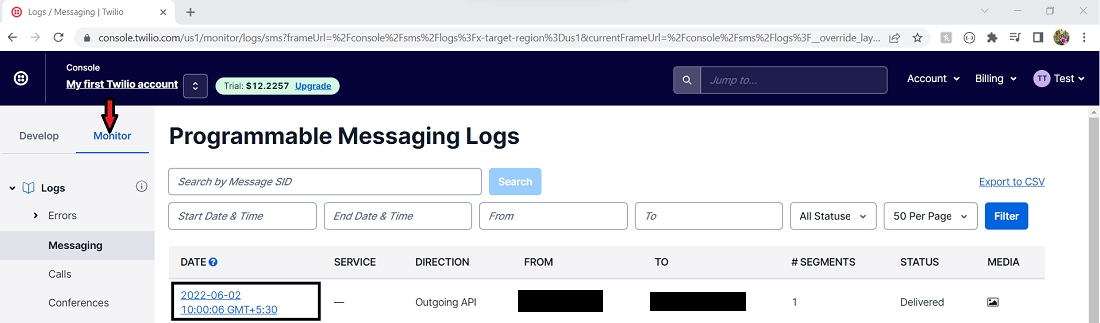
We can also check the logs of whether the SMS was sent or not, what the details were, etc., in the Twilio console.
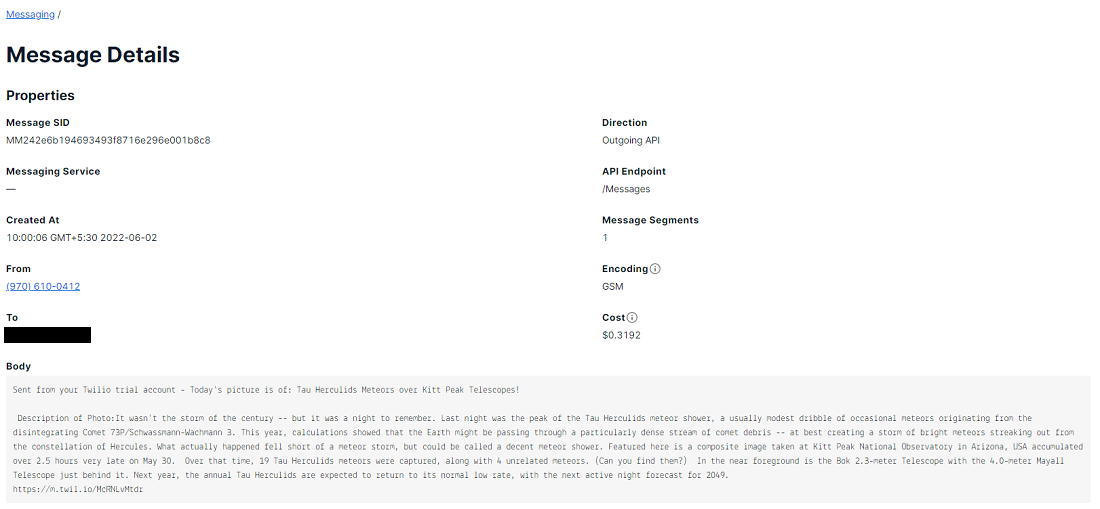
If you click on the specific link, the detailed logs are shown.

Conclusion
Way to go! You just learned how to:
- Get a response from the NASA APOD API
- Write a function to send an SMS message using the Twilio API
- Send messages periodically using Celery and Django
If you're interested in building more astronomy-related projects, you can try other NASA APIs. Or you can call a Weather API, tweak the SMS content, and turn it into a daily series of weather for your locality. The above application is a beginner Django project with minimal configuration. For this application to be deploy-ready, consider changes like containerizing the application, adding admin functionality, building a model to store the SMS objects, etc.
Or, check out some of the other tutorials on the Twilio blog for ideas on what to build next:
- Automatically Send Birthday Wishes with Python Flask and WhatsApp
- Building a NASA Satellite Imagery SMS Bot with Python, Flask, and Twilio
Happy Coding!
Reshma Sathe is a Master of Computer Science graduate and a Software Developer with experience in Java, Python, Kotlin, and other programming languages. She loves exploring newer technologies. She can be reached via:
- Github: https://github.com/rvsathe/
- LinkedIn: https://www.linkedin.com/in/reshma-sathe


Related Resources
Twilio Docs
From APIs to SDKs to sample apps
API reference documentation, SDKs, helper libraries, quickstarts, and tutorials for your language and platform.
Resource Center
The latest ebooks, industry reports, and webinars
Learn from customer engagement experts to improve your own communication.
Ahoy
Twilio's developer community hub
Best practices, code samples, and inspiration to build communications and digital engagement experiences.