Write Segment Data to a Notion Database
Time to read:
October 13, 2022
Written by
Reviewed by

In Data Processing, Getting Data is one task and Saving it is another. Segment makes it easy to collect, prepare, and clean data, but what about storing it for future use or analysis? Read on to learn how to use the Twilio Serverless Toolkit to write Segment data about page visits to a Notion database using Notion's API, which is especially handy if you're a big Notion user.

Prerequisites
To follow along with this post, you need these things:
- A Twilio account - sign up for a free one here and receive an extra $10 if you upgrade through this link
- A Twilio phone number with SMS capabilities - configure one here
- Segment account - sign up for a free one here
- Node.js installed - download it here.
- Notion account - download the Mac or iOS app here and make an account (or you can just make an account at that link and use Notion in the browser).
- A personal phone number to test the project.
Get Started with the Notion API
Go to the Notion API website and make sure you are logged into a Notion workspace as an Admin user. If you're not an Admin in your current workspace, make a new personal workspace for free here. From the Notion API site, click on View my integrations in the top right corner.
Select +New integration and on the following page, give your integration a name like segment. For the purposes of this post, the integration type can be internal.
After clicking Submit, you will be taken to a page with your integration's Internal Integration Token–copy it and keep it hidden for later.

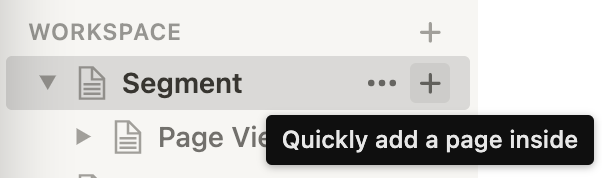
Now make a new Notion page in your workspace either in your Notion app or at notion.so by clicking the plus sign next to the three dots and Workspace–in this example, the Workspace is called Segment.
Next, add a table by typeing "/" and select Table-Full page. This inserts a new database nested into our workspace. You can read more on the types of databases in Notion here.
Integrations don't have access to any pages or databases in the workspace at first: a Notion user needs to share certain pages with an integration so that the pages can be accessed using the API and keep the information in Notion secure.
To let the Notion API access our database, click Share in the top right of your database (in the workspace) followed by the blue Invite button. Under Integrations, click Trip to-do's workspace.
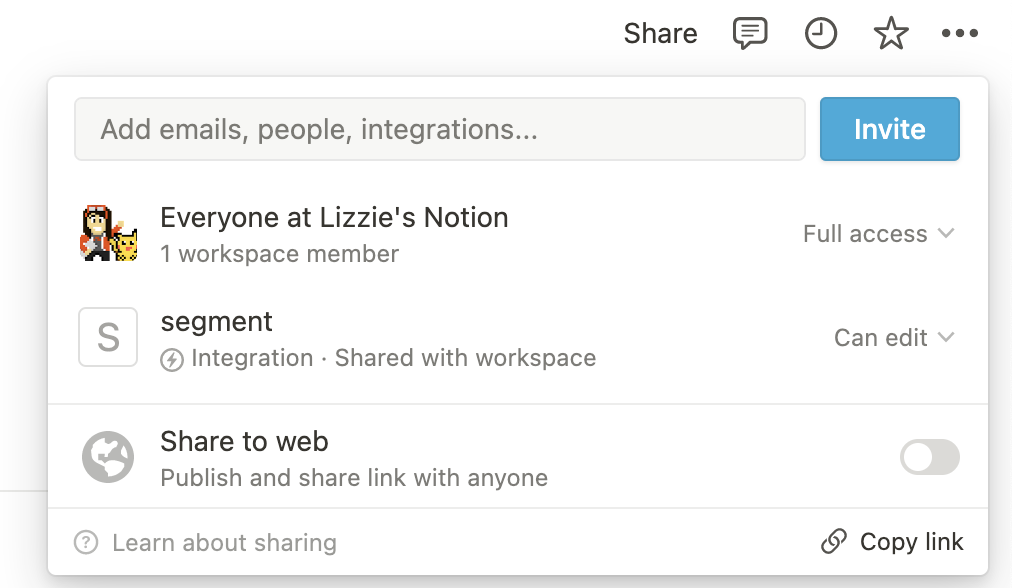
You can see more information on sharing a database with your integration here on the Notion API website.
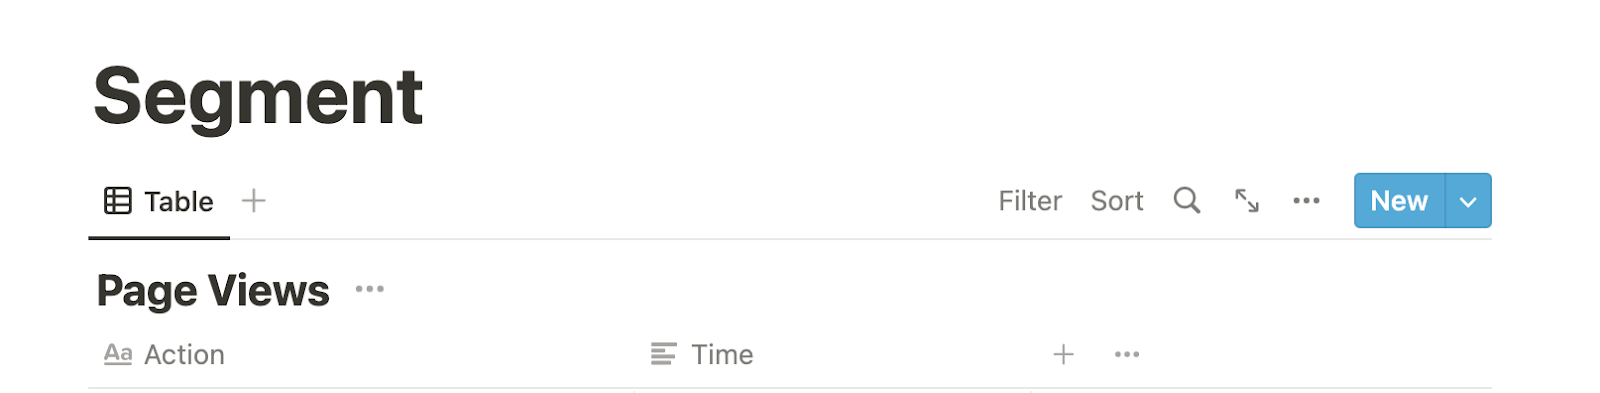
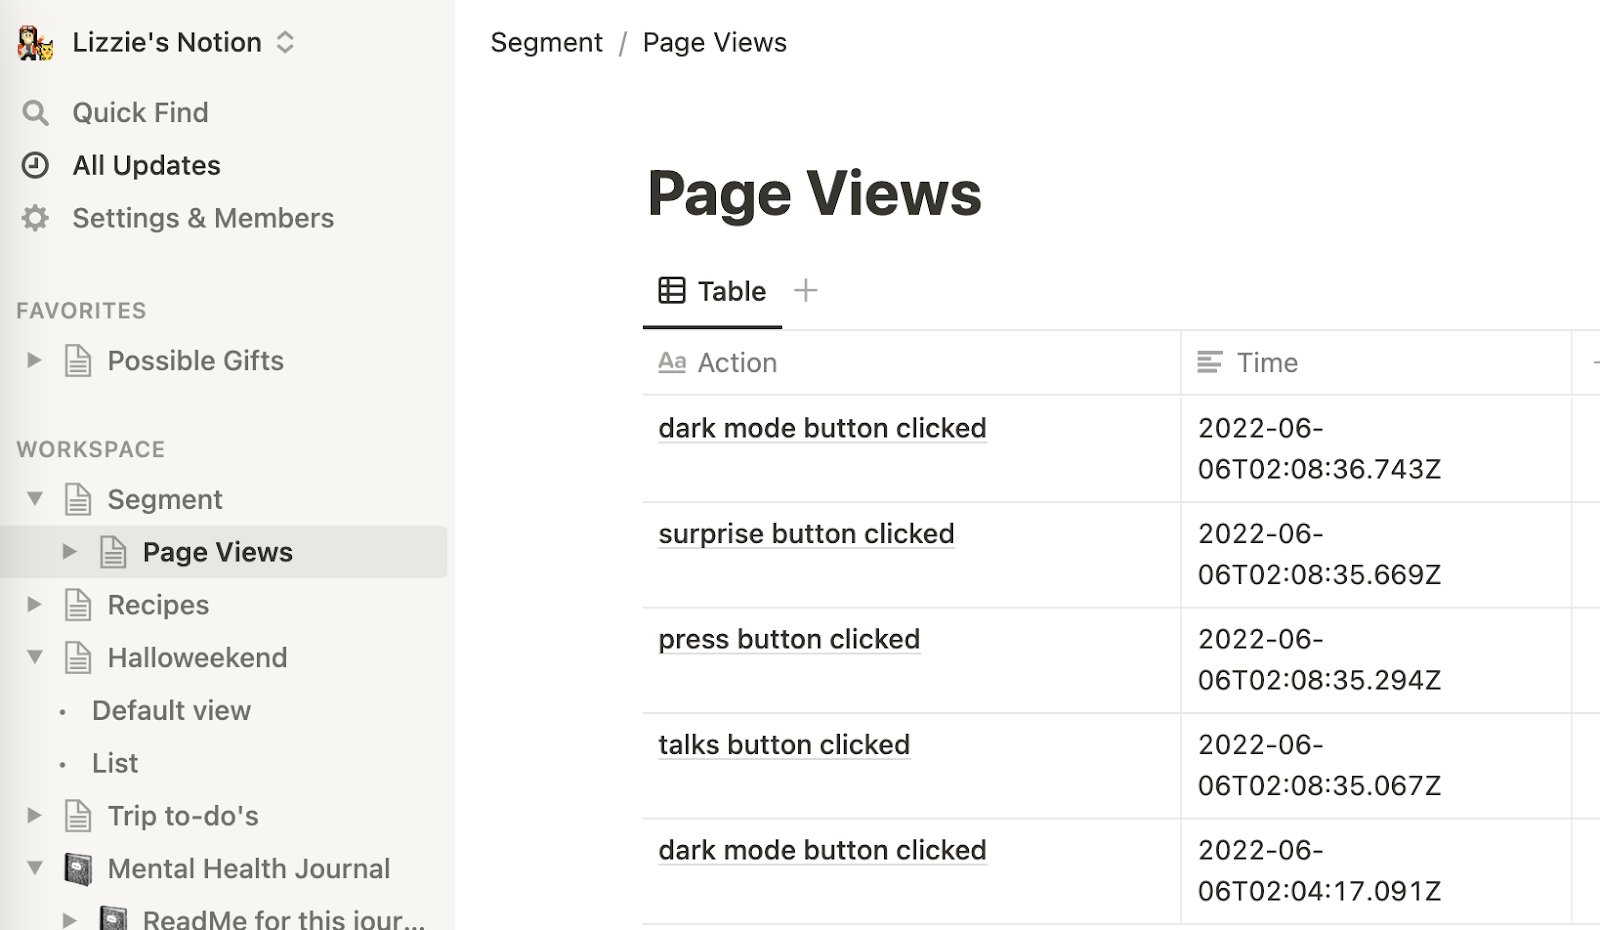
Give your database a title and some column names. This blog post's database is named "Page Views". The column names reflect the data we want to keep track of such as Action (what the user did on your website, which was then sent to Segment) and Time (what time the action was taken.) Set these in Notion like below:
Take note of the ID of the database you just created. Open Notion in a browser and view the database as a full page. The database ID is in between the URL after notion.so and ends before the question mark. The ID is 32 characters long with numbers and letters. Copy the ID and save it somewhere you can easily find soon.
The database in this article begins with Segment-2d and ends with f546 as seen below:

Make sure that your database link does not contain your Notion username. If you see that, you may have to make a new database under a different project workspace so that it looks like the image above.
Now that our Notion database and the Notion API is set up, we can configure Segment to receive data from a website!
Add a Segment Source
First off, we need to add a website as a source in the Segment app–follow this blog post to do sp. When using Segment, you create a source (or more than one!) for each website or application you want to track: a source provides data to Segment to use so you can work with it.
Next, this tutorial will use Twilio Functions as a Destination: let's make that Twilio Function now so we can include JavaScript to write to a Notion database.
Make a Twilio Function to Write to Notion
The Serverless Toolkit is CLI tooling that helps you develop locally and deploy to Twilio Runtime. The best way to work with the Serverless Toolkit is through the Twilio CLI. If you don't have the Twilio CLI installed yet, run the following commands on the command line to install it and the Serverless Toolkit:
Create your new project and install its sole package superagent for making HTTP requests in Node.js by running:
Open the .env file, fill in your AUTH_TOKEN, and add environment variables for your personal phone number called MY_PHONE_NUMBER and your Notion API key called NOTION_API_KEY.
Now add a new file inside the \functions directory called notion.js containing the following code:
This code makes your Twilio Function asynchronous and parses the inbound event request from Segment, filling the propObj variable with that data to write in the Notion database. It then uses the superagent library to write that information to your Notion database (with your Notion API key and database ID).
From the root directory, run twilio serverless:deploy and copy the URL ending in /segment.
Set the Twilio Function as a Segment Destination
Back in your Segment Console beneath the blue Copy Snippet button, click the blue Add Destination button.

Search the Destinations Catalog for webhook and select Webhooks.
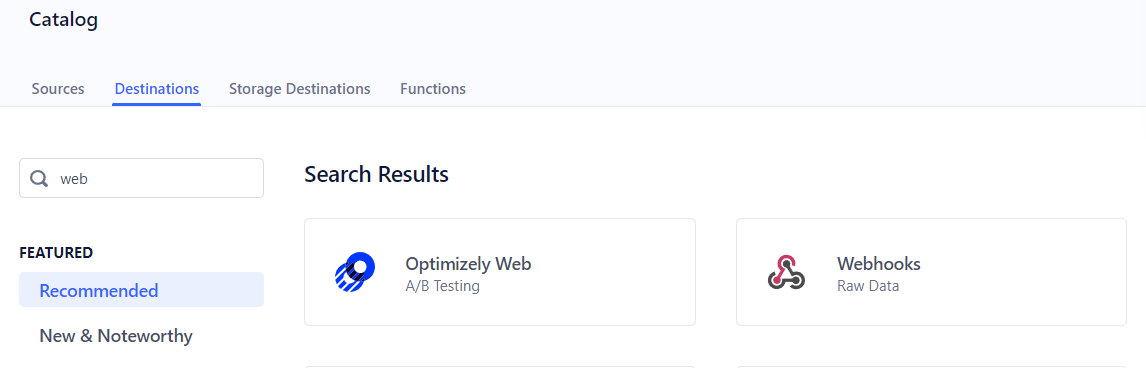
Then click the blue Configure Webhooks button.

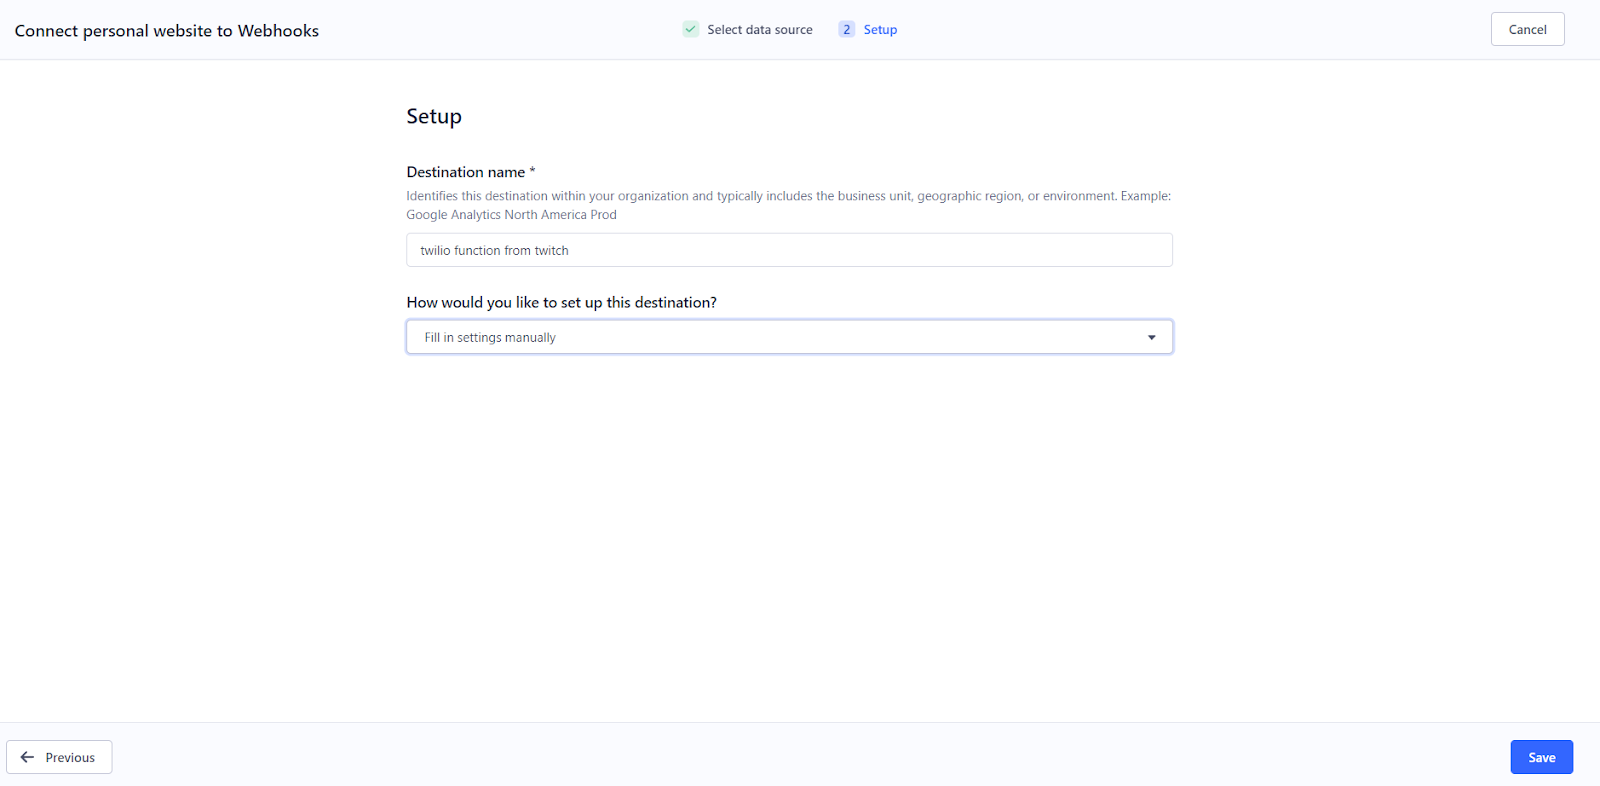
Select a data source to be your website and now to setup the webhook, we give it a Destination name, followed by clicking Save.
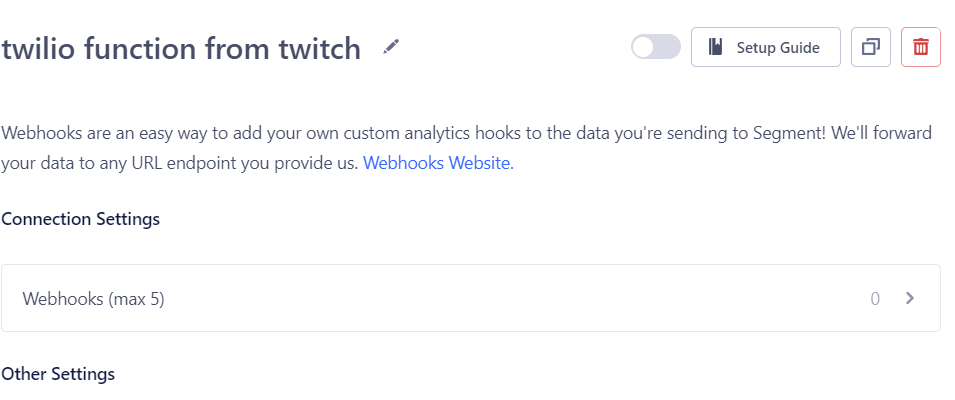
Then select Webhooks (max 5) and enable the toggle next to Setup Guide.
Put in your Function URL ending in /segment and set a header to be something like you see below.
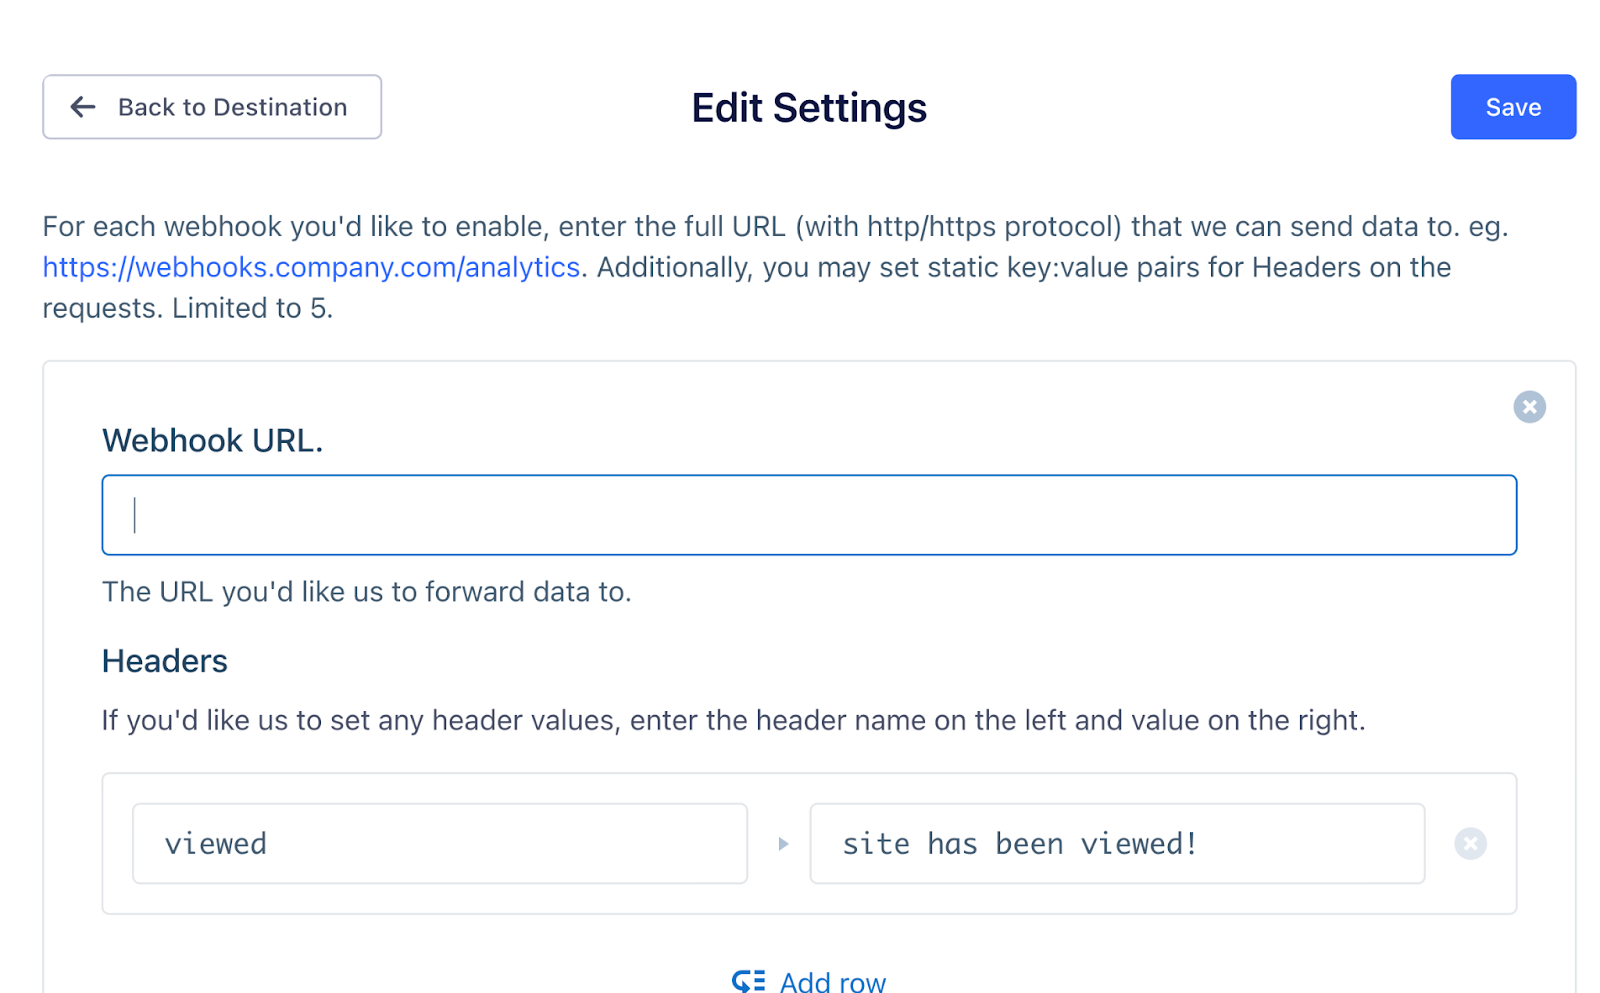
Click the blue Save button and tada! Data about page visits to your website will be saved to your Notion database.
What's Next for Segment and Notion?
There's so much you can do with Segment and the Notion API. You can write to a Notion Database via Twilio SMS too–stay tuned for more technical Segment tutorials, and let me know online what you're building with Segment!
- Twitter: @lizziepika
- GitHub: elizabethsiegle
- Email: lsiegle@twilio.com
- Livestreams: twitch.tv/lizziepikachu


Related Resources
Twilio Docs
From APIs to SDKs to sample apps
API reference documentation, SDKs, helper libraries, quickstarts, and tutorials for your language and platform.
Resource Center
The latest ebooks, industry reports, and webinars
Learn from customer engagement experts to improve your own communication.
Ahoy
Twilio's developer community hub
Best practices, code samples, and inspiration to build communications and digital engagement experiences.