Fighting Impostor Syndrome With Twilio Internet of Things
Time to read:
September 04, 2019
Written by
This post is part of Twilio’s archive and may contain outdated information. We’re always building something new, so be sure to check out our latest posts for the most up-to-date insights.

If you’re reading this, you’ve probably grappled with impostor syndrome at one time or another.
Experience doesn’t always help, either. As our skills grow, we tackle harder problems. Technologists are always working at the edge of our knowledge.
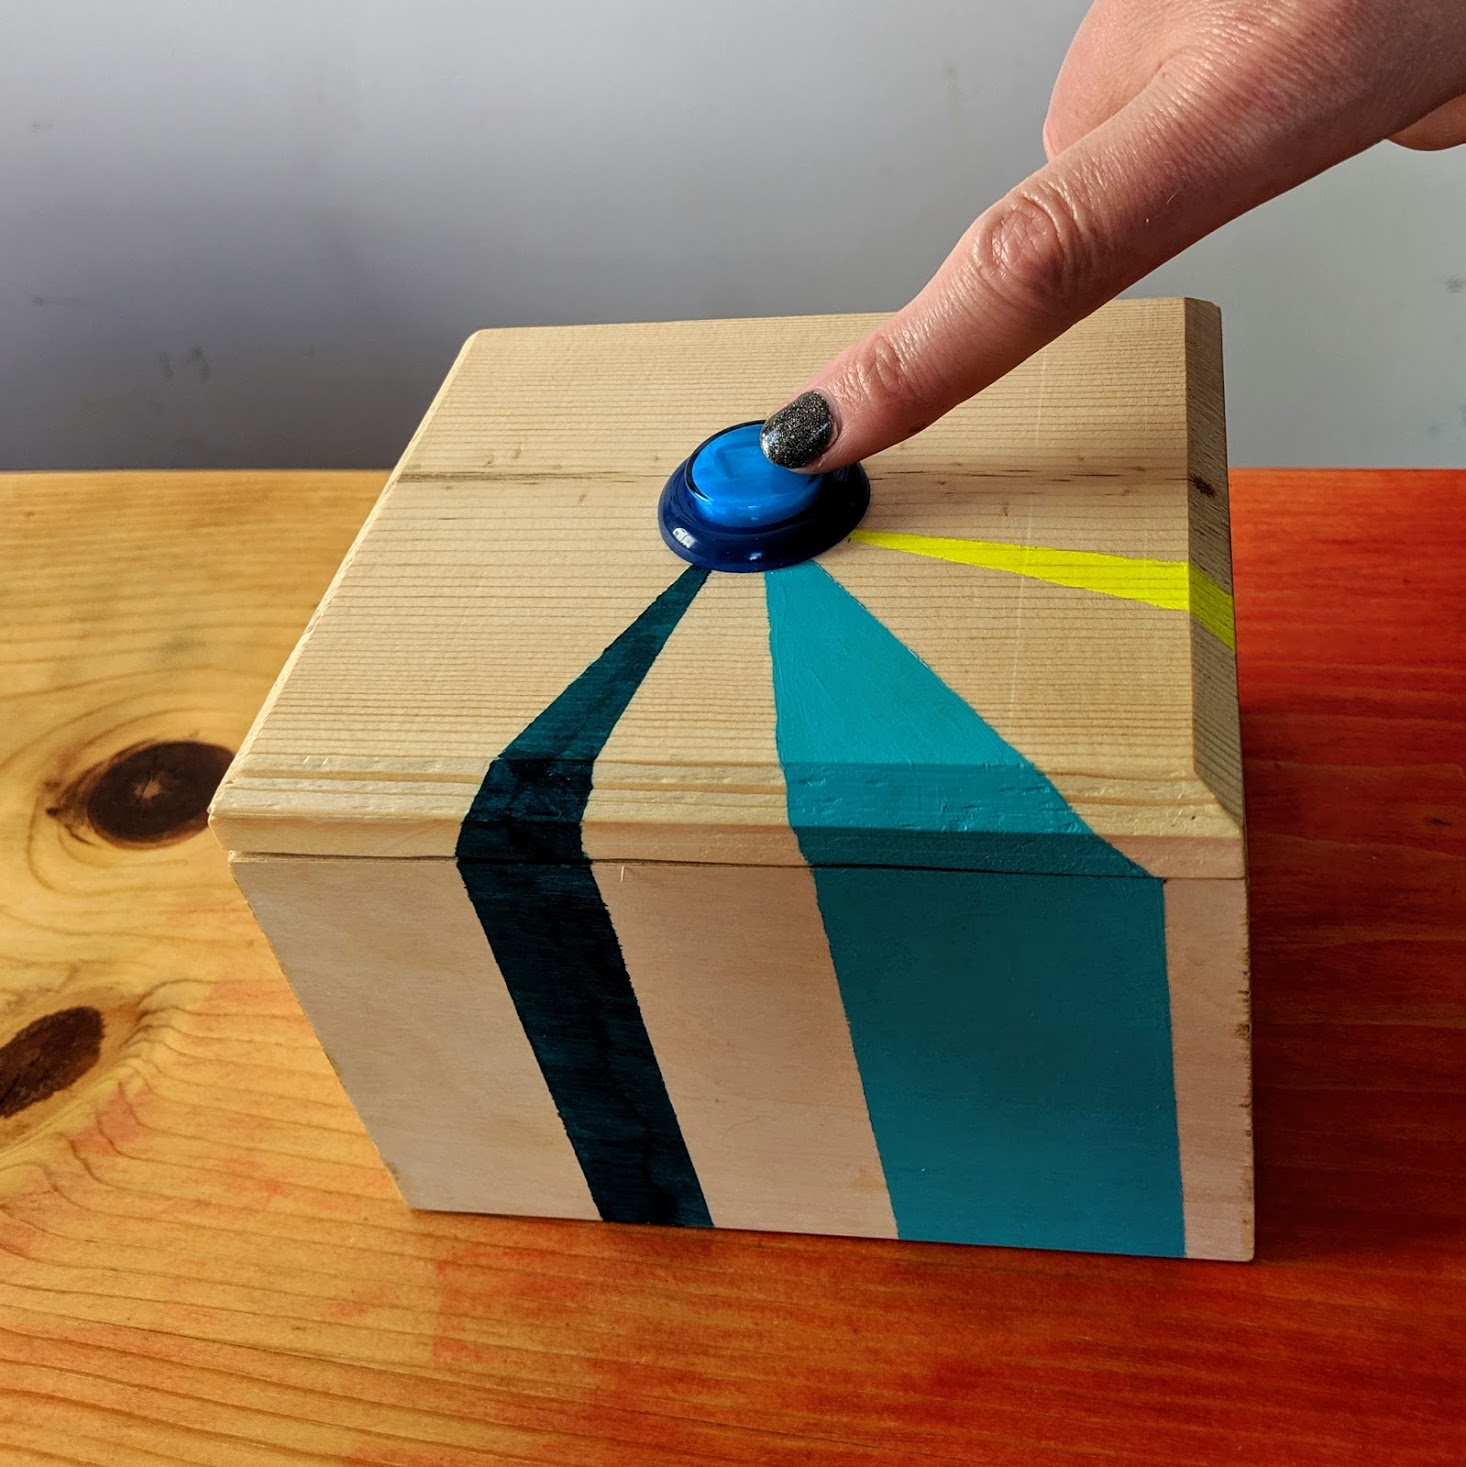
What can we do to fight impostor syndrome? Studies have shown that self-affirmation can counteract negative ruminations and increase achievement. So I decided to build an Internet of Things button that delivers an SMS affirmation when pressed.
Physical responses to negative thoughts
Why use hardware to fight imposter syndrome?
This project could totally be a web application. But – taking a physical action in response to negative thoughts helps ground me emotionally.
Using SMS lets me receive the affirmation without the cognitive load of opening another browser tab. Twilio’s IoT capabilities let me take the button anywhere with cell service. No WiFi configuration required!
The imposter syndrome button was my first hardware project. It was a bit challenging at times. However, with support from my community, I managed to get it working eventually.
I’m excited to walk you through this build – there’s no hardware experience required to follow along.
IoT Imposter Syndrome Button: Prerequisites
- Raspberry Pi. I used a Pi 3 Model B, but any version later than 1 Model B+ should work
- LTE Cat 1 Pi HAT
- A button with these wires
- Twilio SIM card
- Twilio account - sign up for a free one here
- SD card
- USB to Ethernet adapter. Make and model depends on what kind of USB ports your laptop has. We had good results using this model
- (optional) buy or make a box to encase the project
Getting Started with Twilio IoT
First, register your Twilio SIM card. Then create a rate plan. Finally, buy a Twilio phone number with SMS capability.
Now, we’re going to set up the Pi’s operating system. We’re using a special Raspbian disk image that drives the LTE Cat 1 Pi HAT. Download Balena Etcher and follow its instructions to burn the operating system image on to the SD card.
Assemble the hardware
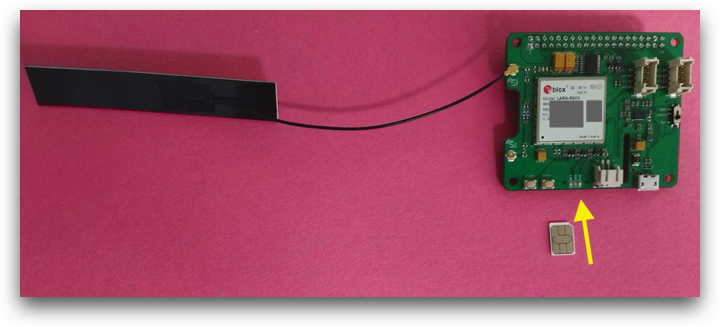
Pop the Twilio sim card in the HAT and gently attach the antennas.
Attach the hat to the Pi with a USB to micro USB cable. The large side goes into the Pi.
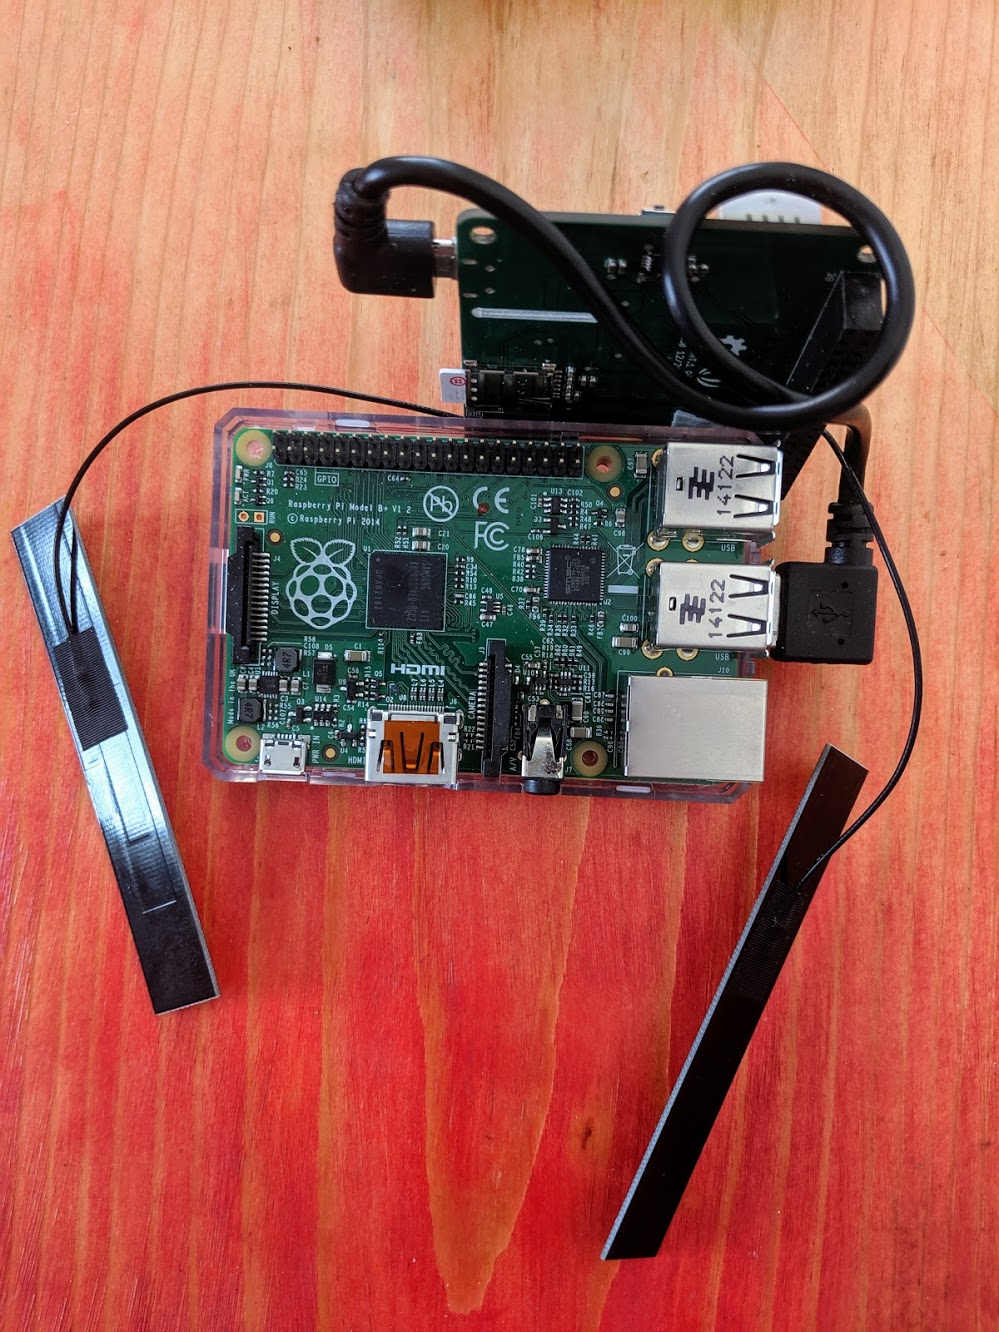
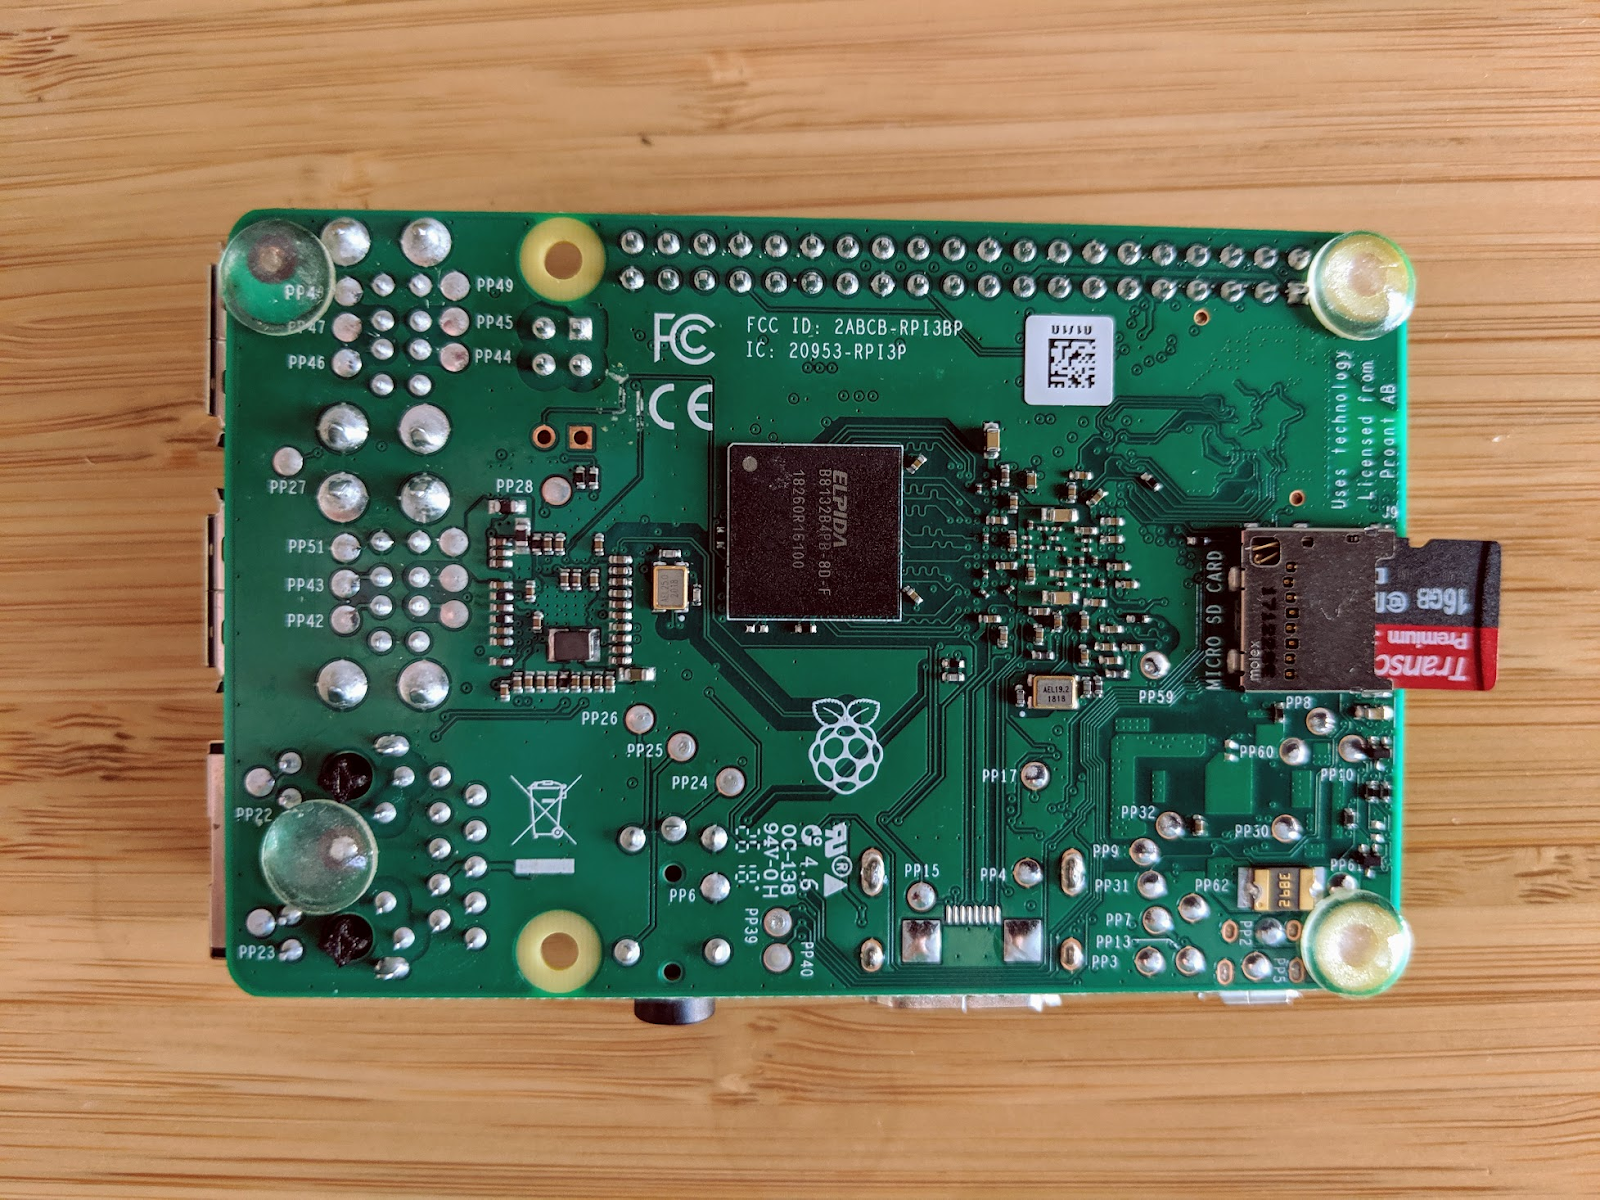
Next, put the burned SD card in to the bottom slot on the Pi.
Plug the USB to ethernet adapter into your desktop. Connect the ethernet cable between the ethernet jacks on the adapter and Raspberry Pi.
Finally, plug the Pi in to a USB power source.
If you see blinking green lights on the Raspberry Pi, you did it right! Next I’ll show you how to set up your development environment.
Set up your Development Environment
From a terminal on your desktop or laptop, SSH to pi@192.168.253.100.
You’ll be prompted to enter a password, enter build19.
Run the following command to install pip, the python package manager:
Then use pip to install the Twilio Python SDK:
Add Twilio credentials as Environment Variables on the Pi.
You need to set TWILIO_ACCOUNT_SID and TWILIO_AUTH_TOKEN. You can find them in the console.
Configure your text editor
Time to configure your code editor. You have two options to enter the code you’ll need:
- You can use an editor directly on the Pi such as
nano,vim, oremacs. - Alternately, you can use an editor on your laptop and configure an editor extension to copy the code over to the Pi.
When I built my button, I used atom with the remote sync extension and it worked like a charm.
Hook up the button

The Raspberry Pi has pins for general purpose input and output, aka GPIO.
If you connect the wrong pins you can brick your Pi. I did that during my first build -- guess I'm a real hardware hacker now. 😂Use a pinout diagram to double check your pins and avoid my mistake.
Confusingly, the GPIO pins have several numbering schemes. It doesn’t matter which scheme you pick, as long as you use a consistent scheme throughout your project to avoid mixups. For this project we’ll use the BCM numbering scheme.
When the button is pushed, we want to complete a circuit.
A circuit is an unbroken path which electric current can flow along. Ground is a reasonably consistent reference point that other levels of current can be measured against.
We measure the voltage difference between the signal and ground to determine if a button is depressed. Circuits can pick up random electromagnetic energy and static, which makes it difficult to set a threshold for exactly how much of a voltage difference matters.
Resistors: what they are, why you need them
Resistors to the rescue! Resistors impede the flow of electrical current in a circuit.
For a switch that connects to ground, a pull-up resistor ensures a well-defined voltage (“logical high”) across the remainder of the circuit when the switch is open. Conversely, a pull-down resistor ensures a well-defined ground voltage (“logical low”) when the switch is open.
It doesn’t matter whether you use pull-up or pull-down resistors for this project – so let’s go with pullup. The Pi GPIO pins have internal pull-up and pull-down resistors, which we’ll configure in our Python code.
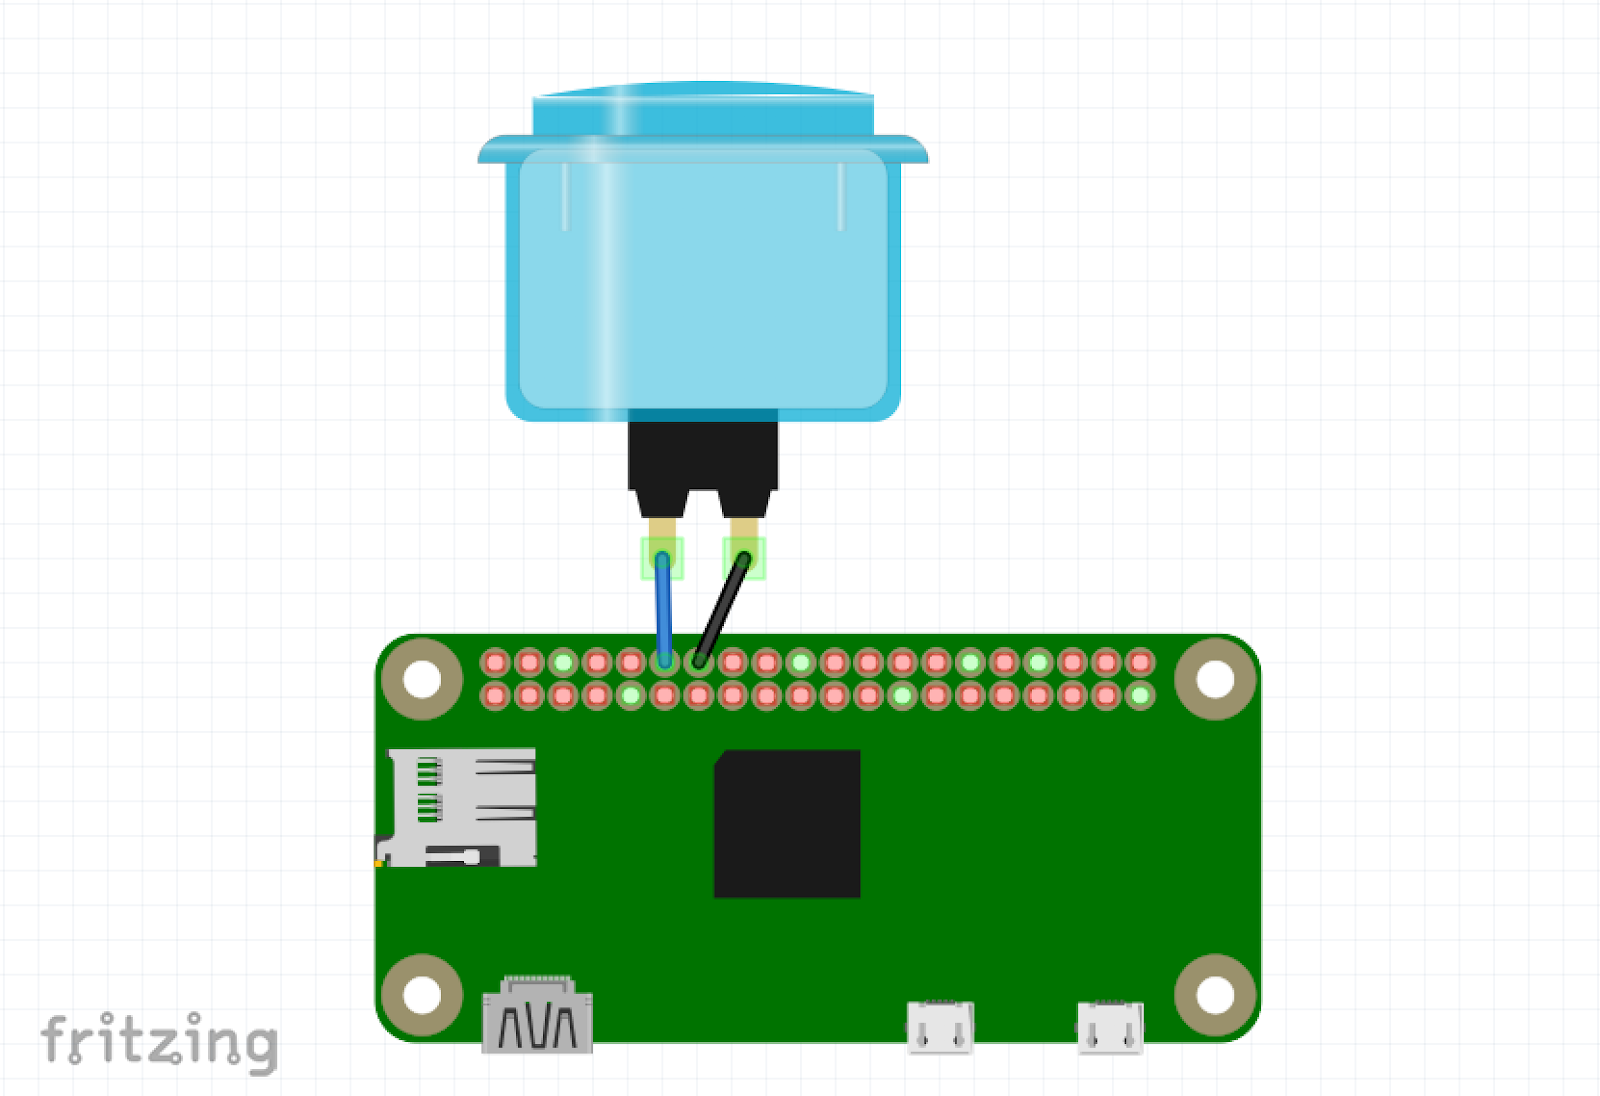
Attach the button to the Pi
Plug the metal side of the button wires into the button. (It doesn’t matter which wire is which, they’re interchangeable.)
Plug the plastic side of the connectors in to BCM pin 18, as well as GND. You can solder these wires instead of using the connectors if you’d prefer.
Enter the Code
Copy the following code into a new file sms_button.py on your Raspberry Pi. (Use your choice of editor from above).
Replace the from_number with your Twilio phone number, and the to_number with the number you want to send the affirmations to.
I’m using an affirmations api here, but you can also write personalized affirmations for yourself. Put the affirmations in a list and use random.choice() to select one each time the send_message function is called.
Try running the python script from the command line:
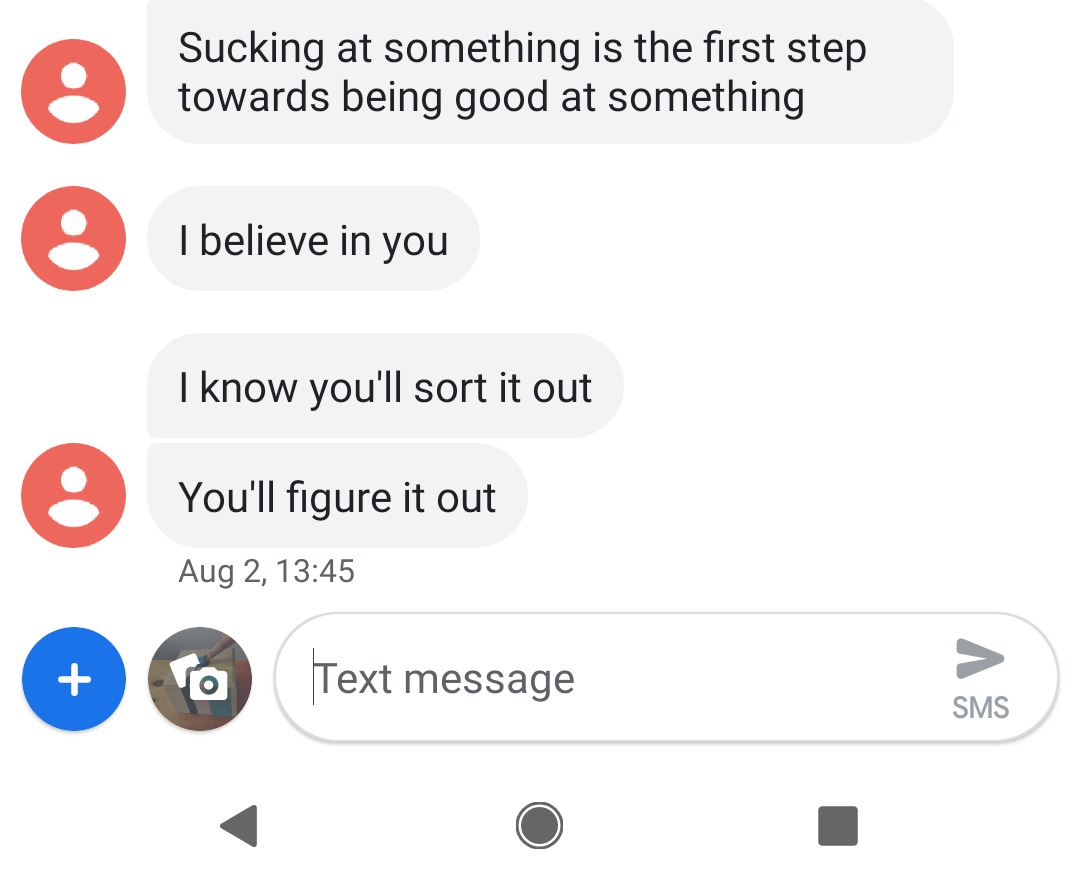
After pushing the button you should see some output that looks like this:
You should receive a text message affirmation on the cell number you provided. Hooray!

Note that sometimes the button takes a few seconds to initialize when the script first runs.
If you want to keep the script running continuously on the Pi, you’ll want to run it inside a screen session so the script can keep going after the ssh session terminates.
Take that, negative self-talk
At the end of the day, my impostor syndrome doesn’t define me. It’s just a thought I’m having.
Your impostor syndrome doesn’t define you either. You’re smart, you get things done, and I can’t wait to see what you create. If you build something with Twilio IoT, I’d love to hear about it! You can comment below or find me on Twitter.

Related Resources
Twilio Docs
From APIs to SDKs to sample apps
API reference documentation, SDKs, helper libraries, quickstarts, and tutorials for your language and platform.
Resource Center
The latest ebooks, industry reports, and webinars
Learn from customer engagement experts to improve your own communication.
Ahoy
Twilio's developer community hub
Best practices, code samples, and inspiration to build communications and digital engagement experiences.