How to Integrate Salesforce With WhatsApp Using Twilio
Time to read:
February 12, 2024
Written by
Reviewed by
How to Integrate Salesforce With WhatsApp Using Twilio
Companies who want to enhance their customer interaction tactics can use Twilio to connect WhatsApp and Salesforce. As a widely adopted messaging service, WhatsApp facilitates effective communication between businesses and their customers.
This tutorial uses the Twilio WhatsApp API to link Salesforce with WhatsApp . Salesforce and WhatsApp are linked to provide direct communication between a business' Customer Relationship Management (CRM) data and WhatsApp. With this integration, businesses can communicate with customers on WhatsApp and provide individualized messages, quick updates, and streamlined workflows directly from the Salesforce platform. It improves communication, increases customer satisfaction, and contributes to a more tailored approach to customer communication.
Prerequisites
To complete this tutorial, you will need the following:
- A Twilio account - Create a Twilio account for free here
- Visual Studio (VS) Code - Download and Install VS Code here
- Salesforce CLI - Download and Install Salesforce CLI here
- Salesforce Developer account - Create a Salesforce account for free here
- WhatsApp account - Create a WhatsApp account for free here
Setting Up Salesforce CLI in VS Code
To begin this integration, ensure that your Salesforce CLI is installed successfully, open up your command prompt terminal, and write the following command:
If your Salesforce CLI was installed successfully, you'll get a similar result to this:
Now, open up your VS Code to set up Salesforce for easier deployment purposes. When you open up your VS Code, navigate to the left-hand corner of your VS Code UI, and click on the Extensions button.
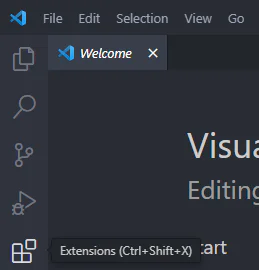
In the Extensions search bar, type Salesforce Extension , and open up the Salesforce Extension Pack result, and install it.

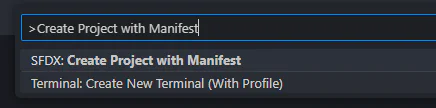
After installing the Salesforce Extension Pack on your VS Code, you'll need to connect your VS code to your Salesforce Org. To do this, go to the home window of your VS code, and navigate to the View tab. On the View dropdown, click on the Command Palette or enter Ctrl + Shift + P in Windows or Linux, or Command + Shift + P in Mac, and type Create Project with Manifest. Click on SFDX: Create Project with Manifest.
This will take a few seconds and the next step will show up with 3 options— Standard , Empty , and Analytics. Click on the Standard option, and give your project a name. In this tutorial, I named my project Twilio and Salesforce.

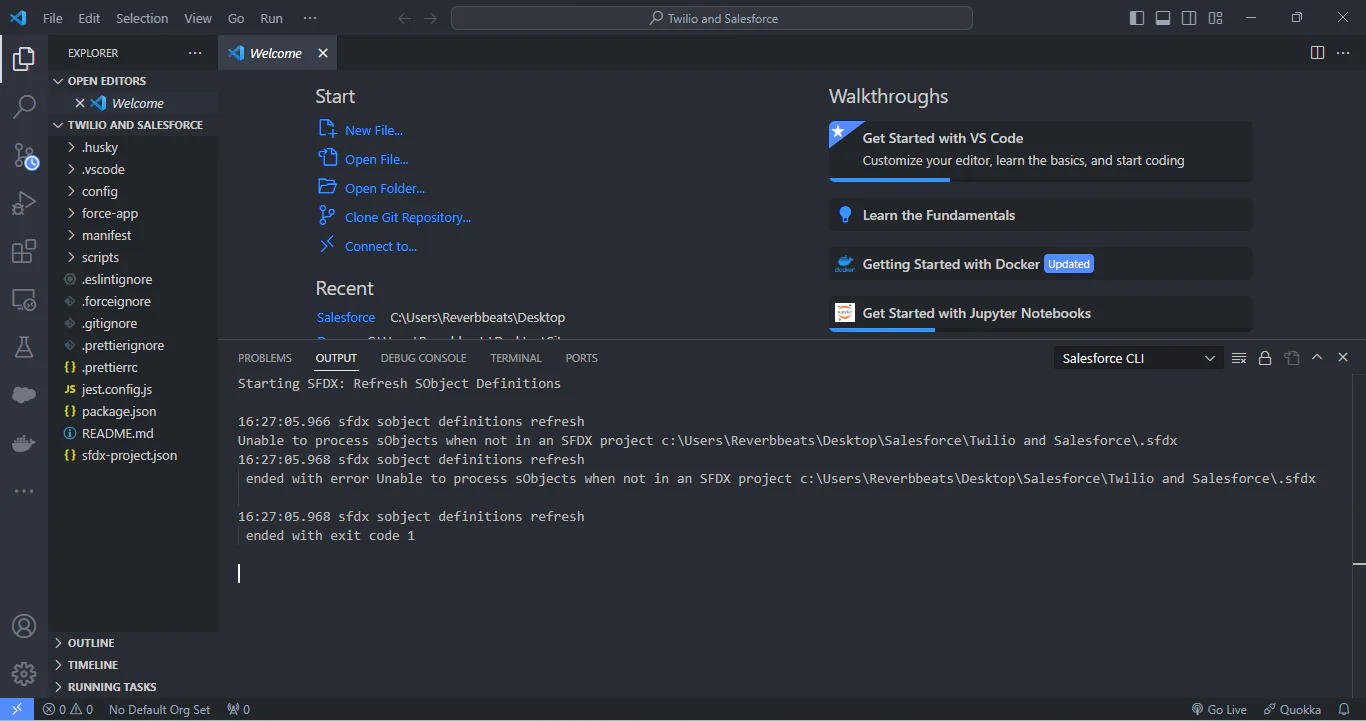
You'll then be asked to choose a directory where you wish to save your project, and after successfully saving your project, it will take some time to create the project. After that, another VS Code window will open up with the default Salesforce folders and the Salesforce CLI.
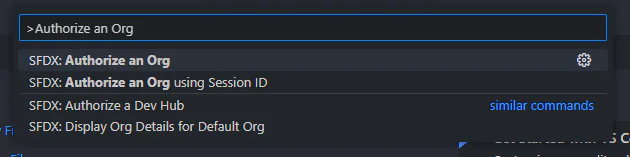
After this, you'll need to set a default Org for your Salesforce project. To do this, you'll go to the View tab again or enter Ctrl + Shift + P in Windows or Linux, or Command + Shift + P in Mac, and in the Search tab, enterand click on Authorize an Org.
Give it some time and then a query will pop up to choose your Org, click on Project Default, and enter a name.
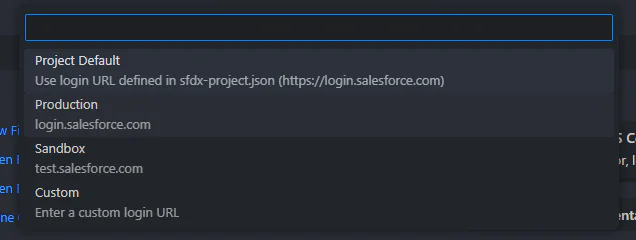
After that, the Salesforce webpage will open up in your default browser, and you'll need to enter your Salesforce username and email.
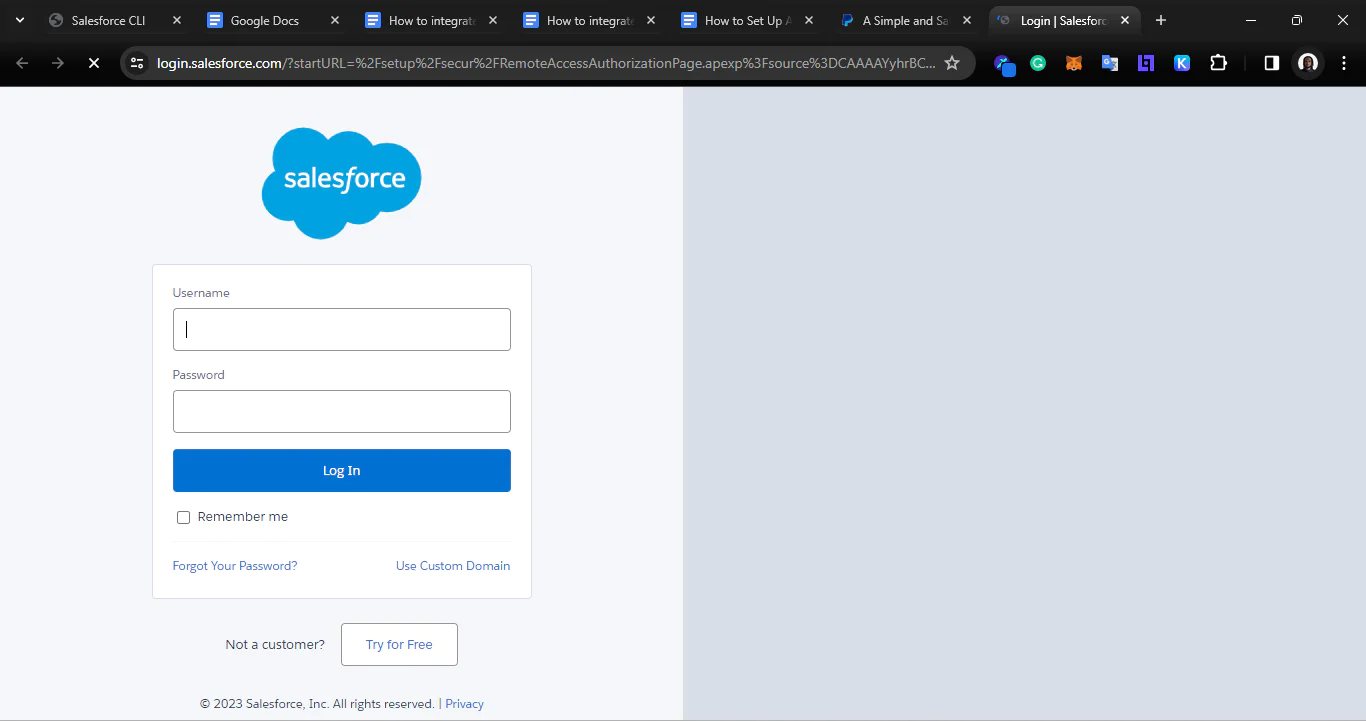
Click the Log In button. Then, you'll be met with an Allow Access? page.

Click on the Allow button and your authentication will be successful.
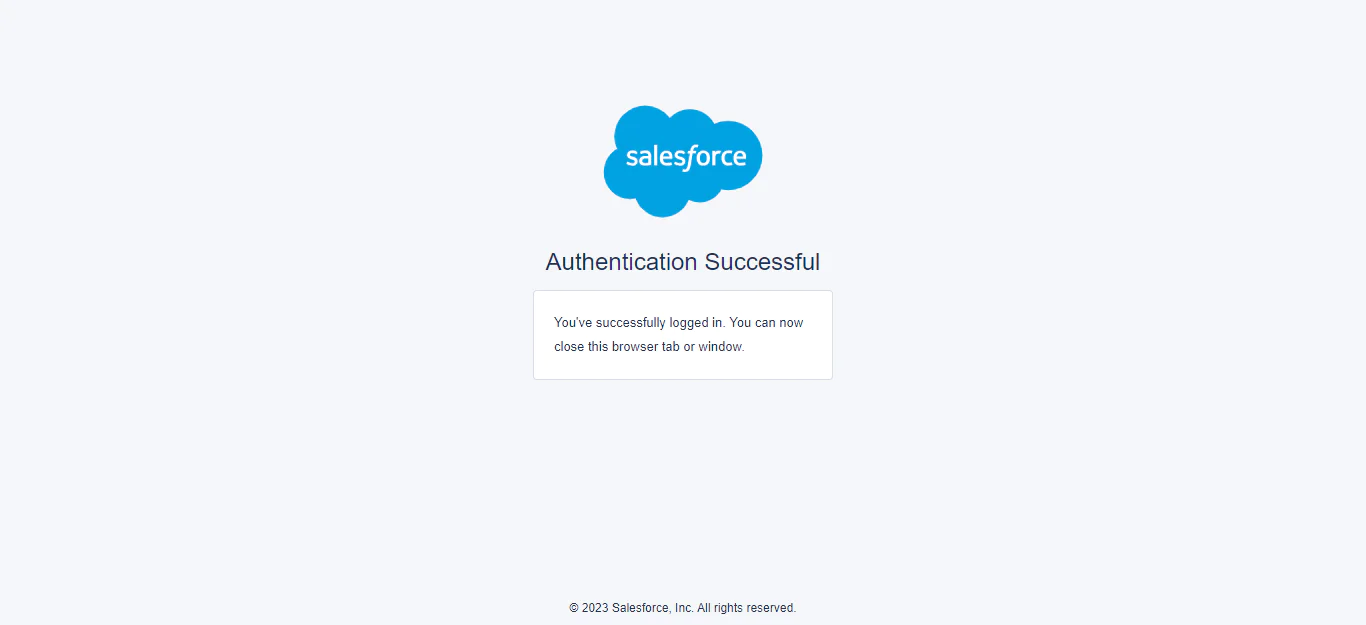
To ensure that VS Code and your Salesforce Org were integrated successfully, navigate back to your VS Code window, and you'll see a pop-up indicating your Org authorization successfully ran.

Setting Up Salesforce LWC in VS Code
Salesforce Lightning Web Components (LWC) is a modern framework for building web components within the Salesforce Lightning Platform. The LWC uses HTML, JavaScript, XML, and CSS for seamless integration with Salesforce applications.
To create your Salesforce LWC, navigate to the Explorer tab on the left-hand side of your VS Code, and navigate to force-app/main/default/lwc directory. Right-click on the lwc directory and select the SDFX: Create Lightning Web Component .

After that, input your desired directory name (I used sendWhatsAppMessage) and then select force-app/main/default/lwc as the desired directory. After your LWCis created, you'll see a sendWhatsAppMessage.js-meta.xml, sendWhatsAppMessage.html, and sendWhatsAppMessage.js file.
Replace the existing code in the sendWhatsAppMessage.js-meta.xml file with the following:
In this XML code, <isExposed>true</isExposed> indicates that the LWC is exposed, and can be used by other components or applications. The <target>lightning__HomePage</target> specifies the page where the LWC can be used. In this case, the component is targeted for use on the Lightning Home Page.
Replace the existing code in the sendWhatsAppMessage.html file with the following:
In this HTML file, <lightning-card> is a base Lightning component that provides a card-like container with a title and content. The <div slot="title"> is a slot for the title of the lightning-card. The title is set to Send Message. The <lightning-input> is a Lightning component for input fields. It has a label set to `Enter Message`. Lastly, the <lightning-button> has a label set to Send Message and an onclick attribute that specifies a function called handleSendMessage to be executed when the button is clicked.
Integrating Twilio into Salesforce on VS Code
Log in to your Twilio Console , and navigate to the bottom of your dashboard. Take note of your Account SID, and your Auth Token. These details will be used in your Salesforce Apex Class which you'll be creating later on in this tutorial.
At the bottom of your dashboard, click on the View all numbers link, and ensure you input and verify the number that you'll be using to receive Whatsapp messages from your Twilio WhatsApp Sandbox number. After you've gone through the verification of your number, navigate to the left-hand side of your dashboard, and click on the Messaging tab.
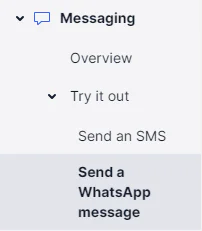
Next, click on Try it out and click on Send a WhatsApp message. You'll see a prompt to Activate your Sandbox. Agree to the terms and conditions, then click the Confirm button.
Now you'll be able to see your Twilio WhatsApp Sandbox number which you'll use to send messages from Twilio to your WhatsApp number.
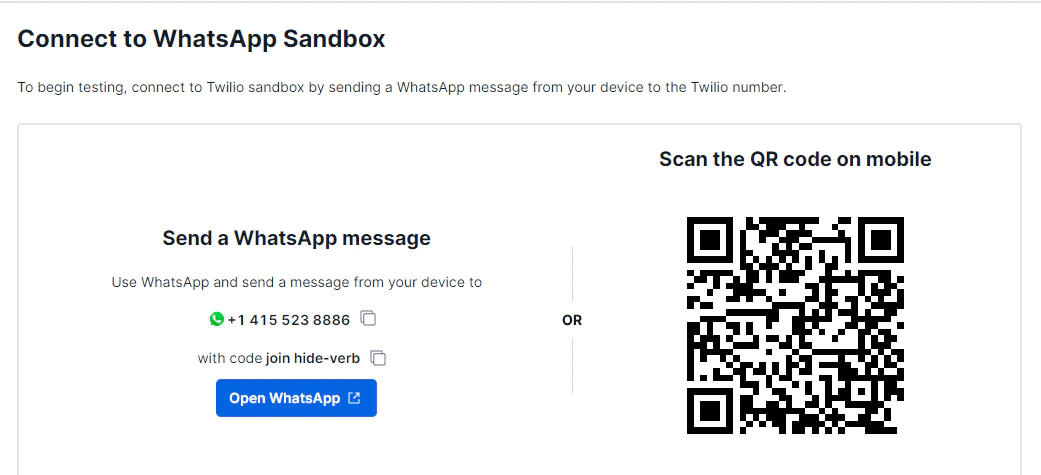
To test the functionality of the Twilio WhatsApp Sandbox number, you'll need to send the shown code to the number from your WhatsApp number, or you can scan the QR code on your mobile phone.
Once connected, you'll receive a message on the number on your Twilio console indicating that your Twilio number is now connected to the Twilio WhatsApp Sandbox.
After that, go back to your Salesforce project in your VS Code, enter Ctrl + Shift + P in Windows or Linux, or Command + Shift + P in Mac, and input Create Apex Class. Then click on SFDX: Create Apex Class.
Name the Apex class TwilioWhatsApp, and save it to the default directory shown ( force-app/main/default/classes ). When your Apex class is successfully saved, you'll receive a notification in the bottom right corner of your VS Code indicating that your Apex class was saved successfully.
After that, you’ll need to configure your Apex class using the Twilio Whatsapp API and your Twilio details. I'll be using the "CURL" version for the API integration. Replace the existing code in the TwilioWhatsApp.cls file with the following code:
In the code above, replace the value in the String accountId and String authToken with your Account SID and AuthToken from your Twilio dashboard respectively. Also, replace the value of the String fromNumber with your verified WhatsApp number and replace the value of the String toNumber with your personal number.
The name of this Apex Class is TwilioWhatsApp. The @AuraEnabled annotation indicates that the sendMessage method can be called from a Lightning component or Aura framework. It's commonly used for server-side actions that are invoked by Lightning components.
The Http class is used to create an HTTP request (HttpRequest) to Twilio's API endpoint for sending WhatsApp messages. The HTTP request is sent using the send method of the Http class. The response is captured in an HttpResponse object (res).
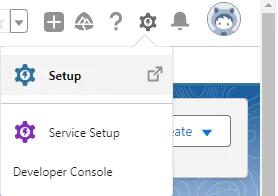
After configuring your Apex class, go over to your Salesforce console on your browser. Navigate to the Setup menu where you can find by clicking on the gear icon at the top of your console shown below:
On the Setup page, navigate to the left-hand corner, and click on the search bar. Search for Remote Site Settings, and click on it.
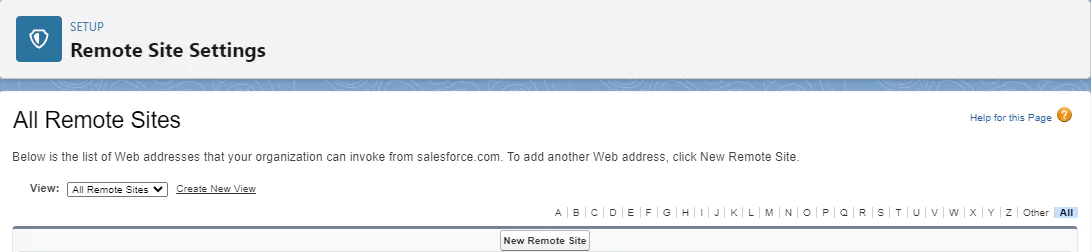
After that, click on the New Remote Site and input the following details in the respective fields:
Remote Site Name: Twilio
Remote Site URL: https://api.twilio.com
Then, click the Save button.
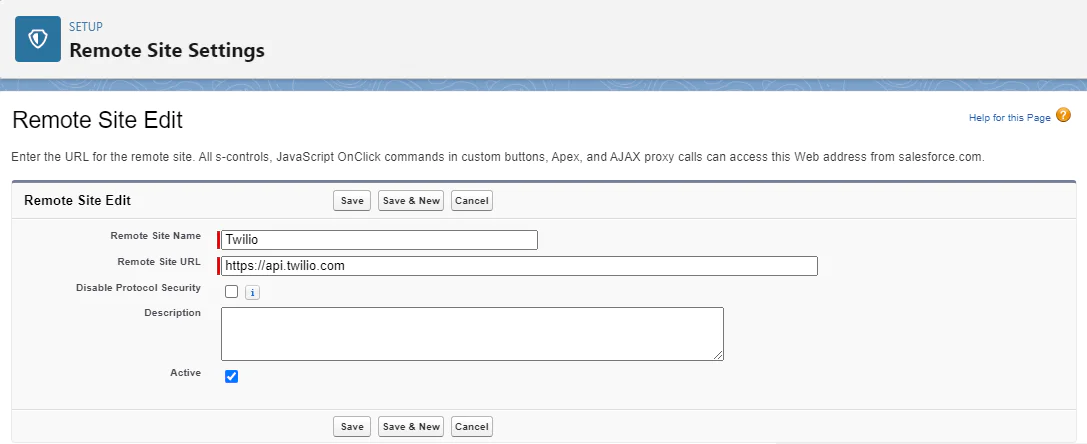
This is done to remove any restrictions that may arise when Twilio integrates with Salesforce.
Now, go back to your LWC and open the sendWhatsAppMessage.js file. You will need to call the Apex class from your LWC. To do this, open thefile and replace the exisiting code with the following:
In this code, the import sendMessage from '@salesforce/apex/TwilioWhatsApp.sendMessage'; imports the sendMessage method from the TwilioWhatsApp Apex class. This method handles the server-side logic for sending WhatsApp messages. Also, the import { LightningElement } from 'lwc'; imports the LightningElement base class from the LWC framework, indicating that SendWhatsAppMessage is an LWC.
Testing the integration
After all the integration, you’ll need to test the integration to ensure the functionality. You’ll need to deploy the LWC and the Apex Class to your Source Org in VS Code. To do this, navigate your cursor to the TwilioWhatsapp.cls file in your Explorer at the left-hand corner of your VS Code UI. Then, right-click and click SFDX: Deploy Source to Org. Then, in the Explorer tab, navigate to the force-app/main/default/lwc/sendWhatsAppMessage directory. and right-click it and click on SFDX: Deploy Source to Org.
You'll receive a notification in the bottom right corner of your VS Code when they are both deployed successfully. You'll also see a message on your Salesforce CLI indicating successful deployment.
After that, head over to your Salesforce console. Navigate to the top left corner of your console and click on the app launchericon on the top right (it has 9 dots in the shape of a square). Search for Home and click on the Home result. Now, navigate to the top right corner of your console, and click on thegear icon. On the dropdown, click on Edit Page. On the Edit Page, navigate to the Components search bar on the left-hand side and input sendWhatsappMessage.
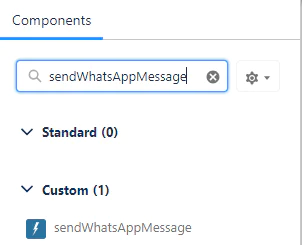
Navigate to the sendWhatsAppMessage result, drag and drop it on the blue background next to it, and click the Save button at the top right corner of the console.
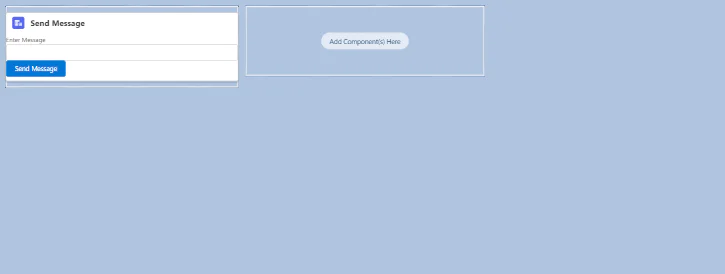
When you click Save, you'll be met with some pop-ups, agree to them, and then navigate back to your Salesforce Home page where you’ll find the Send Message component.
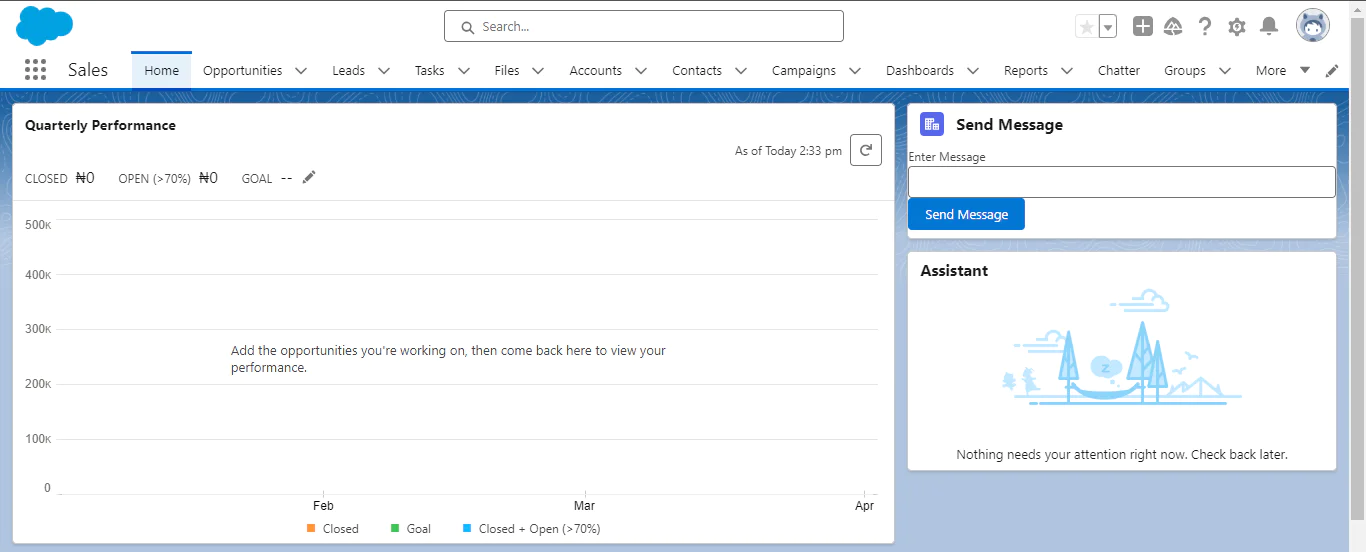
Navigate your cursor to the Enter Message field in the Send Message component, and input "Hello from Salesforce," and you'll receive the message in your WhatsApp account.

Conclusion
In this tutorial, I've walked you through the process of seamlessly integrating Salesforce with WhatsApp using Twilio. By leveraging Twilio's powerful capabilities, you can establish a robust communication channel between your Salesforce org and WhatsApp, opening up new possibilities for engaging with your customers. This integration not only expands your reach but also ensures a more streamlined and efficient communication process within your Salesforce environment.
Udensi Fortune Arua is a DevOps Engineer, and a Technical Writer in Enugu, Nigeria, reach out on LinkedIn and Twitter to connect.
Related Posts


Related Resources
Twilio Docs
From APIs to SDKs to sample apps
API reference documentation, SDKs, helper libraries, quickstarts, and tutorials for your language and platform.
Resource Center
The latest ebooks, industry reports, and webinars
Learn from customer engagement experts to improve your own communication.
Ahoy
Twilio's developer community hub
Best practices, code samples, and inspiration to build communications and digital engagement experiences.