Embed Elastic App Search into Twilio Flex to help your Flex agents become more efficient
Time to read:

Employees spend up to 20% of their time searching for information inside their company’s fragmented data systems (wiki, content management system, websites, CRMs, communication platform, etc.). This issue becomes more prominent in the contact center industry where agents have to respond quickly to customer queries. Contact Center agents are expected to provide timely and accurate information.
In this blog post, you will learn how to enable your agents to easily find the content they are looking for by integrating Elastic App Search with Twilio Flex.
Solution overview: Elastic App Search + Twilio Flex
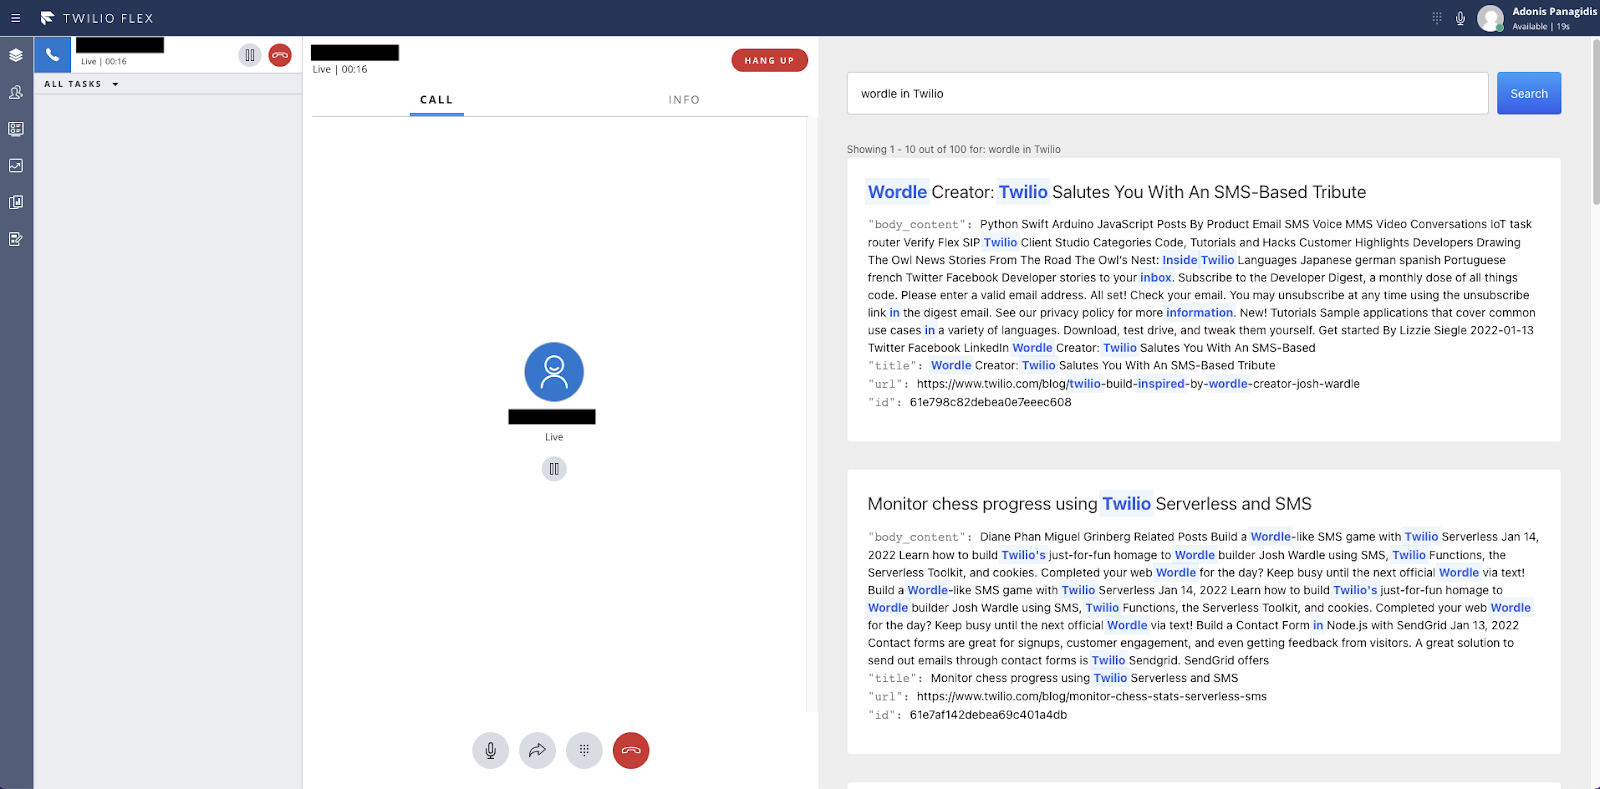
Elastic App search is a product that provides powerful search, aggregation, and analytics capabilities as a Service, on top of Elasticsearch. Twilio Flex is a cloud-based contact center that is built on top of Twilio's cloud communications platform. By embedding search into Flex, your agents are able to find information more efficiently, without needing to juggle various browser tabs. With this solution, Agents can search and find content across multiple repositories and wikis to provide the best possible experience to your customers.
To develop this solution, you will create a Flex plugin, which is the recommended way to customize the Flex UI. You will also use Search-UI, a React library by Elastic that allows you to quickly implement search experiences without re-inventing the wheel. The end result is a search page within Flex that lets you quickly find information that is specific to your organizational needs.

Prerequisites
To follow along with this demo, you will need:
- Docker & Docker Compose
- Your docker environment needs at least 4gb of memory
- Node.js version 12 or 14
- A free Twilio account (If you register here, you'll receive $10 in Twilio credit when you upgrade to a paid account!)
- Twilio Flex (You can also sign up for Flex and receive $5,000 worth of free Flex Hours to help you get started.)
- Update Flex React version to latest
- Twilio CLI (update to the latest version)
Project Setup
You can find all the source code for the Flex plugin in this GitHub repository. To quickly get started with this project, download the repository as a ZIP file and unzip it. Alternatively, you can run this Bash or PowerShell script to have it done for you:
Bash:
PowerShell:
Navigate to the flex-essearch-main folder in your preferred shell:
App Search
There are multiple ways to get started with Elastic App Search, but the easiest way is to create an App Search cluster using docker and docker compose. Docker compose is a tool for defining and running multi-container Docker applications.
An example docker compose configuration file is provided with the source code. Use a text editor to open the docker-compose.yml file and change the default usernames and passwords. Run the containers using docker compose with the following command:
Once your cluster is up and running, you can access from http://127.0.0.1:5601/app/enterprise_search/app_search/engines with the credentials specified in docker-compose.yml.
The next step is to create an engine to host your documents. Depending on your use case, you might want to index your own documents or use the built-in crawler to crawl a few websites. The end result is that you will have the information indexed in your engine for quick access. For this tutorial, you can click on "Try a sample engine" which will create an engine with USA's national parks.
The final step is to obtain your credentials from the credentials page of App Search. Click Credentials in the navigation on the left. You will find two keys on this page. Take note of the Public Search Key as you will need it later.
Elastic App Search Flex Plugin
Flex plugins use the Twilio CLI for deployment and development. Make sure you have the latest version of the Twilio CLI installed. Next, make sure you are logged in using your Twilio Flex account. If you are not logged in, run the following command:
Install or update the Flex plugins CLI to v4 and install or update the Twilio Serverless plugin by running these commands:
Install the dependencies using npm:
In the /public directory, make a copy of the appConfig.examples.js file and rename it to appConfig.js.
In the root directory, make a copy of .env.sample, rename it to .env and update the REACT_APP_SEARCH_KEY variable with your Public Search Key.
You can use the Twilio CLI to run and develop your Flex plugin locally. Run the following command from the root directory of the plugin.
This will automatically start up the Webpack Dev Server and open the app in the browser at http://localhost:3000.
Click on "Log in with Twilio" and log in using your Twilio profile. After logging in, you'll see the Flex UI with your plugin on the right side. Enter "Yos" in the search field and click Search. You should see one result for "Yosemite".
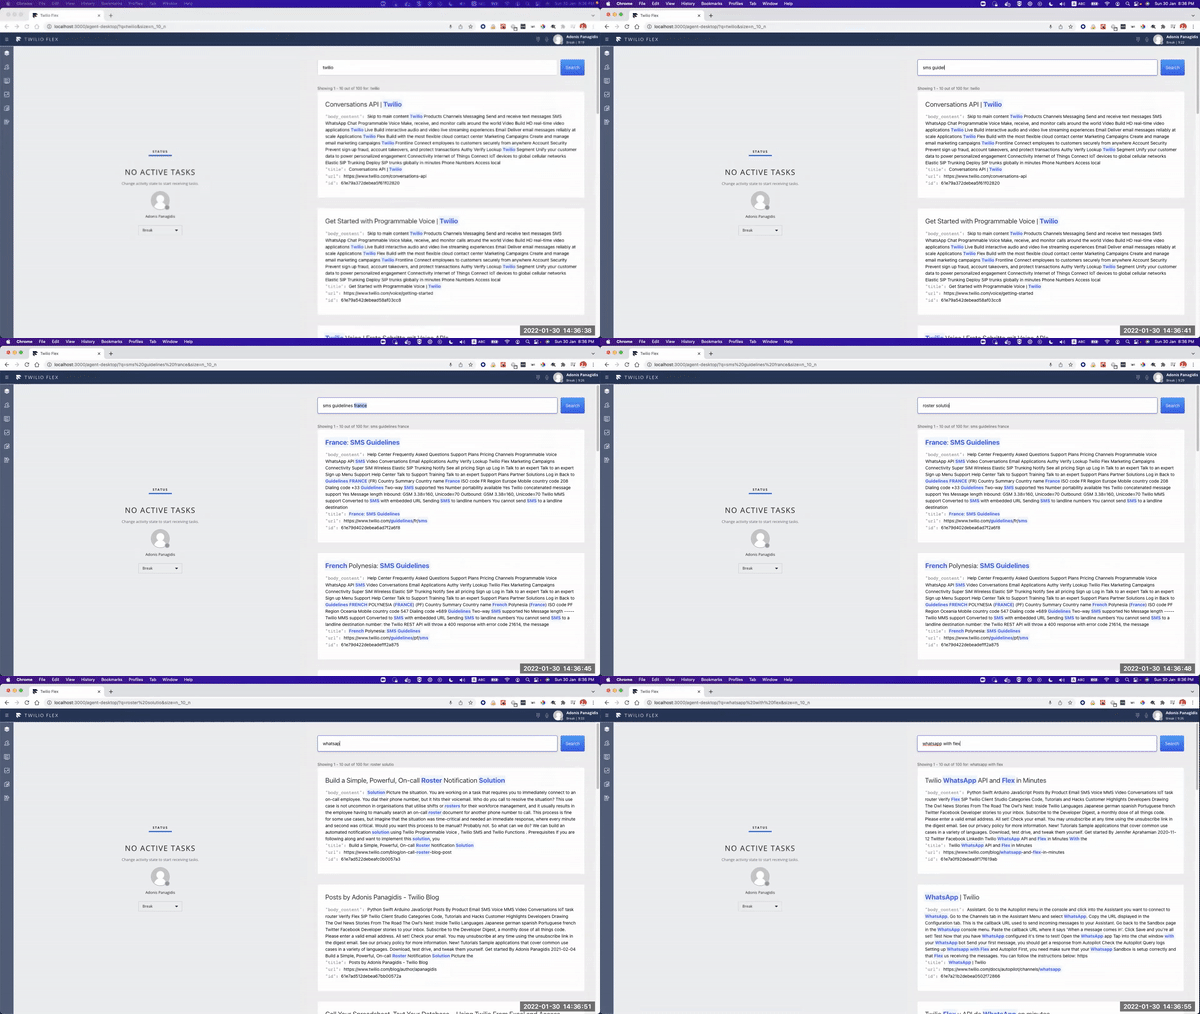
When you make changes to your code, Webpack will automatically push the changes to the browser using Hot Module Replacement (HMR). HMR shortens the inner dev-loop and thus makes you much more productive when developing these plugins.
Plugin Deployment
Once you are happy with your plugin, you have to deploy it and then release the plugin for it to take effect on Twilio hosted Flex.
Run the following command to start the deployment:
After your deployment runs, you will receive instructions for releasing your plugin from the bash prompt. You can use this or skip this step and release your plugin from the Flex plugin dashboard.
For more details on deploying your plugin, refer to the deploying your plugin guide.
You also have to refresh your browser for the new plugin deployment to take effect.

Ideas to improve the solution
There are search products that can offer additional functionality to this solution:
- You could use Elastic Workspace to easily ingest information from various data sources using connectors.
- You could use Amazon Kendra to ingest data with ease using connectors and fine tune search results with continuous improvement and machine learning.
Adonis is a Twilio Solutions Architect working on the Professional Services team who advises and supports our customers with their Twilio builds. You can reach him at apanagidis [at] twilio.com.
Related Posts
Related Resources
Twilio Docs
From APIs to SDKs to sample apps
API reference documentation, SDKs, helper libraries, quickstarts, and tutorials for your language and platform.
Resource Center
The latest ebooks, industry reports, and webinars
Learn from customer engagement experts to improve your own communication.
Ahoy
Twilio's developer community hub
Best practices, code samples, and inspiration to build communications and digital engagement experiences.

