How Your Nonprofit Can Accept Mobile Donations Using Twilio
Time to read:
June 15, 2022
Written by
Reviewed by
 (2)")
Mobile donations are one tool you can use to encourage support of your non-profit organization. Supporters can donate directly over the phone using an automated system, powered by Twilio Voice.
In this article, you’ll be building an app that responds to incoming calls by asking callers to enter a donation amount and then their credit card information. This information will be captured by your payment processor to complete the charge.
To start accepting mobile donations, follow along with this article.
Prerequisites
To get started with this tutorial, you’ll need the following:
- A free Twilio account (sign up with this link and get $10 in free credit when you upgrade your account)
- A Twilio phone number
- A pay connector (this is the bridge to your payment processor - Twilio has integrations with several processors such as Stripe, Braintree, etc. If you’re not set up with one of these processors yet, you can create a generic pay connector to start with)
Enable PCI Mode in Twilio Voice settings
In order to be able to accept payments using Twilio Voice, you need to enable PCI mode on your Twilio account. To do that, navigate to the Voice dashboard in the Twilio Console.
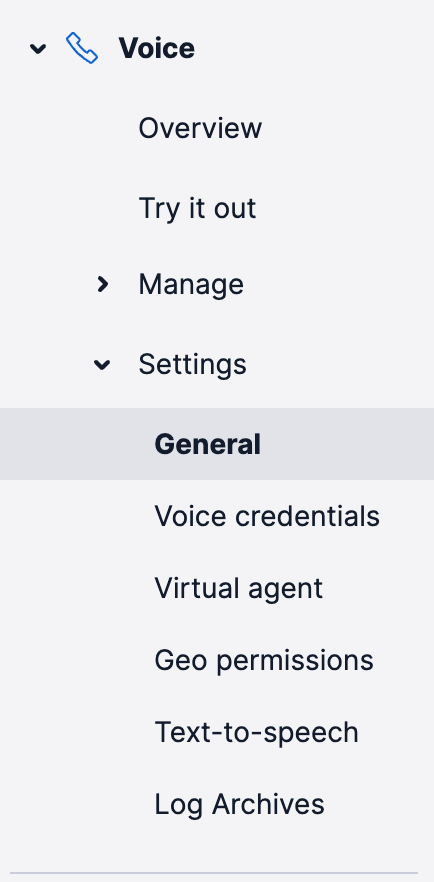
In the left hand side menu, under the Voice heading, select Settings and then select General.
This will open the general settings view for Twilio Voice in the main viewing area of the page. At the top, look for the heading PCI Mode, and click the Enable PCI Mode button. Once it’s enabled, it will look like this:

With PCI Mode enabled, it’s time to start building!
Build the app
You’ll build this app using Twilio Functions. Twilio Functions is a serverless environment that lets you deploy backend services without the overhead of setting up a server.
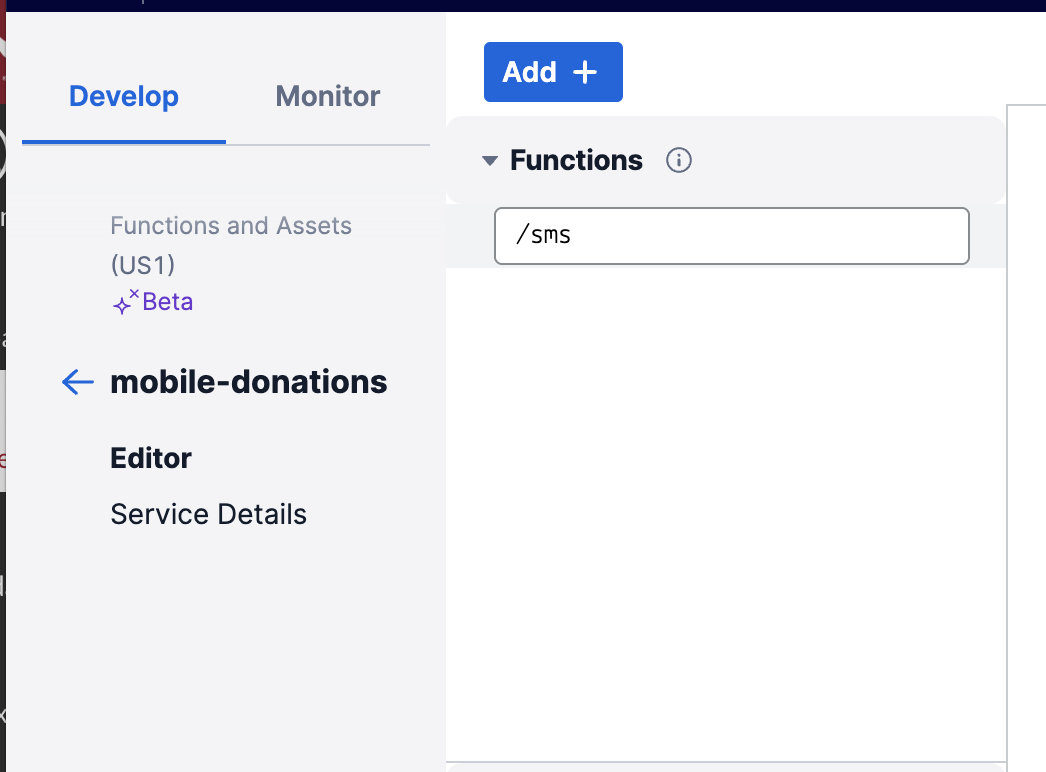
Create a Function service
To get started, navigate to the Functions and Assets section of the Twilio Console. Your first step is to create a Function Service. A Service is a collection of functions and resources that create a cohesive development environment. To do this, click the Create Service button, and when prompted, give your service the friendly name “mobile-donations” and then click Next.
This will take you to your new Service’s dashboard, where you can create functions as part of your Service.
Create your first function
Click the Add + button toward the top of the screen, as shown below, and then click Add Function. This will create a new function. Change the path name of your new function to /voice and hit enter to save it. Then, click the down arrow next to the function name and select Protected.
In the text editor area of your function dashboard, delete any existing or placeholder code, and replace it with the following:
This code scaffolds your new function - all the code you add will go inside this function, before the return.
When someone calls your Twilio phone number, an automated voice will respond thanking the caller and asking them how much they’d like to donate. The caller can key in their donation amount on their phone, and your app will capture that amount.
To begin enabling this functionality, add the highlighted code inside your new function:
On line 2 above, you initialize a new VoiceResponse object. This will give you access to the TwiML <Gather> verb. <Gather> is how Twilio Voice collects digits or speech from a caller.
On lines 4-6, you specify options on how you want to use <Gather>. In this case, you’ll be collecting only touch tone input and not speech. There are many ways to customize the <Gather> verb, aside from what you see here.
Next, you put the <Gather> verb to work. When you call the say() method on the <Gather> verb, you can include any string - this string is what will be said to the caller when the call connects, and what instructs them on how to engage with the call. You can change this text to anything.
If the caller doesn’t respond, the call will timeout and a disconnect message will be played.
Process the <Gather> collection
After the <Gather> verb collects the caller’s keyed in digits, this collection needs to be processed. Twilio will make an HTTP request with the collected information to any URL of your choosing by adding an action attribute when you initialize the gather variable. This can be either a POST or GET request.
If you don’t specify an action attribute, it will default to a POST request to the current URL. We’re relying on this default behavior. This means that after the <Gather> verb finishes executing, our function will stop, and then be hit a second time, but this time there will be request data available on the event parameter that contains the collected data from the <Gather> verb.
To make use of this collected data, add the highlighted code:
This code checks to make sure that before it attempts to make any charges, the caller has actually input a donation amount and the <Gather> verb has been executed. If this check passes, then the code uses the TwiML <Pay> verb to begin processing the transaction.
The chargeAmount property is set to the amount entered by the caller. This amount is represented by event.Digits. Digits is the request parameter sent by the <Gather> verb with the caller’s input information.
The paymentConnector property should have the exact Unique Name of whatever Pay Connector you set up in the Twilio Console.
Confirm a successful transaction
Just like the <Gather> verb makes an HTTP request when it finishes executing, so does the <Pay> verb. Likewise, you can specify a particular action, or have the request default to the current URL, which is how you’ve left it in the code above.
This means, the function will stop executing when the <Pay> is done, and then it will be hit a third time, with any necessary data from the <Pay> verb sent along with the request.
To verify that the transaction was successful on only this third function execution, add the following highlighted code:
This code checks that there is a Result value on the event object, and if so, determines whether the result was successful or not. If so, it sets a thank you message. If there was an error, it sets an error message. Either way, the message is read to the caller and then the call disconnects.
Save and deploy your function
That’s it for code! Click the blue Save button at the bottom of your function text editor, and then click the blue Deploy All button on the bottom left of the page to deploy your function. Deploying can take a few moments, but once it’s done, you’ll see a message in the console beneath the text editor. At this time, your code is live!
Install the Add-on for your Pay Connector
If you’ve already done this step before starting the tutorial, feel free to skip to the next section. If you haven’t, read on.
To set up a Pay Connector, navigate to the Pay Connector settings under the Twilio Voice dashboard in the Twilio Console. Select the tile that corresponds with your payment processor. If your payment processor isn’t listed, you can choose Generic Pay Connector and enter in any requisite information from your payment processor.
When you click on one of the tiles it will take you to an overview page. Click the Install button toward the top of the page to make use of the payment connector. After installation, you’ll be able to enter any required details from your payment processor.
Whether or not you use the Generic Pay Connector, you must enter the same exact Unique Name you added into your function above when you initialize the connector.
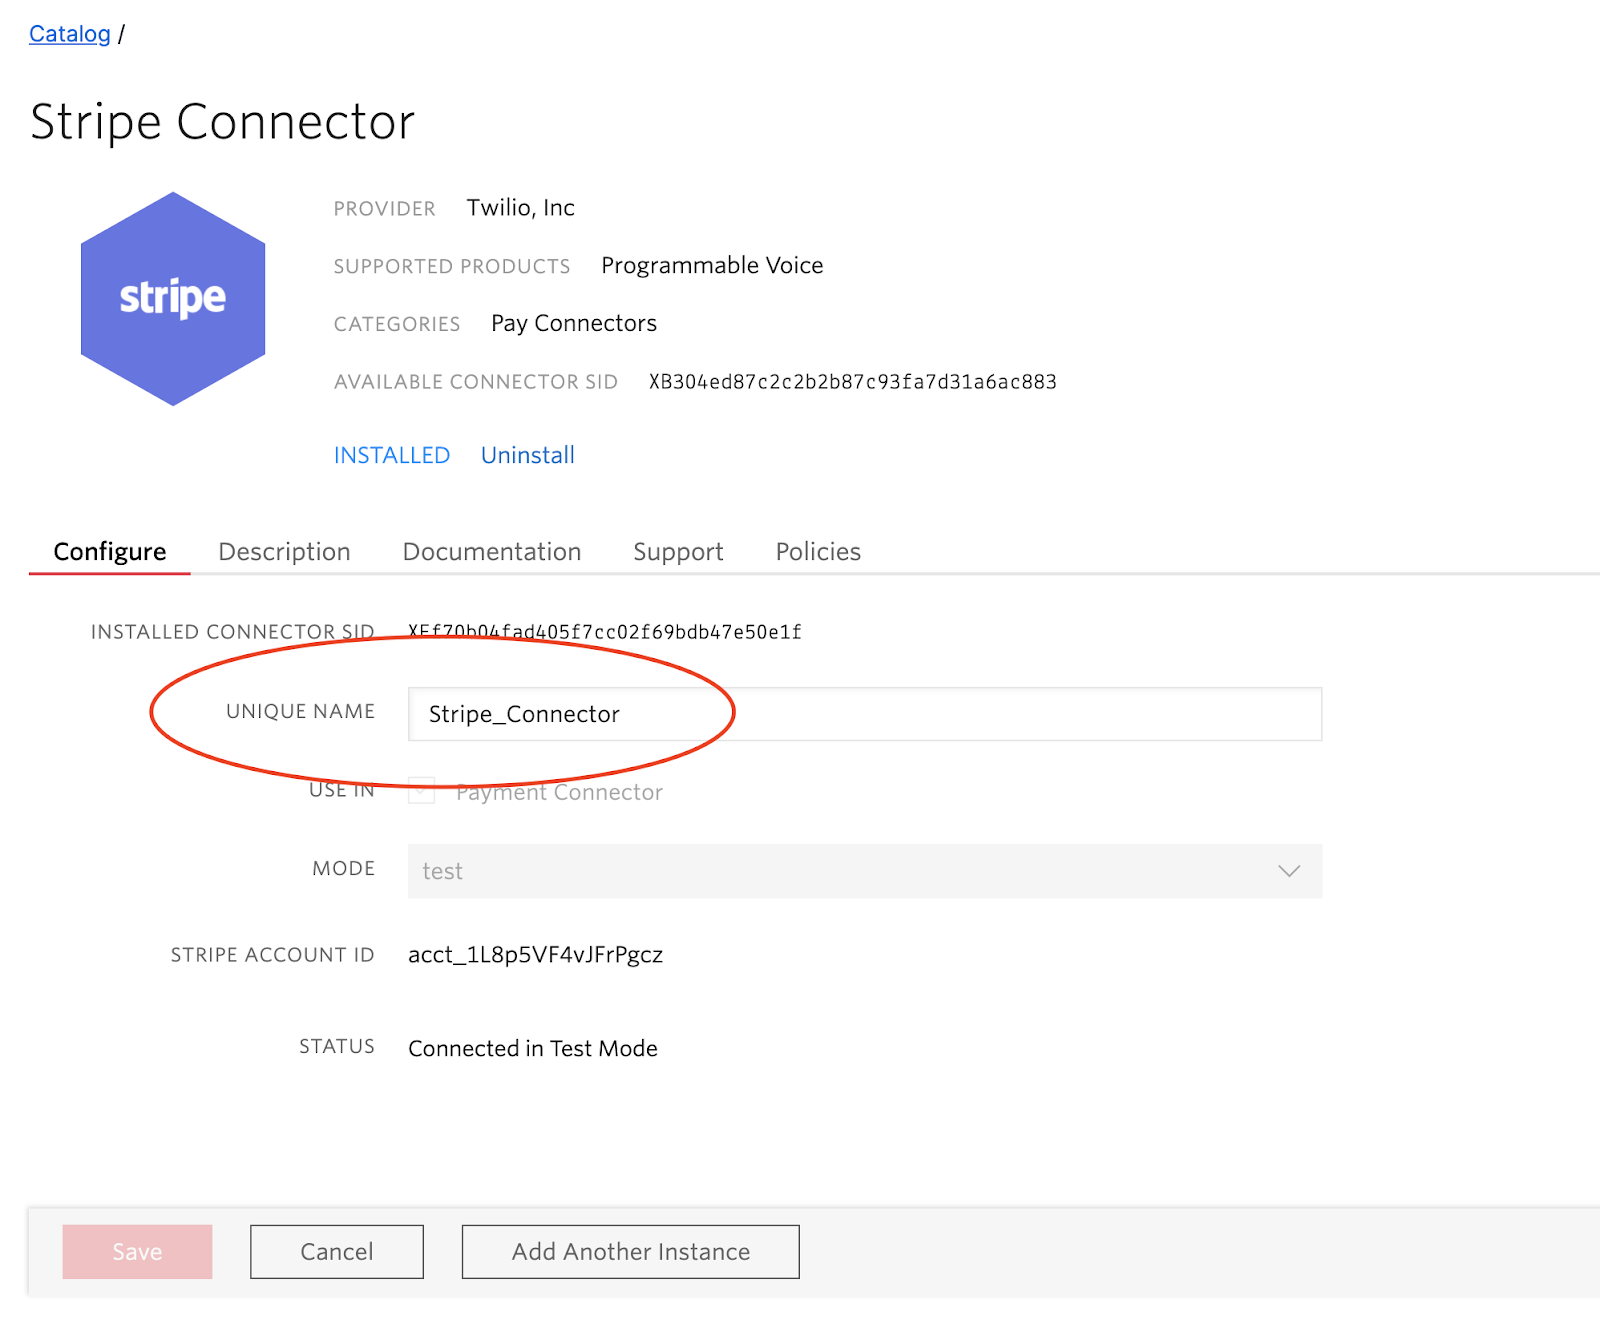
If you don’t yet have a payment processor, but would like to test this out, you can create a test account at Stripe and use the Stripe Pay Connector. When entering credit card information during your test, be sure to follow Stripe’s test credit card instructions.
Once you’ve set up your Pay Connector, click Save at the bottom of the page.
Connect your Twilio phone number to your Function
The final step is to connect your Twilio phone number to your Function. Navigate to the phone numbers section of the Twilio Console and find your chosen phone number. Click on the phone number to view its configuration page.
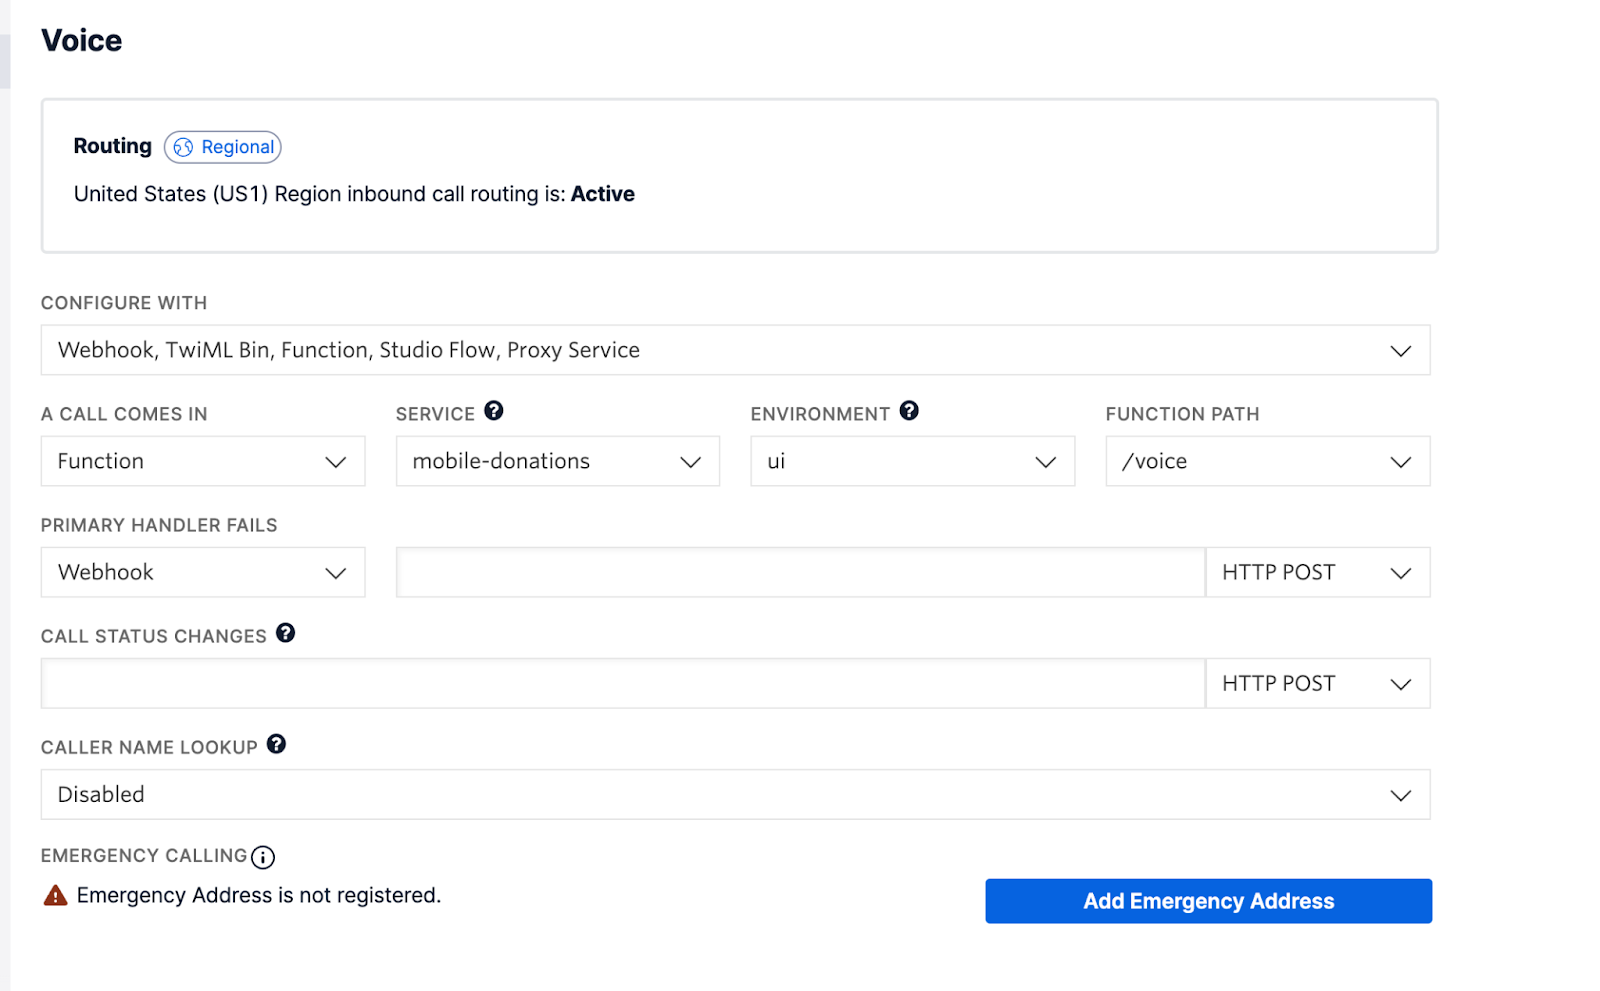
Scroll down the Voice heading and match your settings to the image above:
- Configure With: Webhook, TwiML Bin, Function, Studio Flow, Proxy Service
- A Call Comes In: Function
- Service: mobile-donations
- Environment: ui
- Function Path: /voice
Click Save at the bottom of the page. At this point, your app is complete!
Next Steps
I hope you enjoyed this article on how to use TwiML <Pay> to accept mobile donations for your non-profit organization.
To expand this app, try generating a QR Code that supporters can scan to initialize the conversation. Or learn how to help your supporters find new legislation supporting your cause.
Ashley is a JavaScript Editor for the Twilio blog. To work with her and bring your technical stories to Twilio, find her at @ahl389 on Twitter. If you can’t find her there, she’s probably on a patio somewhere having a cup of coffee (or glass of wine, depending on the time).


Related Resources
Twilio Docs
From APIs to SDKs to sample apps
API reference documentation, SDKs, helper libraries, quickstarts, and tutorials for your language and platform.
Resource Center
The latest ebooks, industry reports, and webinars
Learn from customer engagement experts to improve your own communication.
Ahoy
Twilio's developer community hub
Best practices, code samples, and inspiration to build communications and digital engagement experiences.