Build Yourself as a Bot for Your Loved Ones
Time to read: 5 minutes
March 02, 2020
Written by

We have all probably dreamed at some point of having a second version of ourselves – helping out on our behalf, being reachable at any time of the day…
Wouldn’t it be great to have a bot with your voice, catchphrases, and laughter? It would make it possible for your loved ones to listen to you whenever they like, but it can also bring your customers’ bot experience to a whole new level.
In this blog post, let’s build a bot with our own voice and connect it to one of our Twilio numbers, that it can be called any time – for example, by your partner when you’re not around.
How your company can use Autopilot
Twilio’s artificial intelligence platform, Autopilot, now supports playing audio files for conversational bot phone calls, as an addition to the existing text-to-speech.
In your company, this feature can be used to completely change your customers’ experience when they engage with your IVR bot, really replicating a human-like being helping them, rather than a text-to-speech bot. That way, basic or repetitive requests can be taken care of by your bot, freeing up your agents’ time and letting them focus on tasks that require a human touch or intervention. This will help to increase your customer and agent satisfaction while also increasing the productivity of your contact center as a whole.
Prerequisites to Build an Autopilot Bot
Before you can get started building a bot to your vocal likeness, you’ll need to complete a few steps.
- If you haven’t yet, sign up for a free Twilio account and log in
- Navigate to the Autopilot Console and find the button to create a bot
Inside that bot, you can create tasks for this bot to perform when it hears a specific command from the user. Tasks may include reading a message with text-to-speech, collecting input, listening and acting on a message, redirecting to another set of tasks, handing off to an agent, remembering something, or showing a picture in a live chat.
With “Play”, Twilio just added a new important task action, that is documented here.
For most of our tasks, we just need to add the ‘“listen”: true’ action, that the conversation and therefore the call continues.
Best Practices for Audio Files with Twilio
We can play audio files in various file formats, such as WAV, MP3, MPEG, etc.
Note that if the call goes through the PSTN (as a regular phone call rather than a pure VoIP call or smart speaker app), we recommend using lossless 8kbps formats. Lossy encoded files, such as 128kbps MP3 files, will take longer to transcode and potentially sound worse. This is due to the inevitable degradation that occurs when converting from lossy compressed formats and the processing involved in converting from higher bit rates to low bit rates.
You can create those audio files with your phone and a recording app. Make sure the recording app offers one of the many supported formats, specifically lossless ones, and lets you set the kbps rate.
You can save the recordings on your own server, to receive individual URL addresses for them. However, I usually save them in the Assets section of my Twilio account, to have them already in the Twilio AWS infrastructure, keeping latency to a minimum.
To further reduce latency, always make sure to start speaking the moment you click “record”, or trim off the initial silence in the recordings.
Create your first Play task
As you will see in your new bot, it already has a predefined greeting, fallback, goodbye and collect_fallback task. We can delete the collect_fallback task if we don’t need to collect any choices from our conversation partners. However, the first three predefined tasks will come in handy now.
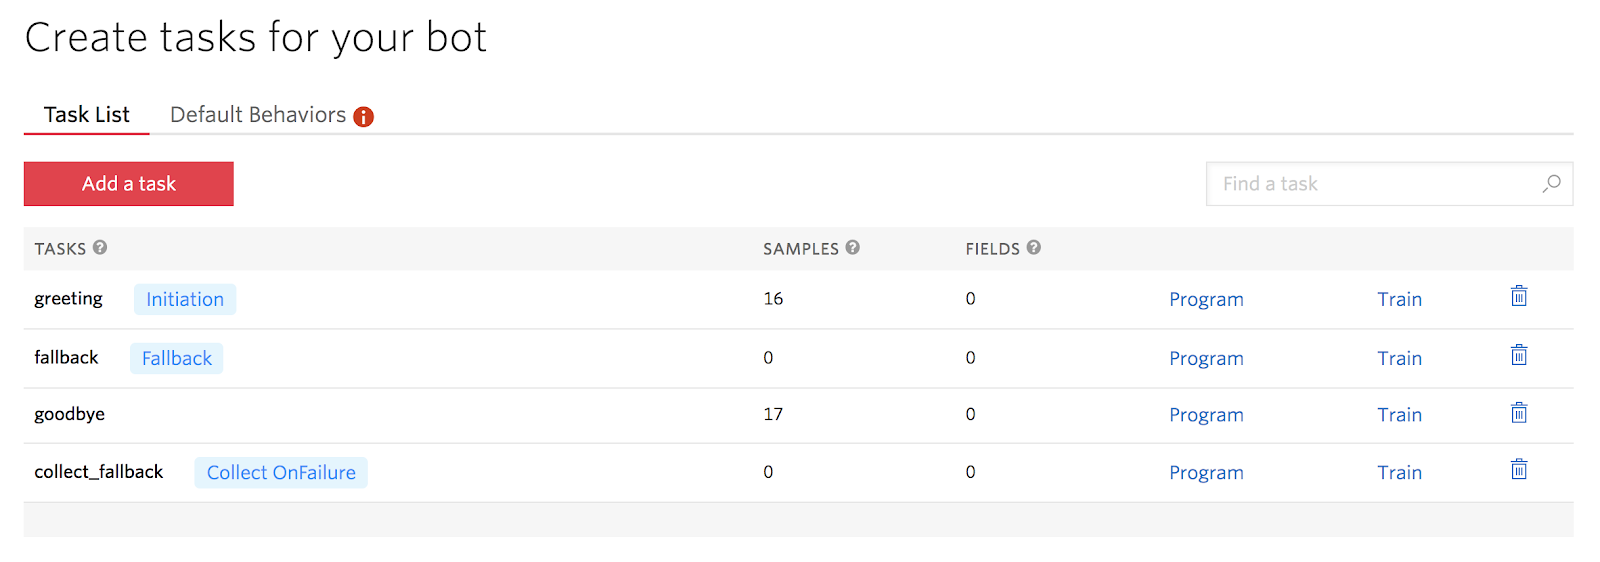
As an example, we can adapt the greeting task to play the initial response of the bot that will be played in the beginning, regardless of any input from the caller. An example would be: “Hello, this is Jens.”
We can use the fallback task to play “Sorry?” or “Pardon?” if the bot didn’t fully understand the caller’s input, similar to how we would respond when we don’t understand a caller on the phone.
The goodbye task will tear down the call with a final message, by listening to goodbye phrases and not having the “listen”: true action. You might want to add some more greeting words and phrases as well as the first names of the people who will call later. That way the greeting will always be played to them.
After that, you can already start creating tasks to respond to certain questions, such as “how are you doing?”, “how is your work going?”, “what are your weekend plans?”, etc.
You just need to click on “Program” and paste in the JSON code above, then replace the sample URL with the URL of the needed audio file.
Train Autopilot on your tasks
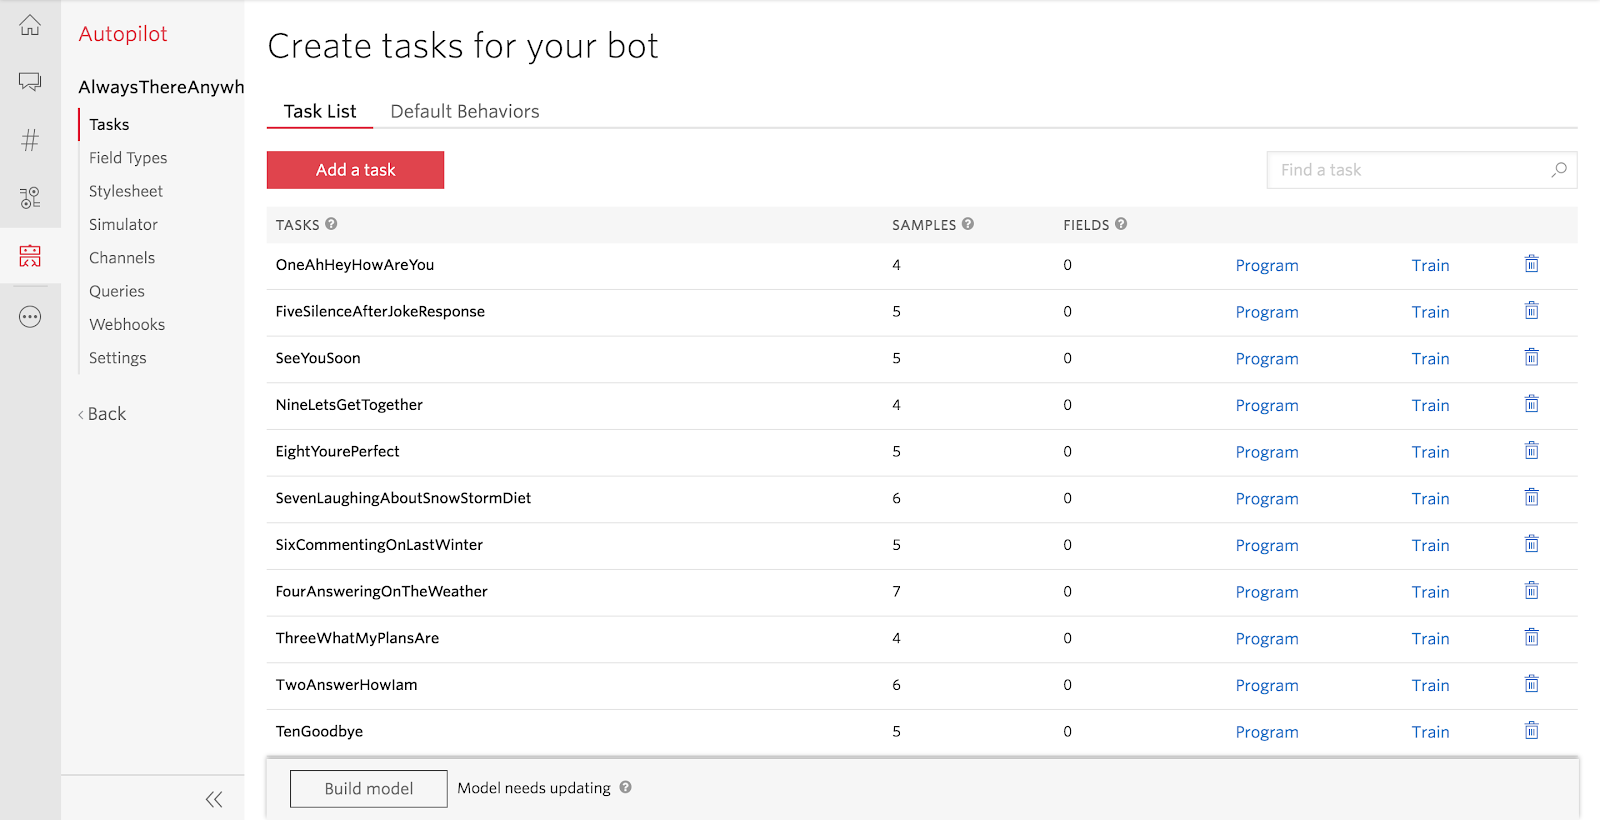
Next, we need to train each task, so Autopilot knows which task to trigger after which spoken words. Once you’ve clicked on “Train” for a task, you can add single keywords and whole phrases. (I usually enter a combination of both.)
Ideally, the programs of the different tasks contain different keywords, so we don’t accidentally trigger a different task.
Test your bot in the Autopilot Simulator
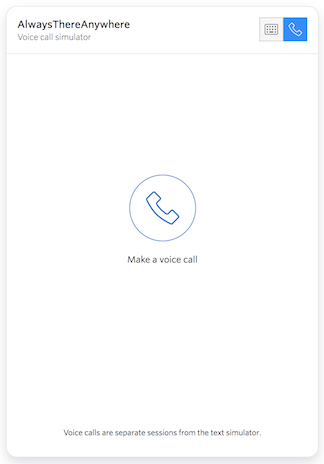
We can now test out our bot, using the simulator included with Autopilot. You will find the simulator in the menu on the left side.
By default, the chat window will open up, to help if you have designed your bot to write or write and tell answers. However, our Autopilot bot is voice-only so that we will click on the phone symbol.
If you then click on the “Make a voice call” button, the conversation with our bot will already start, beginning with its greeting.
If the bot sometimes has trouble understanding a question, you might need to add more keywords or phrase variations in the “Train” section of the respective task, clicking again on the “Build Model” button.
Connect your bot to a Twilio Phone Number
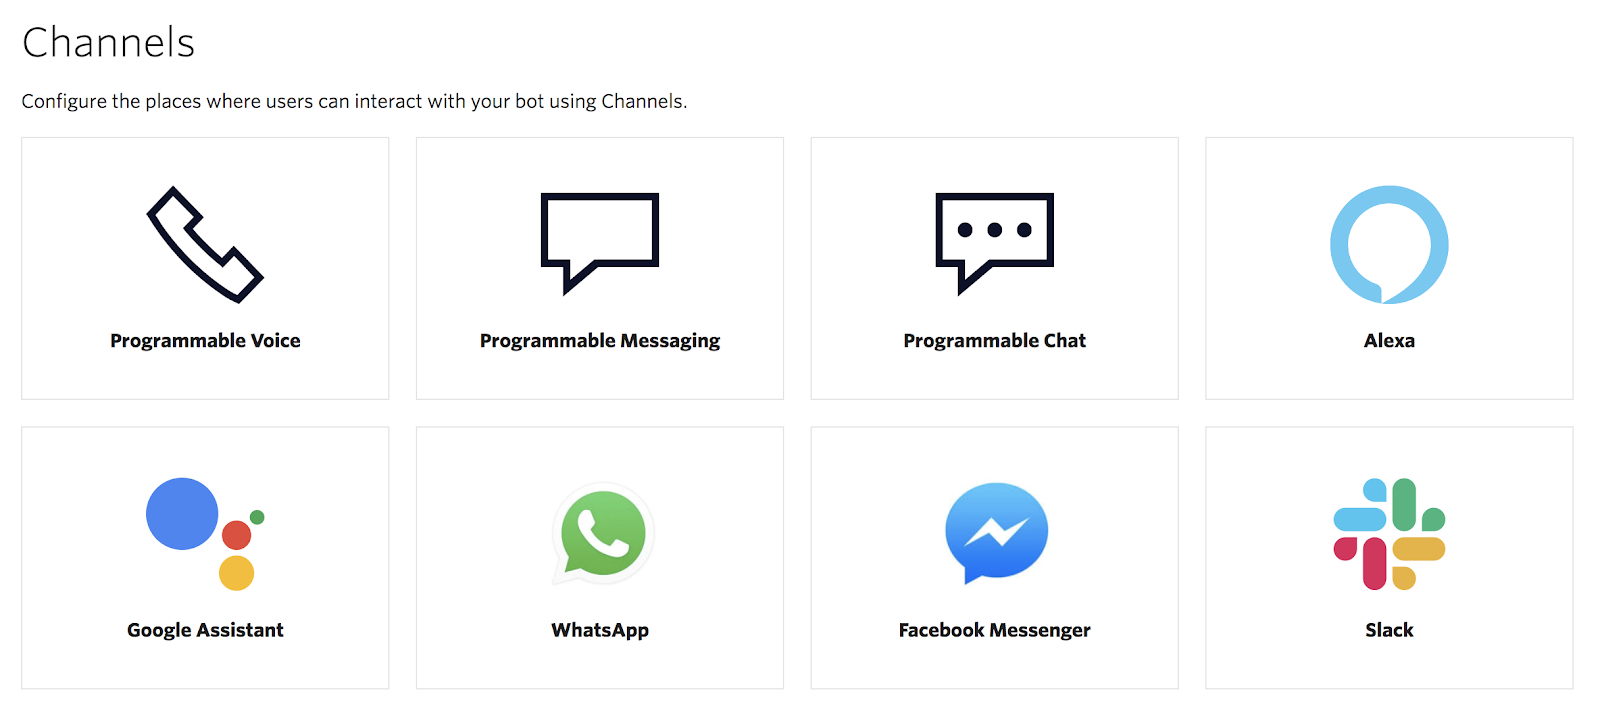
Once you’re happy with the bot’s performance, you can complete the last step: connecting it to a Twilio phone number so that it can be called anytime, even by many people in parallel. On the left menu, you need to click on “Channels”. Then, click on “Programmable Voice” and copy the URL that you see.
Lastly, we need to get a number here in your Twilio Console by searching for the right one, clicking “Buy”, scrolling down to the “A call comes in” setup section, pasting in the URL and clicking “Save”.
Alternatively, you can go to “Channels” in your bot’s menu, to set it up as an Alexa skill or Google Assistant Action. Bots that are also set up to return a text as an answer can be deployed via the other channels below as well, in Twilio’s known and loved omnichannel approach.
After this, you can make a call to your bot and talk to it!
Conclusion: Building yourself as a Twilio Autopilot bot
You have re-created yourself as a fully functional bot, demonstrating the impactful capabilities that our AI platform Autopilot now offers. You've also seen that it's straightforward and quick to set up, no matter which communication channel you plan to use.
Are you interested in Twilio Autopilot? Next, try our newest Autopilot quickstarts.
We can’t wait to see what you bring to life next!
Jens Balmert is a Senior Sales Engineer at Twilio Ireland concentrating on Autopilot, WhatsApp, SMS, and Programmable Voice. He's currently looking at new valuable use cases in the industry of Artificial Intelligence. He can be reached at jbalmert [at] twilio.com

Related Resources
Twilio Docs
From APIs to SDKs to sample apps
API reference documentation, SDKs, helper libraries, quickstarts, and tutorials for your language and platform.
Resource Center
The latest ebooks, industry reports, and webinars
Learn from customer engagement experts to improve your own communication.
Ahoy
Twilio's developer community hub
Best practices, code samples, and inspiration to build communications and digital engagement experiences.