How to Orchestrate Multi-Call Conversations with an LLM and Twilio Conversation in Node.js Memory
Time to read:
September 14, 2026
Written by
Have you ever been on the phone with an AI voice agent and gotten frustrated with its lack of memory? Maybe your agent hung up on you, or it got disconnected, forcing you to start a conversation all over again. This kind of interruption can waste time for you and your users, and cause a lot of frustration.
Twilio Conversation Memory is your solution. Conversation Memory allows context to be persisted between calls. This means that if you call the Twilio agent back, it won’t lose the context of what you were talking about when you hung up, and can pick up right where you left off. This can save you a lot of frustration and help you get things done better and faster when you’re talking to an agent.
In this tutorial, you will make a Node.js Express service that retains caller context, preferences, and action history across multiple separate inbound calls.
Prerequisites
To complete this tutorial you will need:
- A free Twilio account with a voice-capable phone number
- Node.js v18 or higher installed on your machine
- An OpenAI API key
- ngrok to expose local webhooks to Twilio
- An IDE or text editor such as Visual Studio Code
Building the app
Step 1 - Set up the Node.js project
To get started, create a new Node.js project by running the following commands in your terminal:
The mkdir and cd commands create the project folder and move into it. The npm init -y command generates a package.json file with default values, which will track your dependencies.
Step 2 - Install required dependencies
Install the Express, WebSocket, OpenAI, dotenv, and axios packages via npm.
The express package is a minimal web framework for handling HTTP requests. The express-ws package adds WebSocket support to Express, which is required to receive Twilio’s Conversation Relay stream. The openai package is the official OpenAI SDK, used to talk to gpt-4o-mini. The dotenv package lets you import environment variables from a .env file. You’ll add those variables in a later step. The axios package is used to make HTTP requests to Twilio’s Conversation Memory REST API.
Step 3 - Create a Twilio Memory Store
For this tutorial, you will need a Conversation Memory Store. Go into your Twilio console and look for Memory Stores. You can use the console search, or look for Data > Conversation Memory > Memory stores.
Memory Stores use machine learning, and you may have to agree to a warning before proceeding. Keep in mind that Conversation Memory is not intended for use with sensitive information. Conversation products are only available on the new Twilio Console, so make sure your account has been migrated. For more information about Conversation Memory, you may want to read the documentation, including the Getting Started Guide.
Once you have found the correct tab, click on Create New Store.
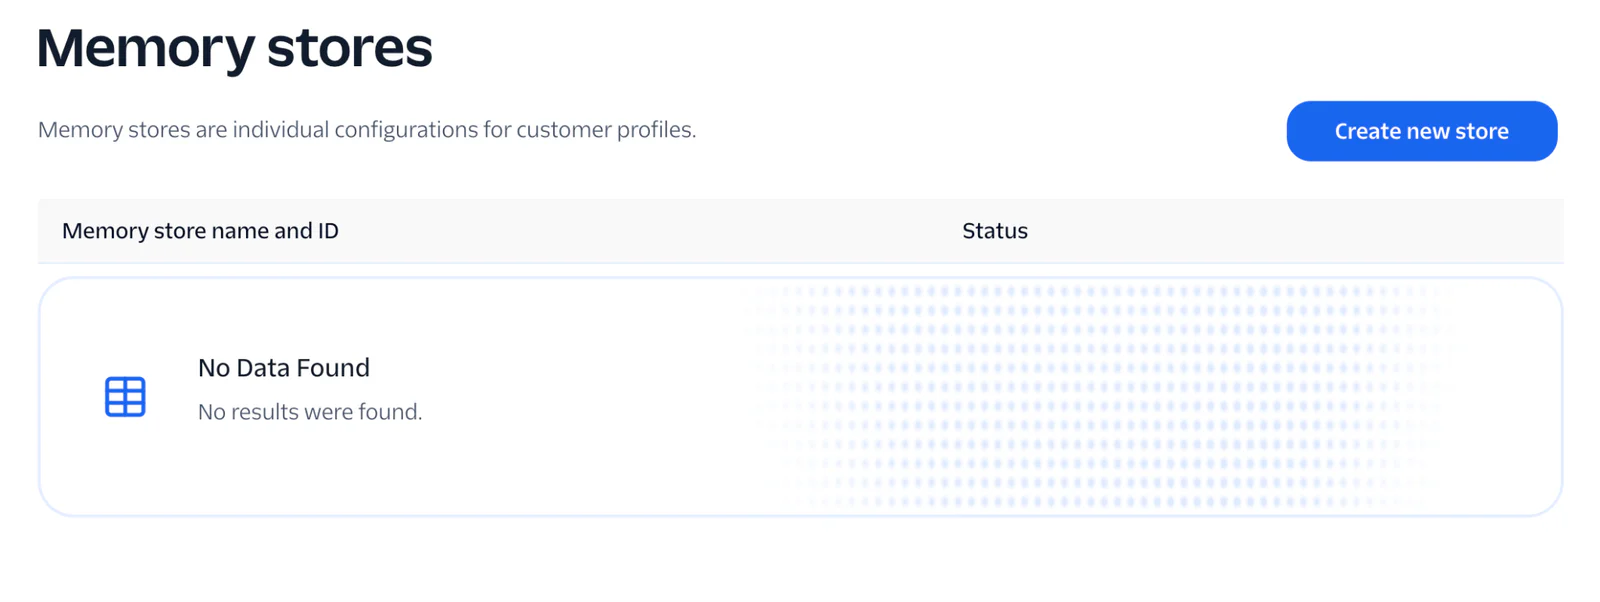
Now follow the steps to set up your memory store.
The console gives you a setup checklist to get you started. Click on Connect Conversation Orchestrator, and give it a friendly name. Write a short description (this can be anything), then you can move on to Messaging and Chat Traffic. For the remainder of the items in this checklist, you can select the default values for now.
You don’t have any customer profiles yet, so you can skip the rest of the checklist. However, you will need your memory store ID, which is at the top left of the memory store screen. There should be a convenient button to copy-paste that ID. Keep that ID for the next step.
Step 4 - Configure environment variables
Now that you have a memory store created, you will need to be able to access that from your application. For this, you will need to get your Memory Store ID and paste that into your secrets file. Create a .env file in the root directory of your project. Add the following values, replacing the placeholders.
Get your API key from your Twilio console, created under Settings > Account Settings > API Keys & Auth Tokens. Because other types of API keys do not have access to the Conversation Memory features, creating a Main API key is required for this tutorial. Keep in mind that the secret key will only be shown once, so be sure you save it. You get your memory store key from the previous step and paste it in here. Your OpenAI API Key is generated from OpenAI’s dashboard. You will also need your Twilio voice-capable phone number, which is in E.164 format.
Save the file, and move on to the next step, creating your services.
Step 5 - Set up the OpenAI service
This demonstration uses the fiction of an auto repair shop as the agent that you are calling. However, Conversation Memory would be useful in lots of different scenarios, such as tech support, travel, and more. Feel free to adjust the audio prompts as you see fit for your own personal projects.
Create a file called openaiService.js in your project’s root directory to handle interaction with gpt-4o-mini.
Paste the following into your new file:
This code handles your initial connection to OpenAI. Its function is to parse the information from a caller and stream it to the OpenAI API. Notice the system prompt here, which explains the functionality of the agent. It contains some useful instructions for the agent, such as to avoid bullet points and emojis when speaking on the phone. It also reminds the agent that it will have access to memory, in case the call is dropped.
This code also has an additional call to OpenAI to summarize the call itself. This will parse the conversation into a quick summary that will be stored in Twilio’s Conversation Memory. You can adjust this prompt according to your application’s needs. Keep in mind that if you don’t say anything meaningful, nothing will be stored.
Next, create the webhook for Twilio’s connection.
Step 6 - Build the Twilio webhook and Conversation Memory pipeline
Create another new file called conversationRelayHandler.js. Paste in this code:
conversationRelayHandler.js is the bridge between Twilio’s WebSocket and the rest of the app. When Twilio opens the socket after a <ConversationRelay> TwiML directive, handle attaches listeners that parse each incoming JSON frame. A prompt frame carries the caller’s transcribed speech. The handler appends the text to an in-memory conversation history and hands the whole history plus the memory context off to streamResponse in the OpenAI service, which streams tokens back out through the same socket.
The code also contains interruption handling for your agent. If the agent is interrupted during a conversation, it pops the last message off of the history so the agent realizes the full message was not sent and was incomplete. This will allow the customer to continue talking and handle the interruption in a more human way, without your user missing context.
Step 7 - Process multi-turn historical context
Now you will create one more file to handle the context and memory processing. You’ll call this file conversationMemoryService.js. Paste the following into the file:
This part of the code is what will handle your multi-turn conversation.
The first thing this code does is bring in all your environment variables from .env. It then defines a startCall function that returns an object with conversationId, profileId, and memoryContext to store some information about the call. Making an API call to Conversation Summaries, it stores a Customer ID to the Memory Store that you created earlier. It also creates a profile for your caller that stores their phone number. When the call is disconnected, the summary of the call generated by OpenAI will be stored to Twilio.
If the caller calls the number back too soon, the previous call memory may still be active and trying to log. This code accounts for that by checking to see if a call is finished with finishCall. If the old call has closed out, but it recognizes the caller’s profile, the API will retrieve the summary and context of the previous call from the Memory Store. The conversation can then resume on the same topic right where it left off!
Step 8 - Finalize your application
To complete your project you will need to create an index.js file that starts the Express server, exposes the /voice webhook, and upgrades incoming WebSocket requests. Create index.js in your project’s root directory and paste in the following:
This sets up the WebSocket route to call your conversationRelayHandler, and includes the initial greeting for your user. Feel free to change the greeting according to your needs.
Testing, troubleshooting, or product demonstration
It is now time to test your voice application. Save your files and run the project with:
You should see Server listening on port 3000 in your terminal. Once your webhook is running, you will need to expose it to the internet by using ngrok or another tunneling service. In a new terminal window, run:
Replace 3000 with whatever port your application is running on if you have a different port shown.
Now ngrok will provide you with a URL for utilizing in your Twilio console. Go into your Twilio console and find the Twilio phone number that you prepared. Under the option A Call Comes In, choose Webhook, and fill in your ngrok URL followed by /voice, as shown in the graphic below:

To put your AI to the test, you’ll have to make two phone calls and check the conversation memory.
- Make call #1: Talk to the agent about a car repair issue, including some details such as make and model.
- Hang up and make call #2 from the same phone number.
- Verify the agent greets you and remembers the details of your first call without any prompting.
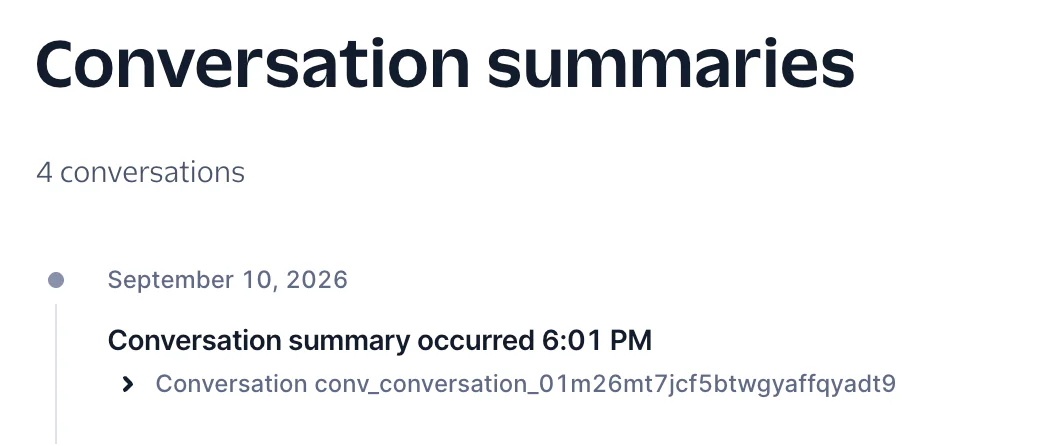
If your Conversation Memory feature is working properly, you should also see details and a summary of the conversation saved to your Twilio dashboard. Check your Memory Store and it should show you the logged number you called from, as well as a stored conversation under Summaries:
Conclusion
Today you have learned how Twilio Conversation Memory simplifies maintaining state across separate voice calls in Node.js. This should provide value to any phone AI agent, storing information that keeps conversations feeling more convenient and human.
Do you want to do more with Twilio Conversations? Explore the possibilities by checking out the conversations documentation, where you can find blueprints for Conversational Agents, AI-to-Human handoff, and more.
Dhruv Patel is a Developer on Twilio’s Developer Voices team. You can find Dhruv working in a coffee shop with a glass of cold brew or he can be reached at dhrpatel [at] twilio.com.



Related Resources
Twilio Docs
From APIs to SDKs to sample apps
API reference documentation, SDKs, helper libraries, quickstarts, and tutorials for your language and platform.
Resource Center
The latest ebooks, industry reports, and webinars
Learn from customer engagement experts to improve your own communication.
Ahoy
Twilio's developer community hub
Best practices, code samples, and inspiration to build communications and digital engagement experiences.