Making phone calls in Swift with Twilio
Time to read:
March 29, 2018
Written by
This post is part of Twilio’s archive and may contain outdated information. We’re always building something new, so be sure to check out our latest posts for the most up-to-date insights.

Programmatically making phone calls is awesome, but doing so from an iOS app can be dangerous because it requires you to store your Twilio credentials in the app. With Swift’s ability to run on the server, you can avoid the risks of using Twilio client-side!
Let’s learn how to make phone calls with Twilio from our server using Swift.
If you just want to skip right to the point, here is all the code you need:
Read ahead to learn how to get this code working. You’ll need to create a Twilio account if you haven’t already, and make sure you have Swift 4 installed.
What is this Alamofire thing?
In order to make a phone call with Twilio, we will need to make an HTTP request to Twilio’s REST API. We will be using a library called Alamofire to do this. Check out this other tutorial for more general info on sending HTTP requests in Swift.
We are going to use Swift Package Manager to handle dependencies. Start by initiating a Swift package in the directory where you want to run the code (I named my directory “SwiftCalls”):
This will generate a Package.swift file for you, where we can add dependencies. Open Package.swift and make sure it has the following code:
Keep in mind that in the targets section you may need to modify the name to fit your package.
Now that we are good to go with dependencies, it’s time to get started with some code.
Creating a TwiML Bin
To define what happens during the phone call, we will need to write some TwiML, which is a set of instructions that tells Twilio what to do with a phone call or how to respond to a text message. In other programming languages, there are Twilio helper libraries you can use to avoid writing XML by hand, but that is not currently the case with Swift.
You would typically respond to a webhook request sent by Twilio to your server-side application with TwiML. This can be done using something like Vapor, but that’s not necessary right now. For this example we’ll use TwiML Bins, Twilio’s hosted solution for TwiML. TwiML Bins are awesome because you don’t have to write a bunch of extra code or host a web application just to make a simple phone call.
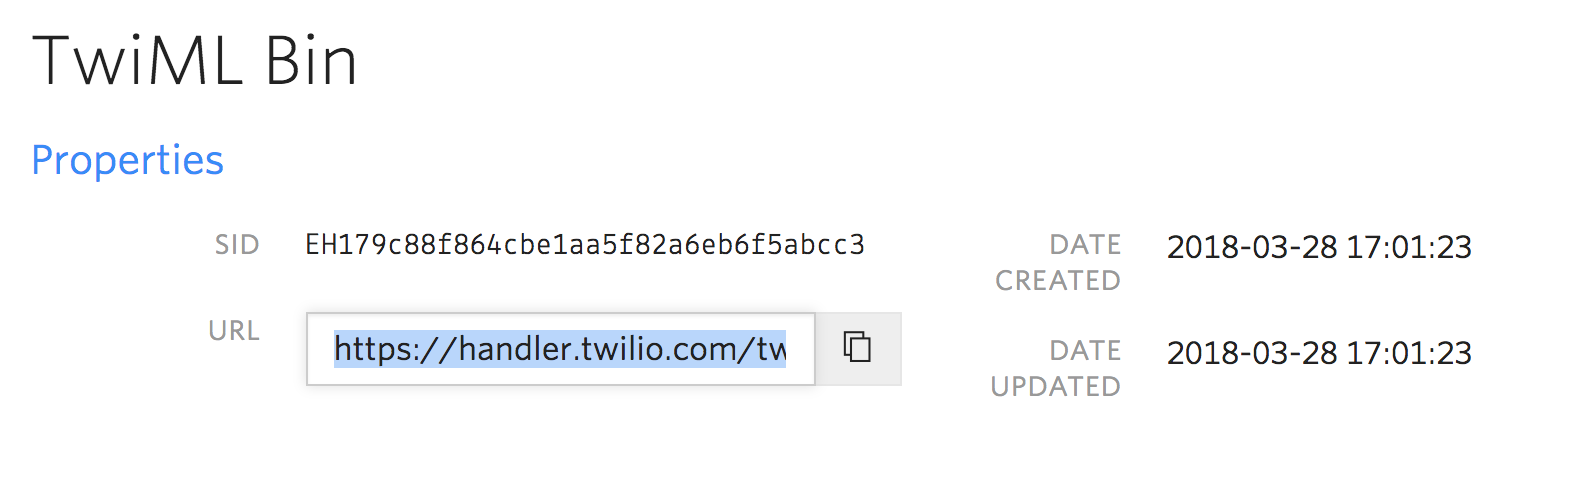
Let’s start by doing a basic redirect to another phone number. Click here to create a TwiML Bin. Name it whatever you want, add the following code to it, and click save when you are done:
This TwiML will connect your phone call to another Twilio number that I created. Before moving on, take note of the URL for your TwiML Bin. We will need to use it later.
Making a phone call in Swift
In order to make a call, you’ll need a Twilio phone number. You can buy a phone number here (it’s free if you’re using the number to test your code during development).
You’ll also need to send your Twilio account SID and auth token as part of the request for the phone call. You can find those in your Twilio Console. Store them in environment variables with the following command:
Now open the file main.swift in your Sources/SwiftCalls/ folder (replace “SwiftCalls” with whatever you named your project) and add the following code:
Remember to enter your Twilio phone number and personal phone number as the From and To values as well as the URL to your TwiML Bin as the Url value. Run it with this command, and you should receive a call!
To change the behavior of this phone call all you need to do is edit the code in your TwiML Bin. There are a bunch of things you can do with TwiML like creating conference calls or playing music over the phone.
Now what?
You can make calls from the server using Swift now. Congrats!
You might want to add this to an actual web application using a back end web framework for Swift such as Vapor. You also might want to try implementing this without using Alamofire if you don’t want to rely on dependencies. Check this post out to learn how to send HTTP requests in Swift 3 or 4.
If you want to do more with Swift and Twilio, you can check out these other posts:
- Sending text messages with Swift
- Handling phone calls with server side Swift
- Receiving and Responding to text messages with server side Swift
If you have any other cool ideas, feel free to reach out and let me know or ask any questions:
- Email: Sagnew@twilio.com
- Twitter: @Sagnewshreds
- Github: Sagnew
- Twitch (streaming live code): Sagnewshreds


Related Resources
Twilio Docs
From APIs to SDKs to sample apps
API reference documentation, SDKs, helper libraries, quickstarts, and tutorials for your language and platform.
Resource Center
The latest ebooks, industry reports, and webinars
Learn from customer engagement experts to improve your own communication.
Ahoy
Twilio's developer community hub
Best practices, code samples, and inspiration to build communications and digital engagement experiences.