Add Facebook Login to your Node.js App with Passport.js
Time to read:
October 18, 2019
Written by

Almost all applications require users to create accounts on their websites in order to use certain services. This repetitive process of setting up new profiles and creating new passwords for every application is not only time consuming, but frustrating, and over time, account management becomes hard remembering credentials for every application.
Thanks to OAuth, we can use popular social media applications such as Google, Facebook and Twitter to authenticate users. This process makes implementing authentication easier and increases adoption due to existing trust built with the social network. So why not integrate it into your application?
In this tutorial, I will take you through how to integrate Facebook into your Node.js application.
Prerequisites
You will need the following dependencies to complete this tutorial:
Getting Started
Follow the instructions below in your preferred terminal in order to set up your development environment:
Next run:
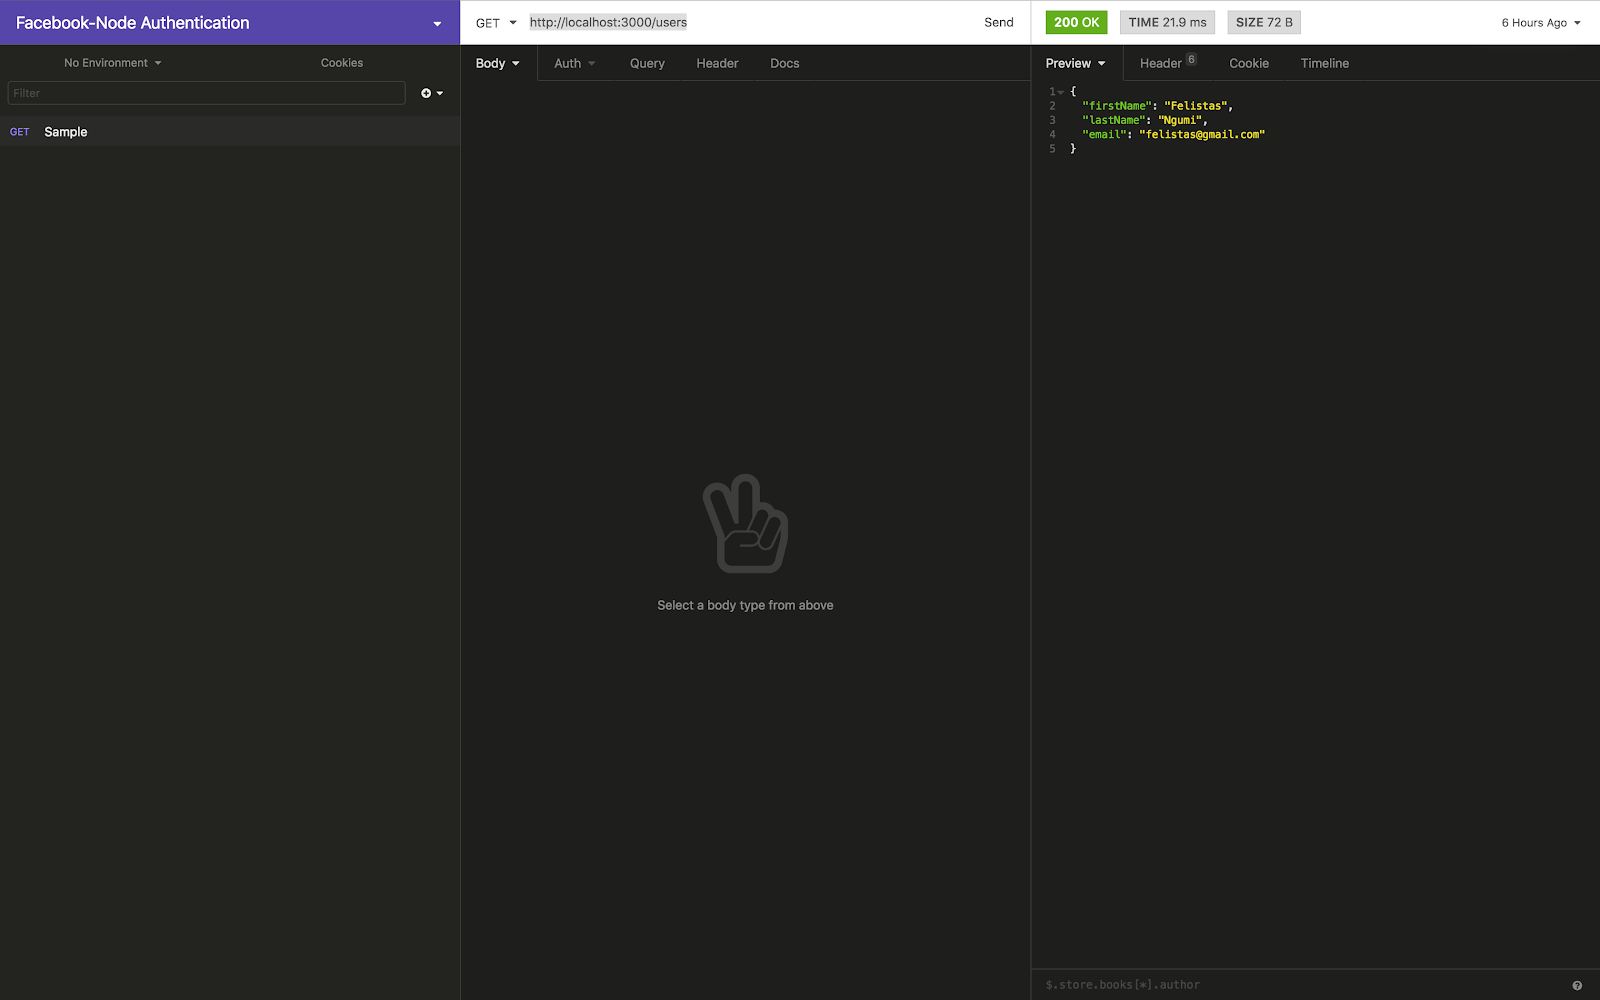
To confirm everything is working as expected, open your preferred REST Client (Insomnia is my preference) and make a GET request to the following endpoint http://localhost:3000/users. Confirm the response is as below:
Project Setup
In order to understand how our project is set up, we will go through the individual folder structures which follow the MVC (Model View Controller) pattern. As a recap of the MVC pattern, the model defines the schema of the data in the database and how it will be stored. Controllers hold the business logic of the application while the view holds all our routes.
Inside the app folder, we have user and utils folders which are responsible for the user resource and database configuration respectively. The index.js file, which is the entry point of our app, is responsible for express setup. In this project, we will use ES6 and Babel to compile the code. I have also configured nodemon to listen to any changes made to the app then reload the server.
OAuth 2
OAuth 2 is an authorization framework that allows third-party applications to obtain limited access to HTTP services, either on behalf of the resource owner or by allowing these third-party applications to obtain access on their own behalfs. In either case, the owner does not have to provide their login credentials directly to the application.
In our case, the application we are building would be the third party application. Facebook would be our HTTP service and the end-user the resource owner. These three fall under the following OAuth roles:
- Resource Owner/End user - This is the user authorizing a third-party application to access certain protected resources from a resource server.
- Client - This is the third party application making protected resource requests to a resource server on behalf of the resource owner.
- Resource Server - Hosts the protected resources e.g user profile.
- Authorization Server - Responsible for authenticating the resource owner and providing access token to clients.
In order for successful user authentication to happen, a series of steps need to be followed:
- The client, (which is our application in this case), requests authorization from the end-user.
- Once the end-user authorizes the client, an application grant is issued.
- Our client then requests an access token from the authorization server using the authorization grant.
- The authorization server validates the grant and authenticates the client. If the two processes are successful an access token is granted to the client.
- Our client then uses the access token to request the protected resource.
- The resources server then validates the access token and if successful, the requested protected resources are shared with the client.
Note: Auth2 has different types of grant types. For this tutorial, we will use the Authorization code grant type. To learn more about OAuth2, you can have a look here
Passport
According to the official documentation, Passport an authentication middleware for Node.js supports a number of strategies including Facebook, Google, Twitter, etc. Now, lets get our hands dirty and get the FaceBook authentication up and running. To start off, run the following commands to install the various dependencies needed:
The passport-facebook package enables us to authenticate users using Facebook. In app/user/user.controller.js replace the existing code with the following lines of code:
Next, in app/user/user.router.js replace the existing code with:
Here, we have defined our callback URLs and specified successful and failure routes in case authentication fails i.e the / and /fail routes for success and failure respectively.
In app/index.js add the following code snippet.
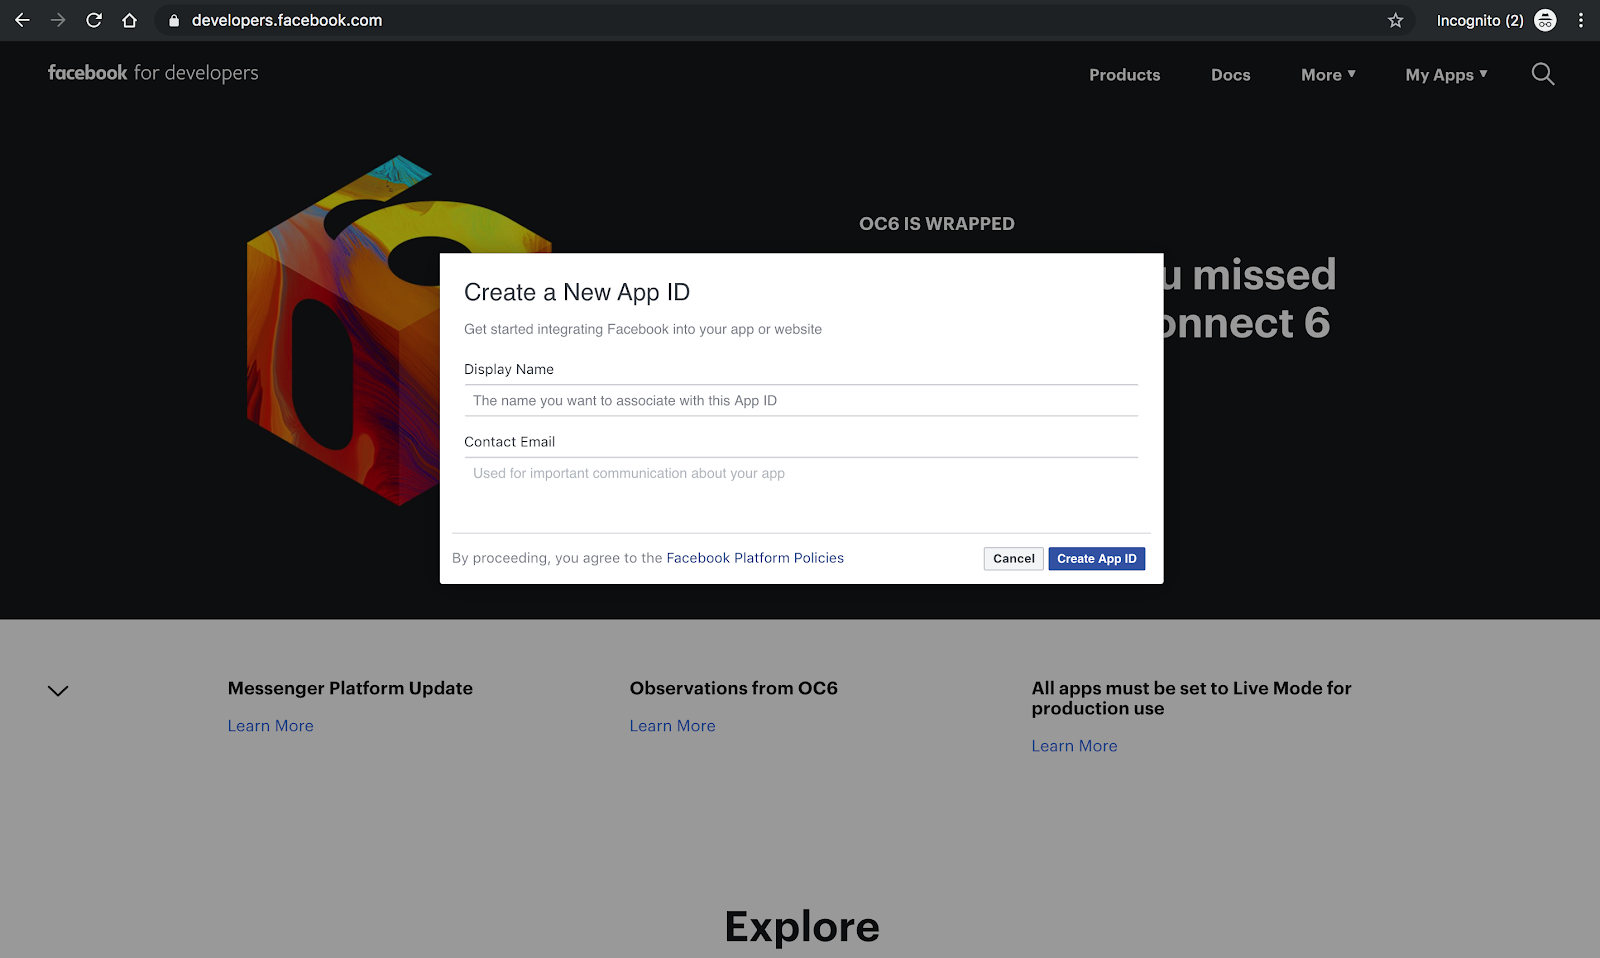
For successful authentication, we need to register our application callback URL and obtain the client secret and client id from the Facebook app developer console. Navigate to https://developers.facebook.com/ and create an app.
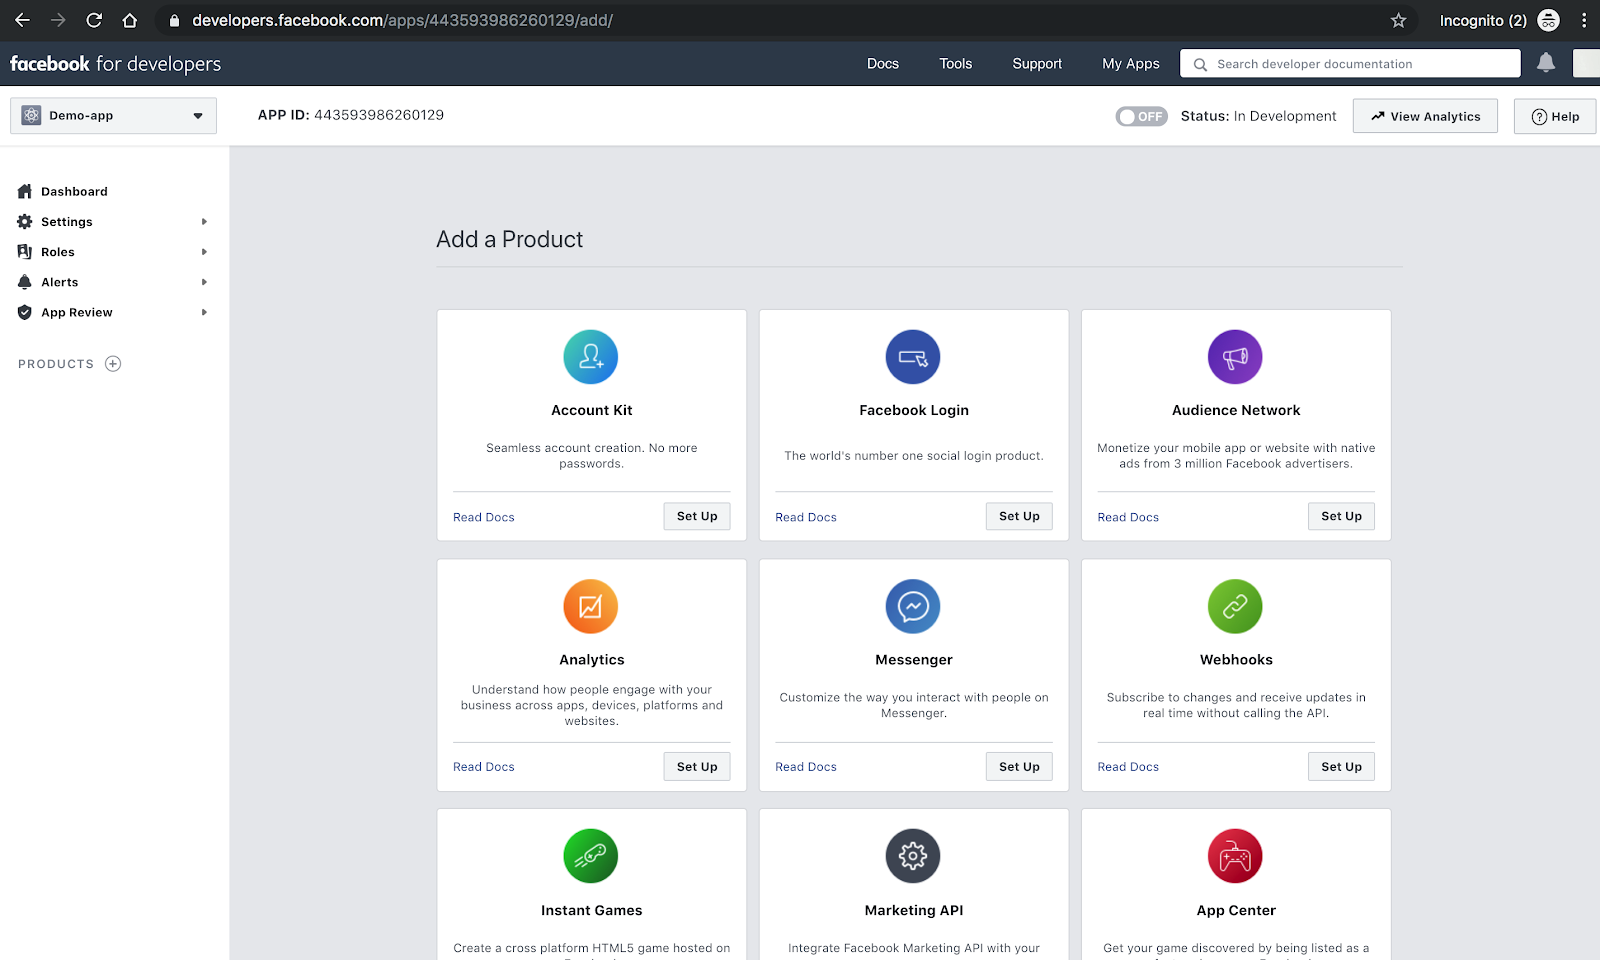
You will then be redirected to the app's dashboard which should be as shown below:
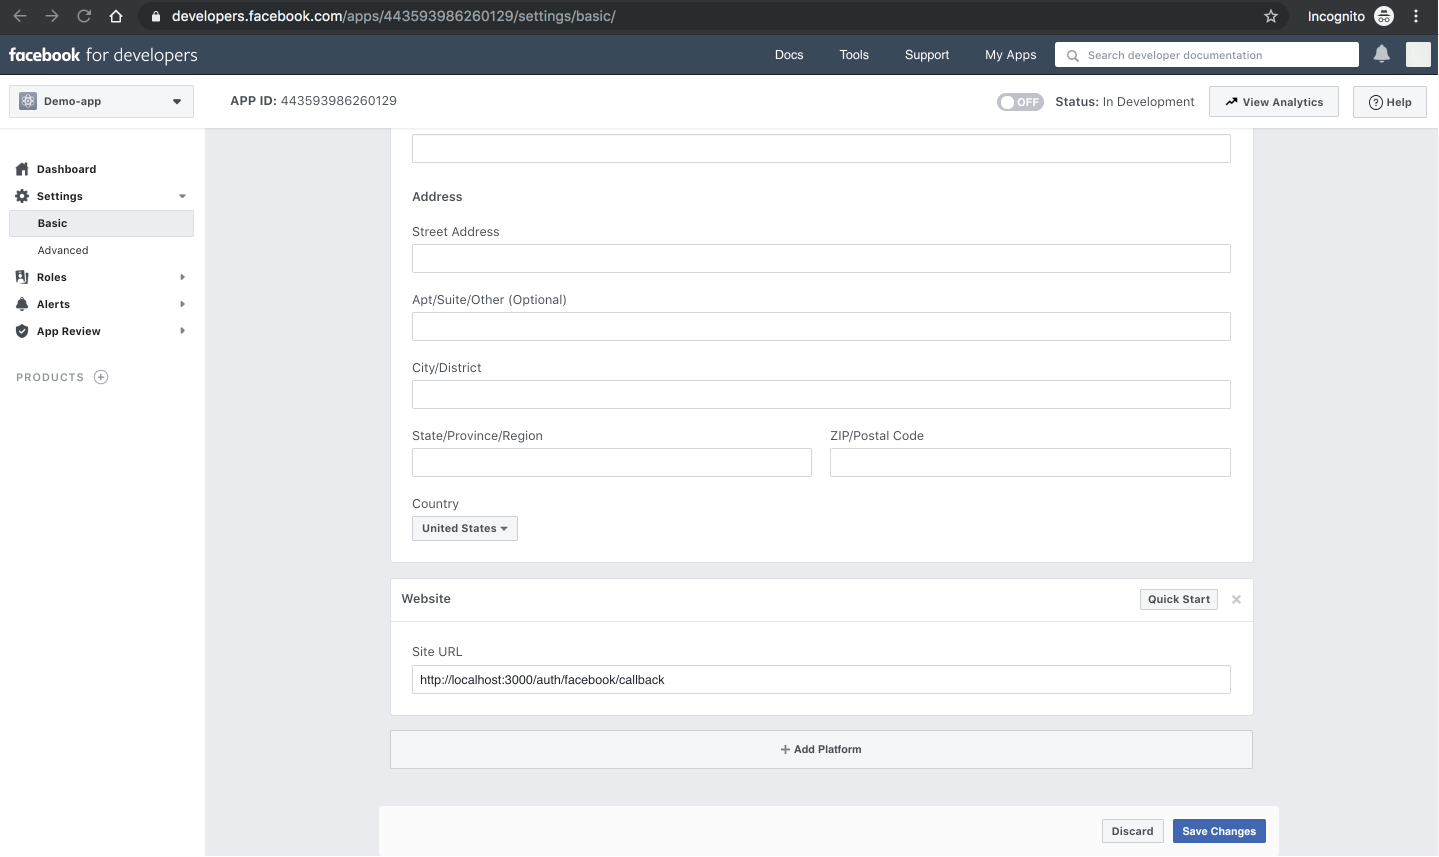
Next, let's configure our callback URL by adding a platform under the basic tab in settings:
Note: Be sure to select a website as your platform type.
Next, create a .env file in our project directory and add the following:
Be sure to obtain the keys from the app console.
Testing
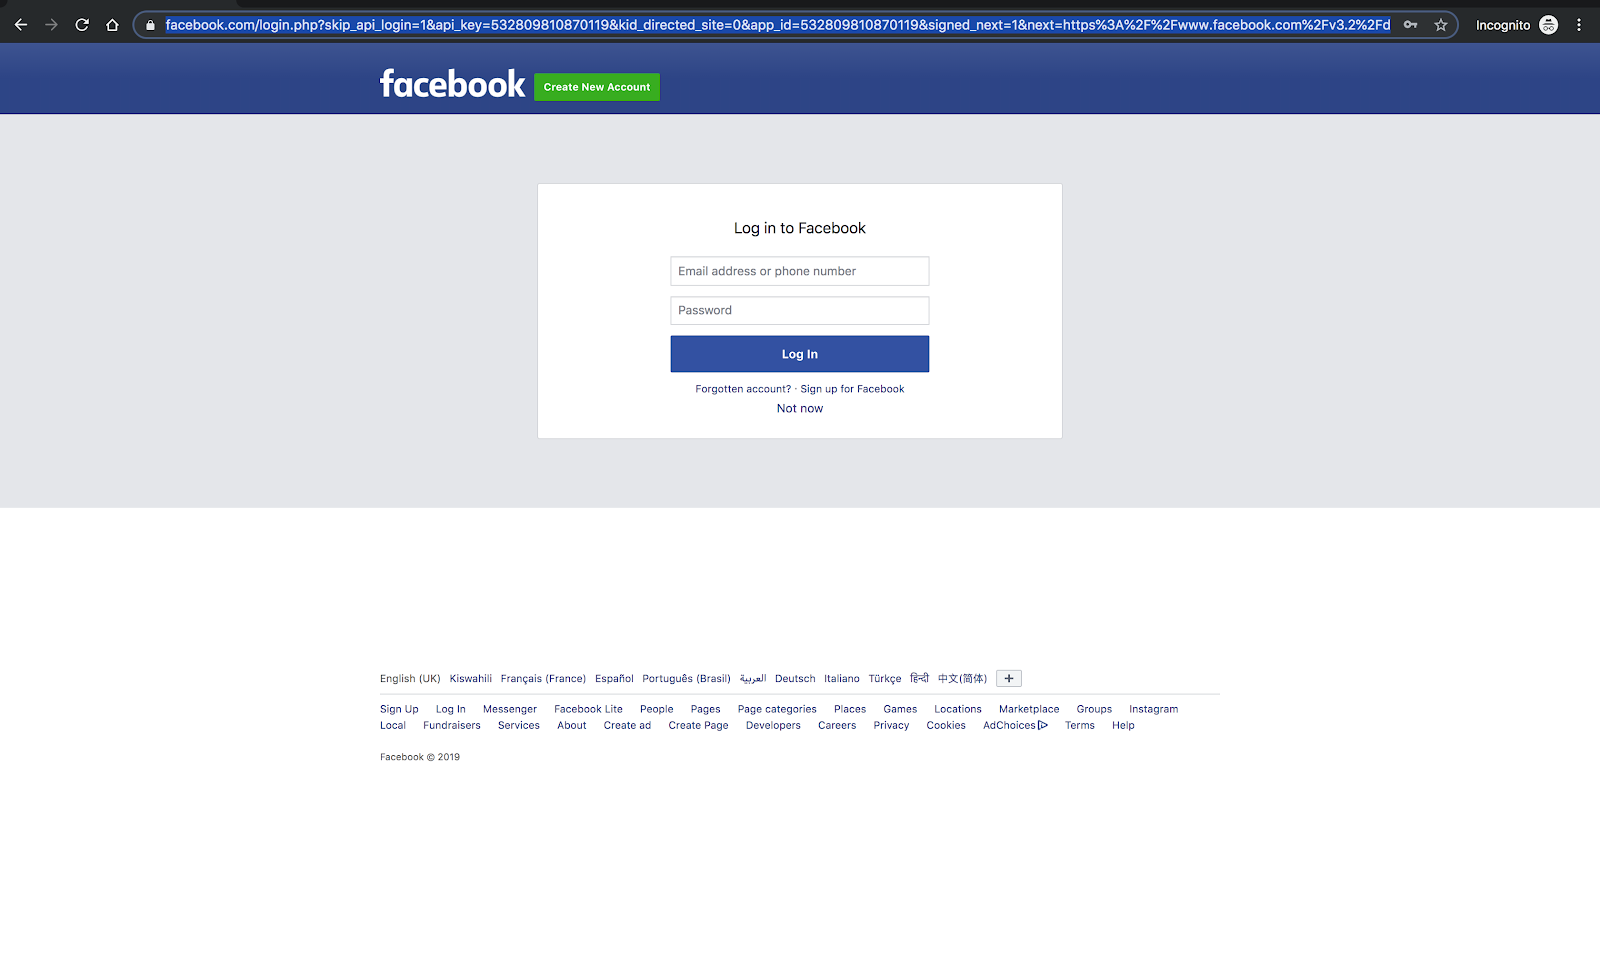
In your browser, paste the following URL http://localhost:3000/auth/facebook and you should see the resulting screen below prompting you to enter your Facebook credential details.
Upon successful validation of your credentials, you will be redirected to a success screen as shown below:
To understand the process flow, a number of steps need to be followed:
- Our app (i.e the client) through Passport, creates a link to our authorization server i.e Facebook's authorization server. The link is simillar to https://www.facebook.com/login.php?skip_api_login=1&api_key=604879570044749&kid_directed_site=0&app_id=604879570044749&signed_next=1&next=https%3A%2F%2Fwww.facebook.com%2Fv3.2%2Fdialog%2Foauth%3Fresponse_type%3Dcode%26redirect_uri%3Dhttp%253A%252F%252Flocalhost%253A3000%252Fauth%252Ffacebook%252Fcallback%26client_id%3D604879570044237824749%26ret%3Dlogin%26fbapp_pres%3D0%26logger_id%3D9cdcc3d6-80fc-432c-aa6f-ede4b45eee43&cancel_url=http%3A%2F%2Flocalhost%3A3000%2Fauth%2Ffacebook%2Fcallback%3Ferror%3Daccess_denied%26error_code%3D200%26error_description%3DPermissions%2Berror%26error_reason%3Duser_denied%23_%3D_&display=page&locale=en_GB which is displayed on the browser. This is the facebook authentication screen as you have seen from above.
- The end user then enters their Facebook credentials.
- The authorization server authenticates the user and sends the user back to the client with an authorization code.
- The client then exchanges the authorization code with the authorization server in order to get an access token.
- The client then requests for resources from the resource server using this access token. The resources here include the email and the name as specified in the
profileFieldsin our controller file.
Once we obtain this, we can now use our user model to save data in the database configured as shown above.
Conclusion
In this tutorial, we learned how to authenticate users using Facebook in a Node.js application. For the full working project, you can have a look at it here. The process should also be similar and straight forward for other platforms like Google, Github and Twitter. I would love to hear from you! Happy hacking!
Related Resources
Twilio Docs
From APIs to SDKs to sample apps
API reference documentation, SDKs, helper libraries, quickstarts, and tutorials for your language and platform.
Resource Center
The latest ebooks, industry reports, and webinars
Learn from customer engagement experts to improve your own communication.
Ahoy
Twilio's developer community hub
Best practices, code samples, and inspiration to build communications and digital engagement experiences.