How to Handle File Uploads from Node.js to Express
Time to read:
November 03, 2021
Written by
Reviewed by
Recently I was developing a CLI in Node.js that would help make the process of writing articles in Markdown easier for my team. The flow required that a local .md file be parsed, formatted, converted to .docx, and then uploaded to Google Drive as a Google Doc file, all by running one command from the terminal.
I approached this project in a few different ways, hoping initially that I could use serverless functions to handle the backend. I hit a lot of dead ends on this route, and eventually decided to build an Express server that I would ultimately host on Heroku.
To upload the .docx file contents from my CLI to a secure backend endpoint, where it would then be uploaded to the user’s authenticated Google Drive, I needed a way to POST multipart/form-data directly from Node.js (without a browser). This requires several third party libraries, and it was pretty difficult to make them all play nice together. There weren’t great resources on the internet to help, and a lot of trial and error were involved. This article is going to explain how I did it.
Prerequisites
In order to follow along with this tutorial, you’ll need the following:
Set up your Node.js and express files app structure
In your terminal or command prompt, navigate to your general projects or development directory, and run the following commands:
These commands will create a directory that holds both projects: your Node.js app and your Express API. They will also scaffold the Express backend (with express-generator) and install the required dependencies to your new Express app.
Scaffold your Node.js app with NPM form data
In your terminal, navigate back to your parent directory, multipart-demo, and then into your Node.js app, with the following commands:
Initialize a new Node.js application:
Install the third-party dependencies you’ll need for this project:
You’ll use the form-data library to create a “form” with key/value pairs in your Node.js app. axios will be used to POST the form data up to your Express app.
Write the code to upload your files in ExpressJS
Using your favorite text editor, open the file called index.js that was created in your node_app folder. If this file wasn’t created for you, create it now.
Inside this file, add the following code to the top:
This code will import the two third-party dependencies you installed and the native fs module that allows you to interact with the file system.
Below these lines, add the following function and function call:
The upload() function is an asynchronous function. Inside the function is a try/catch block. This means that the function will “try” to do anything inside the try block. If at any point the code encounters an error, it will immediately execute the catch block, where you can access the offending error.
The first thing it tries to do in the try block is create two variables: file and title.
The reason line 3, where the file variable is created, is highlighted is because you need to replace the file path shown with the path to the file you want to upload. This variable now represents a readable stream of your file.
The title variable is where you’ll store the title of the file you’re uploading - you can change this to whatever string value you like.
Beneath these variables is where the form itself is created. Two key/value pairs are appended to the form: one for the file, and one for its title. You can add any number of key/value pairs representing your form data to the form object in this manner.
Next, the entire form is posted to your Express backend (at an endpoint you’ll create later in this tutorial) using axios. Note that you’re passing an option object to the axios.post() method with header information. The form-data library makes it easy to ensure your headers are set correctly by giving you a .getHeaders() method that will return headers appropriate to your form data.
If there are no errors, then an “Upload complete” message will be logged to the console. Otherwise, the error message will be logged.
Process the form data
Now that you’ve successfully sent your file, you need to be able to process it on your backend.
In your terminal, navigate to your Express app:
Multer is a Node.js middleware that handles multipart/form-data. Run the following command to install the multer package:
From your text editor, open the index.js file found in the multipart_demo/express_app/routes folder. Delete the contents of the file and replace it with the following:
There are a few things to take note of in this code - the important lines have been highlighted.
On line 5, after the multer package is imported, you’re preparing to use Multer by calling the multer() function, passing to it an options object with a dest key, and saving the returned object to a variable called upload. See the documentation for other ways to configure Multer, including saving the file to memory and not to disk.
In this case, you’re specifying a dest value, because Multer needs to save your uploaded file somewhere. For my app, I only needed the file temporarily, so I set the destination to my server’s /tmp folder. If you need the uploaded files to persist, you could store them in another directory on your server, so long as you specify the path in this object.
On line 7, before executing the API endpoint’s callback function, you’re calling the single() method on the upload object. There are many methods you can call on the upload object that are appropriate for different data configurations. In this example, because you’re uploading only one file, you’ll use the single() method.
At this point, the req object available in the endpoint’s callback function will be slightly different than what you’re used to. Despite not attaching any body value to the form when you made the POST request, the value of your non-file form fields will be available on req.body. The file you uploaded will be available at req.file. In the code above, both of these objects are logged to the console. To see what they look like, test out the project.
Test the Node.js and Express File upload app
In your terminal, make sure you’re still inside the express_app directory, and then run the following command:
This will start your local server on PORT 3000.
Open a new terminal window, and navigate back to your Node.js project:
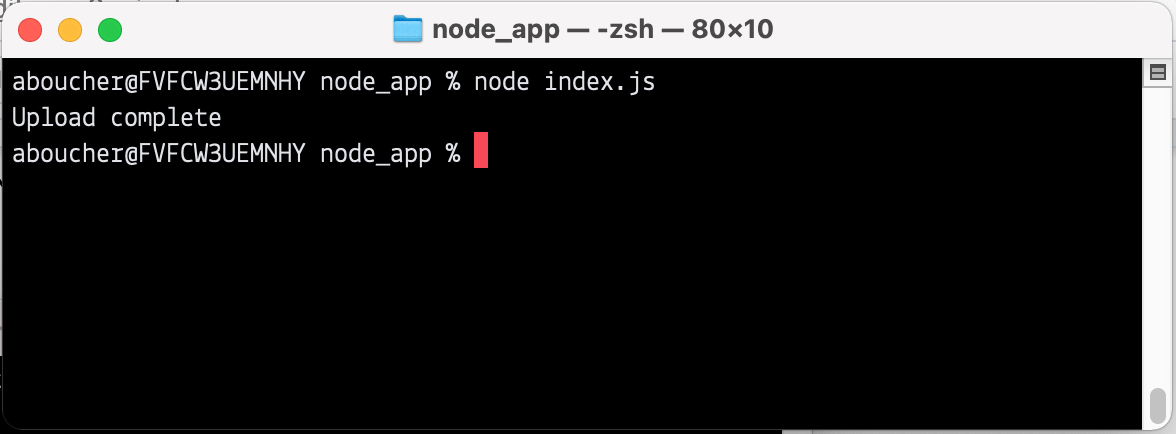
To execute your script, run the following command:
If the POST request was successful, you’ll see the “Upload complete” message in your terminal, otherwise you’ll see an error message.
Check back in the terminal running your Express app. You will see the title of your file, along with the object representing it. You’ll see that if you stored the file to disk, there will be a path key - you can use this path to create another readable stream, like I needed to in order to upload the file to Google Drive.

I hope you enjoyed this article and learned how to upload files directly from a Node.js app to Express. If you have any questions, reach out to me on Twitter.
Ashley is a JavaScript Editor for the Twilio blog. To work with her and bring your technical stories to Twilio, find her at @ahl389 on Twitter. If you can’t find her there, she’s probably on a patio somewhere having a cup of coffee (or glass of wine, depending on the time).


Related Resources
Twilio Docs
From APIs to SDKs to sample apps
API reference documentation, SDKs, helper libraries, quickstarts, and tutorials for your language and platform.
Resource Center
The latest ebooks, industry reports, and webinars
Learn from customer engagement experts to improve your own communication.
Ahoy
Twilio's developer community hub
Best practices, code samples, and inspiration to build communications and digital engagement experiences.