How to Build a CRUD RESTful API in PHP with API Platform and Symfony 4
Time to read:
August 02, 2019
Written by

Introduction
As per the official documentation, API platform is a “powerful but easy to use full-stack framework dedicated to API driven projects”. API platform helps developers significantly speed up their development process, building complex and high performance, hypermedia-driven APIs.
It ships with Symfony 4, the Doctrine ORM, a dynamic Javascript admin created with React, and React Admin, Varnish Cache server, Helm Chart to help deploy the API in a Kubernetes cluster and a Progressive Web Application skeleton. It also includes a Docker setup for providing Nginx servers to run the API and JavaScript apps. Most inspiring is the ability of API platform to natively generate project documentation with support of OpenAPI!
In this tutorial, I will take you through how to create a simple bucket list API with CRUD operations.
Prerequisites
- PHP - Version 7.0 or higher.
- Docker
- Postgres
Getting Started
Follow the instructions below to setup your development environment:
Download the latest compressed .tar.gz distribution. Then extract it inside of our working directory and run the commands below:
The docker-compose pull command downloads all images specified in the docker-compose.yml file. In order to start the containers, run docker-compose up -d. The -d flag runs the containers in detached mode, meaning they run in the background. In order to view the container logs, you can run this command docker-compose logs -f in a separate terminal.
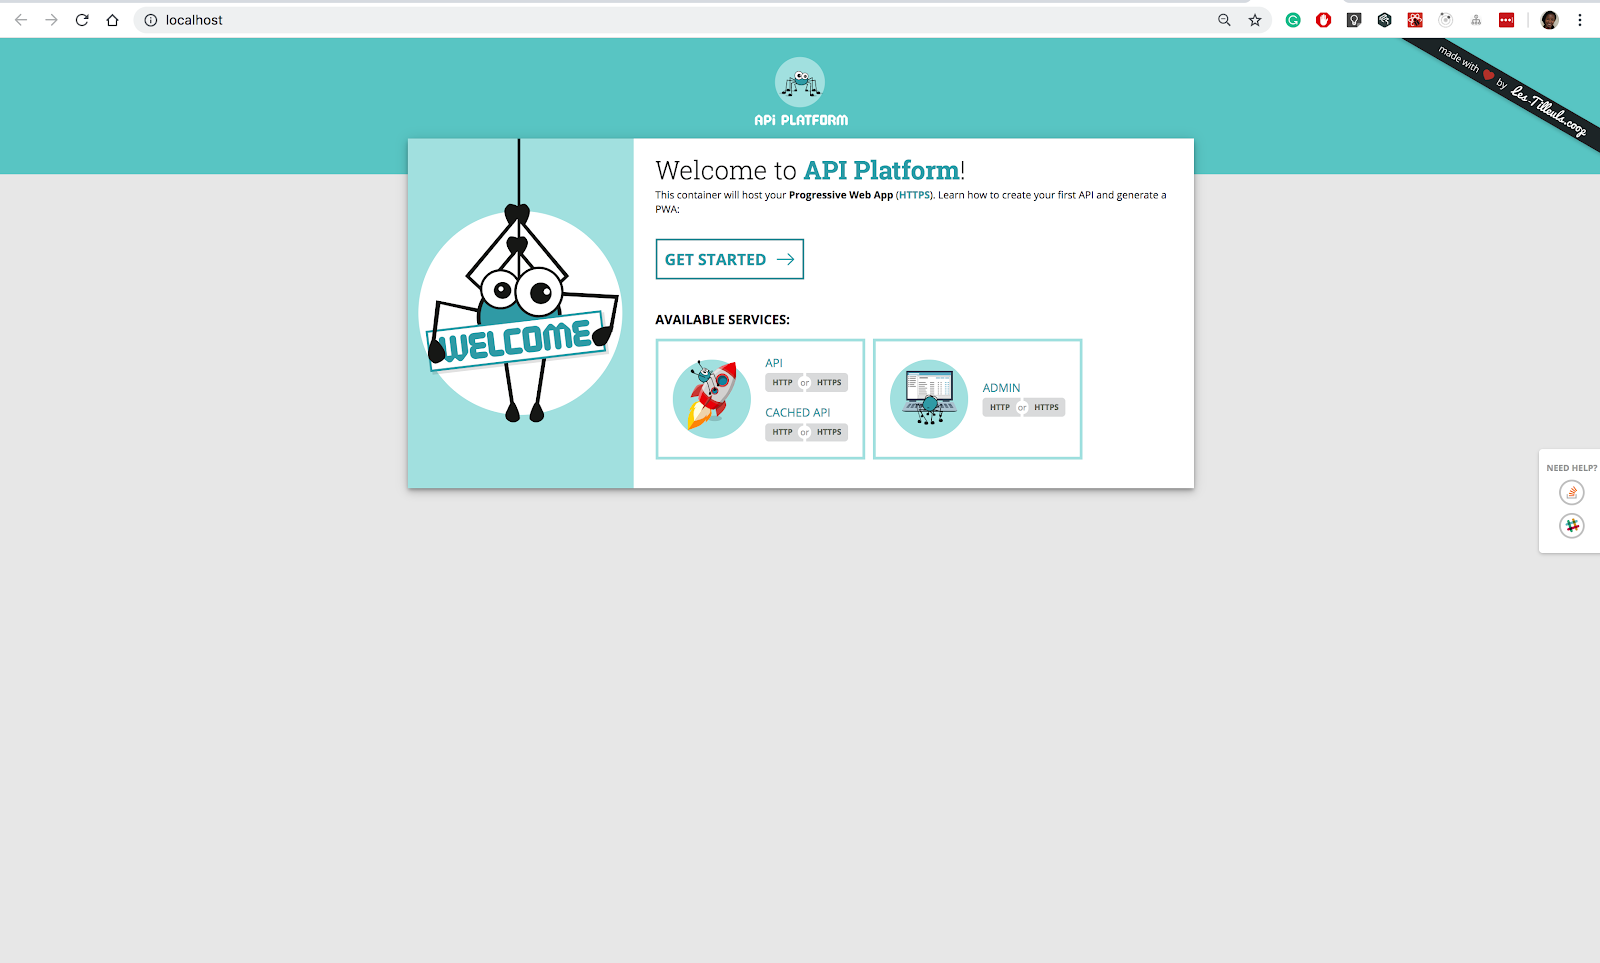
In your browser, paste the following url http://localhost in order to view the application. You should expect to view the following screens:
Api Platform Homepage
Api Platform Dashboard
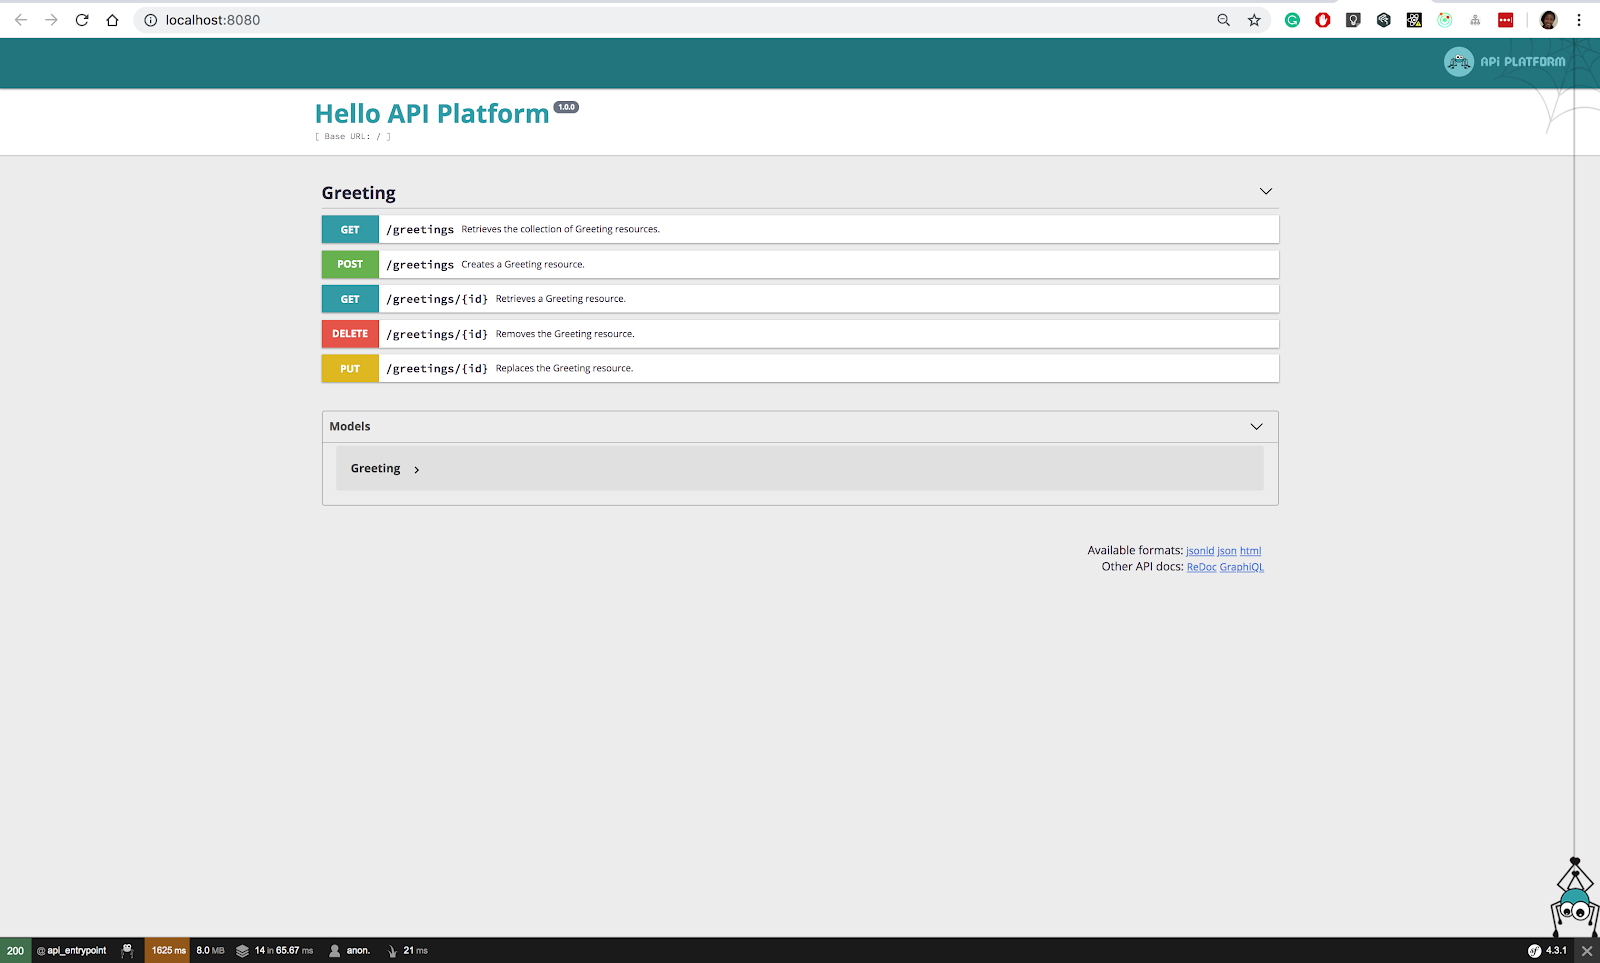
Click the API, either HTTP or HTTPS to view the screen below or navigate to http://localhost:8080/
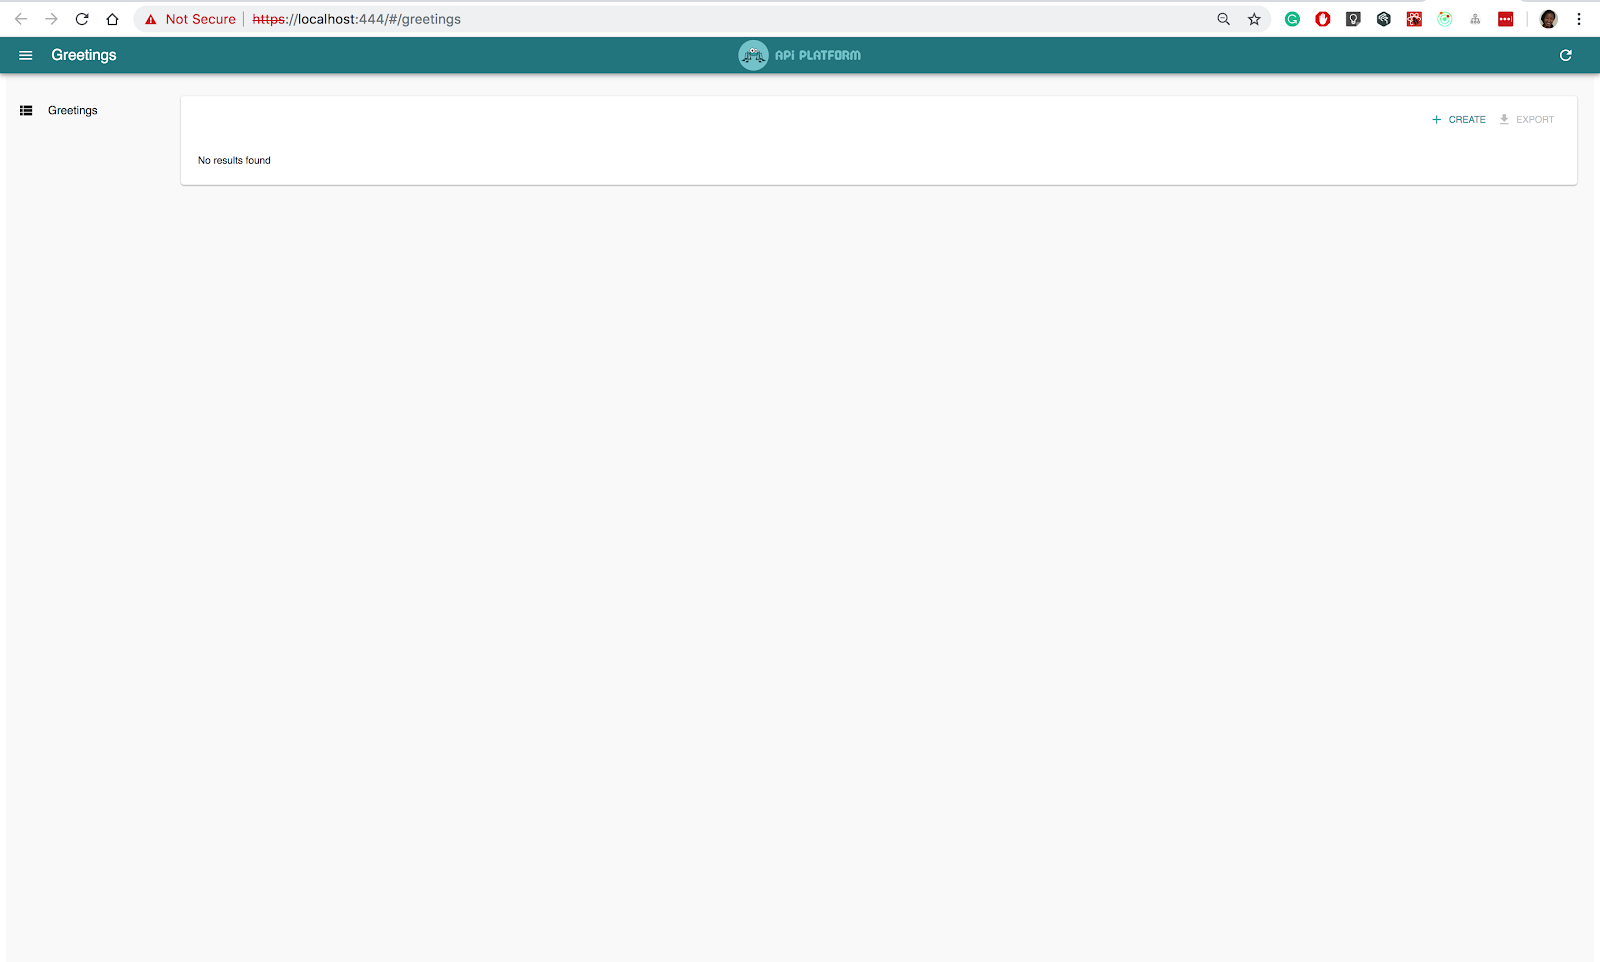
Api Platform Admin
To view the Admin, click the Admin button in the dashboard or navigate to https://localhost:444/#/greetings
We are all set to start developing now
Creating BucketList Models
First, let’s remove the Greeting model since we will not be needing it. Navigate to api/src/Entity/Greeting.php and delete the file. Your API dashboard will now be empty once you reload your browser.
Now, let's create our first model in api/src/Entity/BucketList.php. This model will be responsible for storing the items of our bucket list. Add the following lines of code:
Next, we need to navigate into the PHP container and run migrations in order to update the database with the newly created models. In order to do that, run docker-compose exec php bin/console doctrine:schema:update --force.
Alternatively, you can:
- List the docker containers in your terminal by typing
docker psin order to grab the name of the container. - Exec into the PHP container by running
docker exec -it <container-name> /bin/sh - Run
php bin/console doctrine:schema:update --forceto update the database
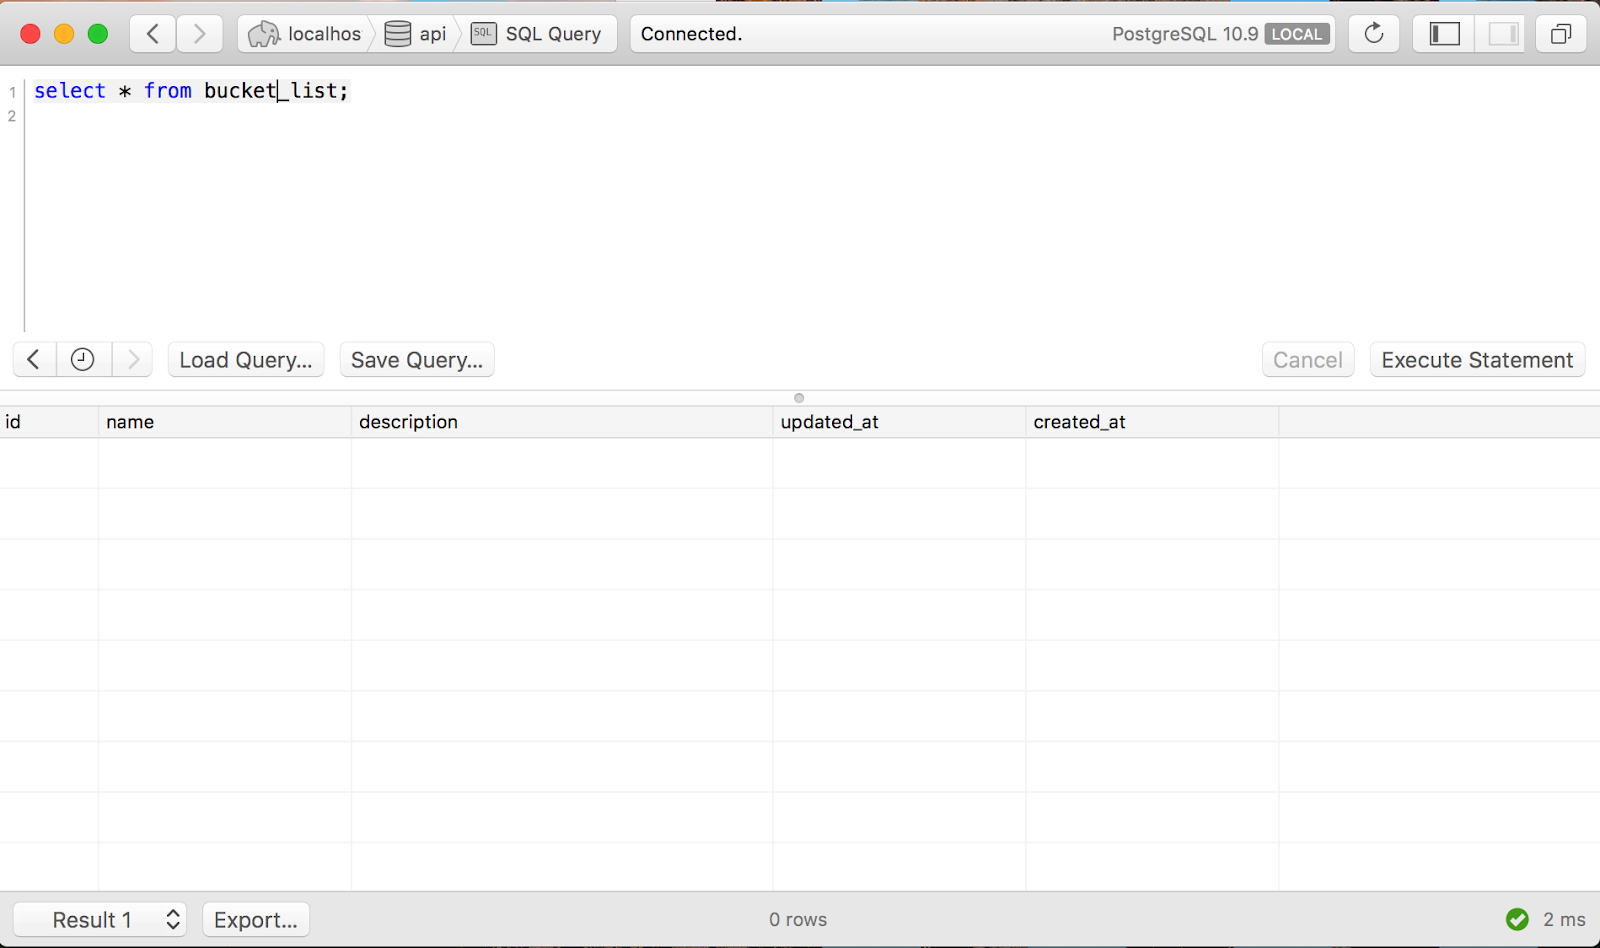
Log into your preferred Postgres client and confirm if the table has been created. Here is my table and all the fields have been created.
After confirming the models have been created, it's now time to create endpoints with CRUD operations. In order to do that, we need to mark the class we created using the @ApiResource annotation. Our class will look like:
Go ahead and refresh your browser with the API dashboard and you'll see that we have the CRUD endpoints created. How cool is that?
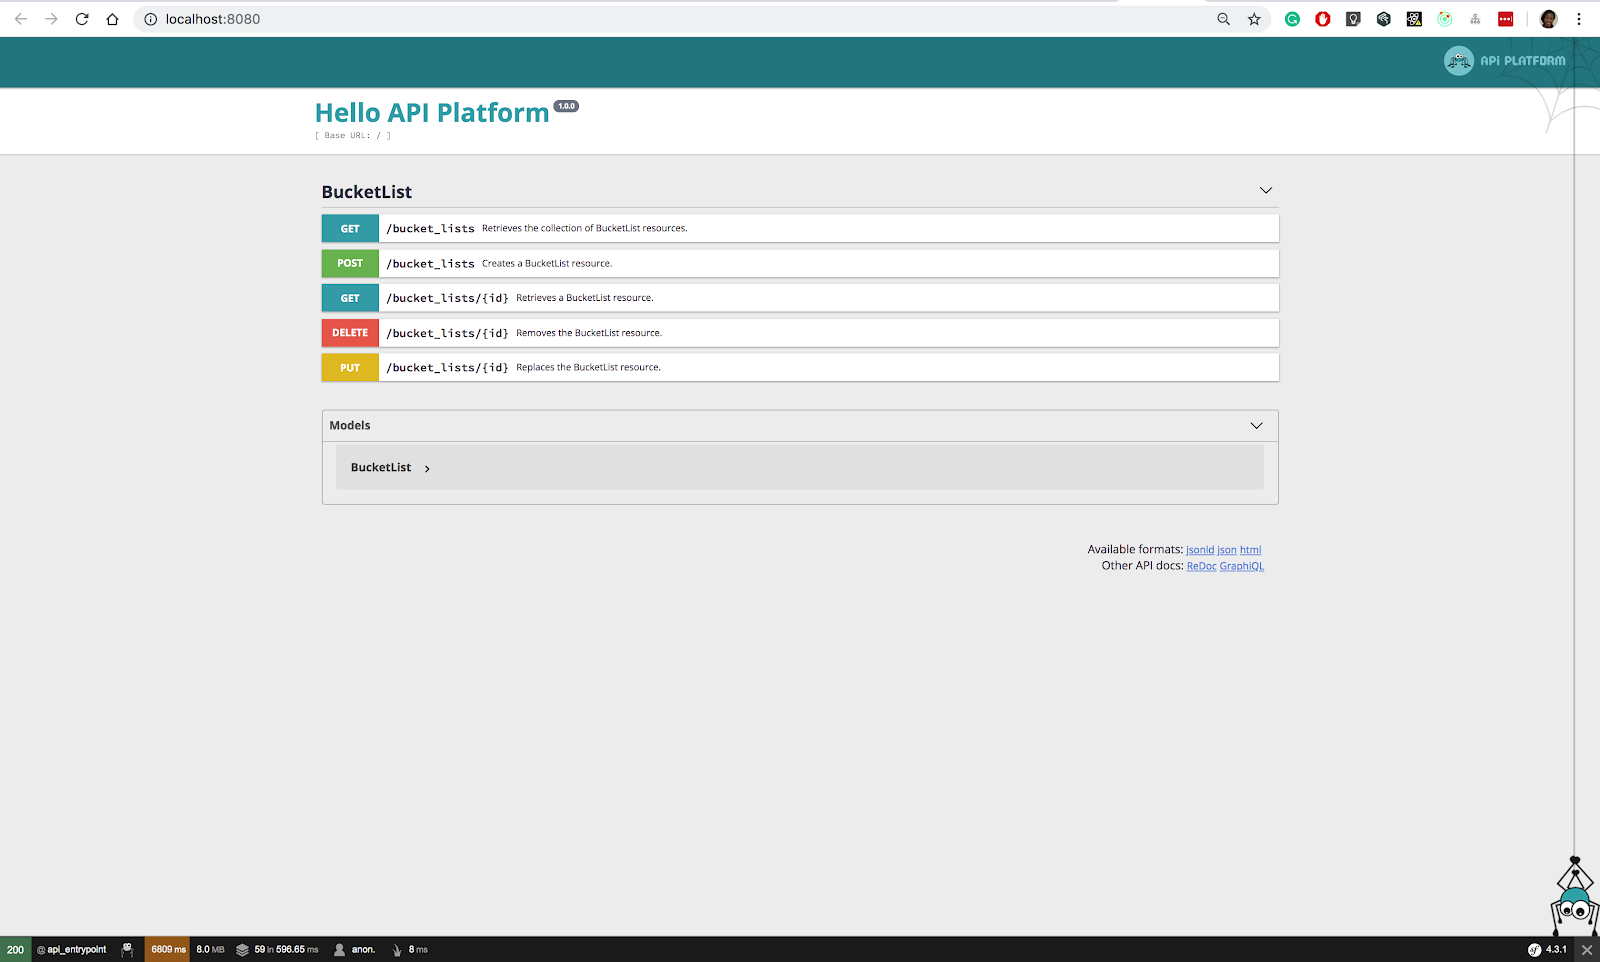
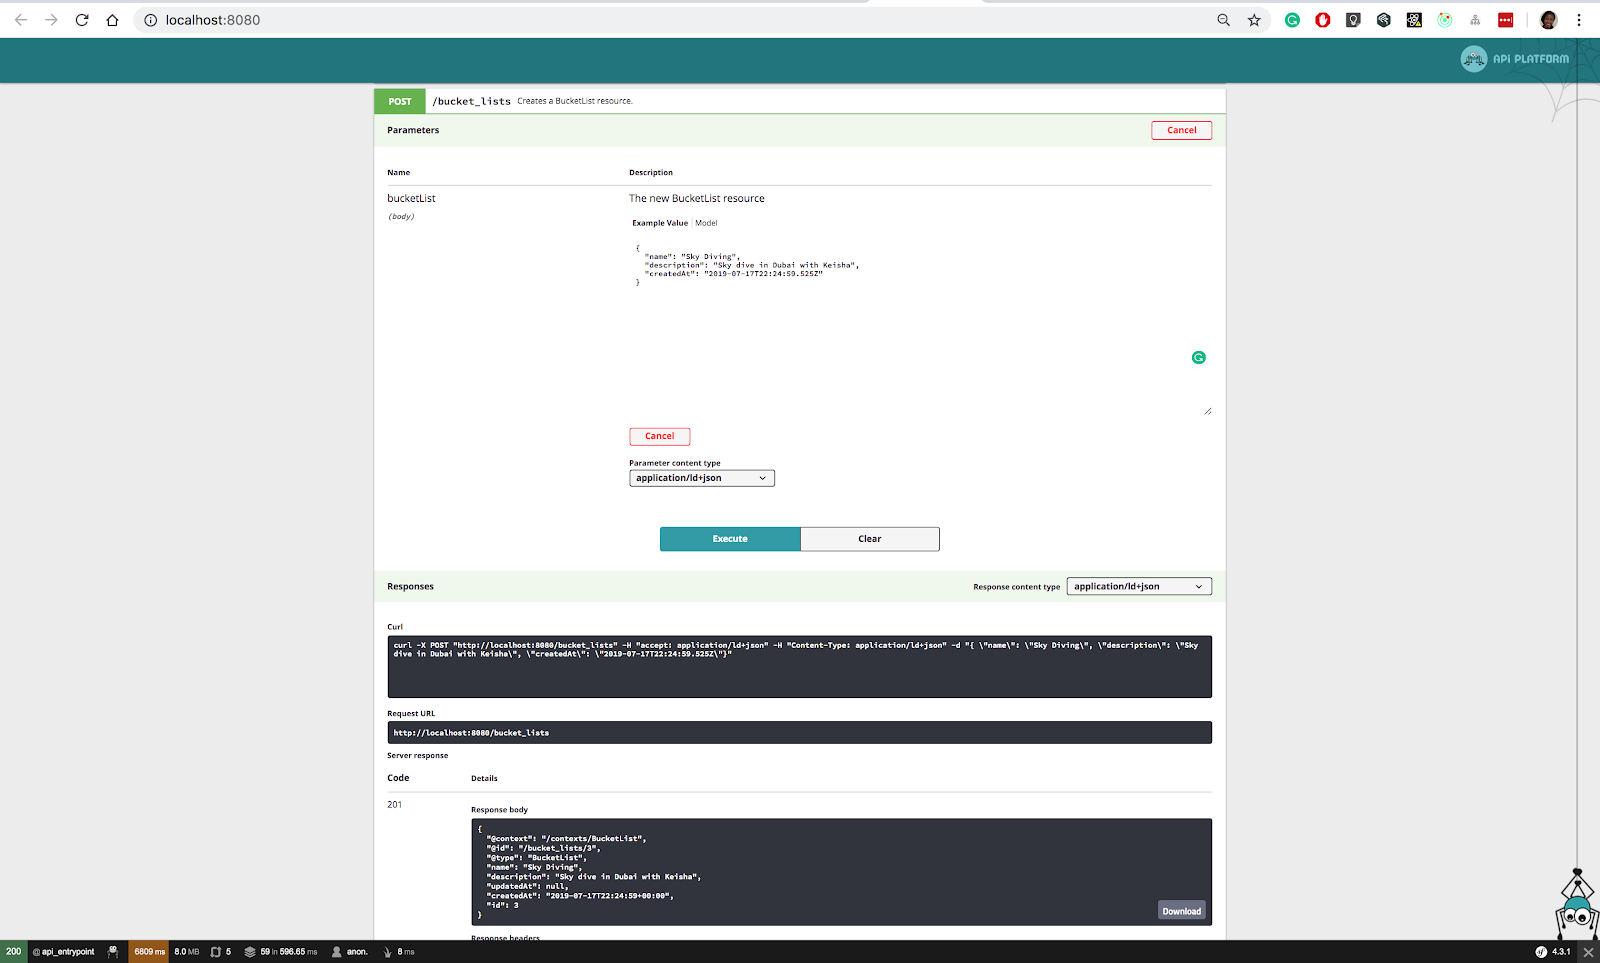
Let’s try performing some CRUD operations to confirm if everything works as expected. Expand the POST method and try creating a new bucketlist as shown below by clicking on the Try out button: Copy the JSON below under the description text area and click Execute.
A new bucketlist should now be created and persisted to the database. The response code returned is 201 (representing that a new resource has been created).
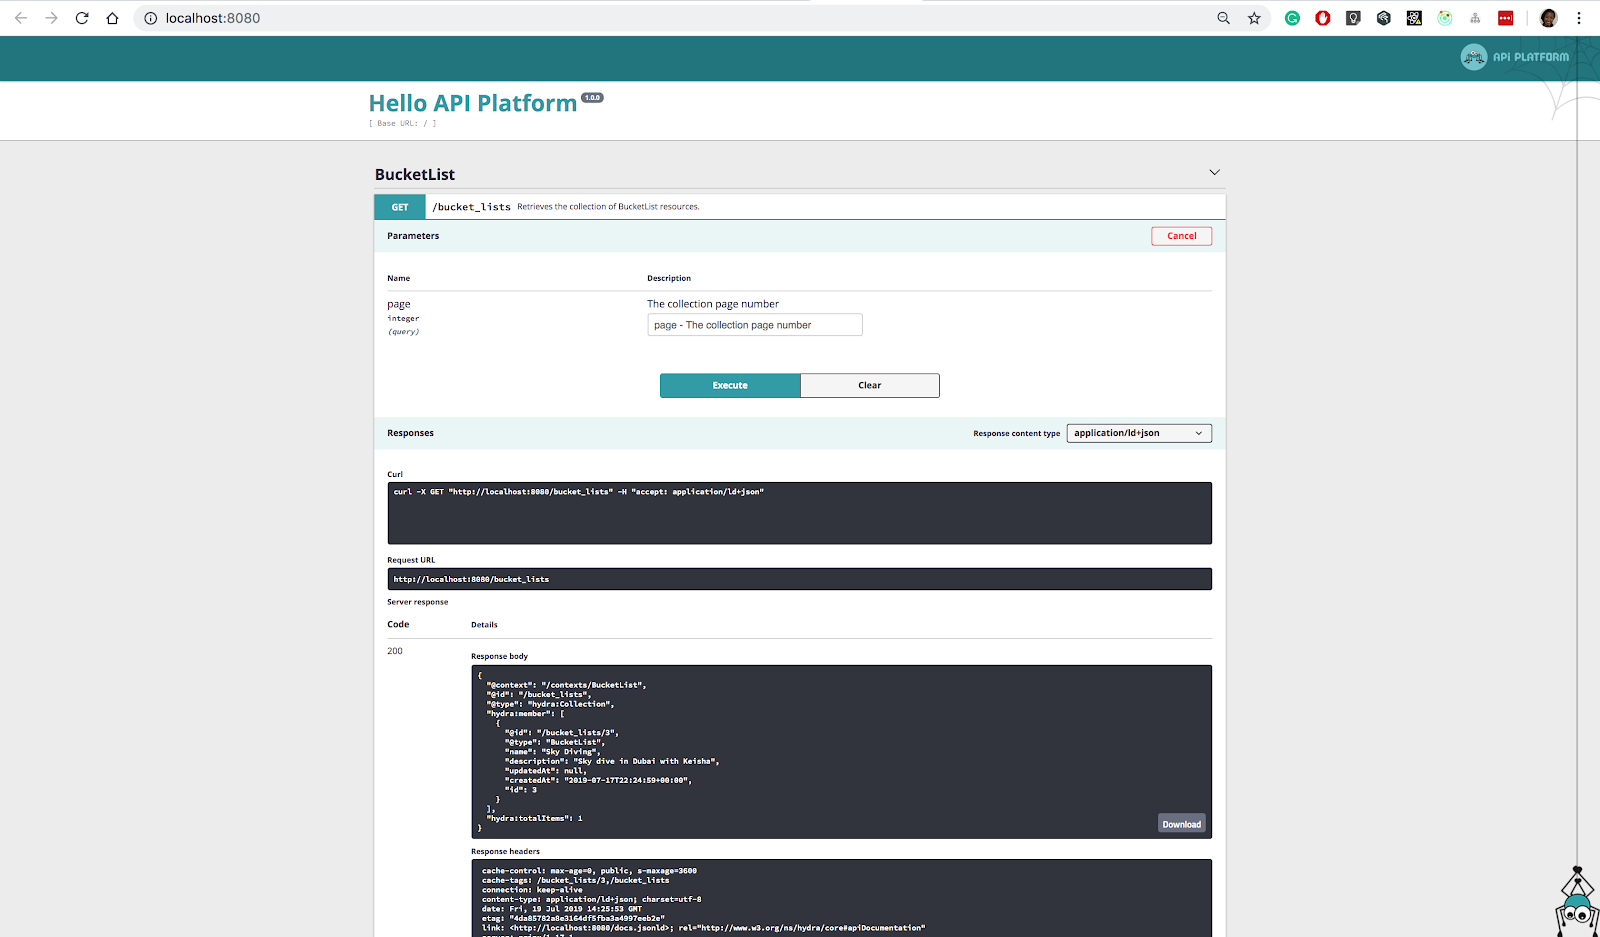
Let's utilize the GET method to retrieve the bucketlist created. Expand the GET /bucket_lists endpoint and click on Execute to retrieve the list of bucket lists you have created.
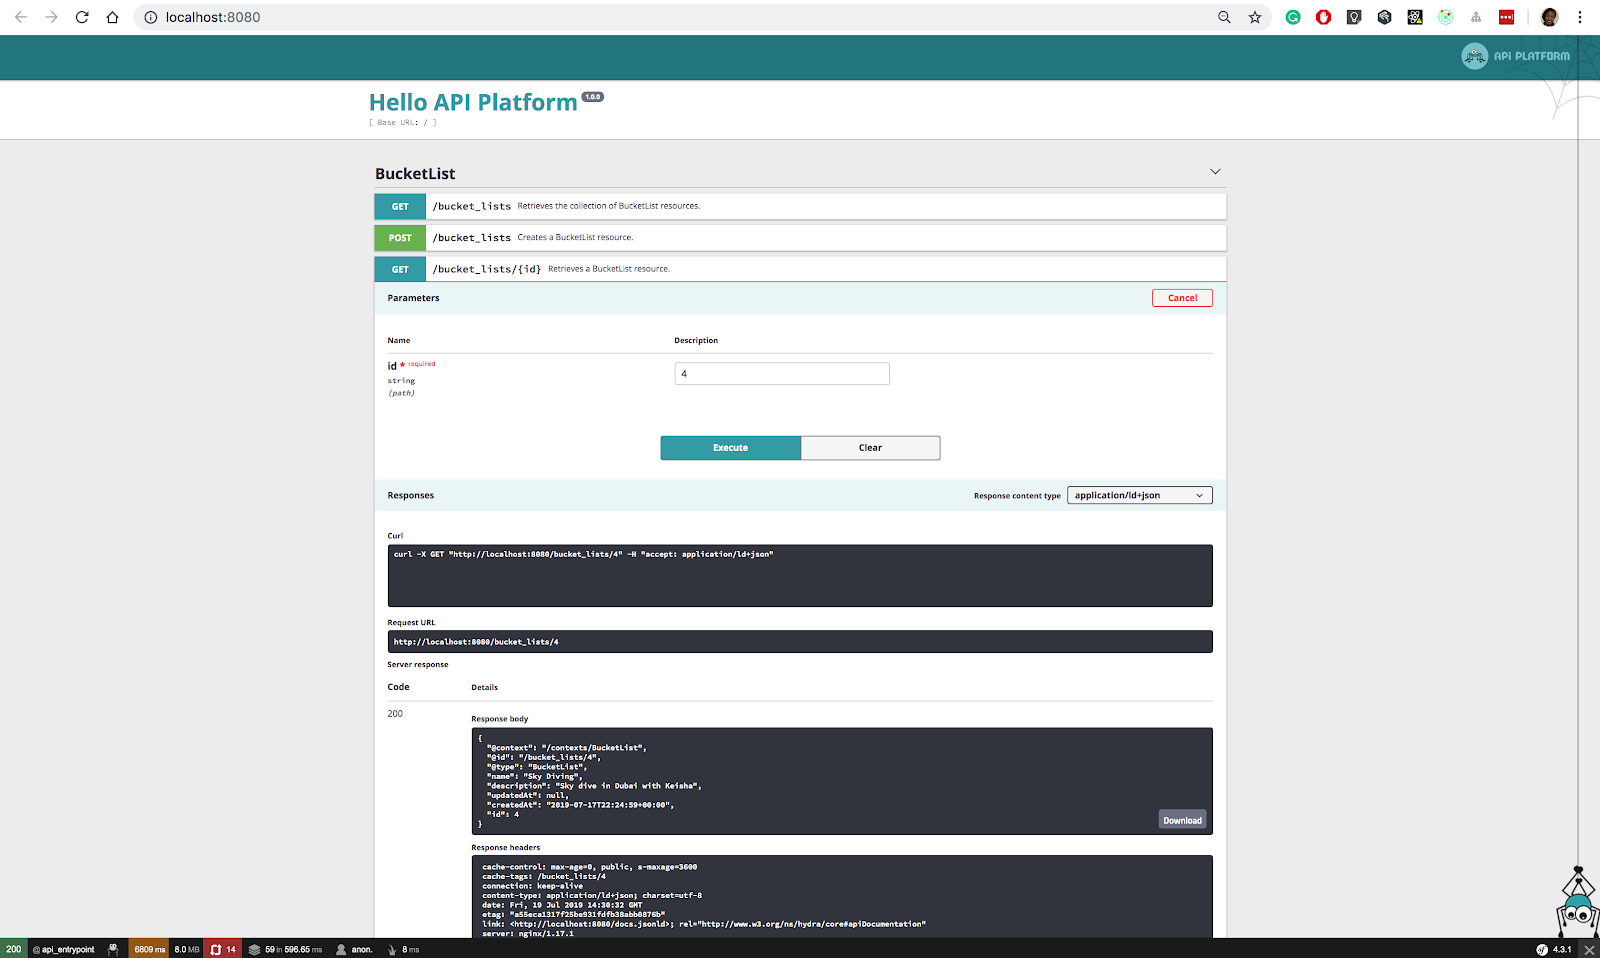
In order to get a particular bucketlist using its id, expand the GET /bucket_lists/{id} endpoint and click on try out. In the resulting dashboard, enter the id of the bucketlist of the id you would want to retrieve. In my case, I have retrieved the bucket list with id 4.
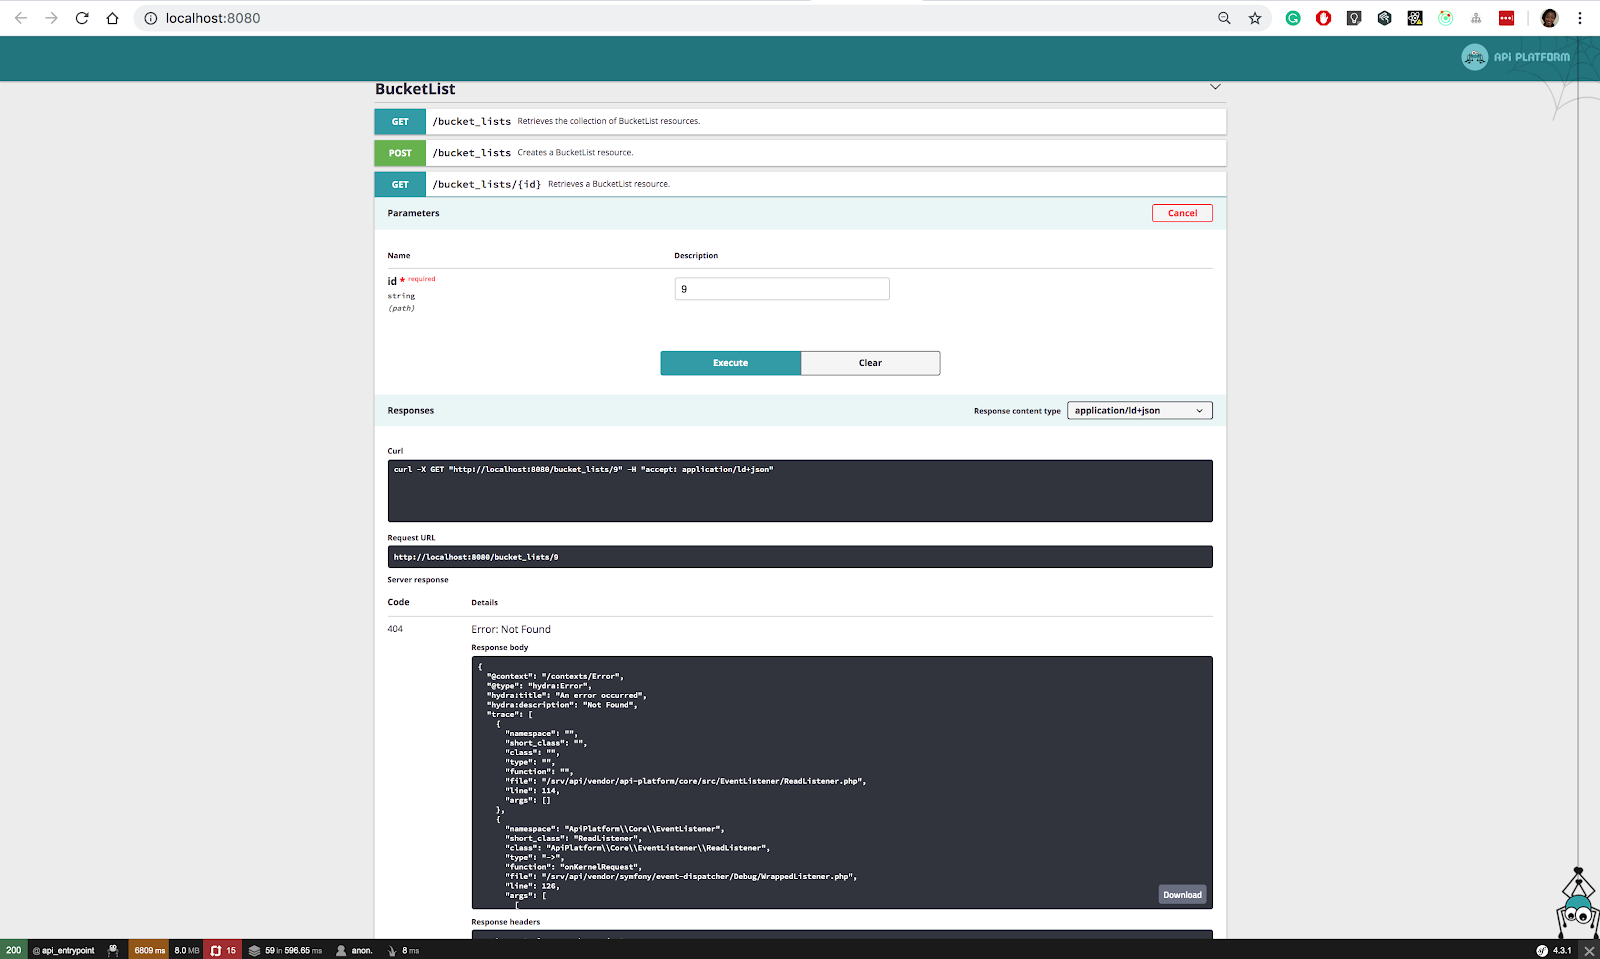
Suppose a user wants to retrieve a resource that doesn't exist, for example, a bucketlist with 9. The resulting status code is 404 with the error message, Not Found. API Platform takes care of such validations out of the box.
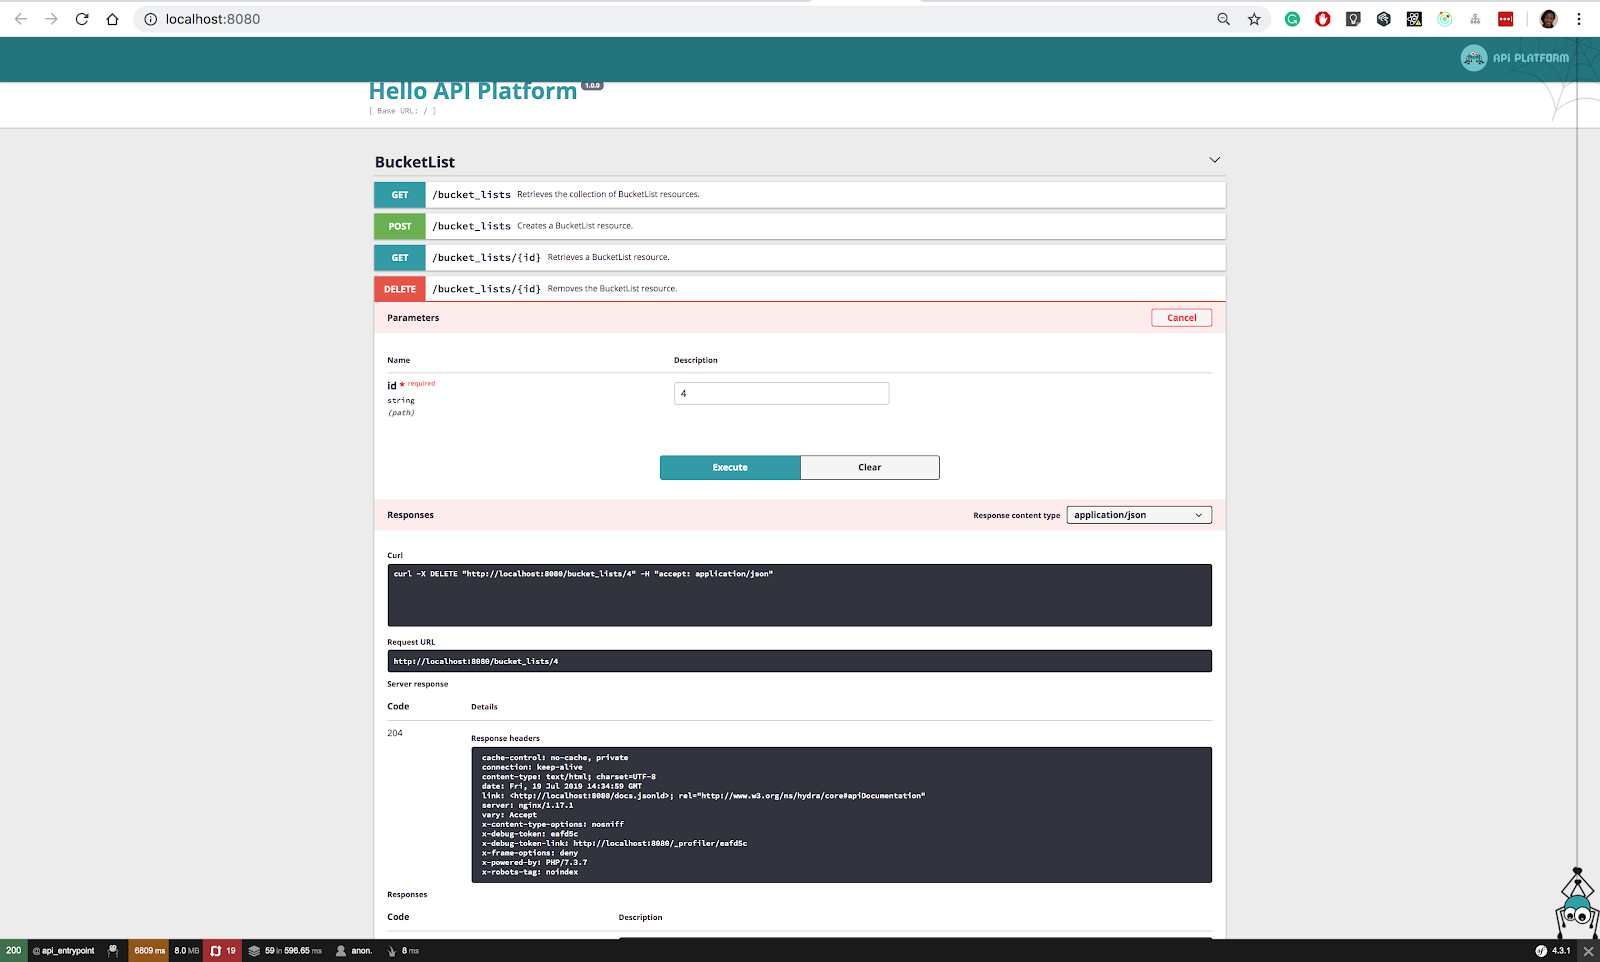
Deleting a bucketlist is also straight forward. Expand the DELETE /bucket_lists/{id} endpoint and enter the id of the resource you would like to delete. If that resource does not exist, a status code of 404 is returned.
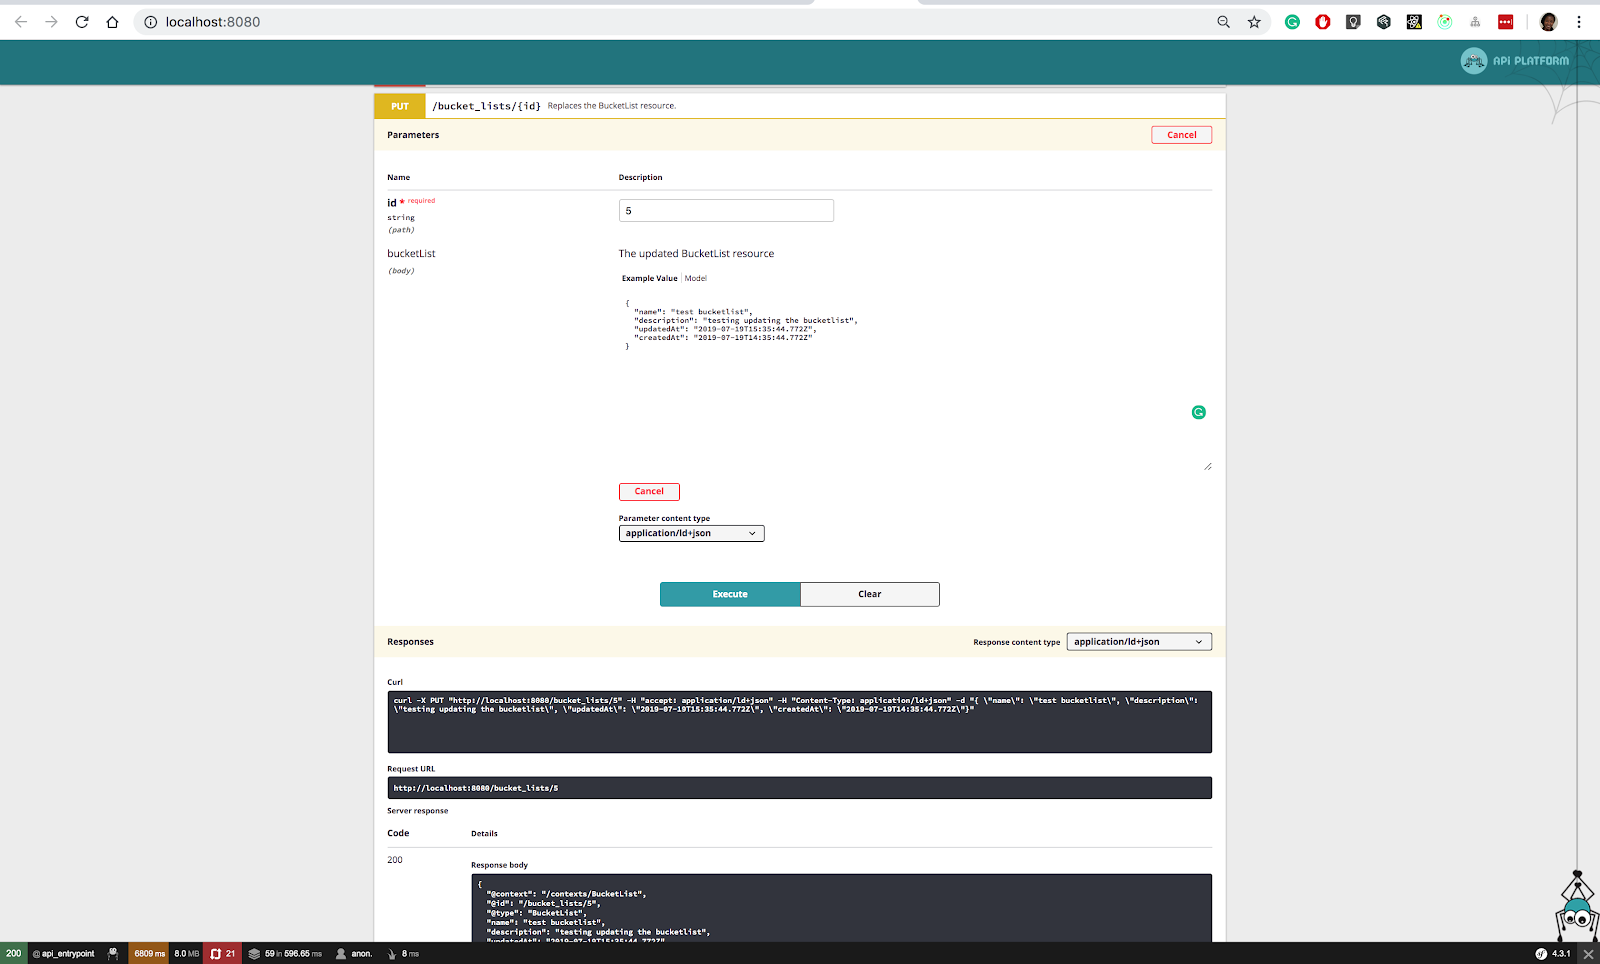
The final part would be editing a particular bucketlist. Expand the PUT /bucket_lists/{id} endpoint and enter the following JSON in the resulting text area after clicking Try out then click Execute.
Conclusion
In this tutorial, we learned how to create a CRUD API with API platform. As you have seen, it's pretty straight forward with most of the validation already done for you. In the next article, I will talk about data validation and serialization, creating custom endpoints and how to add pagination to your API. I would love to hear from you! Happy hacking!

Related Resources
Twilio Docs
From APIs to SDKs to sample apps
API reference documentation, SDKs, helper libraries, quickstarts, and tutorials for your language and platform.
Resource Center
The latest ebooks, industry reports, and webinars
Learn from customer engagement experts to improve your own communication.
Ahoy
Twilio's developer community hub
Best practices, code samples, and inspiration to build communications and digital engagement experiences.