Automate Text Message Reminders with Airtable, Twilio Studio, and JavaScript
Time to read:
December 13, 2021
Written by
Reviewed by

In my last blog post on Airtable, I showed how to send a text message in under one minute with no code using the Send SMS Airtable App--but did you know that you can also write scripts in Airtable and make automations that run in a variety of intervals? In this post you’ll learn to automate text messages from Airtable using Twilio Studio and JavaScript.
Prerequisites
- A Twilio account - sign up for a free one here and receive an extra $10 if you upgrade through this link
- Your Twilio Account SID and Auth Token: find it in your account console here
- API Key SID and API Key Secret: generate them here
- A Twilio number with SMS capabilities (this quickstart will help you get going)
- An Airtable account with a Pro or Enterprise plan–more on the Pro Trial here
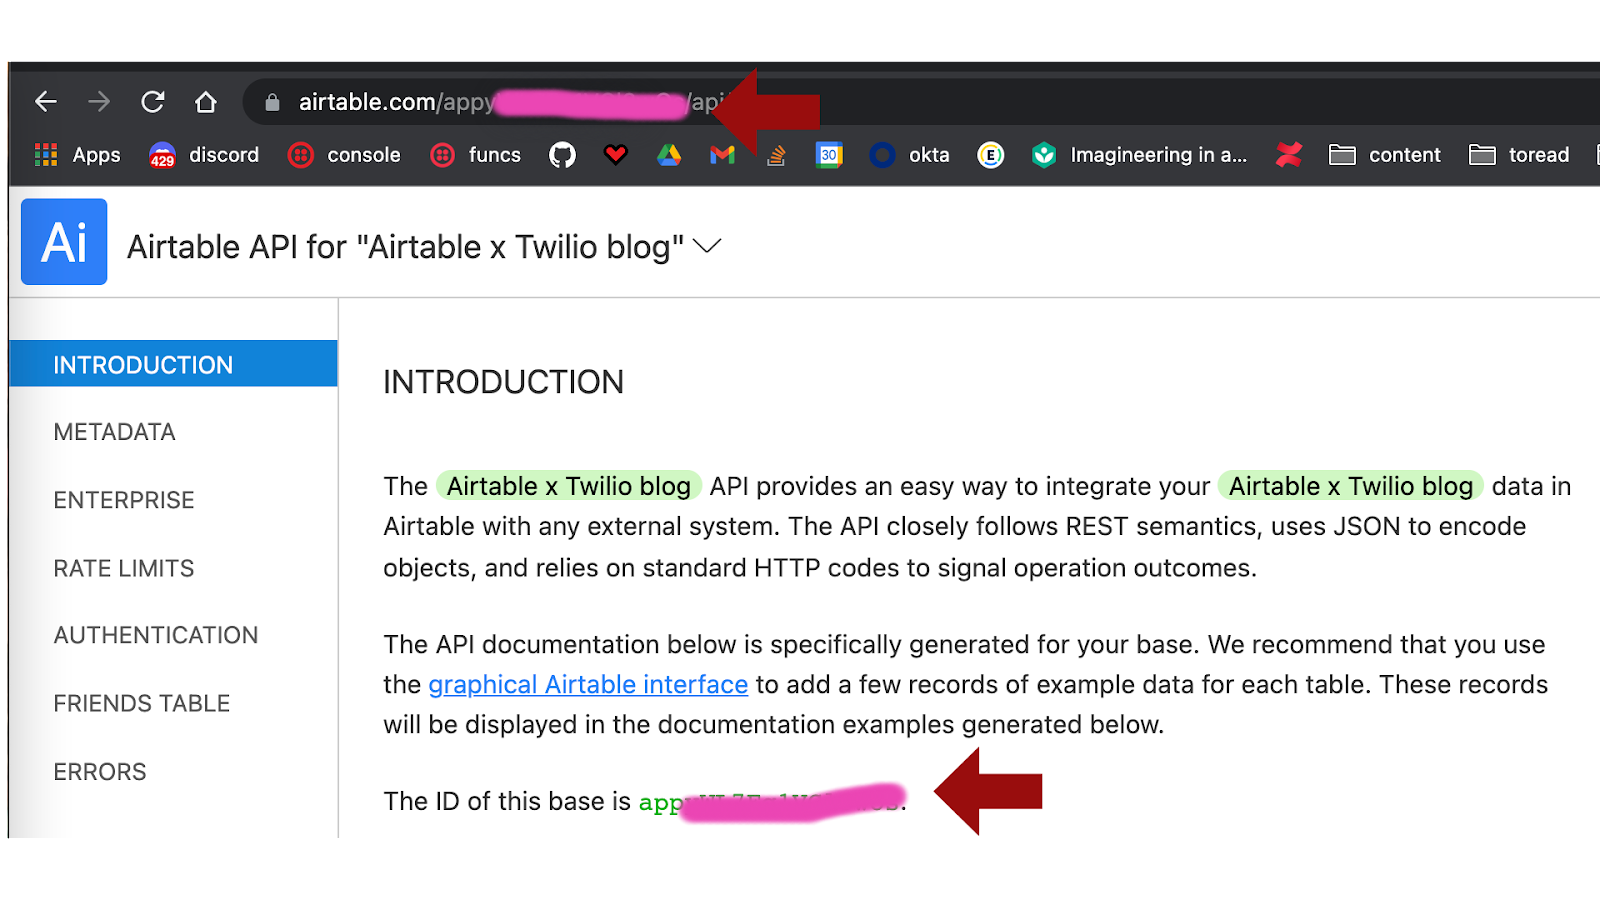
You’re going to need the Airtable API key and a base ID to access the base from your app. You will get the API key from your account page. You will get the base ID from the auto-generated API documentation when you click on the base that you want to use (Airtable x Twilio blog if you are using the copy of this project's Airtable base). You can retrieve it from either the URL or the introduction section.
Setup your Twilio Studio Flow
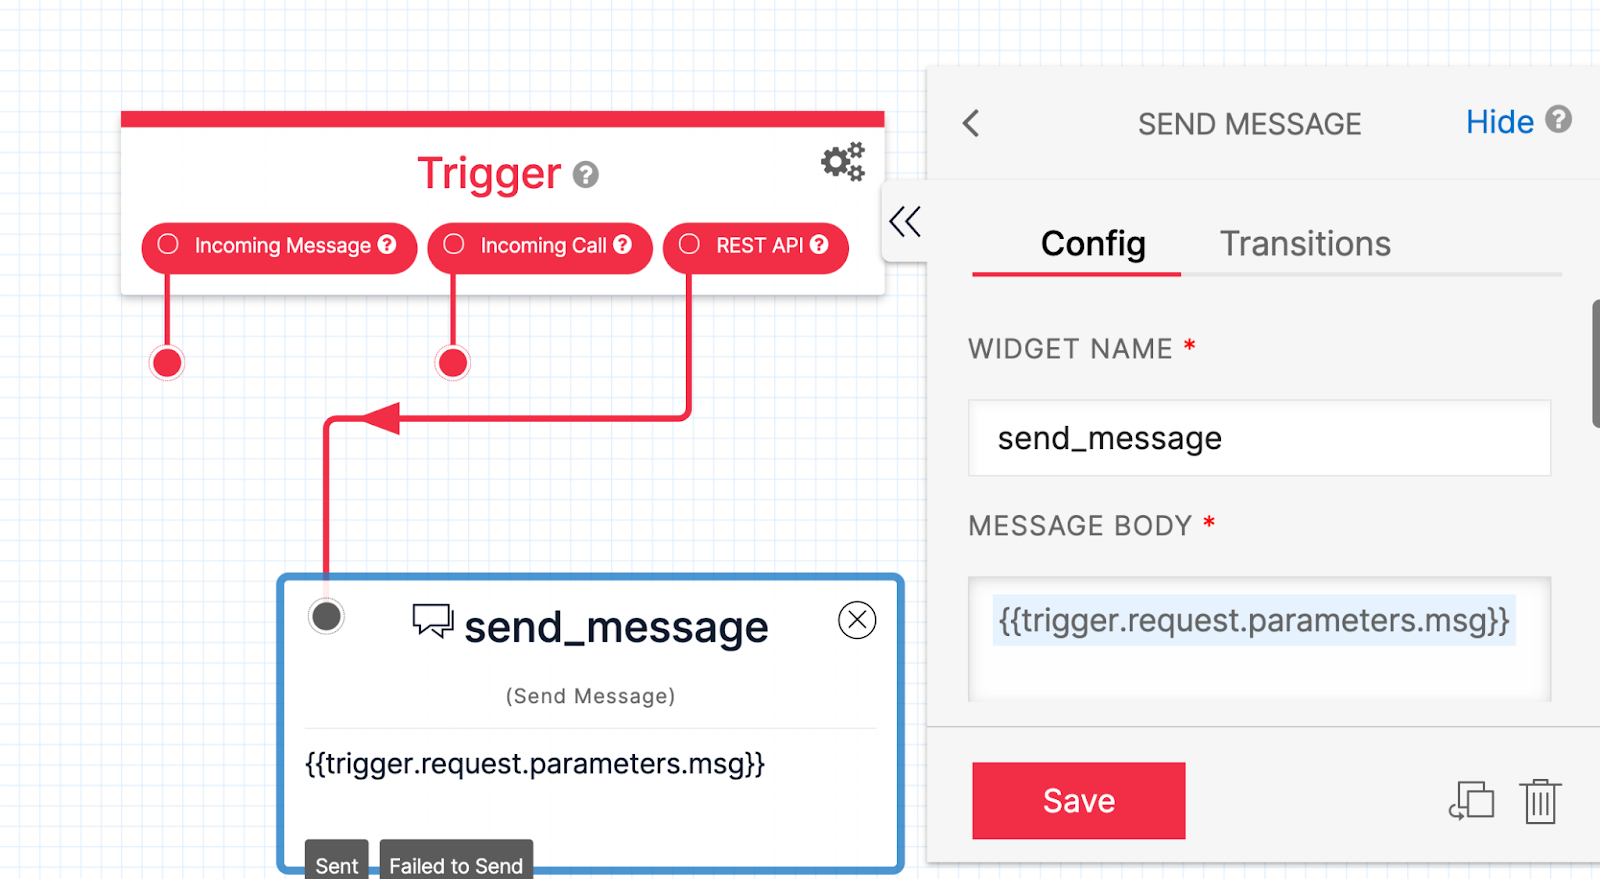
In your Twilio Studio Console, make a new Studio Flow. When asked to use a template, select from scratch. I called mine Hydrate. From the widget library in the Studio Canvas, drag and drop a Send Message widget and connect it to the Rest API trigger. Click the widget and set its Config's Message Body to be {{trigger.request.parameters.msg}}--this will be a message that we send from Airtable.
Save and publish your Airtable flow, and take note of its SID. This can be found next to each flow in your list of flows.
Setup your Airtable
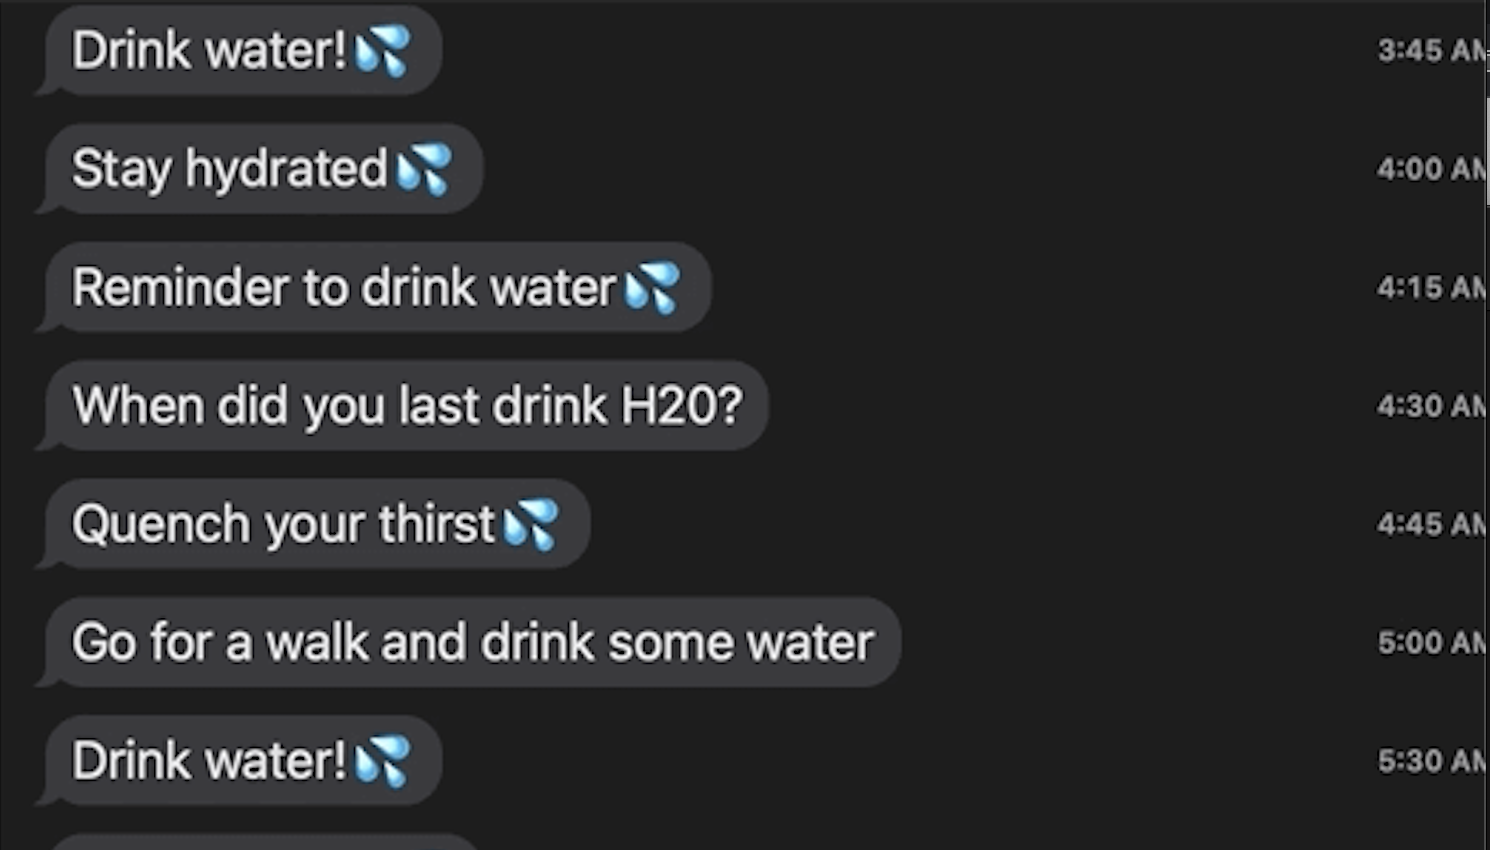
Copy this ready-made Airtable base here and select the Hydr9 tab. It contains a Message column containing messages reminding you to drink water. It also includes their corresponding Sent booleans of type Checkbox. To begin, make sure all the records here do not have any checkmarks. After a message is sent, the corresponding record will contain a checkmark in the Sent column.

Make your Airtable Automation
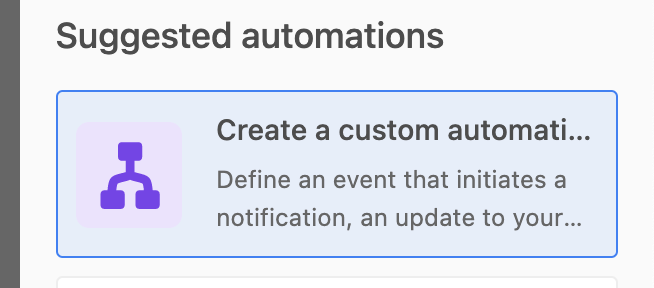
Airtable automations "allow you to configure custom trigger-action workflows directly within your Airtable base", letting you automate repetitive tasks. For more information on automations in Airtable, read this page. To get started, click Automations in the top right corner

followed by “Create a custom automation” in the Suggested automations section.
Give your automation a name (something like hydration reminder). For the trigger that will initiate the automation, click At a scheduled time. This will run the automation every x-number of minutes, hours, days, weeks...it's up to you!
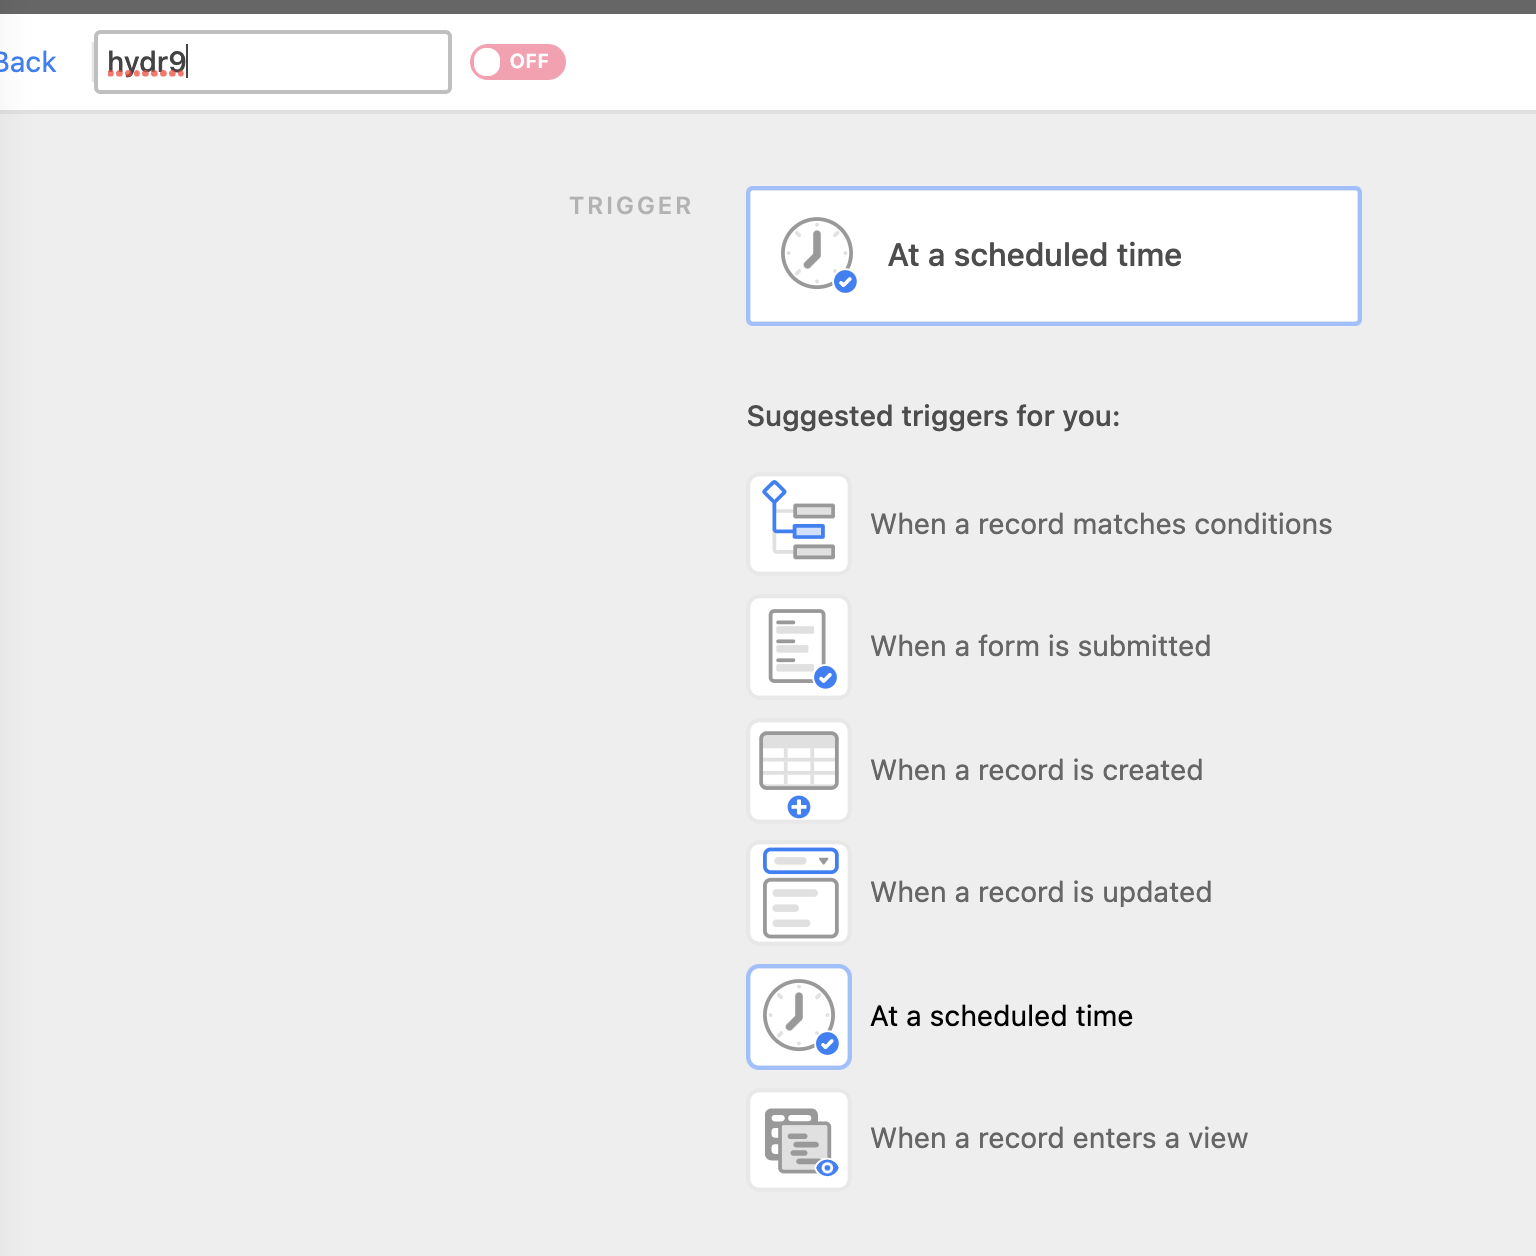
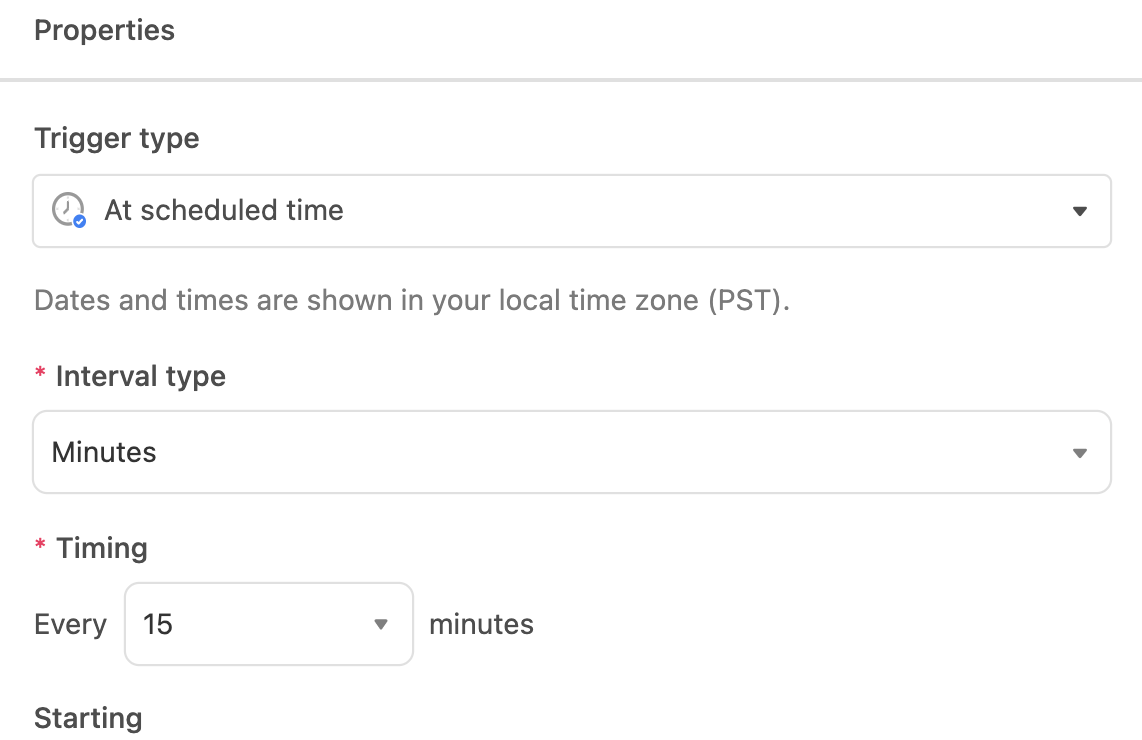
For the purposes of this tutorial, under Interval type on the right-hand panel select Minutes and Timing pick every 15 minutes. You could have the automation start maybe 10 minutes from the current time.
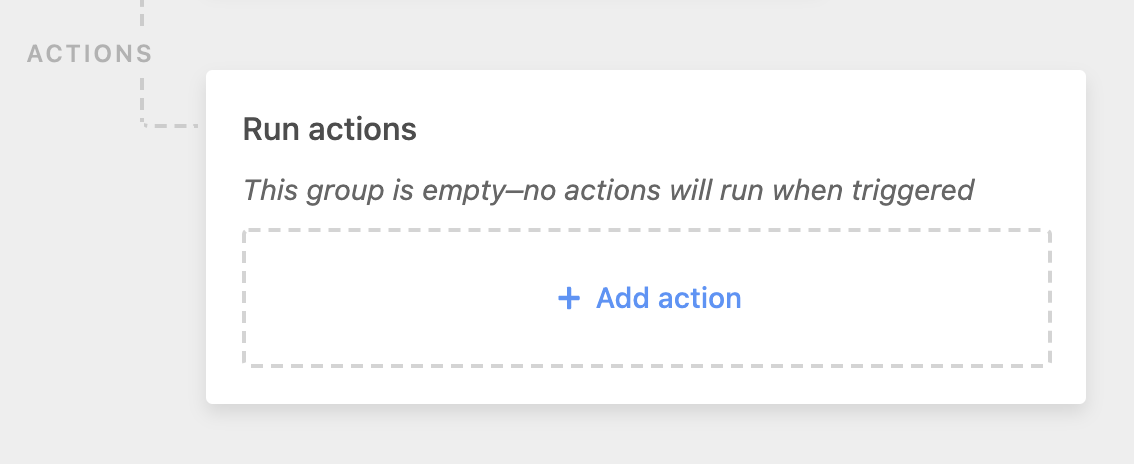
Add Actions to your Automations
After the Airtable automation is triggered, we're going to add some actions. Click Add action.
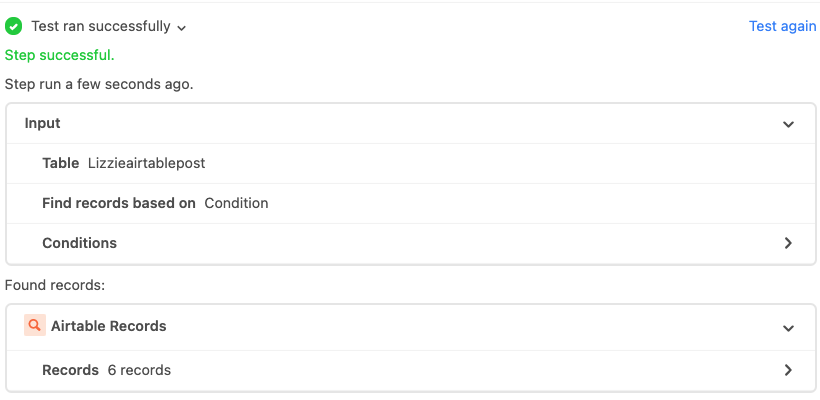
First, select Find records to search for records in our Airtable base hydr9 of messages. Select the Hydr9 table, and then under Find records based on, choose Condition where Sent is unchecked.
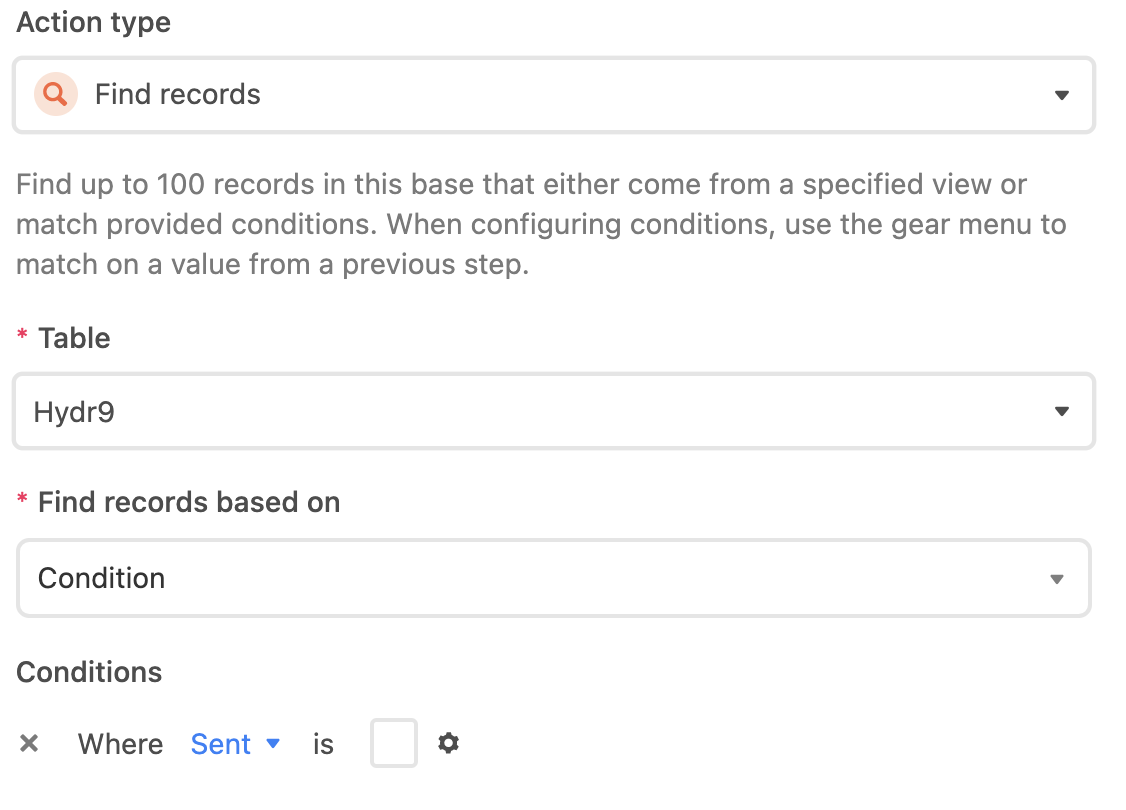
Each time the automation runs, it will search the Airtable base for records that have not been sent yet. You can test this action and see that six records were found matching that condition:
Now add another action–this time, it's Run a script.
Before we write some JavaScript, we need to add some Input variables on the left. Click + Add input variable.
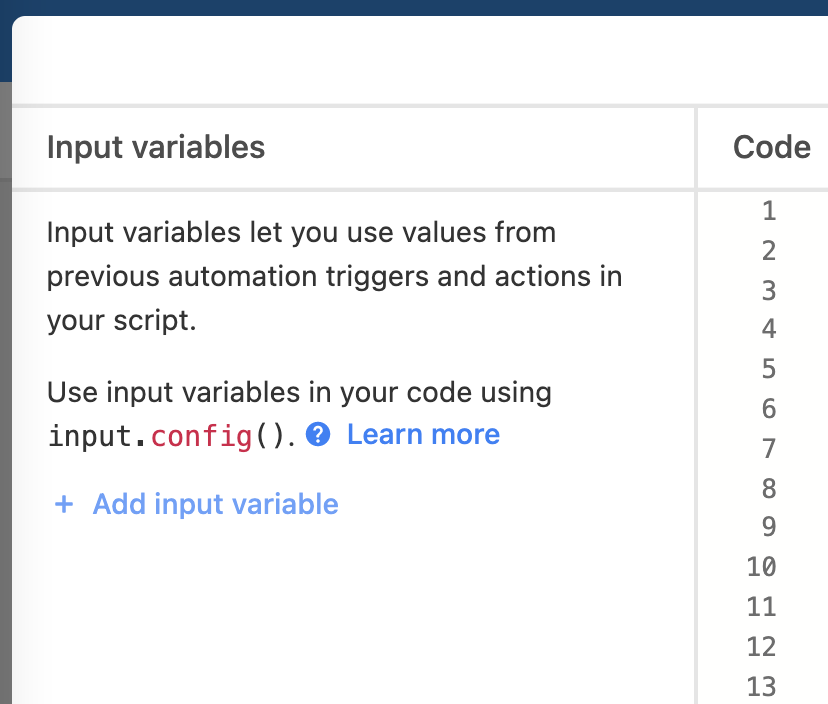
The input variables we're going to add
- Name: TWILIO_STUDIO_SID, Value: {your Twilio Studio Flow SID from when we setup your Twilio Studio Flow}
- Name: TWILIO_API_KEY, Value: {your Twilio API SID Key generated under Prerequisites}
- Name: TWILIO_API_SECRET, Value: {your Twilio API Secret Key generated under Prerequisites}
- Name: TWILIO_PHONE_NUMBER, Value: {your Twilio Phone Number}
- Name: TWILIO_ACCOUNT_SID, Value: {your Twilio Account SID}
- Name: TWILIO_AUTH_TOKEN, Value: {your Twilio Auth Token}
- Name: AIRTABLE_BASE_ID, Value: {your Airtable base ID from Prerequisites}
- Name: AIRTABLE_API_KEY, Value: {your Airtable API key from Prerequisites}
- Name: MY_PHONE_NUMBER, Value: {your personal phone number}
- Name: numRecordsFound, Value: {click the blue plus button next to Value, click Continue next to Records (from Step 2: Find records), again click Continue next to Records, and then click Insert next to <>length under list properties.
- Name: recordsFoundMsgList, Value: {click the blue plus button next to Value, click Continue next to Records (from Step 2: Find records), again click Continue next to Records, then click Continue next to <>Field values under Make a new list of, and finally click Insert next to <>Message.
- Name: recordsFoundIds, Value: {click the blue plus button next to Value, click Continue next to Records (from Step 2: Find records), again click Continue next to Records, then click Insert next to Airtable Record ID under Make a new list of…}
That's a lot of input variables! We’ll import them into our Airtable script so we can use them by adding onto line one:
Beneath that line, let's make a function to create a Studio Execution. We also include a helper function b2a to help with encoding and decoding base64.
Next, we want to get the Airtable table (Hydr9), check the Sent field to see if there are any checkmarks, and make an array called recordMsgsentIdArr full of the IDs of the records containing messages we send.
Then we make the driver() method which contains the meat of our Airtable script. If no records are found where Sent is unchecked in the last step/action (meaning all the messages have been sent once), we reset the table so that all the records in Sent are unchecked.
Else, we’ll want to get the first record in the array whose messages have not been sent yet (this will be the message sent) and create a payload to return. The payload contains information needed to send a SMS in Twilio: a to phone number, a from Twilio phone number, and a message.
Lastly, we grab the ID of the record sent and add it to the recordMsgSentIdArr array, create the Studio Execution, and return both those variables so they can be used in the next Airtable automation action with output.set. You can learn more about outputting information in Airtable automations here.
The complete script code is below:
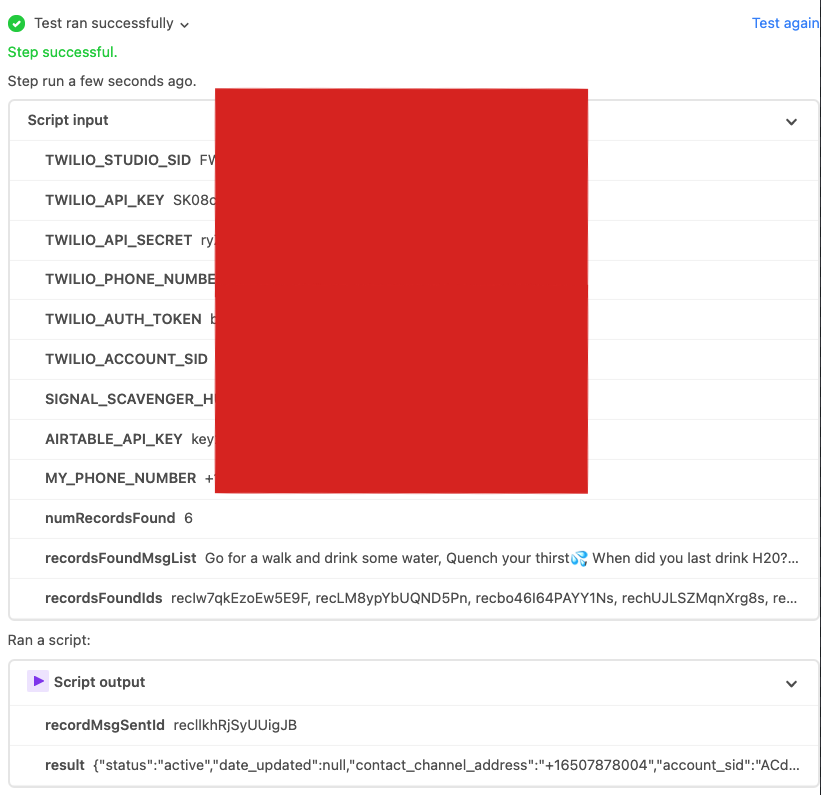
If you click the blue Test button in the upper-right corner, you should see an output like this containing the numRecordsFound, recordsFoundMsgList, recordsFoundIds, Result, and recordMsgsentId and you should also get a text message containing the first Record message with no checkmark:
This is all good and fun–a text message was sent! However, what happens when all the messages are sent and numRecordsFound hits 0? Add another action below Run a script of type Update record. Select the Hydr9 Table and under Record id click the blue plus button and follow the steps in the gif below to select recordMsgSentId.

Under Fields, click + Choose field followed by Sent.
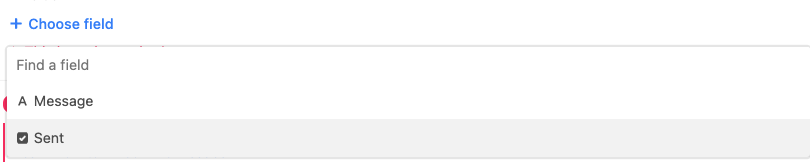
In the box, type in true.

If all the messages have been sent (each record contains a check), the table will update the records so that none will contain a check and the automation can start over. Now you should get text messages every 15 minutes or until you turn off your automation! You can of course change the frequency in which the automation runs.
Do you prefer learning via video more? Check out this TikTok summarizing this tutorial!
Conclusion
Airtable automations make it easy to automate actions and scripts. Instead of hitting a Twilio Studio Flow, you could write a script to hit a TwiML bin or a Twilio Function, and send bulk automated text messages to multiple phone numbers (instead of being an input variable, the phone number to text could be in the Airtable base as shown in this Twilio blog post!) Let me know online what you're building with Airtable and Twilio. Stay tuned for more Airtable content on the Twilio blog like this tutorial on building a survey app with Python or how to use Airtable as a database for your Twilio app.


Related Resources
Twilio Docs
From APIs to SDKs to sample apps
API reference documentation, SDKs, helper libraries, quickstarts, and tutorials for your language and platform.
Resource Center
The latest ebooks, industry reports, and webinars
Learn from customer engagement experts to improve your own communication.
Ahoy
Twilio's developer community hub
Best practices, code samples, and inspiration to build communications and digital engagement experiences.