Implement One Time Password Login & Signup with Yii 2 PHP and Twilio SMS

April 24, 2019
Written by
Abhishek Kandari
Contributor
Opinions expressed by Twilio contributors are their own

Implement One Time Password Login & Signup with Yii 2 PHP and Twilio SMS.png

In recent years, the user signup and login process have not only been built around an email and password, but increasingly the user’s phone number and a One Time Password (OTP) for improving security. In this tutorial we’ll build a basic Yii 2 App with signup/login functionality and for authentication, an OTP sent via Twilio Programmable SMS will be used.

Note: The application code and files used in this tutorial are available in this repo.

Prerequisite

For this tutorial we’ll assume you:

  • Have a PHP development environment e.g XAMPP, WAMP 
  • Are familiar with PHP and MySQL (PhpMyAdmin)
  • Are familiar with Yii 2 Framework
  • Have a Terminal (Command Line)
  • Have Composer installed
  • Have a Twilio account with SID,  Auth Token and Twilio Phone number available
  • Have basic knowledge of Javascript & Jquery

Create a new Yii 2 App

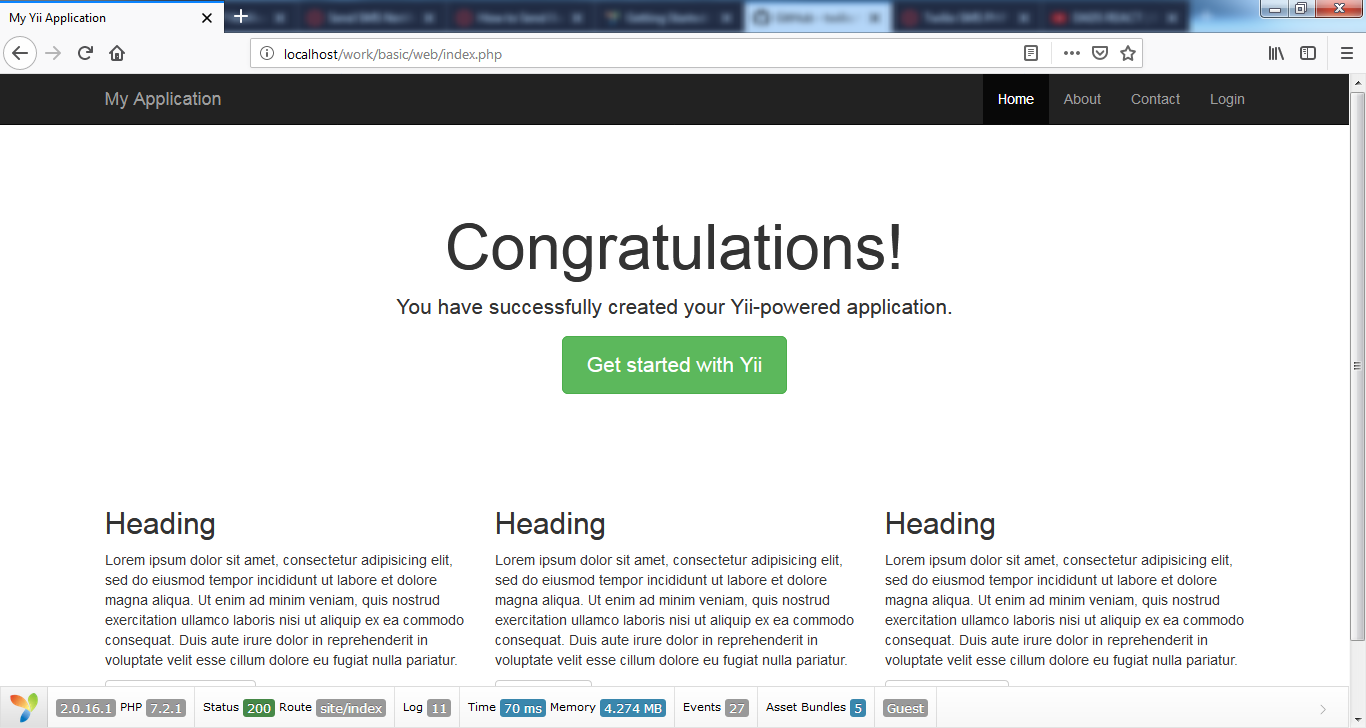
We’ll start off by installing a new Yii2 Project. After a successful installation you should see the default Yii2 homepage.

HomePage.png

Setup Database Connection

Next step is to create a database for our installed app to use. Create a database named twilio_sms from your PhpMyAdmin or MySQL terminal. Once done, open the config folder in your newly installed Yii 2 project and set the right database configuration details in the db.php file.

<?php

return [
    'class' => 'yii\db\Connection',
    'dsn' => 'mysql:host=localhost;dbname=twilio_sms',
    'username' => 'root',
    'password' => '',
    'charset' => 'utf8',

    // Schema cache options (for production environment)
    //'enableSchemaCache' => true,
    //'schemaCacheDuration' => 60,
    //'schemaCache' => 'cache',
];

Create a User Table

A User table will store the users details. For this tutorial we’ll keep the columns/fields to a minimum to focus on OTP Authentication. Use the following MySQL Command to create a table named tbl_user.

CREATE TABLE tbl_user (

    id INT(11) UNSIGNED AUTO_INCREMENT,
    phone VARCHAR(255) NOT NULL COMMENT 'phone number' ,
    otp varchar(255) DEFAULT NULL COMMENT 'Random One Time Password generated',
    otp_expire INT(11) DEFAULT NULL COMMENT 'OTP Expire time in unix timestamp format',
    auth_key VARCHAR(255) NOT NULL COMMENT 'will be used by Yii 2 auth system',
    created_on INT(11) COMMENT 'Registration time in unix timestamp format',
    PRIMARY KEY (id)

)

The otp field in the table stores the random OTP generated for a phone number, and otp_expire contains the time (Unix timestamp format) up to which an otp is valid for.

Setting up Models

User Model

Yii 2 basic setup comes with static users defined in an array inside User Model /models/User.php. However, we’ll make this model dynamic by connecting it to the table we created above. We’ll follow this Yii 2 Authentication guide page to setup our model. After implementing, User.php will look like this:

<?php
namespace app\models;
use yii\db\ActiveRecord;
use yii\web\IdentityInterface;

class User extends ActiveRecord implements IdentityInterface
{

    public static function tableName()
    {
        return 'tbl_user';
    }
    
    /**
     * @inheritdoc
     */
    public function rules()
    {
        return [
            [['phone'], 'required'],
            [['phone'], 'unique'],
            ['phone', 'match', 'pattern' => '/^\+?[1-9]\d{1,14}$/'], //E.164 Format pattern match
            [['otp'], 'string','min'=>4,'max'=>10]
        ];
    }
    
    /**
     * @inheritdoc
     */
    public function attributeLabels()
    {
        return [
            'phone' => 'Phone Number',
            'otp' => 'OTP',
            'created_on' => 'Created On'
        ];
    }
    
    public function getUsername(){
        return $this->phone;
    }

    /**
     * Finds an identity by the given ID.
     *
     * @param string|int $id
     *            the ID to be looked for
     * @return IdentityInterface|null the identity object that matches the given ID.
     */
    public static function findIdentity($id)
    {
        return static::findOne($id);
    }

    /**
     * Finds an identity by the given token.
     *
     * @param string $token
     *            the token to be looked for
     * @return IdentityInterface|null the identity object that matches the given token.
     */
    public static function findIdentityByAccessToken($token, $type = null)
    {
        return static::findOne([
            'auth_key' => $token
        ]);
    }

    /**
     *
     * @return int|string current user ID
     */
    public function getId()
    {
        return $this->id;
    }
    /**
     * Finds user by phone
     *
     * @param string $phone
     * @return static|null
     */
    public static function findByPhone($phone)
    {
        return static::findOne([
            'phone' => $phone
        ]);
    }
    
    /**
     *
     * @return string current user auth key
     */
    public function getAuthKey()
    {
        return $this->auth_key;
    }

    /**
     *
     * @param string $authKey
     * @return bool if auth key is valid for current user
     */
    public function validateAuthKey($authKey)
    {
        return $this->getAuthKey() === $authKey;
    }
    /**
     * Validates password
     *
     * @param string $password password to validate
     * @return bool if password provided is valid for current user
     */
    public function validatePassword($password)
    {
        return ($this->otp === $password && $this->otp_expire >= time());
    }
    /**
     * @inheritdoc
     */
    public function beforeSave($insert)
    {
        if (parent::beforeSave($insert)) {
            if ($this->isNewRecord) {
                $this->auth_key = \Yii::$app->security->generateRandomString();
            }
            return true;
        }
        return false;
    }
}

You’ll notice that a findyByPhone() function is added in the model to find a user by the phone number.

Login Model

After modifying the User Model, our next step is to modify the existing LoginForm located at /models/LoginForm.php. We will be changing the getUser() function as we’ll be finding a user by their phone number. The login() function will have the code to empty the OTP before the user logs in so that the same OTP doesn’t work for multiple logins. Also we have added an attributeLabels() function to assign labels to the username and password property of the form.

<?php

namespace app\models;

use Yii;
use yii\base\Model;

/**
 * LoginForm is the model behind the login form.
 *
 * @property User|null $user This property is read-only.
 *
 */
class LoginForm extends Model
{
    public $username;
    public $password;
    public $rememberMe = true;

    private $_user = false;


    /**
     * @return array the validation rules.
     */
    public function rules()
    {
        return [
            // username and password are both required
            [['username', 'password'], 'required'],
            //username to match regex for E164 Format phone number
            ['username', 'match', 'pattern' => '/^\+?[1-9]\d{1,14}$/'],
            // rememberMe must be a boolean value
            ['rememberMe', 'boolean'],
            // password is validated by validatePassword()
            ['password', 'validatePassword'],
        ];
    }

    public function attributeLabels()
    {
        return [
            'username' => 'Phone No.',
            'password' => 'OTP',
        ];
    }
    /**
     * Validates the password.
     * This method serves as the inline validation for password.
     *
     * @param string $attribute the attribute currently being validated
     * @param array $params the additional name-value pairs given in the rule
     */
    public function validatePassword($attribute, $params)
    {
        if (!$this->hasErrors()) {
            $user = $this->getUser();

            if (!$user || !$user->validatePassword($this->password)) {
                $this->addError($attribute, 'Incorrect username or password.');
            }
        }
    }

    /**
     * Logs in a user using the provided username and password.
     * @return bool whether the user is logged in successfully
     */
    public function login()
    {
        if ($this->validate()){
                    $user = $this->getUser();
                    $user->otp = '';            //Remove otp before logging in.
$user->otp_expire = '';
                    $user->save(false);
                    return Yii::$app->user->login($user ,$this->rememberMe ? 3600*24*30 : 0);
        }
        return false;
    }

    /**
     * Finds user by [[username]]
     *
     * @return User|null
     */
    public function getUser()
    {
        if ($this->_user === false) {
            $this->_user = User::findByphone($this->username);
        }

        return $this->_user;
    }
}

Add the Twilio SDK

Before we modify any other files, lets first add the official Twilio PHP SDK in our project. To install run the following command inside the root directory of your project:

$ composer require twilio/sdk

After installation, we’ll configure Twilio's SID, Auth Token  and Phone number in the  /config/params.php file like below:

<?php

return [
    'adminEmail' => 'admin@example.com',
    'twilioSid' => 'AC1c4ea1a103xx2xxx53ba3d3b1xx40830', //replace with your sid
    'twiliotoken' => '3xx460c3516xx8xx535f5b4181d00xx5', //replace with your token
    'twilioNumber'=>'+19999123456'//replace with your Twilio phone number
    
];

Make an OTP request+submit Form

On our Login/Signup form we’ll have two sections, one for requesting a OTP, and another for submitting the OTP. The fields & buttons in the section are as follows:

  • Section  1
    1. Phone Number field - User will enter their phone number in  E.164 Format
    2. Send OTP button – After filling in the phone number, the user will click on this button to request a OTP. The request will be Ajax based so that the page doesn’t reload. If the OTP is sent successfully to the user’s phone Section 1 will hide and Section 2 will be displayed to Enter the OTP.
  • Section  2
    1. OTP field – Here the user will enter the received OTP  
    2. Login button – Clicking on this button will submit the phone number and the OTP via Ajax. If the credentials are correct, a “Login success” page will be displayed. Otherwise, an alert will show up saying “incorrect OTP”.

The Yii2 basic app does come with a login form /views/site/login.php and we’ll use the same form and modify it according to the fields and functionality discussed above. The Form code will be like this:

<?php

/* @var $this yii\web\View */
/* @var $form yii\bootstrap\ActiveForm */
/* @var $model app\models\LoginForm */
use yii\helpers\Html;
use yii\bootstrap\ActiveForm;
use yii\helpers\Url;

$this->title = 'Login';
$this->params['breadcrumbs'][] = $this->title;
?>
<div class="site-login">
        <h1><?= Html::encode($this->title) ?></h1>

        <p>Please fill out the following fields to login:</p>

    <?php
    
$form = ActiveForm::begin([
        'id' => 'login-form',
        'layout' => 'horizontal',
        'fieldConfig' => [
            'template' => "{label}\n<div class=\"col-lg-3\">{input}</div>\n<div class=\"col-lg-7\">{error}</div>",
            'labelOptions' => [
                'class' => 'col-lg-2 control-label'
            ]
        ]
    ]);
    ?>
        <div id="section-1">
        <?= $form->field($model, 'username')->textInput(['autofocus' => true, 'placeholder'=> '+1234567890']) ?>
                <div class="form-group">
                        <div class="col-lg-offset-2 col-lg-11">
                <?= Html::button('Send OTP',['class'=>'btn btn-primary','id'=>'request-otp-btn']); ?>
            </div>
                </div>
        </div>
        <div id="section-2" style="display:none;">
            <?= $form->field($model, 'password')->passwordInput() ?>

        <?=$form->field($model, 'rememberMe')->checkbox(['template' => "<div class=\"col-lg-offset-2 col-lg-3\">{input} {label}</div>\n<div class=\"col-lg-8\">{error}</div>"])?>

        <div class="form-group">
                        <div class="col-lg-offset-2 col-lg-11">
                <?= Html::button('Login', ['class' => 'btn btn-primary', 'id' => 'login-button']) ?>
            </div>
                </div>
        </div>
    <?php ActiveForm::end(); ?>
</div>

<?php
$otpUrl = Url::toRoute(['site/send-otp']);
$loginUrl = Url::toRoute(['site/login']);
$loginSuccessUrl = Url::toRoute('site/index');
$csrf =Yii::$app->request->csrfToken;
$script = <<< JS

    $('button#request-otp-btn').click(function(){
        sendOtp();
    });
    function sendOtp() {
      
        $('#login-form').yiiActiveForm('validateAttribute', 'loginform-username'); //To Validate the phone/username field first before sending the OTP
        setTimeout(function(){
          var username = $('#loginform-username');
          var phone = username.val(); 
          var isPhoneValid = ($('div.field-loginform-username.has-error').length==0);
          if(phone!='' && isPhoneValid){
              $.ajax({
                 url: '$otpUrl',
                 data: {phone: phone,_csrf:'$csrf'},
                 method:'POST',
                 beforeSend:function(){
                        $('button#request-otp-btn').prop('disabled',true);
                    },
                error:function( xhr, err ) {
                            alert(‘An error occurred, please try again’); [a]    
                     },
                 complete:function(){
                        $('button#request-otp-btn').prop('disabled',false);
                    },
                 success: function(data){
                            if(data.success==false){
                                alert(data.msg);
                                return false;
                            }else{
                                $('#section-1').hide();
                                $('#section-2').show();
                                alert(data.msg);
                            }
                            
                   }
              });
           }
        }, 200);
         
    }
     $('button#login-button').click(function(){
        login();
    });
    function login(){
        var form = $('#login-form') 
        form.yiiActiveForm('validateAttribute', 'loginform-password'); //To Validate the password/otp field
        setTimeout(function(){
          var otp = $('#loginform-password').val();
          var isOtpValid = ($('div.field-loginform-password.has-error').length==0);
          if(otp!='' && isOtpValid){
              $.ajax({
                 url: '$loginUrl',
                 data:form.serialize(),
                 dataType: 'json',
                 method:'POST',
                 beforeSend:function(){
                        $('button#login-button').prop('disabled',true);
                       },
                 error:function( xhr, err ) {
                         alert(‘An error occurred, please try again’);     
                    },
                 complete:function(){
                        $('button#login-button').prop('disabled',false);
                    },
                 success: function(data){
                            if(data.success==true){
                                alert(data.msg);
                                window.location="$loginSuccessUrl";
                            }else{
                                alert(data.msg);
                            }
                            
                   }
              });
           }
        }, 200);
    }
    
JS;
$position = \yii\web\View::POS_READY;
$this->registerJs($script, $position);
?>

As you can see after the form end tag, there is a sendOTP() Javascript function which is called on click of the “Send OTP” button. It first validates the Phone Number field and if the field passes the validation, sends a POST Ajax request containing the phone number to (the not yet created) send-otp action of site controller. If the request’s response returns True then “Section 2” is displayed to enter the OTP received, otherwise error message is displayed in alert box.

The Login() function is called on the click of the “Login” button, which is similar to sendOTP(). First it validates the Password field and then posts the whole form including Phone number to the login action of the site controller in an Ajax request. On successful authentication, the page is redirected to the home page. In case of wrong credentials or error, an alert is displayed containing the error message.

Make an OTP request and Login Action

It’s time to make/modify the aforementioned actions of sending an OTP and login in /controllers/SiteController.php to complete the task.

The send-otp action will:

  1. Receive the phone number posted by a user in the Login form.
  2. Find the user by phone number and incase user doesn’t exist, it’ll create one with that number.
  3. Set a random 6-digit OTP and send it using Twilio SMS.
  4. Return a success or failure (with error message) response in JSON format.

The action will be like this:

<?php

public function actionSendOtp()
    {
        $phone = \Yii::$app->request->post('phone');
        \Yii::$app->response->format = 'json';
        $response = [];
        if ($phone) {
            $user = \app\models\User::findByPhone($phone);
            $otp = rand(100000, 999999); // a random 6 digit number
            if ($user == null) {
                $user = new \app\models\User();
                $user->phone = $phone;
                $user->created_on = time();
            }
            $user->otp = "$otp";
            $user->otp_expire = time() + 600; // To expire otp after 10 minutes
            if (! $user->save()) {
                $errorString = implode(", ", \yii\helpers\ArrayHelper::getColumn($user->errors, 0, false)); // Model's Errors string
                $response = [
                    'success' => false,
                    'msg' => $errorString
                ];
            } else {
                $msg = 'One Time Passowrd(OTP) is ' . $otp;
                
                $sid = \Yii::$app->params['twilioSid'];  //accessing the above twillio credentials saved in params.php file
                $token = \Yii::$app->params['twiliotoken'];
                $twilioNumber = \Yii::$app->params['twilioNumber'];
                
try{
                            $client = new \Twilio\Rest\Client($sid, $token);
                            $client->messages->create($phone, [
                                        'from' => $twilioNumber,
                                        'body' => (string) $msg
                            ]);
                            $response = [
                                        'success' => true,
                                        'msg' => 'OTP Sent and valid for 10 minutes.'
                            ];
                }catch(\Exception $e){
                            $response = [
                                        'success' => false,
                                        'msg' => $e->getMessage()
                            ];
                }
            }
        } else {
            $response = [
                'success' => false,
                'msg' => 'Phone number is empty.'
            ];
        }
        return $response;
    }

Once the send-otp action is added, you can enter the phone number in the login form and request an OTP. Our next step is to modify the existing login action in site controller. This action will:

  1. Load and render the login form in a GET request (when user enters the URL in browser or clicks on the login link).
  2. Redirect user to homepage if already logged in.
  3. Attempt login with the credentials (Phone number & OTP) sent via Ajax POST request.
  4. Login user and send a success response in JSON format if credentials are valid.
  5. Send a failure response with error message in JSON format in case of failure/wrong credentials entered.

Considering the above points, The Login action will be like the below code:

<?php

public function actionLogin()
    {
        if (! Yii::$app->user->isGuest) {
            return $this->goHome();
        }
        
        $model = new LoginForm();
        if (\Yii::$app->request->isAjax){
            \Yii::$app->response->format = 'json';
            $model->load(Yii::$app->request->post());
            if ($model->login()) {
                $response = [
                    'success' => true,
                    'msg' => 'Login Successful'
                ];
            } else {
                $error = implode(", ", \yii\helpers\ArrayHelper::getColumn($model->errors, 0, false)); // Model's Errors string
                $response = [
                    'success' => false,
                    'msg' => $error
                ];
            }
            return $response;
        }
        $model->password = '';
        return $this->render('login', [
            'model' => $model
        ]);
    }

Lets update the verbs & access control in the behaviors() function of site controller and add the send-otp & login actions.

<?php

public function behaviors()
    {
        return [
            'access' => [
                'class' => AccessControl::className(),
                'only' => ['logout','send-otp','login'],
                'rules' => [
                    [
                        'actions' => ['logout'],
                        'allow' => true,
                        'roles' => ['@']
                    ],
                    [
                        'actions' => ['send-otp','login'],
                        'allow' => true,
                        'roles' => ['?']
                    ]]
            ],
            'verbs' => [
                'class' => VerbFilter::className(),
                'actions' => [
                    'logout' => ['post'],
                    'send-otp' => ['post']
                ]]
        ];
    }

Testing the App

After all the coding in different files and running different commands, our OTP based signup and login system is now ready to be tested. Go to the Home Page of your Yii2 App and click on the Login link in the top right corner. You will see a page like below:

phone.PNG

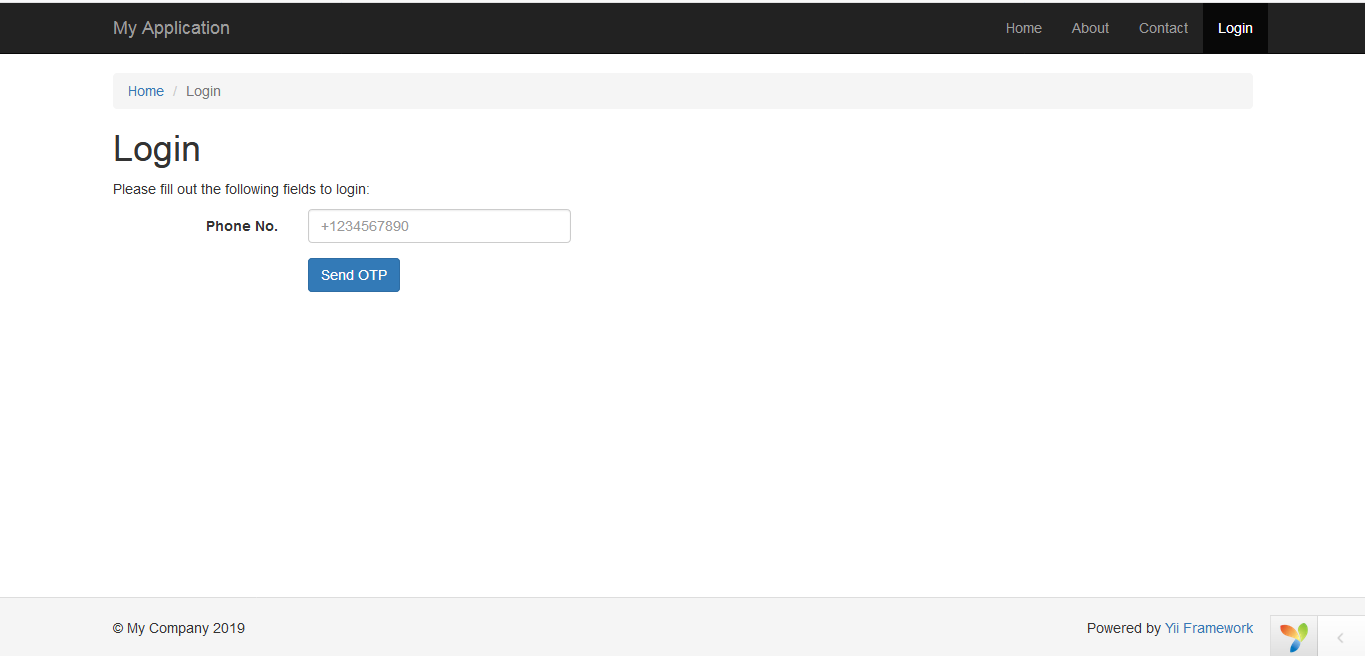
Enter any valid phone number and click on Send OTP button to receive the code.

Note: If you are on a Twilio trial account the numbers you can send an SMS to are limited to verified numbers only. For more info check this page.

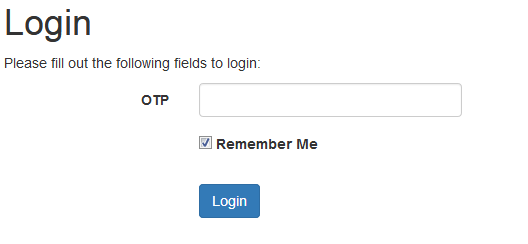
Once the code is successfully sent, you’ll get an alert with message “OTP Sent and valid for 10 minutes.” Clicking on OK, you’ll see a text field to enter the OTP with the Login button like below:

otp.PNG

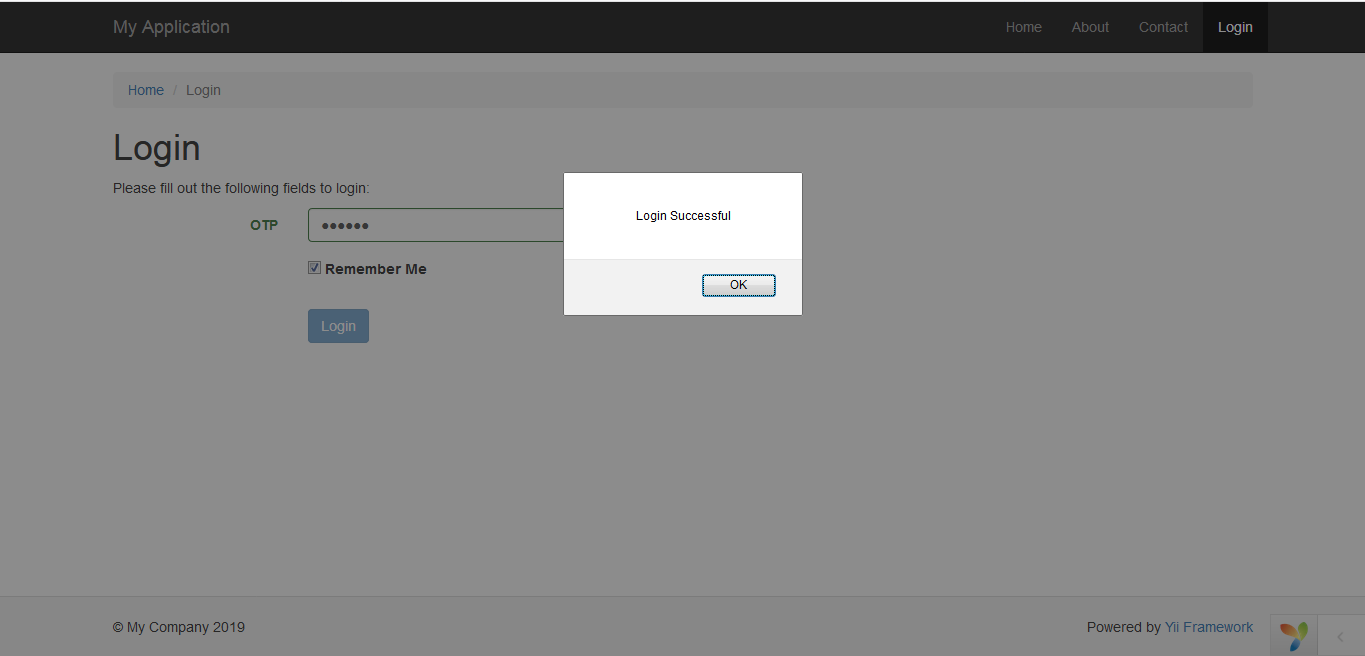
On entering the valid OTP and then clicking on the login button you’ll be greeted with an alert saying “Login Successful”. After clicking “OK” on the alert, you’ll be redirected to the site/index page which will have the Logout button and the logged in user’s Phone number instead of the Login button.

loginsuccessalert.PNG


loginpage.PNG

Conclusion

Now that you have completed this tutorial, you know how to:

  • Include the Twilio PHP SDK in Yii2 Application
  • Send an SMS via Twilio
  • Verify a Phone number
  • Login a user using phone number and OTP

Next, you can try to validate a phone number using Twilio Lookup API before sending an OTP. And to make our app cooler you can try getting the OTP via phone call by implementing the Twilio’s Voice API.

Any questions about this tutorial? Hit me up on Twitter @razorsharpshady.

Twitter: twitter.com/razorsharpshady
Email: a.kandari391@gmail.com
GitHub: github.com/razorsharpshady