

Free trial
Start building with Twilio for free
Sign up and start building your ideal customer engagement experience today.

Developers
Explore technical topics, solutions, and resources for building with Twilio – and beyond.
-
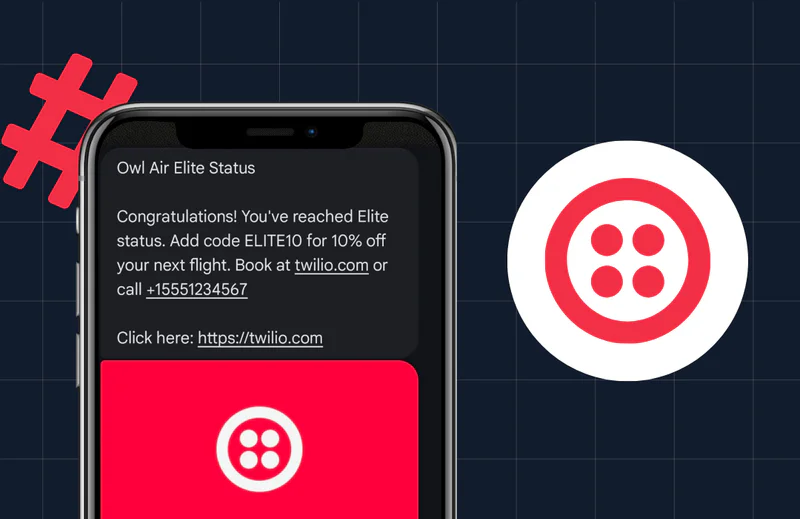 How to create a promotional campaign with RCS and SendGrid in C#Amanda Lange
 -
 Getting Started with Podman QuadletsDylan Frankcom
 -
 How to Bring Your Own Keys for Okta Telephony with Twilio VerifyKelley Robinson
 -
 How to Enable Branded Calling with TwilioDhruv Patel
 -
 How to Use Google Sheets as a Database for Your PHP AppMatthew Setter
 -
 Building a Greeting Card Generator with the Lovable Twilio ConnectorChiara Massironi
 -
 How to Handle No-Answer/Pickup Scenarios with Voicemail and Callback using Twilio VoiceAmanda Lange Niels Swimberghe
 -
 How to Approve Real Users and Block Fake Accounts at Sign Up with Lookup and VerifyKelley Robinson
 -
 Build a WhatsApp AI Agent with Node.js, Twilio Messaging, and OpenAI’s GPT-5Chris Gargotta
 -
 How To Containerize A Twilio App With DockerDylan Frankcom
 -
How to Block Spam Calls with Twilio Voice in Node.jsDhruv Patel
-
 Send Bulk SMS With PHP and TwilioMatthew Setter
 -
 Build a Twilio + Zoho CRM Voice IntegrationMatthew Setter
 -
 Direct Customer to ISV Rearchitecture GuideJustin Calloway
 -
 How To Track User Events With Segment in Node.jsDhruv Patel
Industry Insights
Explore the latest trends, best practices, and expert tips shaping the future of customer engagement.
-
 March 2026 Fraud Update: AIT Tactics, Weaponized Trust, and a New Fraud Response GuideDan Nieters Alena Eissman
 -
 Customer lifetime value: formula, calculation & examplesJesse Sumrak
 -
 13 email marketing KPIs to watch closely in 2026Grant Olsen
 -
 AI Email Marketing: Tools, Benefits & Best Practices in 2026Jesse Sumrak
 -
 Data activation: what it is & how to do itKelly Kirwan
 -
 What is RCS on iPhone? How to enable & use itJesse Sumrak
 -
 What is data collection? Methods, types & examplesKelly Kirwan
 -
 RCS vs. iMessage: Everything you need to know in 2026Jesse Sumrak
 -
 How to use AI on WhatsApp to improve your company’s customer service?Sebastian Del Aguila Fiocco
 -
 Self-service in the age of AI: Virtual agents that actually resolveJulie Griffin
 -
 Unlocking super agents with the power of data & AIRavleen Kaur
 -
 Data hygiene: what it is, best practices & how to improve itGeoffrey Keating Jesse Sumrak
 -
 RCS vs. SMS: What's the difference (and why it matters)Jesse Sumrak
 -
 What is branded calling?Twilio Julie Griffin
 -
 What is data lineage (and why does it matter)?Geoffrey Keating Jesse Sumrak
Product News
Get the scoop on Twilio’s latest innovations—from upcoming betas to the latest product launches and feature updates.
-
 Sunsetting Twilio Segment’s Legacy Analytics LibrariesWenxi Zeng
 -
 Introducing A2H: A Protocol for Agent-to-Human CommunicationRyan Ferguson Rikki Singh
 -
 New Twilio Interconnect Location - São PauloBill Harrison
 -
 Twilio Health Score for Messaging and Personalized Recommendations are now GAWill McKenzie
 -
 Can You See Me Now? Verizon Joins T-Mobile to Put Your Brand Front and CenterJason Spulak Robert McCulley
 -
 Launch WhatsApp faster with Twilio: Senders API GA, plus Typing Indicators, Flows, and a smoother ISV experienceSebastian Del Aguila Fiocco
 -
 Announcing General Availability of <Start><Recording> for Voice RecordingJessica Rabin
 -
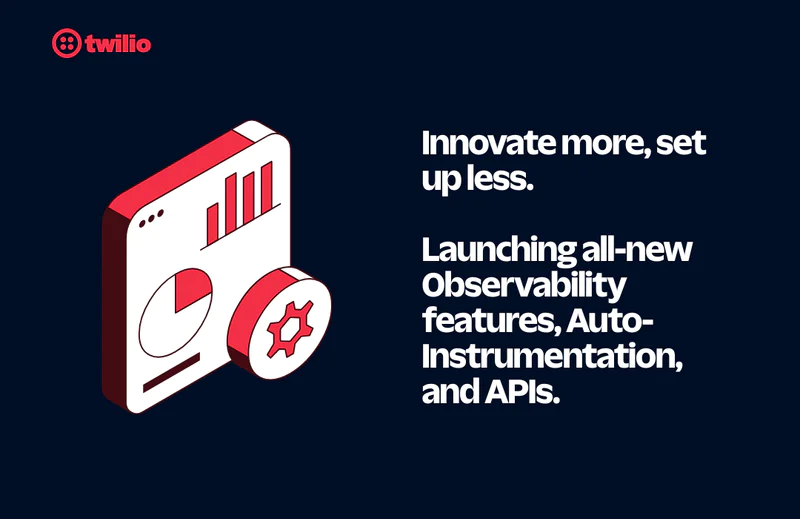
 Auto-Instrumentation: The End of Manual TrackingMax Milhan Rahul Lalmalani
 -
 Introducing Email Logs: Search, Filter, and Troubleshoot Email EventsTaylor Ferguson Kim Castings
 -
 Complete US Carrier Coverage for RCS with AT&T IntegrationWill McKenzie
 -
 Take command of your customer data with the latest Twilio platform releasesKalyan Nistala Kathleen Velasquez
 -
 From Traffic Jams to Green Lights: Faster, Smarter Messaging with Twilio’s Traffic Optimization Engine
 -
Introducing Customer Intelligence for AdvertisersTwilio Segment
-
 Twilio’s 2025 Heightened Awareness Period: Ensuring Reliable Messaging for Peak Season
 -
 Compliance Toolkit: AI-powered support for SMS complianceBill Higbee
Events & Community
Learn about upcoming opportunities to connect with fellow builders and developers.
-
 Community, AI in Action, and Twilio News: Reflections on Our Biggest User Group YetPayam Taghizadeh
 -
 The Art of the Attendance: Why MWC is the Ultimate B2B SpectaclePeter Bell
 -
 SIGNAL London 2025 had something for everyoneLeah Lengel
 -
 SIGNAL Sydney 2025: A Sold‑out Debut on the HarbourRobin Elrod
 -
 Welcome to the Builder’s Arcade at SIGNAL Sydney 2025Michelle Duke
 -
 What Brand Builders Need Most Right Now? Smarter Data, Real-Time Personalization, and AI That Actually Works | AdWeek 2025 Recap
 -
 Tackling the data management challenge: Insights from Enterprise ConnectRakesh Bhatia
 -
 SIGNAL Singapore 2024: From Communications to ConnectionsAnthony
 -
 SIGNAL Singapore 2024: Fulfilling the promise of customer engagement AI through communications and contextual dataRobin Elrod
 -
 Reflecting on WeAreDevelopers World Congress 2024Marius Obert
 -
 3 Things We Learned at Transform LondonGeoffrey Keating
 -
 SIGNAL London and SIGNAL Singapore 2023: News for DevelopersMatthew Gilliard
 -
 Reflections from DEFCON 31 | InfoSec @TwilioSecurity
 -
 SIGNAL 2023: Twilio's Latest Announcements for DevelopersTwilio Amanda Garcia
 -
 Twilio Segment extends real-time CDP to unlock AI and power dynamic customer engagement that adapts to every customer at scaleKatrina Wong
Partners & Ecosystem
See how Twilio partners and platform integrations are powering innovation. Explore success stories and new collaborations.
-
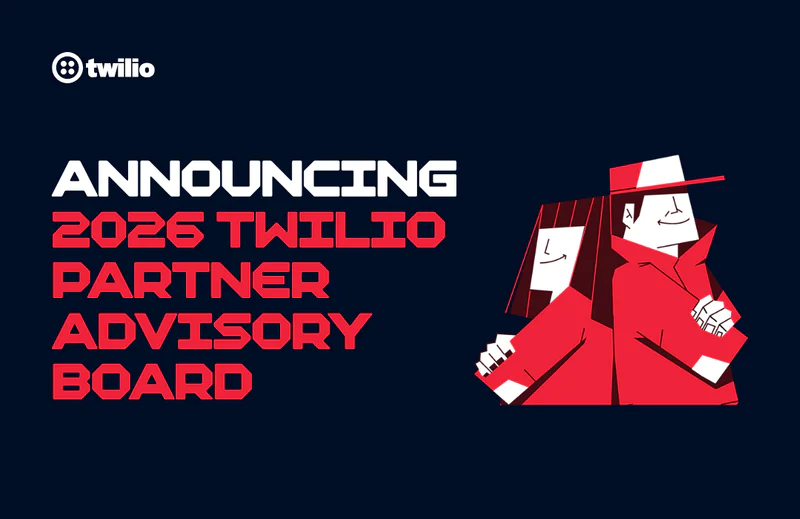 Building the Future Together: Introducing the Twilio Partner Advisory BoardKevin Wagner
 -
 Empowering Partners for the AI Era: Twilio AI Certification ProgramStillman Wong
 -
 Rooted in Tradition, Powered by Tech: One Acre Fund’s Digital TransformationClaire FitzGerald
 -
 Innovation Spotlight: How Datadog's integration keeps your Cloud Communications safe while prioritizing uptime
 -
 Twilio Segment Joins the MACH Alliance: Embracing the Future of Extensible ArchitectureKevin Harris
 -
 Experience an out-of-the-box, no-code texting solution powered by SalesmsgWill McKenzie
 -
 Braze: expanding the reach of customer engagement for impactful resultsTwilio
 -
 Twilio Flex Announces Public Beta of Compatibility with Microsoft Azure Virtual DesktopHitesh Manwar
 -
 Unlocking the Power of Facebook's Conversions API with Twilio Segment: A Guide to First-Party Data RetargetingGlenn Vanderlinden
 -
 How to achieve personalization and customer retention with Twilio Segment and SnowflakeTwilio Segment
 -
 Twilio Startup Labs Founder Spotlight: Gbolade Emmanuel, TermiiFrank Yaw-Owusu
 -
Twilio Startup Labs Founder Spotlight: Alex Levin & Rebecca Greene, Regal.ioFrank Yaw-Owusu
-
 Twilio Startup Labs Founder Spotlight: Karan Kashyap & Matt McEachern, PoshFrank Yaw-Owusu
 -
 Twilio Startup Labs Founder Spotlight: Erwan Baynaud & Franck Sousa, AlobeesFrank Yaw-Owusu
 -
Twilio Startup Labs Founder Spotlight: Chris Dolinski, VibehutFrank Yaw-Owusu
Company
Get the latest updates from inside Twilio—including leadership announcements, culture highlights, and more.
-
 Behind the builder: Dalia Molina, Sr. Manager, Documentation PlatformTwilio Employer Brand Team
 -
Bringing SendGrid and Segment to Twilio.com: A More Unified Web ExperienceJesse Sumrak
-
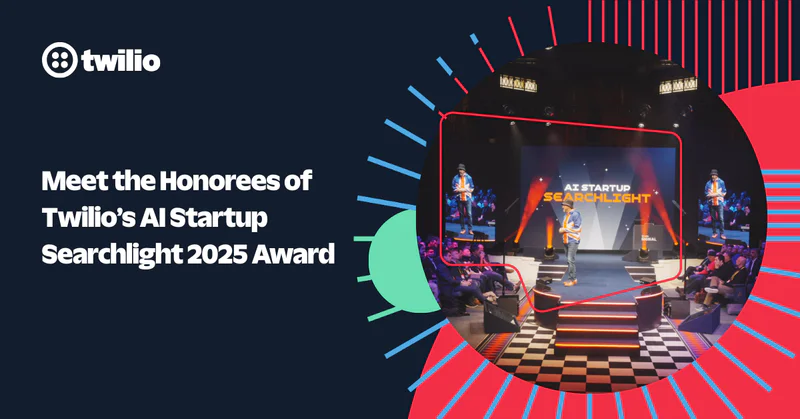 Meet the Honorees of Twilio’s AI Startup Searchlight 2025 Award ProgramFrank Yaw-Owusu Bianca St Louis
 -
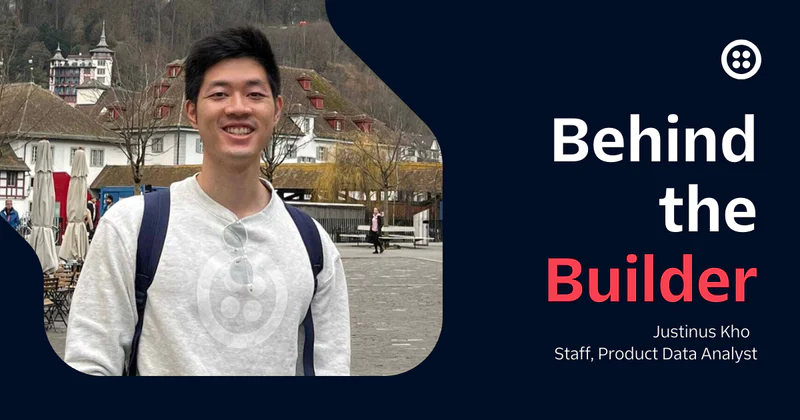 Behind the Builder: Justinus Kho, Staff Product Data AnalystTwilio Employer Brand Team
 -
 Building Holiday Magic: Twilio Powers Real-Time Calls for ‘NORAD Tracks Santa’Kevin Wagner
 -
 Behind the Builder: Stefany Millstein, Director of Sales, Commercial
 -
 Building Trust in the Age of AI: Why Identity Is the Foundation of Customer EngagementInbal Shani
 -
 Behind the Builder: Cesar Hernandez, Manager, Personalized SupportTwilio Employer Brand Team
 -
 2025 Global Impact Week RecapTanise Love
 -
 Behind the builder: Tanise Love, Senior Employee Impact ManagerTwilio Employer Brand Team
 -
 A Heartfelt Thanks to Our Community of BuildersInbal Shani
 -
 Behind the builder: Kate Molony, Software EngineerTwilio Employer Brand Team
 -
 Introducing Developer Evangelist Anni ChenAnni Chen
 -
 How to test Twilio Verify without getting rate limitedKelley Robinson
 -
 Introducing Developer Evangelist Michelle (AKA Mish) DukeMichelle Duke
Archive
Jump into our vault for a look back at past posts and retired content.