Batch (Actions) Destination
Batch is a customer engagement platform for personalized, timely notifications and messages that boost retention and drive growth.
This destination is maintained by Batch. For any issues, contact Batch Support.
- From your workspace's destinations catalog, search for Batch.
- Select Batch (Actions) and click Add Destination.
- Choose the source you want to connect to Batch (Actions).
- In the Batch dashboard, copy your Project Key and REST API Key.
- Paste the Project Key and REST API Key into the Batch destination settings in Segment.
- Toggle Enable Destination. Segment will start sending data to Batch according to your Mappings.
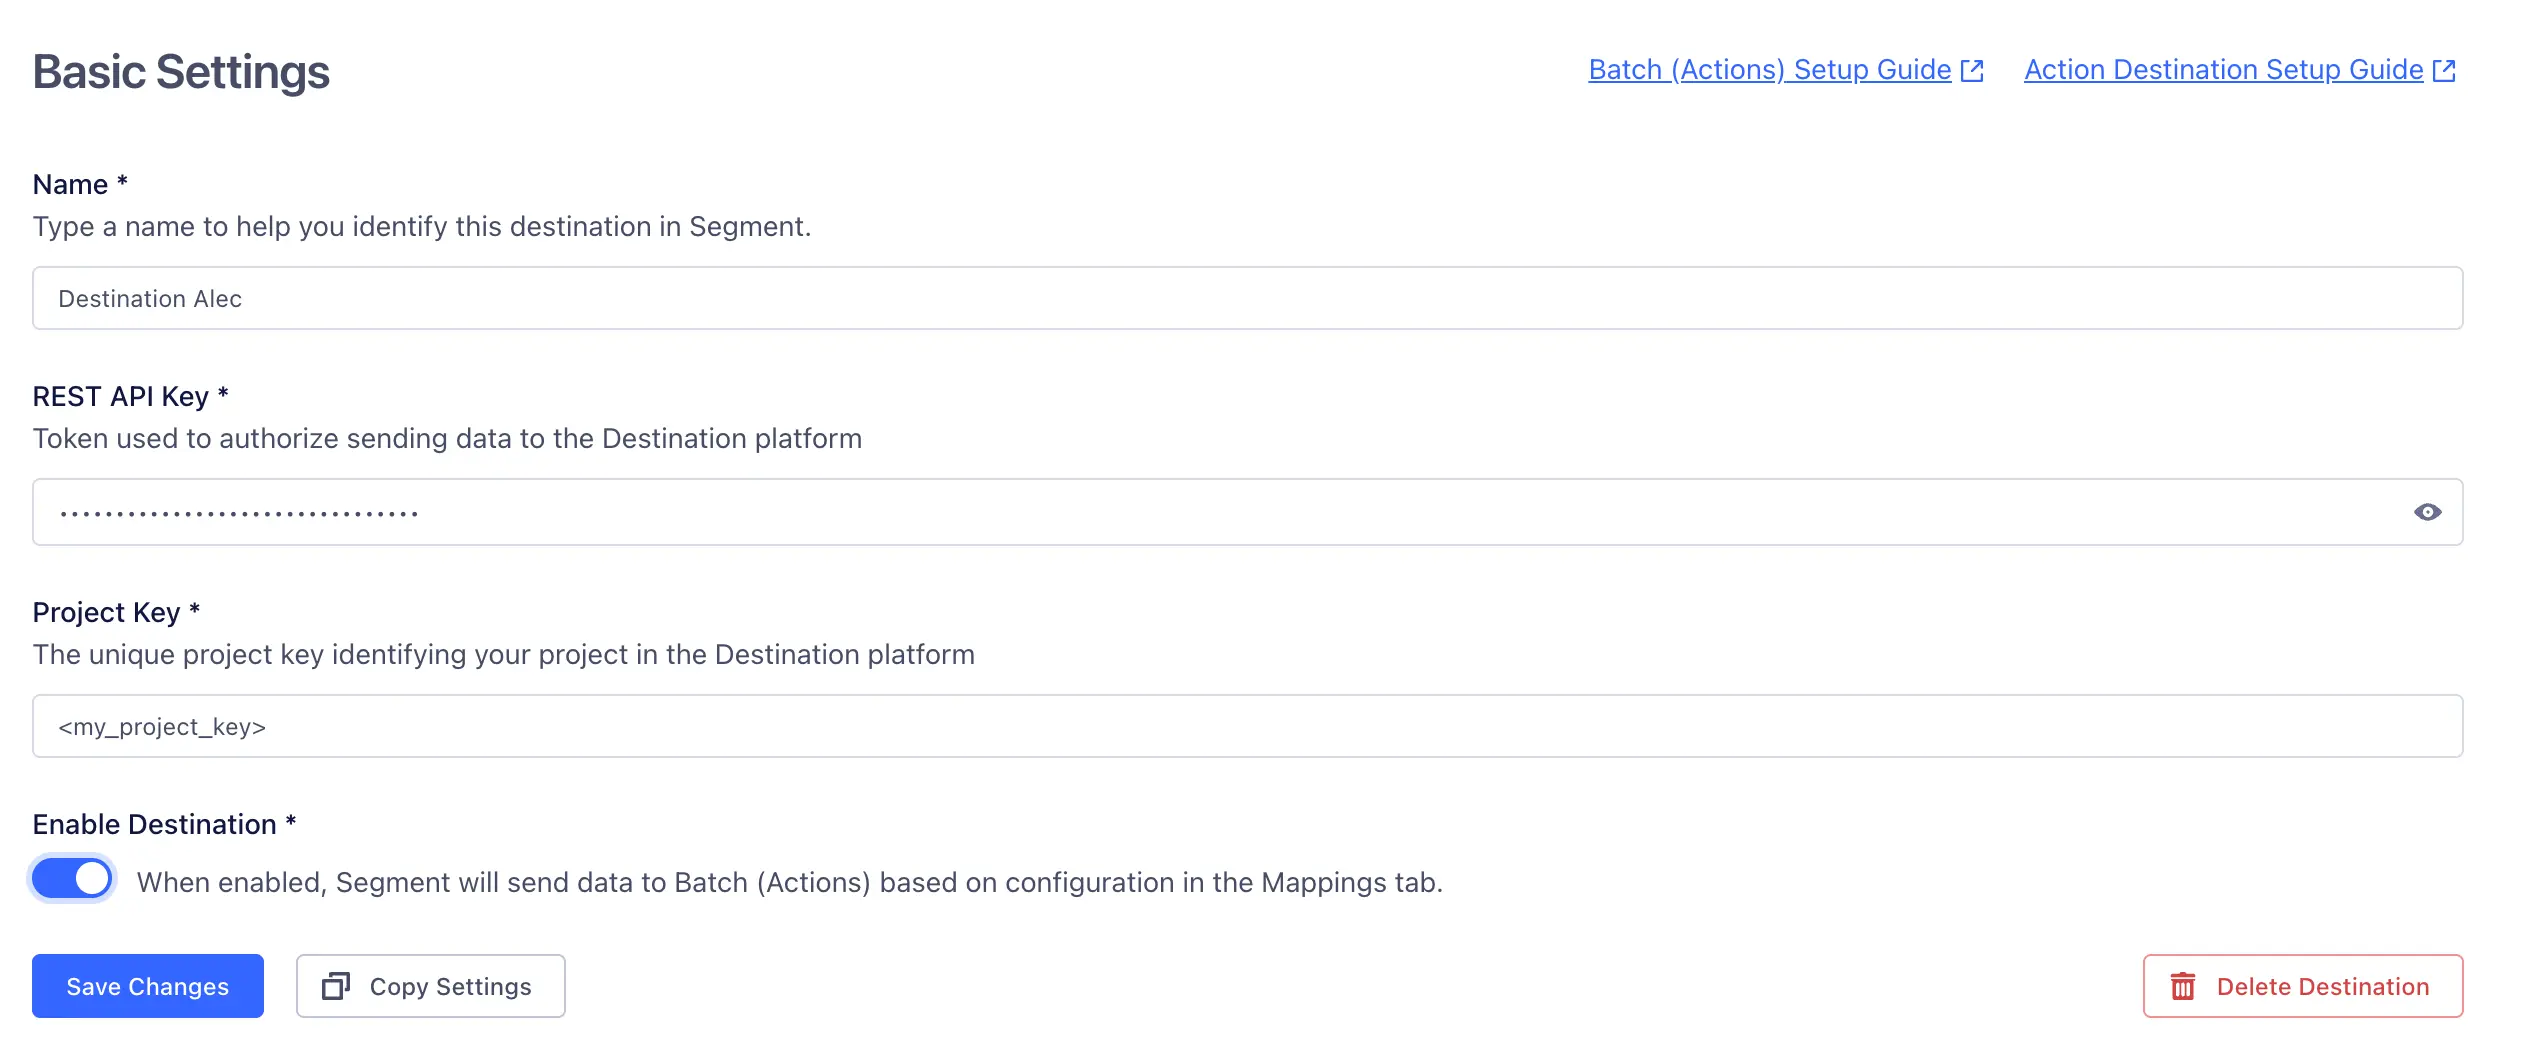
Token used to authorize sending data to the Destination platform
The unique project key identifying your project in the Destination platform
Batch (Actions) has the following presets
| Preset Name | Trigger | Default Action |
|---|---|---|
| Update Profile | Event type = "identify", Event type = "track" | Update User Profile |
Build your own Mappings. Combine supported triggers with the following Batch-supported actions:
Mapping limits per destination
Individual destination instances have support a maximum of 50 mappings.
Sends user events or creates and updates user profiles in Batch.
Update User Profile is a Cloud action. The default Trigger is type = "identify" or type = "track"
User identifiers
Optional
Attributes for the user profile. Batch can accept up to 50 attributes per user.
Optional
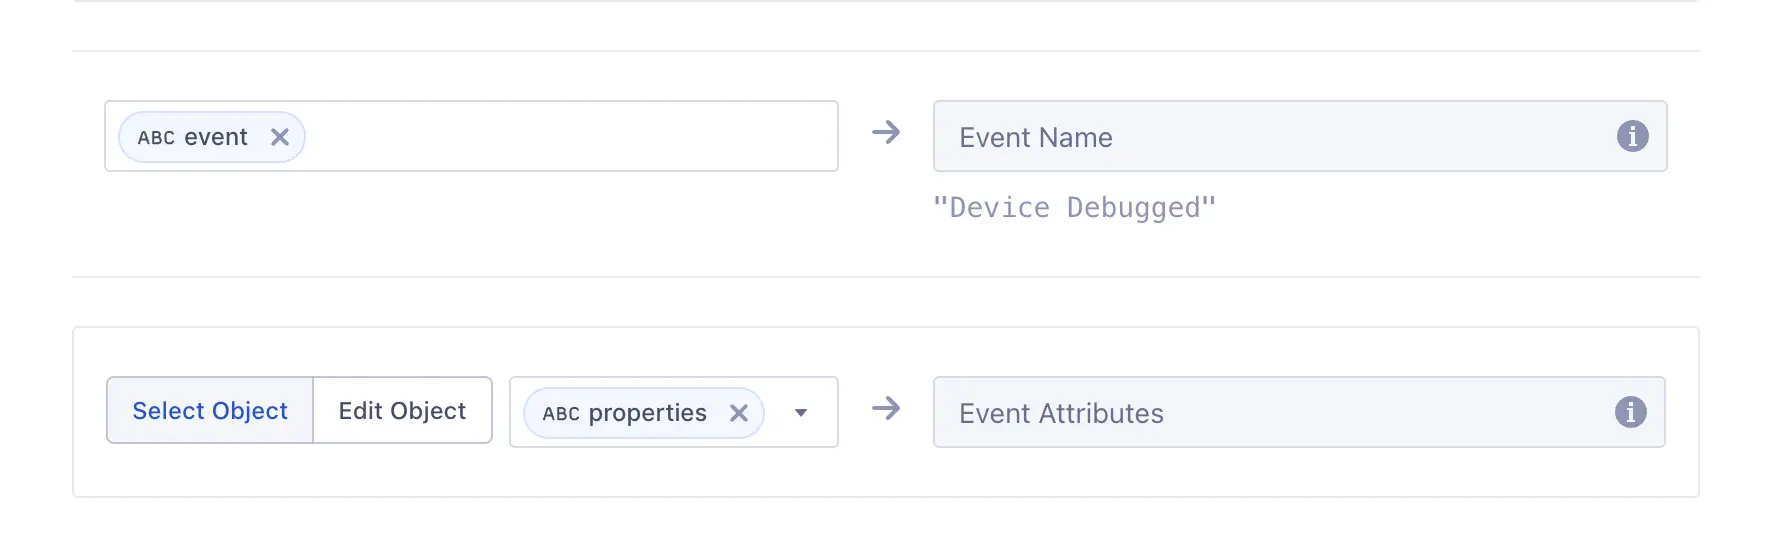
The name of the event.
Optional
An object containining the event's attributes
Info
If you're new to the Identify call, see the Segment spec for more details.
When you call Identify, Segment maps userId to identifiers.custom_id and writes traits into attributes.
1analytics.identify("97980cfea0067", {2name: "Peter Gibbons",3email: "peter@example.com",4phone: "+33600000000",5email_marketing: "subscribed",6sms_marketing: "unsubscribed",7plan: "premium",8logins: 59}, {10context: {11timezone: "Europe/Paris",12locale: "fr-FR"13}14});
| Segment field | Batch field |
|---|---|
userId | identifiers.custom_id |
traits.email | attributes.$email_address |
traits.phone | attributes.$phone_number |
traits.email_marketing | attributes.$email_marketing |
traits.sms_marketing | attributes.$sms_marketing |
context.timezone | attributes.$timezone |
context.locale → language (for example: fr) | attributes.$language |
context.locale → region (for example: FR) | attributes.$region |
Notes
$email_marketing/$sms_marketing: usesubscribed/unsubscribed.- A locale like
fr-FRis split into language (fr) and region (FR). - All other non‑reserved fields become custom attributes under
attributes(strings, numbers, booleans, arrays of strings). Avoid arbitrary nested objects.
Info
For more details on the fields to be included, refer to the Batch API Profile documentation.
1{2"identifiers": {3"custom_id": "97980cfea0067"4},5"attributes": {6"$email_address": "peter@example.com",7"$phone_number": "+33600000000",8"$email_marketing": "subscribed",9"$sms_marketing": "unsubscribed",10"$language": "fr",11"$region": "FR",12"$timezone": "Europe/Paris",1314"name": "Peter Gibbons",15"plan": "premium",16"logins": 517}18}
To map additional traits into Batch profile attributes:
-
Open your destination → Mappings → Edit Mapping.
-
Go to Profile attributes → Add Mapping Field.
-
Choose a source (for example,
traits.plan) and set a target underattributes(for example,attributes.plan).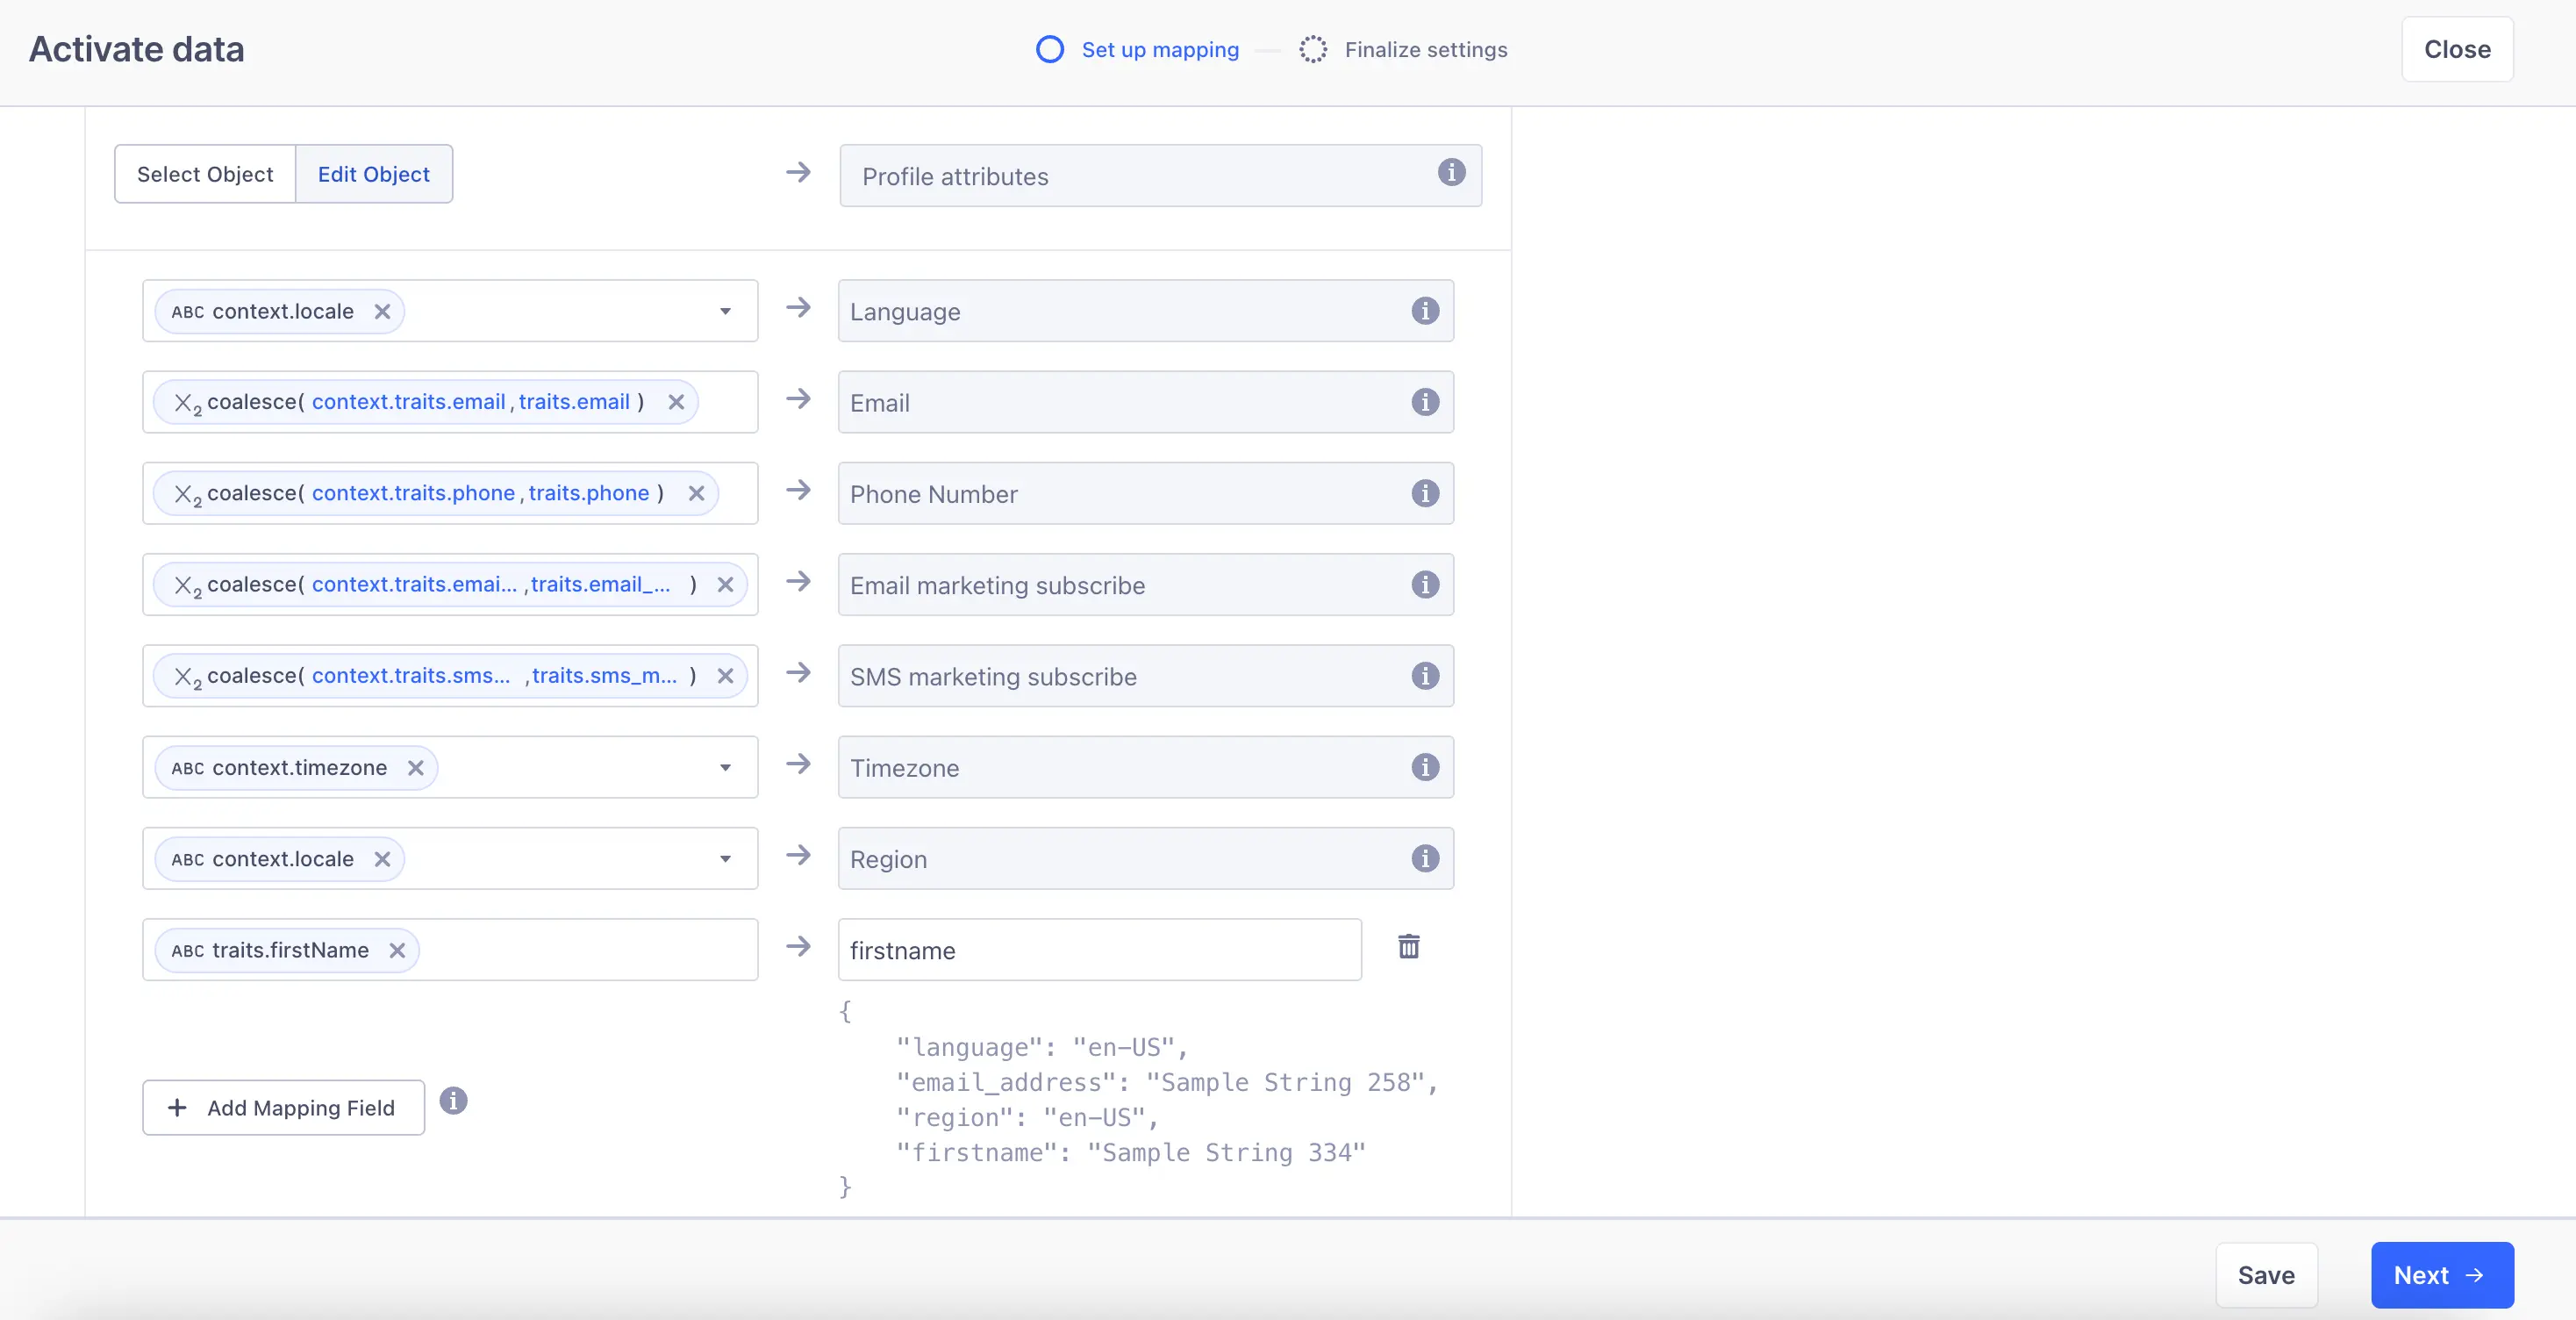
-
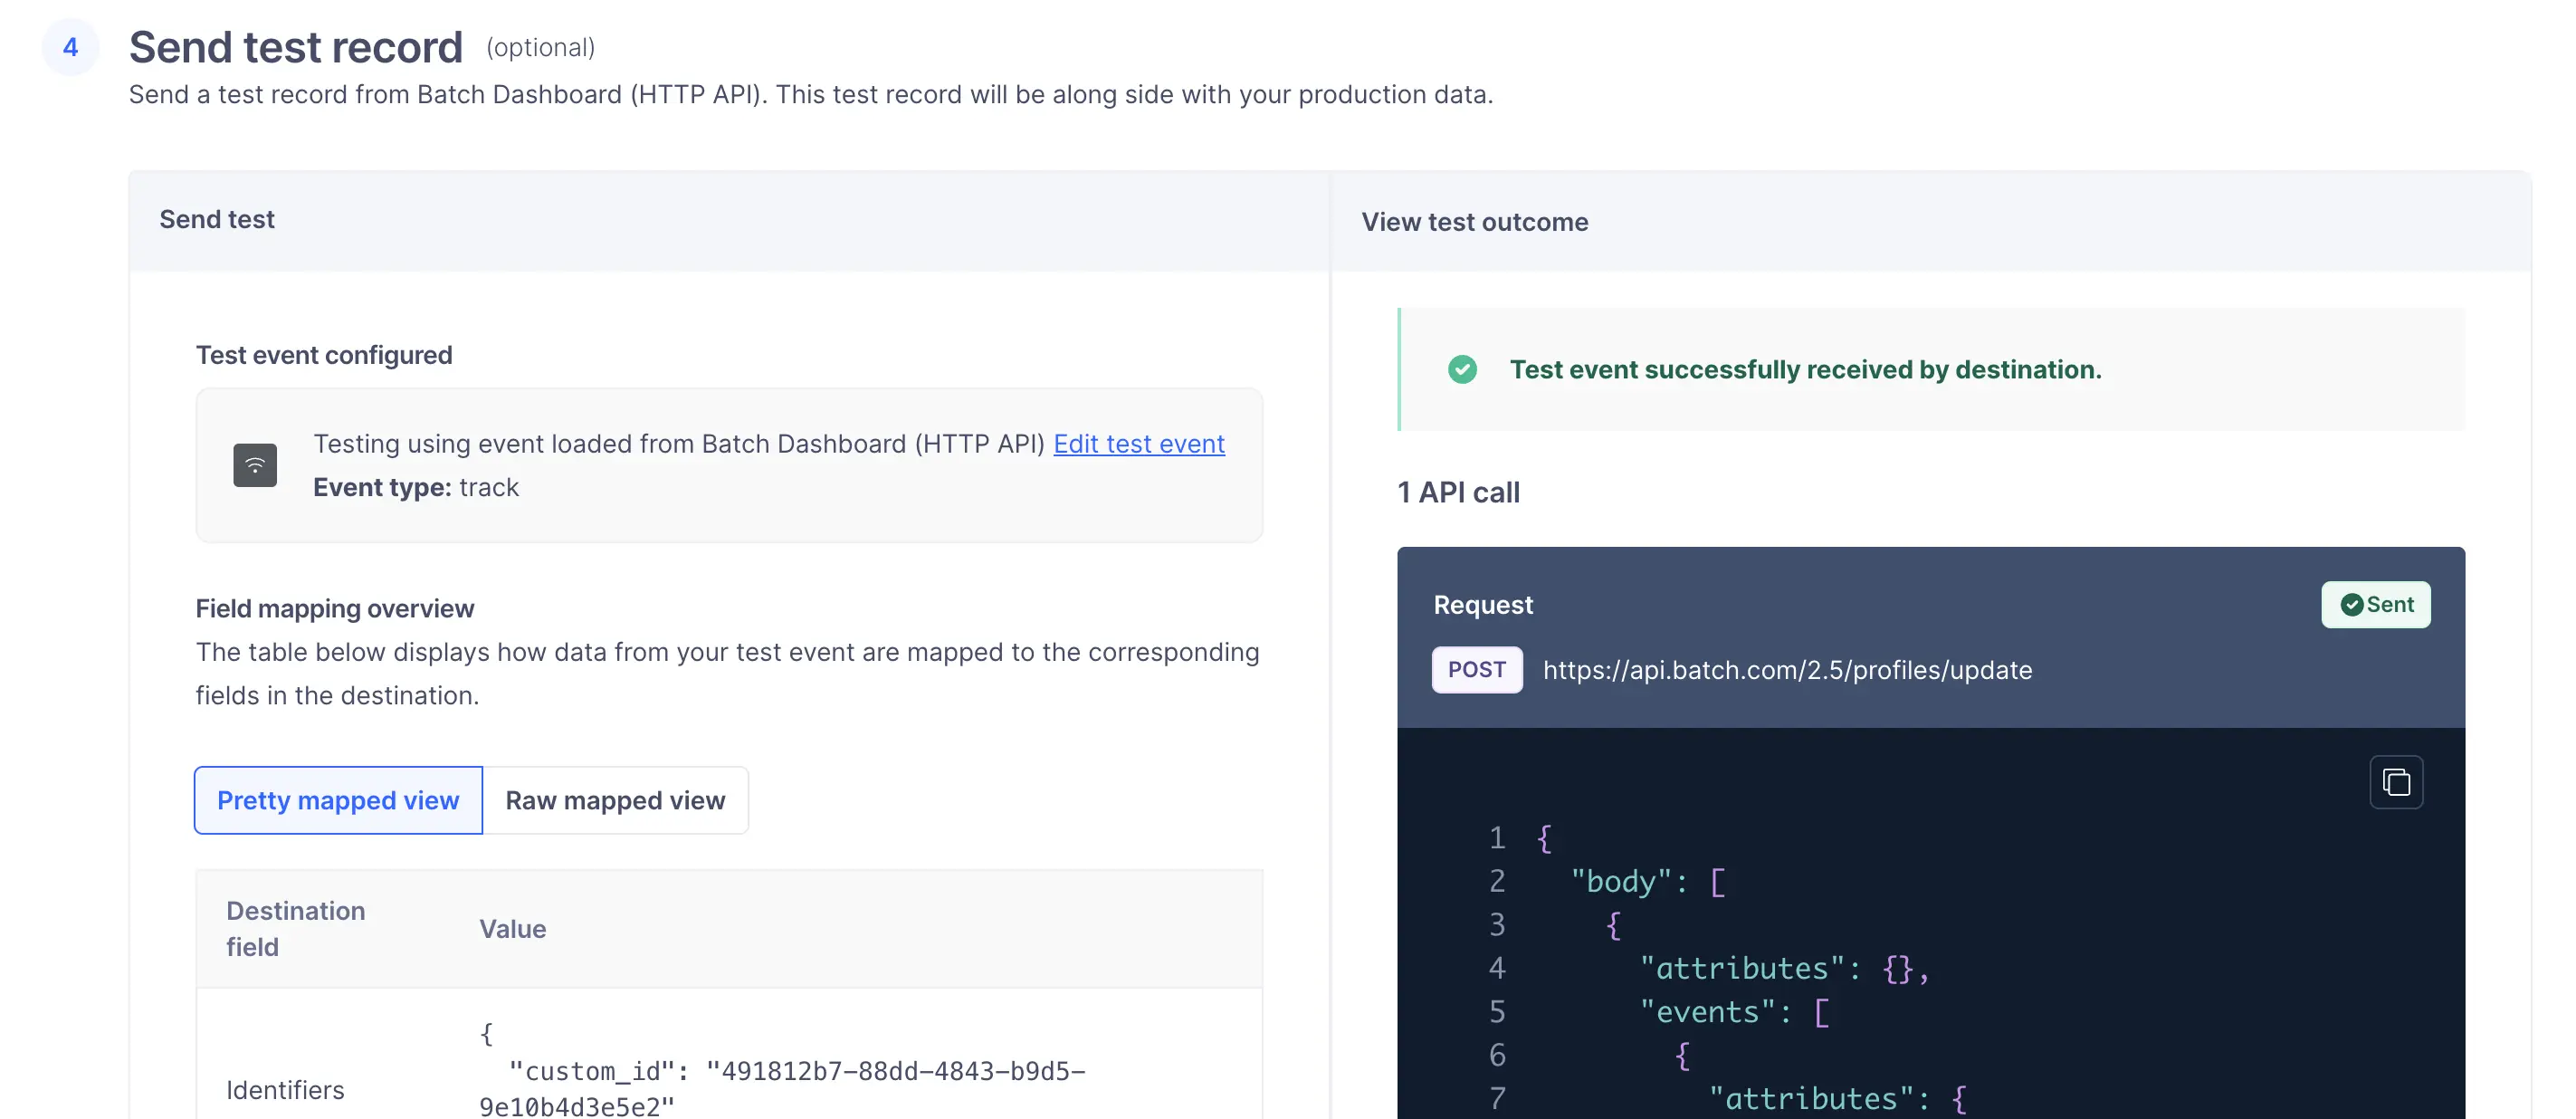
In Step 4 – Send test record, you can test your mapping before saving.
-
Save and enable the mapping.
Supported types
Strings, numbers, booleans, arrays of strings are supported. Avoid arbitrary nested objects.
If you want to integrate your entire Segment userbase into Batch using the Identify method, you can request a historical backfill from Segment.
To do this:
- Contact Segment Support at friends@segment.com.
- Request a historical replay of your data.
- Provide Segment with the following details:
- Start date and time
- End date and time (usually "now")
- Source: the Segment source you want to replay
- Destination: Batch (Actions)
- Events:
Identify
Segment will then replay your historical data so Batch can import your full userbase.
When you call Track, Segment uses your userId as Batch's identifiers.custom_id. A userId is required to attribute the event to a profile.
Info
For more details on the Track call, see the Track spec.
1analytics.track("User Registered", {2plan: "Pro Annual",3accountType: "Facebook"4}, {5userId: "97980cfea0067"6});
| Segment | Batch |
|---|---|
userId | identifiers.custom_id |
event | event.name |
properties.* | event.attributes.* |
1{2"identifiers": {3"custom_id": "97980cfea0067"4},5"event": {6"name": "User Registered",7"attributes": {8"plan": "Pro Annual",9"accountType": "Facebook"10}11}12}
Events are sent to Batch in near real time according to your destination mappings, and all event properties are included under event.attributes.
- Always send a stable
userId→ becomesidentifiers.custom_id. - Place native profile fields under
attributes:$email_address,$email_marketing,$phone_number,$sms_marketing,$language,$region,$timezone. - Put everything else under custom attributes in
attributes. - Format dates using ISO‑8601 UTC (for example:
1989-07-20T00:00:00Z). - Configure additional mappings in Mappings → Edit Mapping.
- Test with a read-back or export to verify types, encodings, and timezones.
Info
For more details on computed traits, see the Segment spec.
To integrate a computed trait with Batch:
- Go to your Segment workspace.
- Open the Engage tab → Destinations.
- If your Batch destination is already listed, skip this step.
- Otherwise, click Add destination and select Batch (Actions).
- Open the Engage tab → Audiences → Computed traits.
- Click Create computed trait.
- Configure your calculation method (for example: count, aggregation, last value).
- Click Preview, then Next.
- Select your Batch destination.
- Choose how to send the data:
- For an attribute → enable Send Identify in the connection settings.
- For an event → enable Send Track.
- Give your computed trait a clear name.
Segment will then automatically update and forward your computed trait data to Batch.
You can send computed traits and audiences generated using Engage to this destination as a user property. To learn more about Engage, schedule a demo.
For user-property destinations, an identify call is sent to the destination for each user being added and removed. The property name is the snake_cased version of the audience name, with a true/false value to indicate membership. For example, when a user first completes an order in the last 30 days, Engage sends an Identify call with the property order_completed_last_30days: true. When the user no longer satisfies this condition (for example, it's been more than 30 days since their last order), Engage sets that value to false.
When you first create an audience, Engage sends an Identify call for every user in that audience. Later audience syncs only send updates for users whose membership has changed since the last sync.
Real-time to batch destination sync frequency
Real-time audience syncs to Batch (Actions) may take six or more hours for the initial sync to complete. Upon completion, a sync frequency of two to three hours is expected.
Segment lets you change these destination settings from the Segment app without having to touch any code.
Token used to authorize sending data to the Destination platform
The unique project key identifying your project in the Destination platform